Tamper Data is a simple proxy server that runs in Firefox. It allows you to change data in HTTP requests, a common and easy way to hack Web applications.
In the "Quick Start -- Easy Run" section, in item 2, click the link to download WebGoat, as shown below.

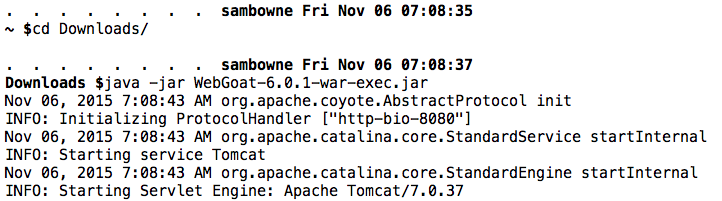
Open a Command Prompt or Terminal window and execute the commands below. You may need to adjust them if your browser places files in some other folder, or if the WebGoat version has changed.
cd Downloads

java -jar WebGoat-6.0.1-war-exec.jar
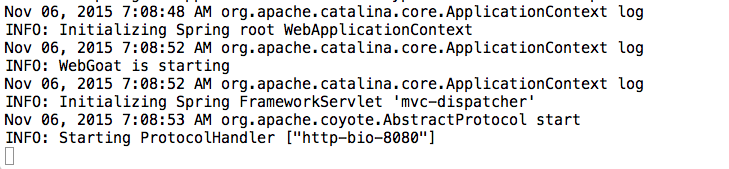
When the scrolling stops, you should see "Starting ProtocolHandler", as shown below.
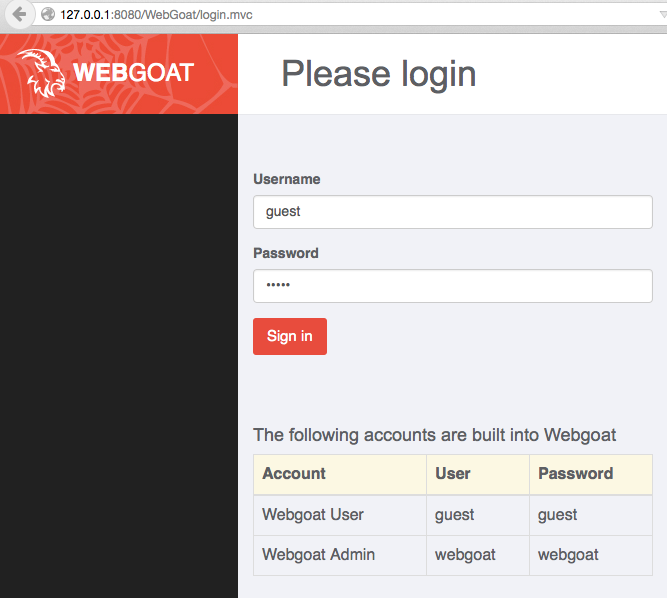
http://localhost:8080/WebGoatYou should see a login screen, as shown below.
Log in as guest with a password of guest.
Troubleshooting
If the WebGoat page won't open, make sure you have the capitalization correct. The page won't open unless the W and G are capitalized.
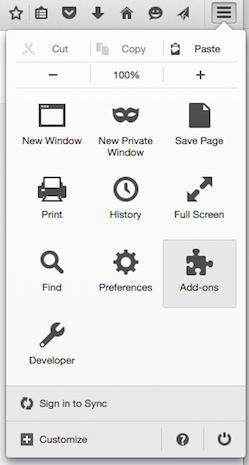
Click Add-ons, as shown below.
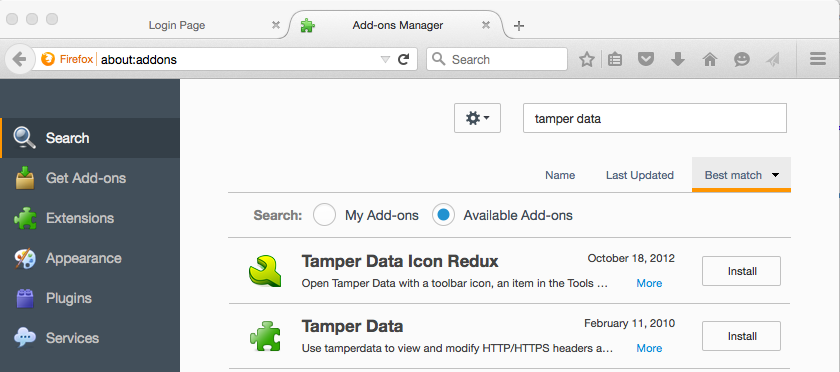
In the "Add-ons Manager" page, search for "tamper data", as shown below.
In the "Tamper Data" line, click the Install button.
A box pops up. Click the "Accept and Install" button.
Close Firefox and restart it.
In Firefox, go to
http://localhost:8080/WebGoat
Log in as guest with a password of guest.
At the upper left of the WebGoat window, click Introduction.
In the Introduction section, click "How to work with WebGoat", as shown below.
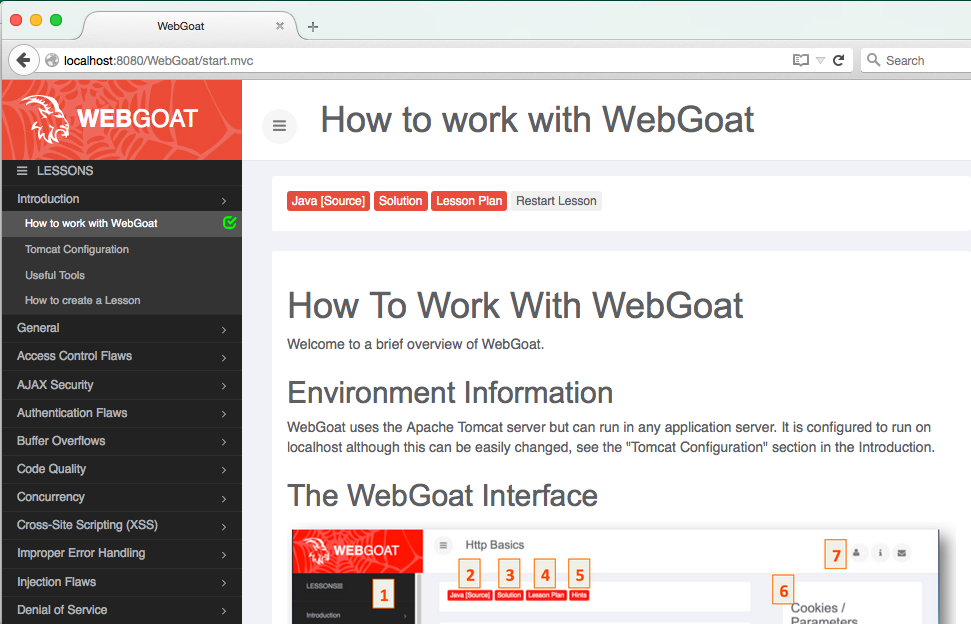
Read this whole page. There is no hands-on practice for this lesson, just reading material.
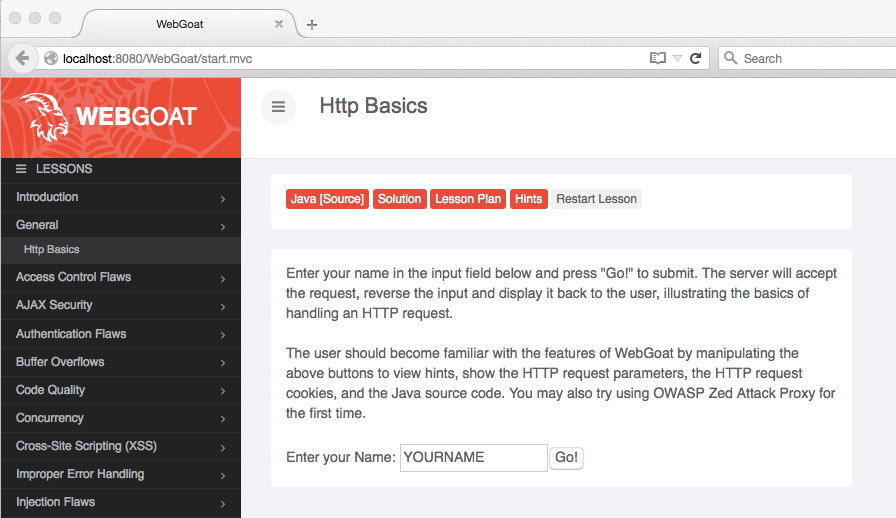
At the upper left of the WebGoat window, click General.
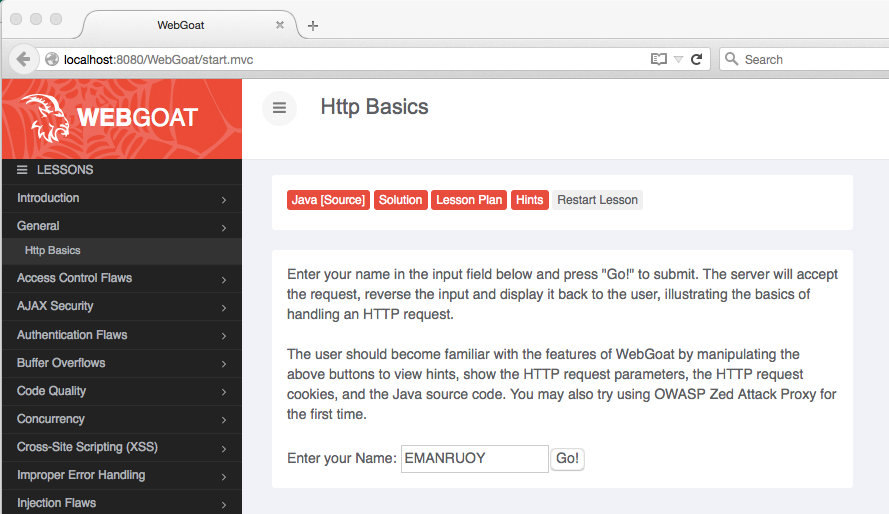
In the General section, click "Http Basics".
Enter your name in the box and click Go!, as shown below.
The order of letters in your name reverses, as shown below
Now we'll view the HTTP request that did that.
Click in the Firefox window to make it active. If you are using Windows, press and release the Alt key on the keyboard, to make the menu bar visible.
From the Firefox menu, click Tools, "Tamper Data".
A "Tamper Data - Onging requests" window opens, as shown below. Resize the Firefox window and place it beside the Tamper Data window so both windows are visible, as shown below.
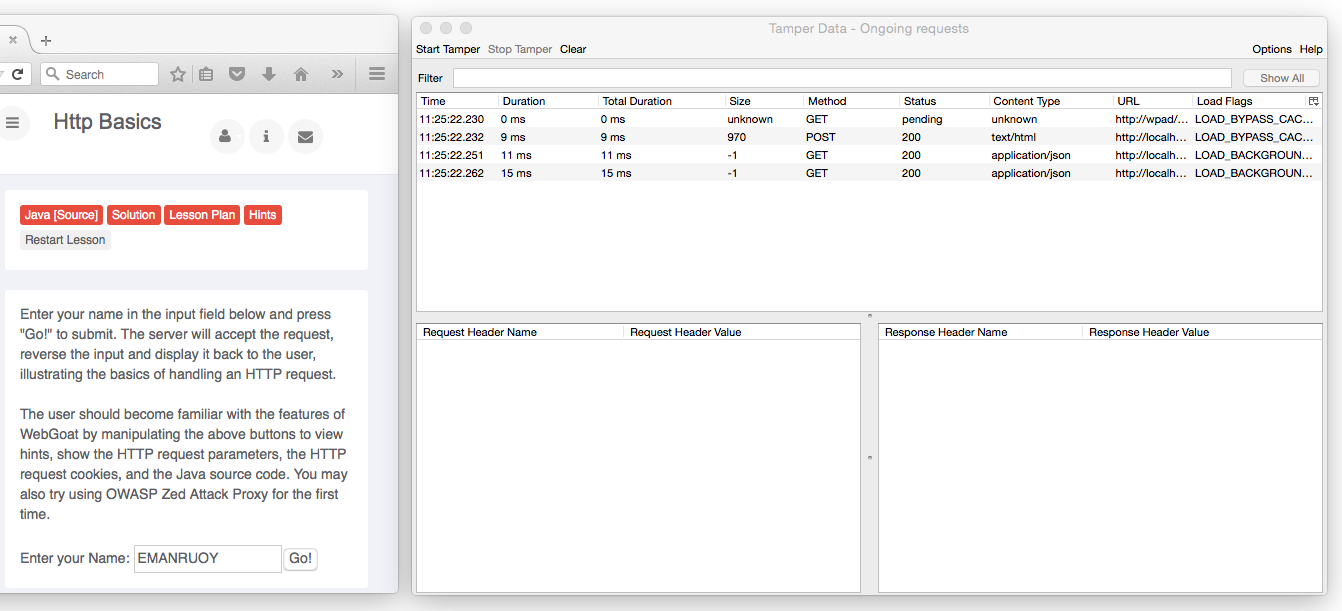
In the WebGoat page, type in your name again and click the Go! button.
GET and POST requests appear in the Tamper Data box, as shown above.
Make the Tamper Data box wider, and scroll to the top of the upper pane. Click the POST request, so the lower panes fill, as shown below.
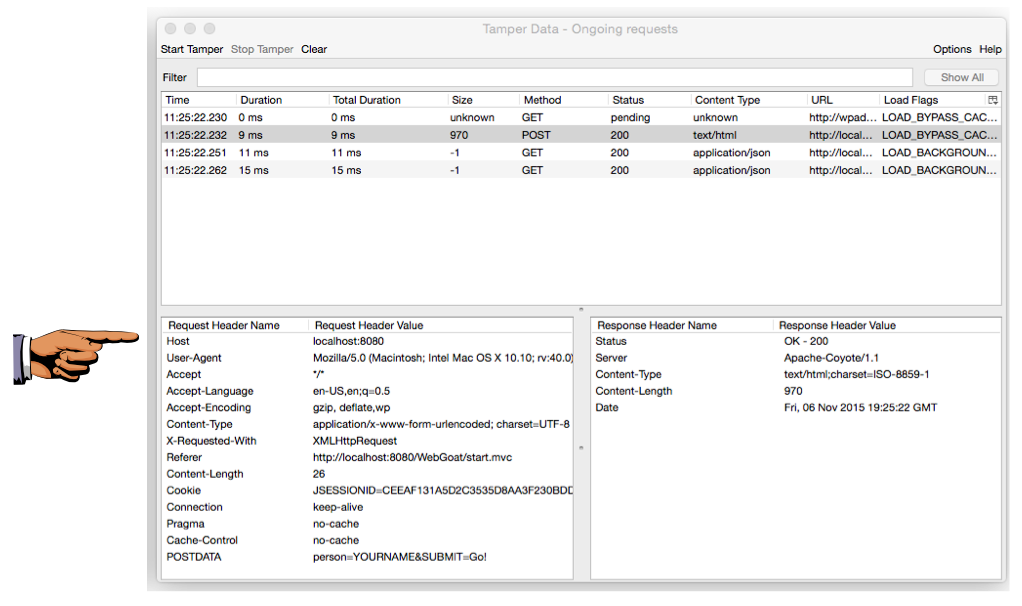
The lower left pane shows the POST request sent to the server. Notice these components:
Save this screen shot with a filename of Proj 14 from Your Name.
Capture a whole-desktop image to get full credit.
Email the image to cnit.123@gmail.com with a subject of "Project 14 from YOUR NAME".