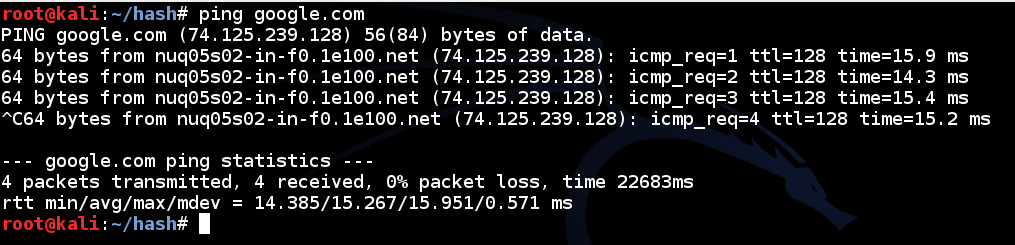
In a Terminal window, execute this command:
ping google.com
Press Ctrl+C to stop the pings.
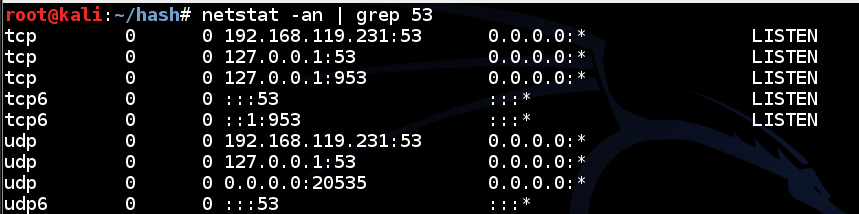
In a Terminal window, execute this command:
netstat -an | grep 53
If you don't see the listening ports, you need to restart or reinstall Bind.
In a Terminal window, execute this command:
dig @127.0.0.1 yahoo.com
If you don't see the answers, you need to restart or reinstall Bind.
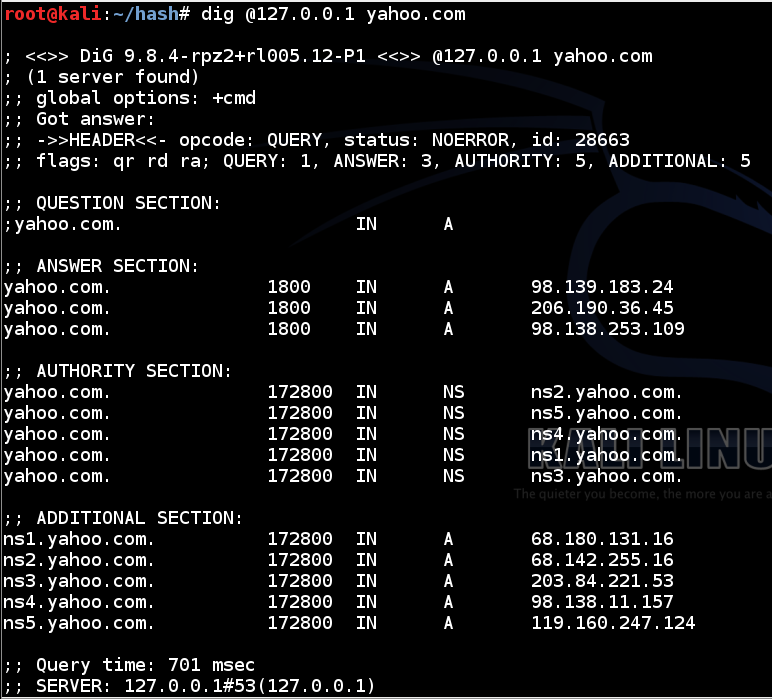
This shows that your server is now operating as a recursive server.
The first step in this process is to get the root server's DNSKEY record.
In a Terminal window, execute this command:
dig . dnskey

Highlight the entire record marked 257, as shown above, right-click the highlighted section, and click Copy.
In a Terminal window, execute this command:
nano /root/key

Save the file with Ctrl+X, Y, Enter.
Now you need to hash the key definition to a NS record.
In a Terminal window, execute this command:
/usr/sbin/dnssec-dsfromkey -2 -f /root/key .
In a Terminal window, execute this command:
nano /etc/bind/named.conf
managed-keys {

"." initial-key 257 3 8 "AwEAAagAIKlVZrpC6Ia7gEzahOR+9W29euxhJhVVLOyQbSEW0O8gcCjF FVQUTf6v58fLjwBd0YI0EzrAcQqBGCzh/RStIoO8g0NfnfL2MTJRkxoX bfDaUeVPQuYEhg37NZWAJQ9VnMVDxP/VHL496M/QZxkjf5/Efucp2gaD X6RS6CXpoY68LsvPVjR0ZSwzz1apAzvN9dlzEheX7ICJBBtuA6G3LQpz W5hOA2hzCTMjJPJ8LbqF6dsV6DoBQzgul0sGIcGOYl7OyQdXfZ57relS Qageu+ipAdTTJ25AsRTAoub8ONGcLmqrAmRLKBP1dfwhYB4N7knNnulq QxA+Uk1ihz0=";

};
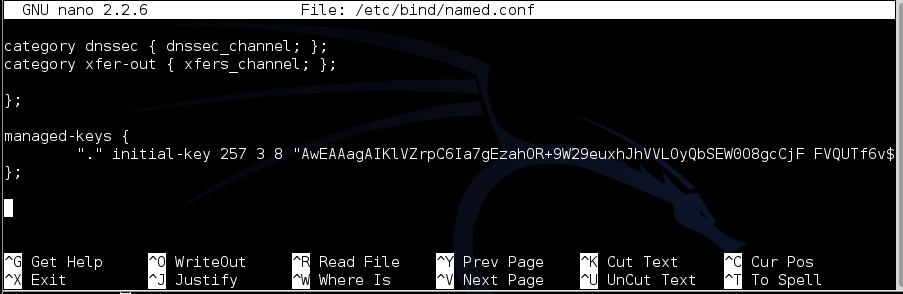
Save the file with Ctrl+X, Y, Enter.
Finally, you need to enable DNSSEC and DNSSEC Validation.
In a Terminal window, execute this command:
nano /etc/bind/named.conf.options
dnssec-enable yes;

dnssec-validation yes;
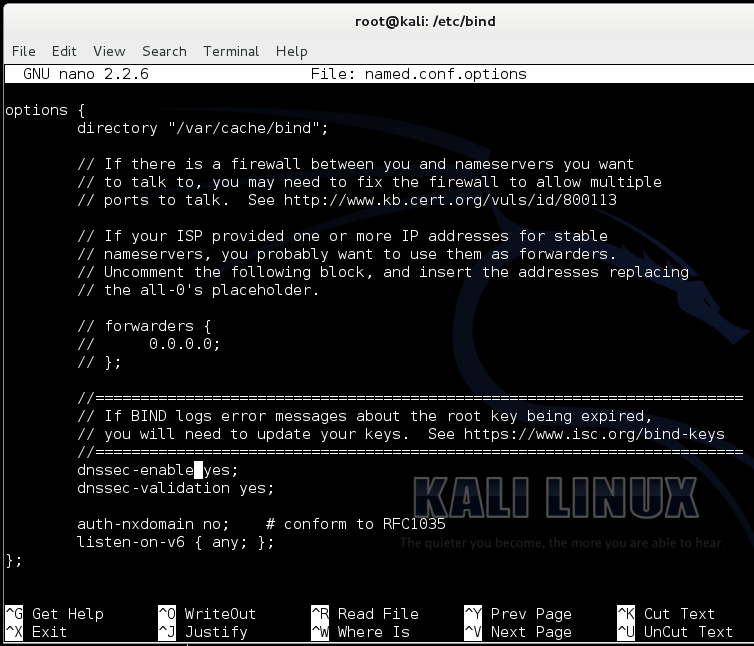
Save the file with Ctrl+X, Y, Enter.
In a Terminal window, execute this command:
service bind9 restart
Troubleshooting
If Bind fails to start, execute this command to see useful error messages:tail /var/log/syslog
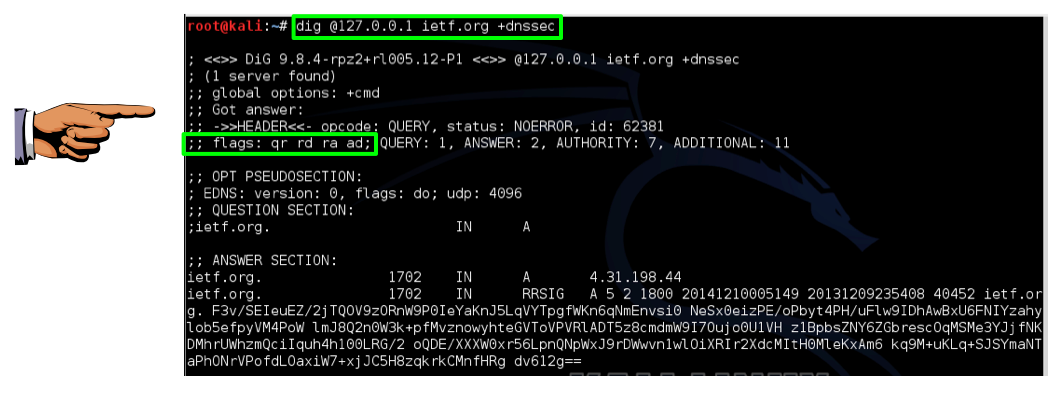
In a Terminal window, execute this command:
dig @127.0.0.1 ietf.org +dnssec
Save a whole-desktop image with the filename "YOUR NAME Proj 7x", replacing "YOUR NAME" with your real name.
YOU MUST SUBMIT A FULL-DESKTOP IMAGE FOR FULL CREDIT!
Send a Cc to yourself.