This is something useful to do for testing, but you shouldn't use a computer with this modification for anything personal like shopping.
That's why you need to make a restore point before starting this project and restore it settings when you are done.
In the "Restore system files and settings" box, click Next.
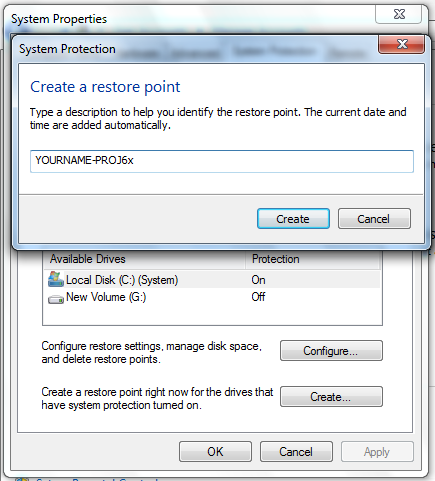
In the "System Properties" box, click the Create button.
In the "Create a restore point" box, type a name of "YOURNAME-PROJ6x", as shown below.
Click Create.
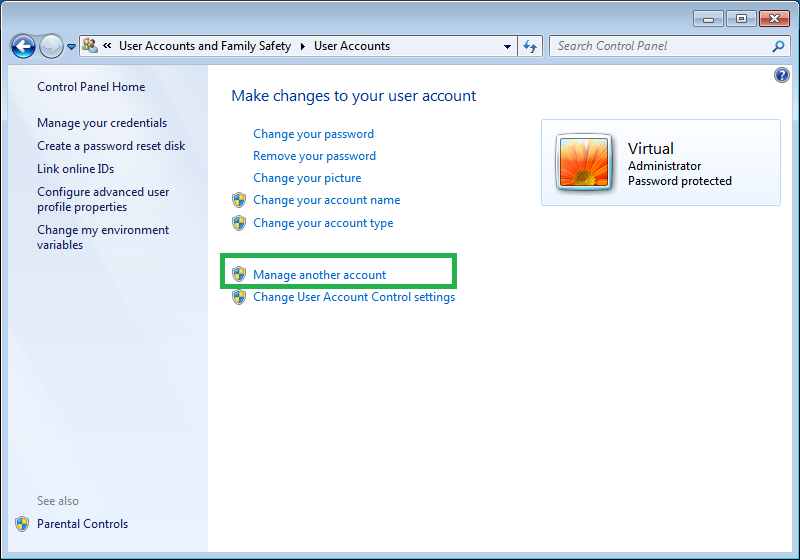
…followed by "Manage another account".


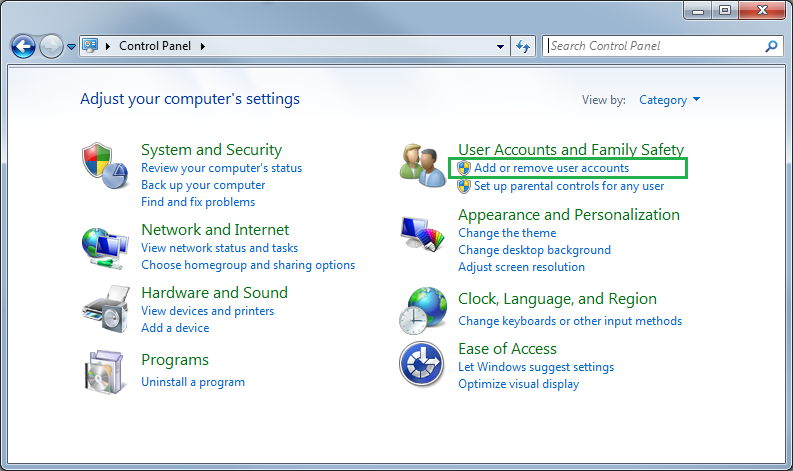
Click "Create Account".
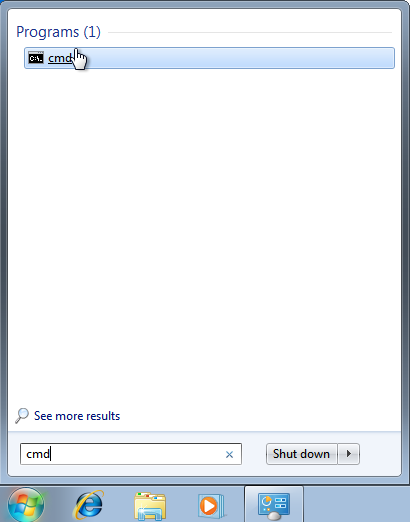
cmd into the Search programs and files box, like so:
SETX SSLKEYLOGFILE C:\keys\session-keys.log
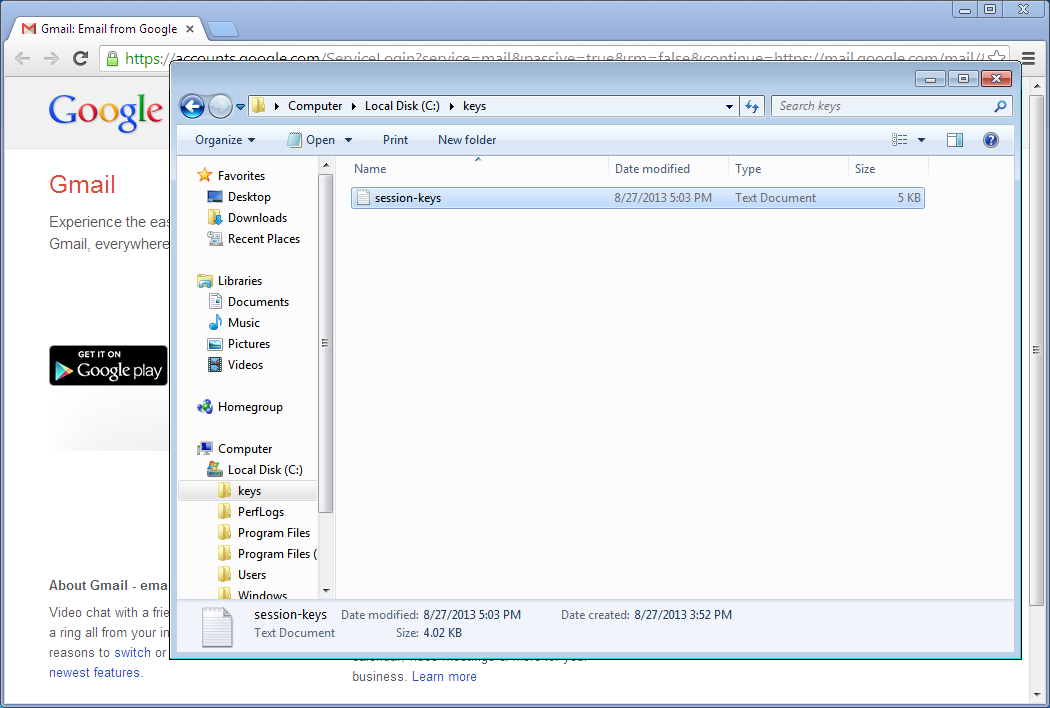
MKDIR \keys
ECHO.> \keys\session-keys.log
C:\keys and open the session-keys file
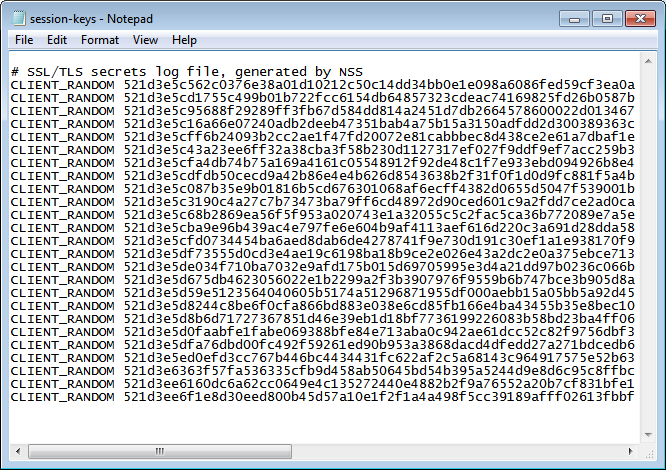
You should see something similar to this:
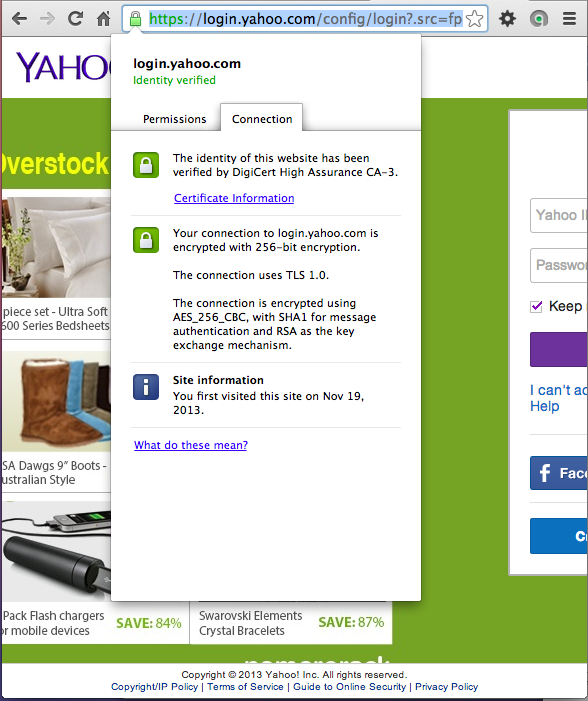
Notice the message saying "The connection uses TLS 1.0". When Yahoo upgrades to TLS 1.2, the way AOL did, this project will stop working.

In the Preferences window, expand "Protocls" in the left side and scroll down to SSL.
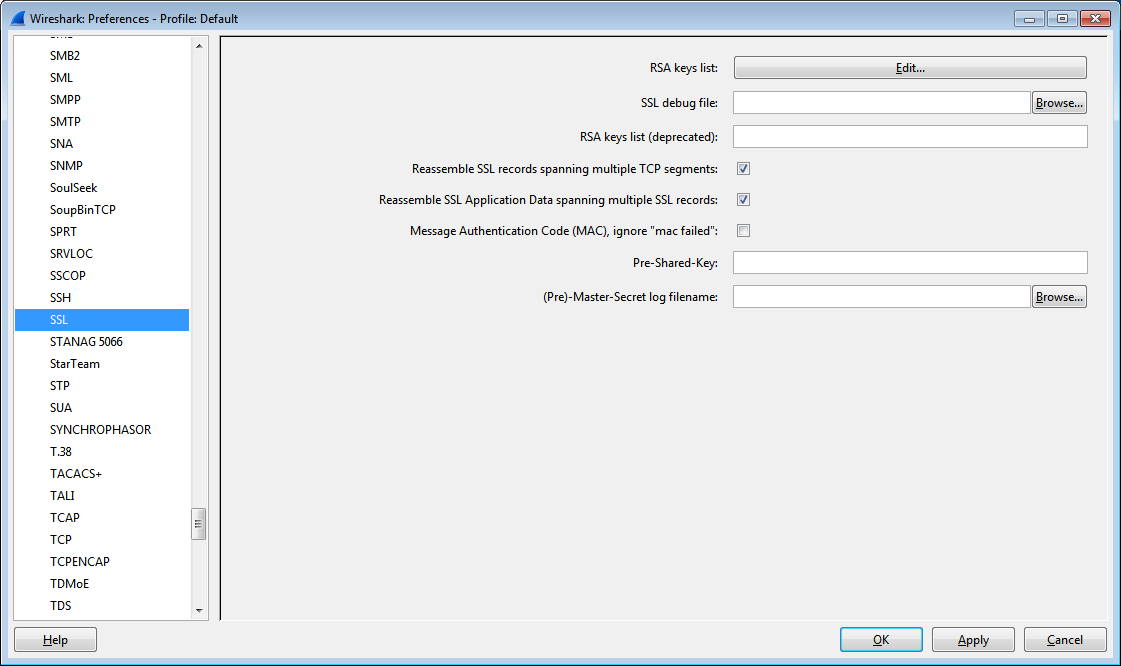
In the (Pre)-Master-Secret log filename: field, type C:\keys\session-keys.log then press OK
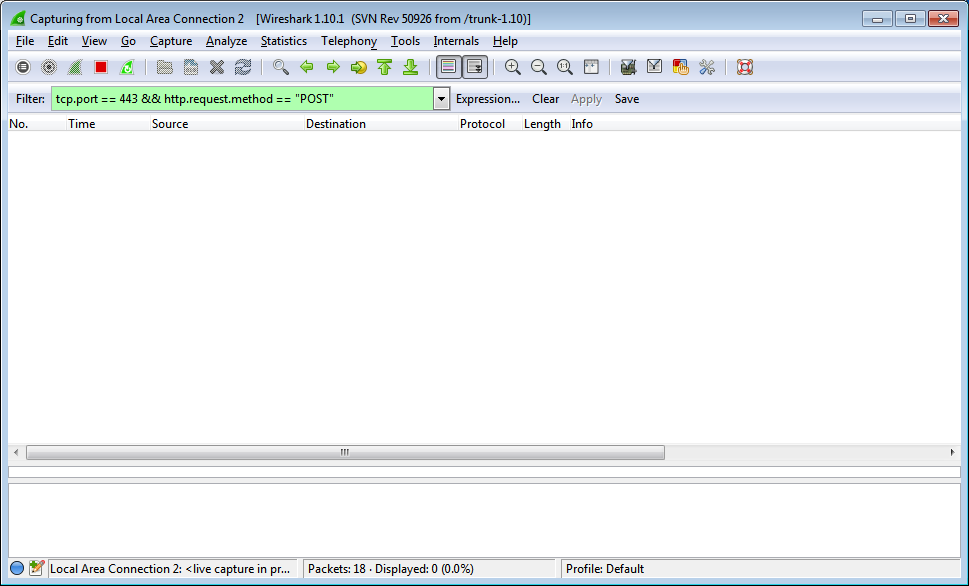
tcp.port == 443 && http.request.method == "POST" in the Filter textbox, then click "Apply".
YOURNAME-SECRET-PASSWORD (replace YOURNAME with your real name)
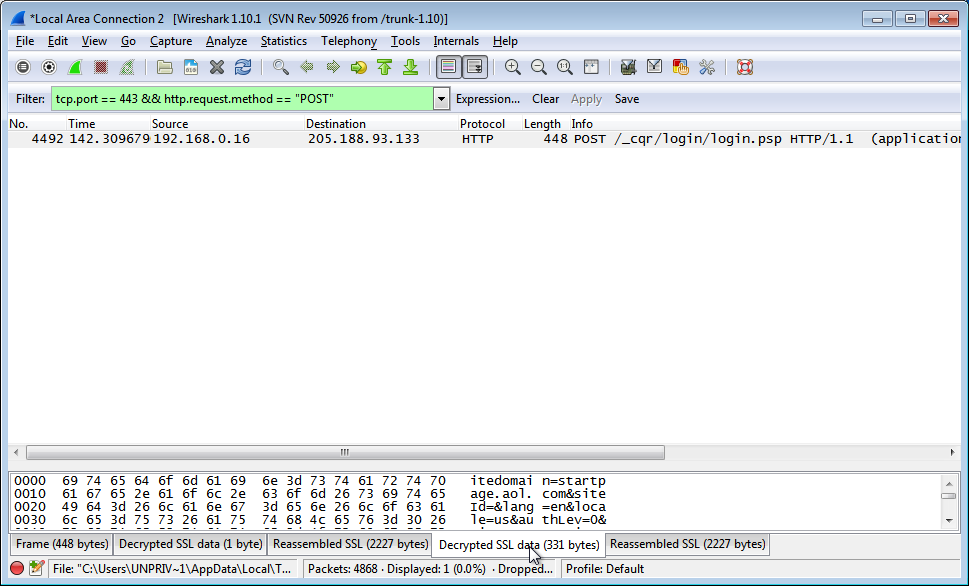
If you scroll down on this panel, you should see the username and password you provided to YAHOO, like so:
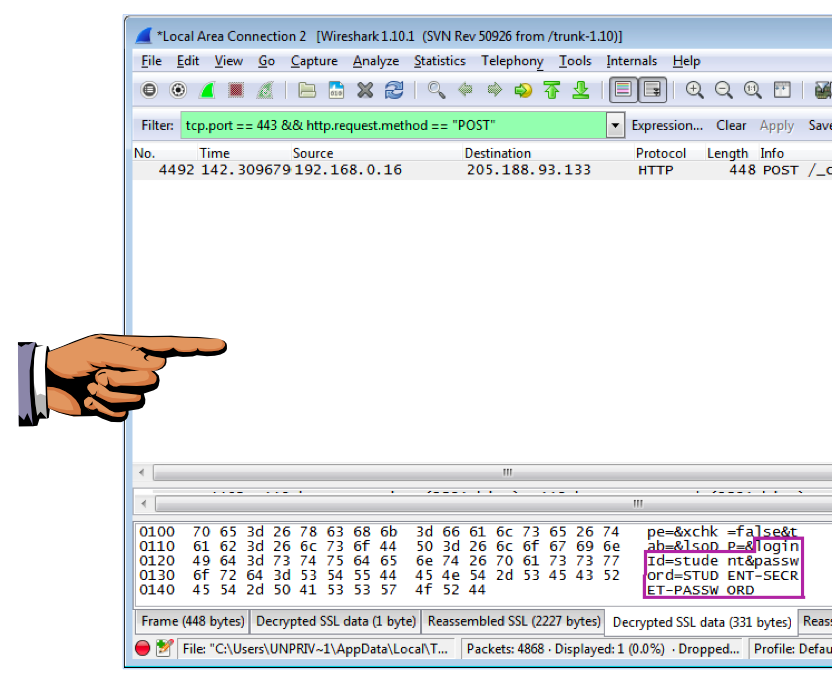
Take a screenshot showing the username and password you supplied to YAHOO.com to turn in for credit for this assignment.
On your keyboard, press the PrntScrn key.
Click Start, type in PAINT, and open Paint.
Press Ctrl+V to paste in the image of your desktop.
YOU MUST SUBMIT WHOLE-DESKTOP IMAGES TO GET FULL CREDIT.
Save the image with a filename of "Proj 6xa from YOUR NAME".
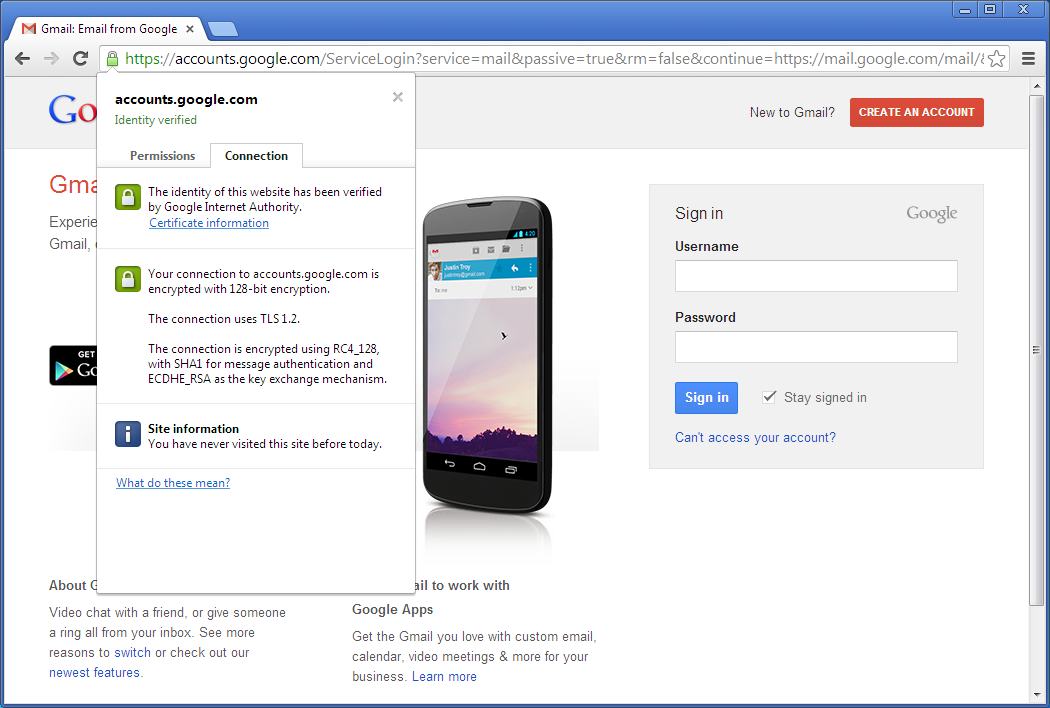
Let's take a look at the Connection settings for Gmail.
Or to break it down:
Let's try to read our Username and Password with Wireshark again. You should end up with this:
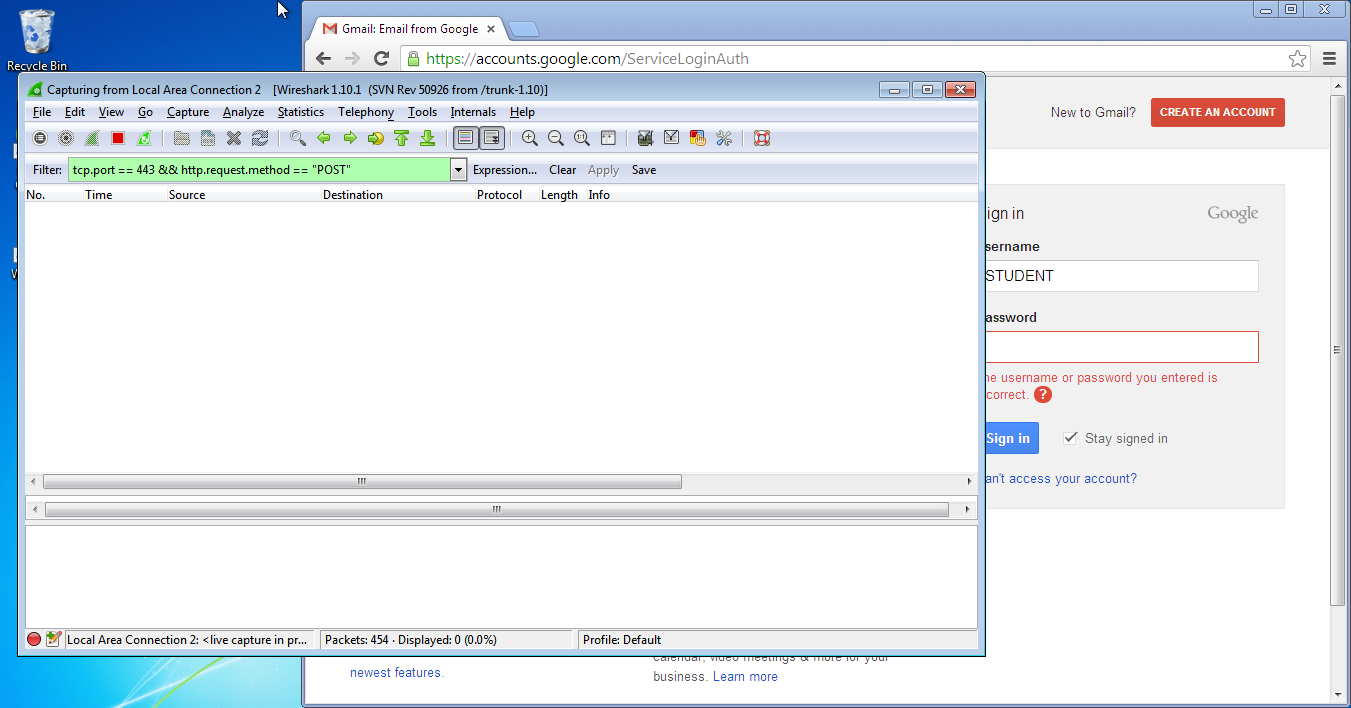
"Oh no, what went wrong?" Don't panic, this is the expected outcome.
Let's change our filter to show all traffic between our home computer and Gmail's network:
tcp.port == 443 && ip.addr == 74.125.0.0/16
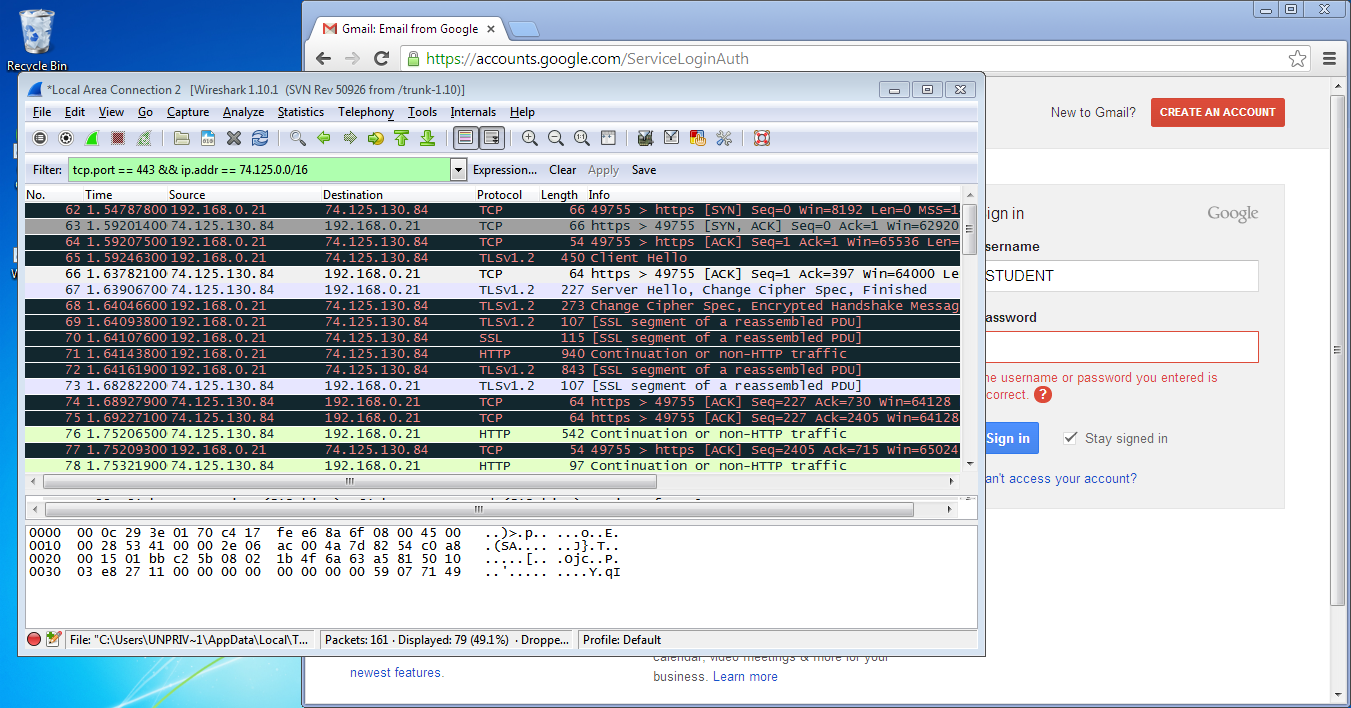
If you read through the captured packets, you will find that all of our network traffic is still encrypted (which means, you cannot locate your username and password). You may be wondering, why was YAHOO readable when Gmail isn't readable?
Let's examine the Connection settings of both websites:
| Website | YAHOO | Gmail |
|---|---|---|
| Protocol | TLS 1.0 | TLS 1.2 |
| Key Exchange Mechanism | RSA | ECDHE_RSA |
The difference is that YAHOO used RSA as its key exchange mechanism, while Gmail used something called ECDHE in addition to RSA.
With plain RSA, your browser uses the server's public RSA key to decide on a shared key for encrypting and decrypting messages. Thus, if somebody had the server's RSA private key, they would be able to read any previously captured SSL traffic. Since Wireshark has your client-side private key, we are able to read our own AOL passwords, but nobody else's.
When ECDHE and RSA are used together, the server generates a random (and hopefully unpredictable) private key for your packets, and signs that key with their RSA key. It then sends you the public key that corresponds to the private key it just generated. As a result, your encryption/decryption key is not determined by the public RSA key of the webserver. Each user has a different session key (they are not reused for multiple users) and the keys are destroyed after each session. Thus, if somebody had the server's RSA private key, they would not be able to read previously captured SSL traffic if ECDHE_RSA is used.
This property (not being able to intercept past communications with a copy of one party's private key) is called forward secrecy.
In the "Restore this computer to an earlier point in time" box, click "Open System Restore".
In the "Restore system files and settings" box, click Next.
In the "Restore your computer to the state it was in before the selected event" box, click Next.
In the "Confirm your restore point" box, click Finish.
In the "Once started, System Restore cannot be interrupted. Do you want to to continue?" box, click Yes.
Your computer will restart.
Log in as usual.
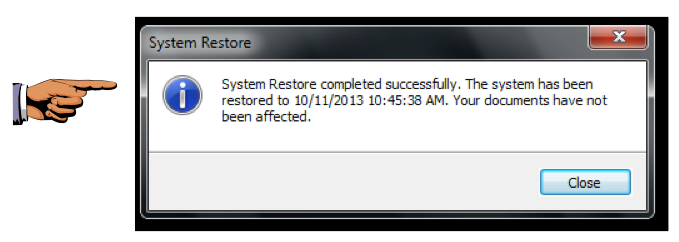
You should see a message saying "System restore completed successfully", as shown below.
On your keyboard, press the PrntScrn key.
Click Start, type in PAINT, and open Paint.
Press Ctrl+V to paste in the image of your desktop.
YOU MUST SUBMIT WHOLE-DESKTOP IMAGES TO GET FULL CREDIT.
Save the image with a filename of "Proj 6xb from YOUR NAME".
Written by Scott Arciszewski and Sam Bowne
Last Modified: 11-24-13 1:48 am