Click Start, Computer. Open the VMs-S214 drive. Open the folder with your name on it. Make a subfolder named YOURNAME-proj11.
Right-click on the link below, and save the Evidence File on your desktop (this is the same file you used in the previous project):
http://samsclass.info/p10Evidence.zip
On your desktop, right-click the p10Evidence.zip file and click "Extract All", Extract. A window opens containing a file named "Windows 2000 Professional-sparse.vmdk". Copy that file into the your YOURNAME-proj11 folder on the VMs drive. This is a virtual hard disk containing evidence.
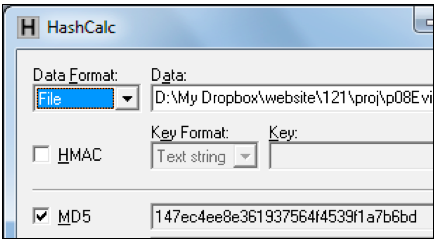
Drag the "Windows 2000 Professional-sparse.vmdk" file and drop it on the HashCalc window.
Verify that the MD5 hash value matches the image shown below. This proves that your download worked properly.
If you are using Mac OS X, use the command-line utility md5, as shown below:

Click "Create a new Virtual Machine".
In the "New Virtual Machine Wizard", click the "I will install the operating system later" button, as shown below. Click Next.

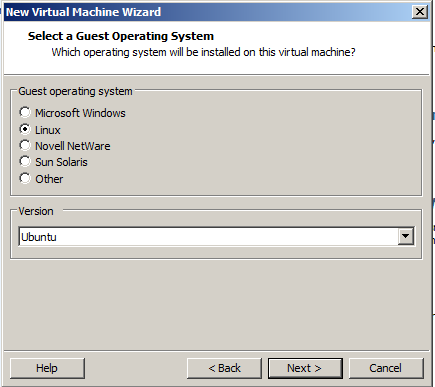
In the "Select a Guest Operating System" box, select Linux and Ubuntu, as shown below. Click Next.
Note: This is important so VMware will use the right mouse driver, especially on netbooks and systems with USB mice.
In the "Name the Virtual Machine" box, enter a Virtual machine name of YOURNAME-Proj11.
Set the Location to the YOURNAME-proj11 folder on the VMs-S214 drive. Click Next. In the "Specify Disk Capacity" box, accept the default options and click Next.
In the "Ready to Create Virtual Machine" box, click Finish.
In the "Virtual Machine Settings" box, click the Add... button.
In the "Hardware Type" box, click "Hard Disk". Click Next.
In the "Select a Disk" box, click "Use an existing virtual disk". Click Next.
In the "Select an Existing Disk" box, click the Browse... button. Navigate to your "Windows 2000 Professional-sparse.vmdk" file and double-click it.
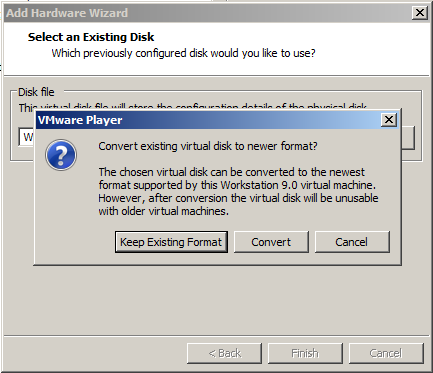
A box pops up asking if you want to 'Convert existing virtual disk to newer format?", as shown below.
This is the evidence drive, we certainly don't want to change anything, so click "Keep Existing Format".
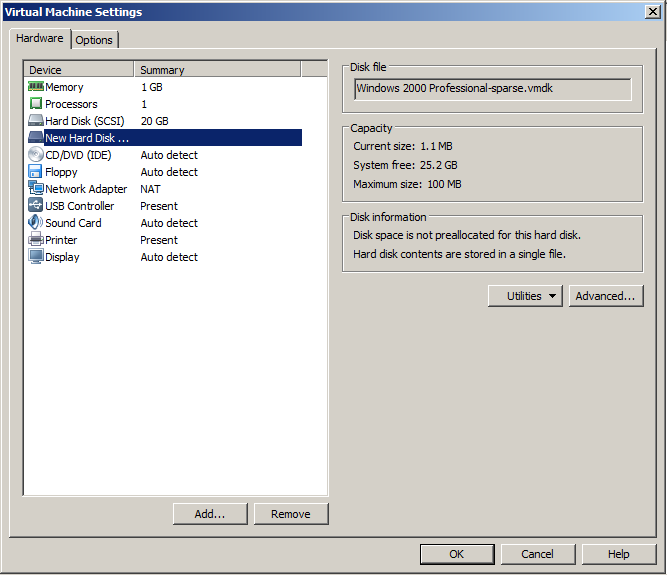
The "Virtual Machine Settings" box now shows a "New Hard Disk", as shown below.
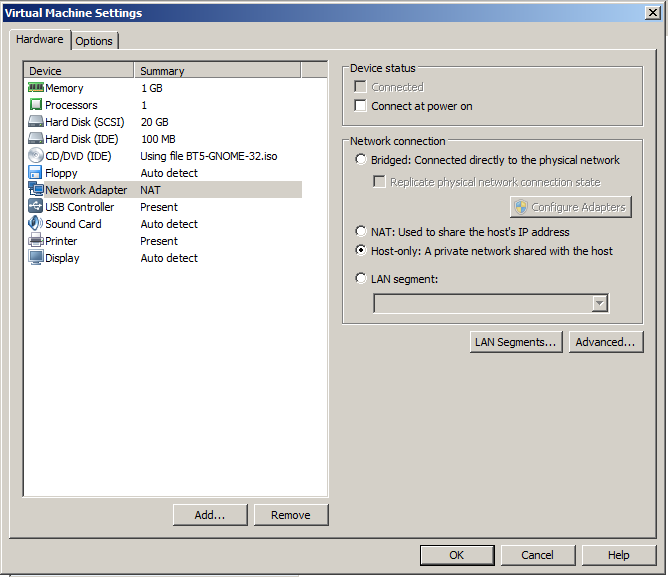
To disable networking, in the "Virtual Machine Settings" box, in the left pane, click "Network Adapter".
On the right side, in the top section, clear the "Connect at power on" box.
On the right side, in the middle section, click the "Host-only" button, as shown below.
On the right side, click the "Use ISO image file" button.
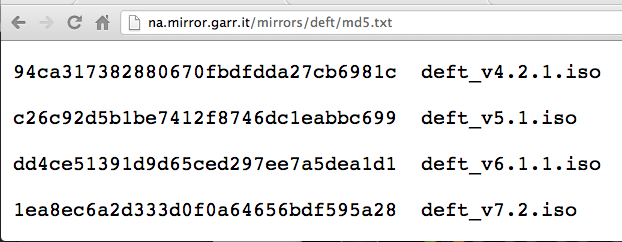
Click the Browse button, navigate to your deft7.2.iso file, and double-click it.
Click OK.
In VMware Player, on the lower right, click "Play virtual machine".
Quickly click in the virtual machine window as it starts up and press the F2 key.
The BIOS opens, as shown below. If it does not, in the upper left of the VMware Player window, click Player, Power, Reset, and try again.
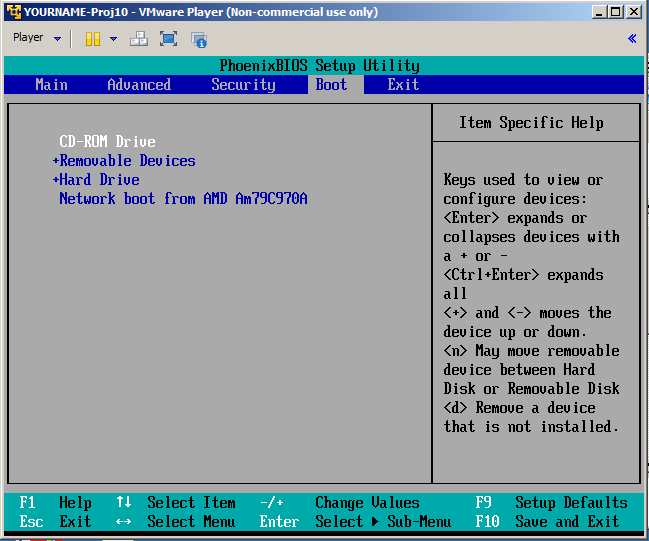
In the BIOS, use the arrow keys to adjust the boot order, moving the CD-ROM to the top, as shown above.
Press F10 and Enter to save the BIOS settings.
A prompt says boot:. Press Enter.
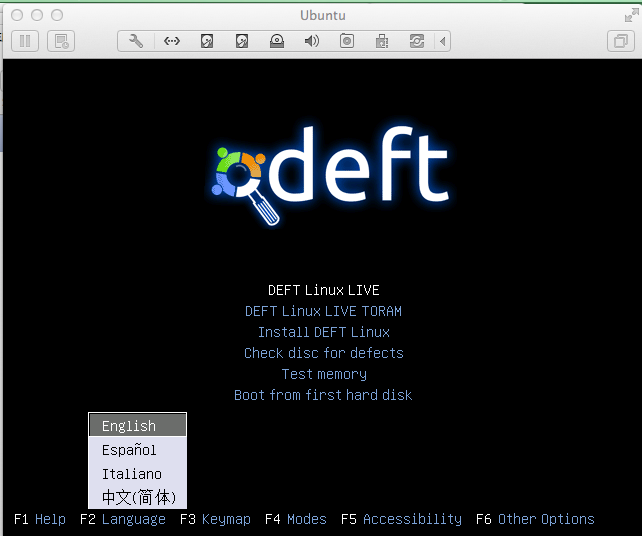
DEFT 7 starts, as shown below.
Press Enter to accept the default language of English.
Press Enter to accept the default boot selction of "DEFT Linux LIVE".
When you see the deft ~ % prompt, enter this command, followed by the Enter key:
deft-gui
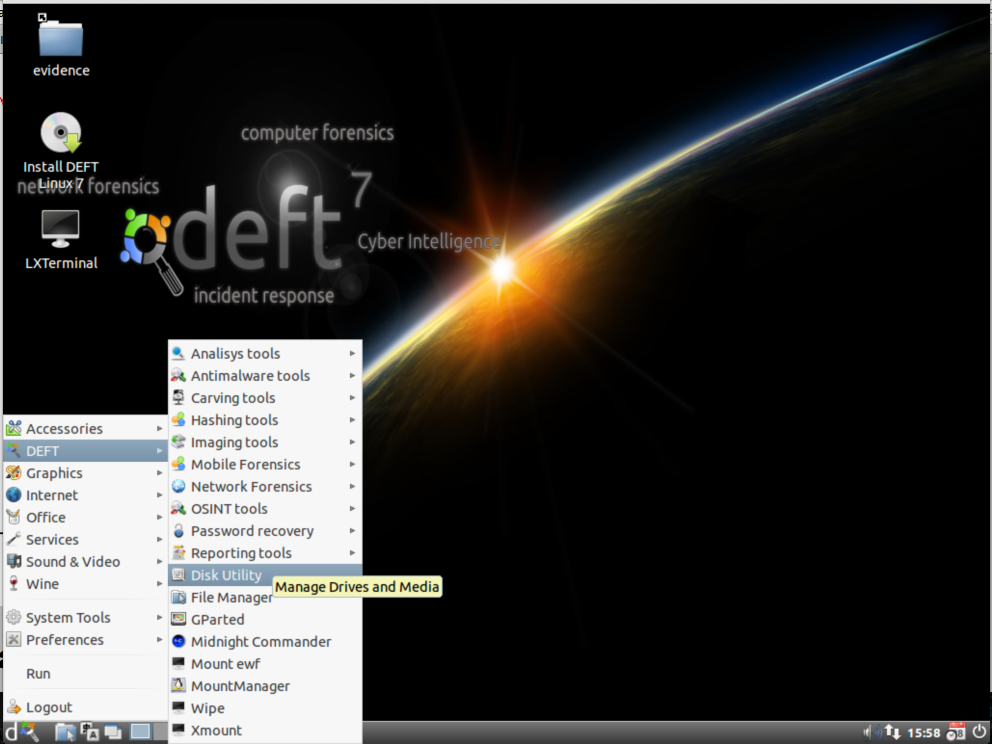
In the lower left, click d, DEFT, "Disk Utility", as shown below:
In the "DEFT - Warning!" box, click "I know what I'm doing".
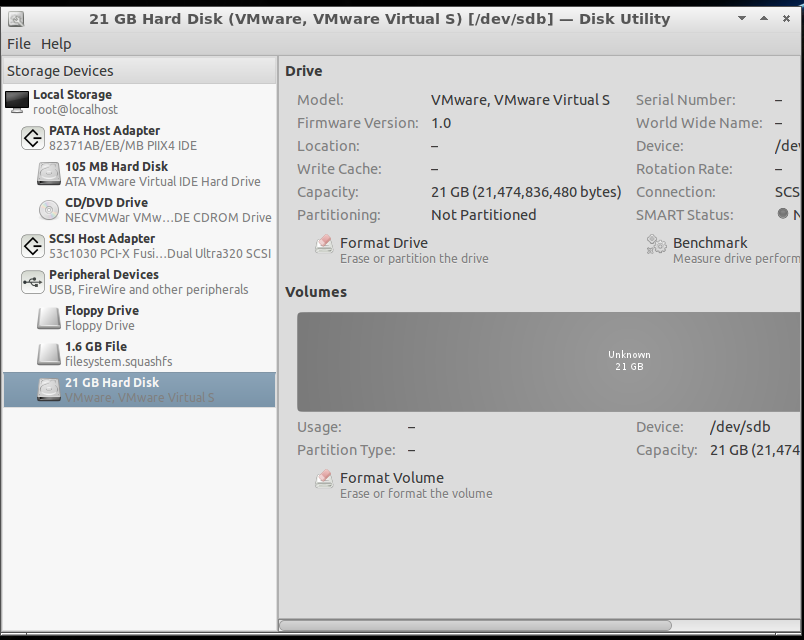
A Disk Utility window opens, as shown below.
In the left pane, click "21 GB Hard Disk". This is the new, empty drive which will be used to capture the image.
Notice on the lower right that the drive is labelled "Unknown" and its Usage is "-", as shown below.
The OS can't put files on it until the drive is partitioned.
In the right pane, click the "Format Drive" button.
A box pops up, asking what Scheme to use. Accept the default selection of "Master Boot Record" and click the Format button.
In the "Are you sure..." box, click the Format button.
On the lower right, click the "Create Partition" button.
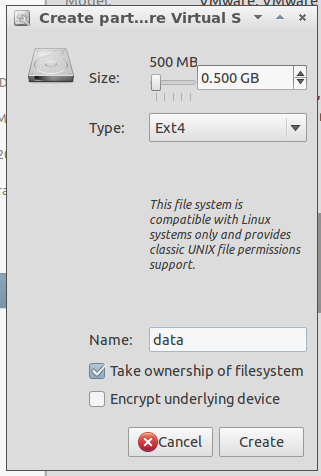
A "Create part..." box pops up, as shown below.
Enter a Size of 0.5 and a Name of data.
Click the Create button.
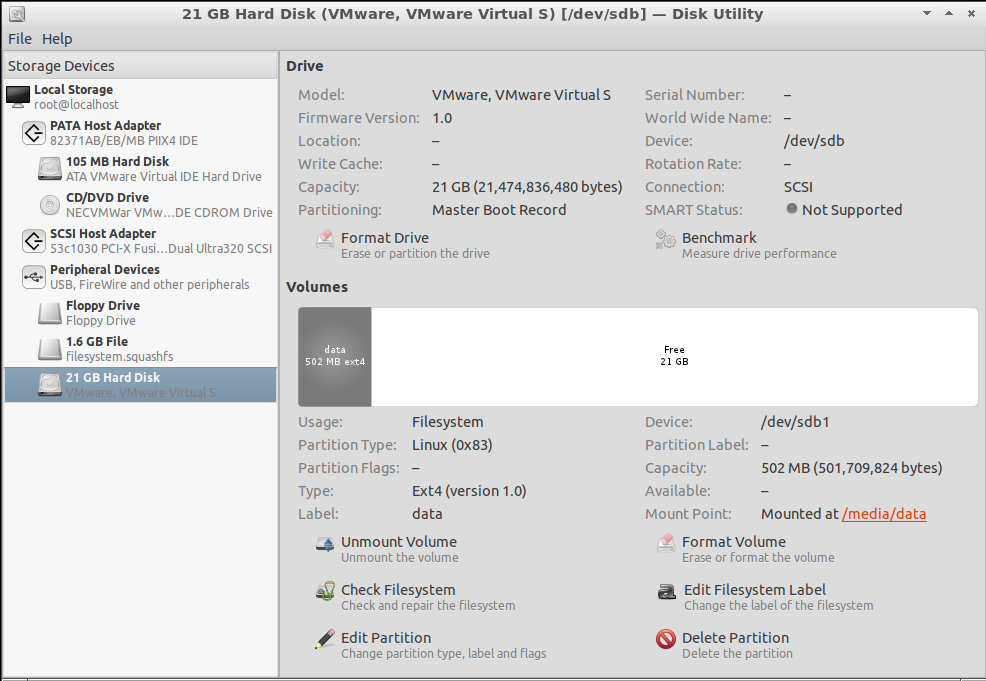
In the lower right pane, click the newly created data partition, so it turns blue, as shown below.
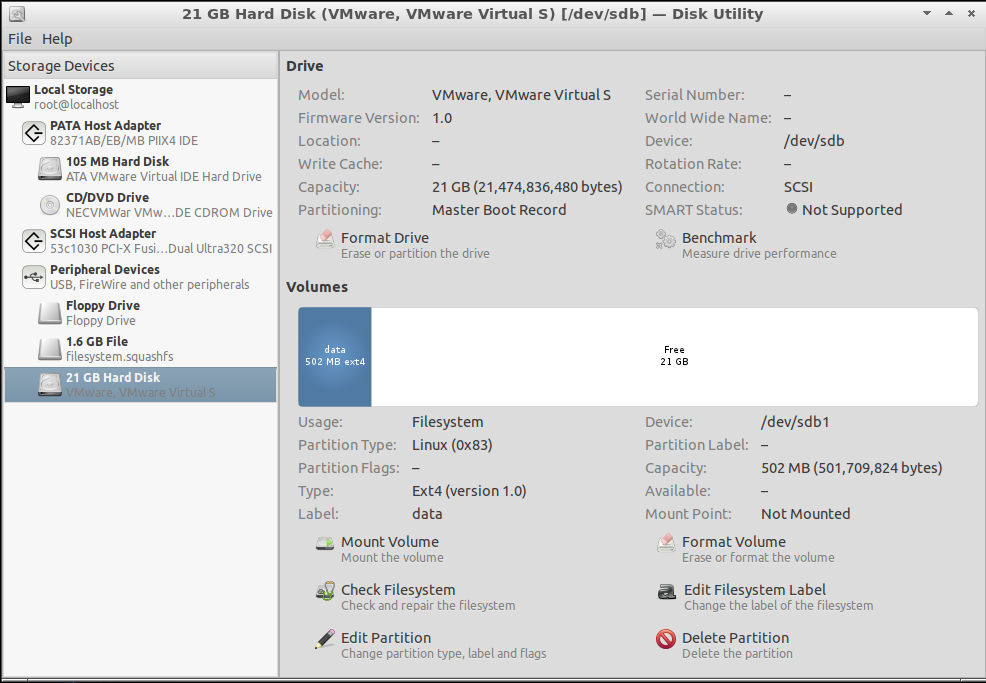
Click the "Mount Volume" button.
Now the lower right pane shows "Mounted at /media/data", as shown below.
Close Disk Utility.
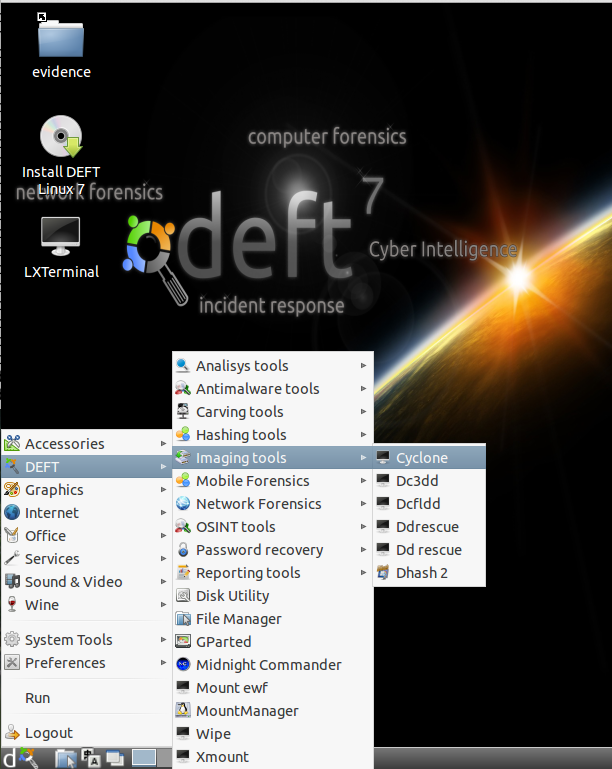
In the lower left, click d, DEFT, "Imaging Tools", Cyclone, as shown below:
A LXTerminal window opens, with a "cyClone" banner, as shown below.
The two disks are shown in the center of the window. /dev/sda is the evidence drive to be acquired, and /dev/sdb1 is the "data" partition to be used to store the image.
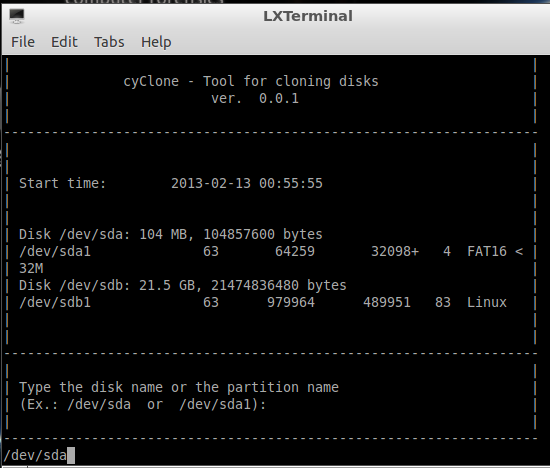
Type in this path, then press Enter:
/dev/sda
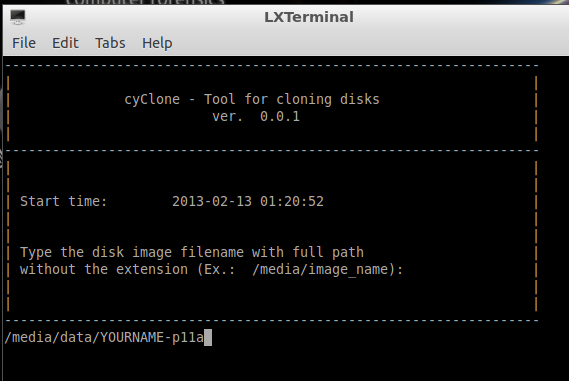
Type in this path, then press Enter. (replace YOURNAME with your own name, without any spaces).
/media/data/YOURNAME-p11a
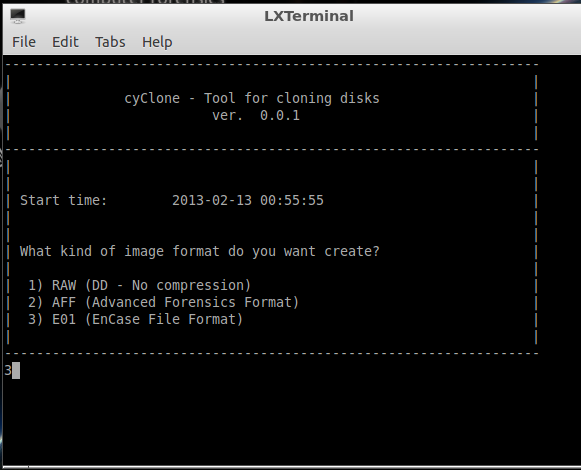
Type 3 to use what it calls "EnCase File Format" (it's really Expert Witness format), then press Enter.
The next screen asks whether you want to create the hash.
Type y and press Enter.
The next screen asks whether you want to verify the image.
Type y and press Enter.
The next screen asks whether you want to compress the image.
Type y and press Enter.
The next screen asks what kind of compression you want.
Type 2 and press Enter.
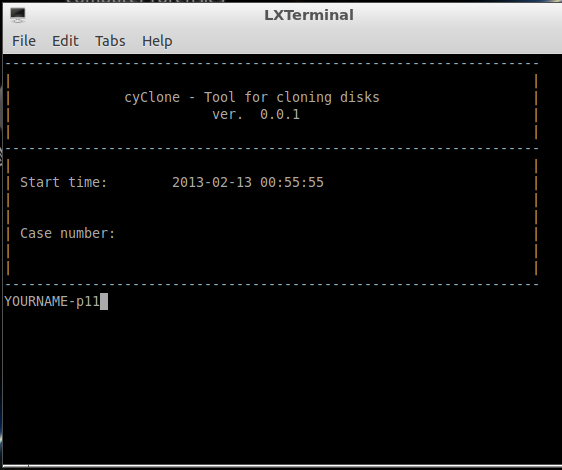
The next screen asks for a Case number.
Type in YOURNAME-p11, as shown below, and press Enter. (Don't use the literal string "YOURNAME"--replace it with your own name (without any spaces).
The next screen asks for a description. Press Enter.
The next screen asks for "Evicence number". Press Enter.
The next screen asks for "Examiner name". Press Enter.
The next screen asks for "Notes". Press Enter.
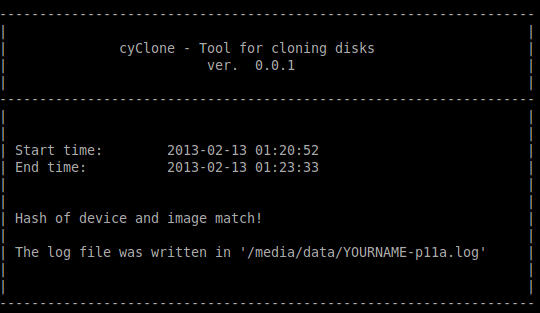
The image is created. When it finishes, you will see the message shown below, saying "Hash of device and image match!".
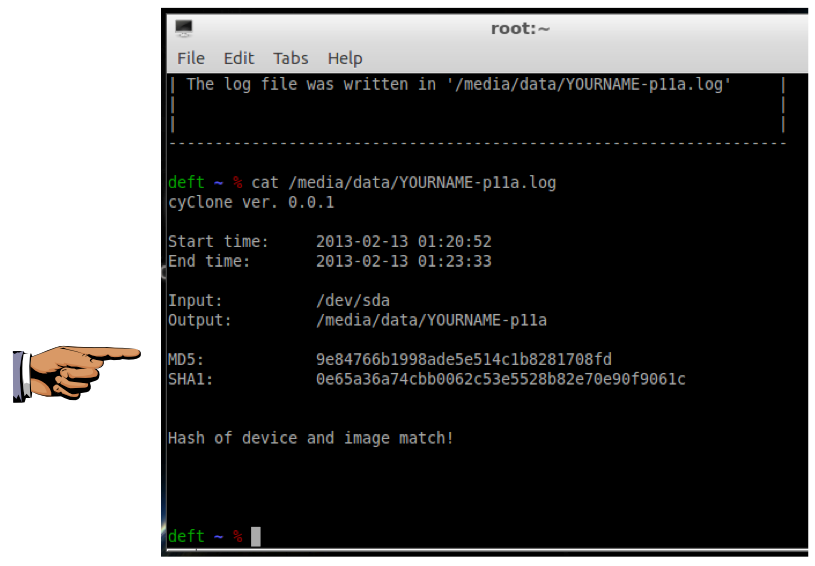
cat /media/data/YOURNAME-p11a.log
Press Ctrl+Alt to release the mouse from the Virtual Machine.
Press the PrintScrn key in the upper-right portion of the keyboard. That will copy the whole desktop to the clipboard.
YOU MUST SUBMIT AN IMAGE OF THE WHOLE DESKTOP TO GET FULL CREDIT!
Open Paint and paste in the image.
Save the image with the filename "Your Name Proj 11a". Use your real name, not the literal text "Your Name".
Click d, DEFT, "Imaging Tools", Cyclone. Enter this disk name: /dev/sda
Enter this disk image filename: /media/data/YOURNAME-p11b
Choose format 1 to acquire a RAW image.
Type y to create a hash.
Type y to verify the image.
The image is created, using dcfldd.
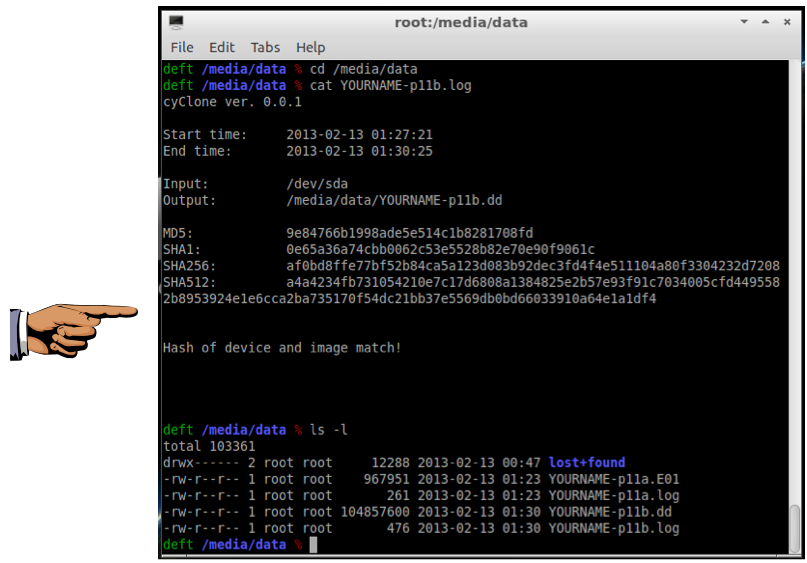
When the process is complete, you see "Hash of device and image match!".
Note that the last command begins and ends with lowercase L characters, and does not include any numeral "1" characters.
cd /media/data

cat YOURNAME-p11b.log

ls -l
Press Ctrl+Alt to release the mouse from the Virtual Machine.
Press the PrintScrn key in the upper-right portion of the keyboard. That will copy the whole desktop to the clipboard.
YOU MUST SUBMIT AN IMAGE OF THE WHOLE DESKTOP TO GET FULL CREDIT!
Open Paint and paste in the image.
Save the image with the filename "Your Name Proj 11b". Use your real name, not the literal text "Your Name".
The .dd file is an exact duplicate of the original evidence disk, approximately 104 MB in size.
The .E01 file is much smaller, less than 1 MB.
Consider the situation, and answer these questions in the body of your email message.
- Why do the .dd and .E01 files have different sizes?
- Which file is the correct evidence image to use in court, or are they both correct?
Attach the two images to the email.
Send it to: cnit.121@gmail.com with a subject line of "Proj 11 From Your Name", replacing Your Name with your own first and last name. Send a Cc to yourself.
Last Modified: 2-12-13 6 pm