Write your name using the mouse, as shown below. Don't use the literal text "Your Name"--use your own name.
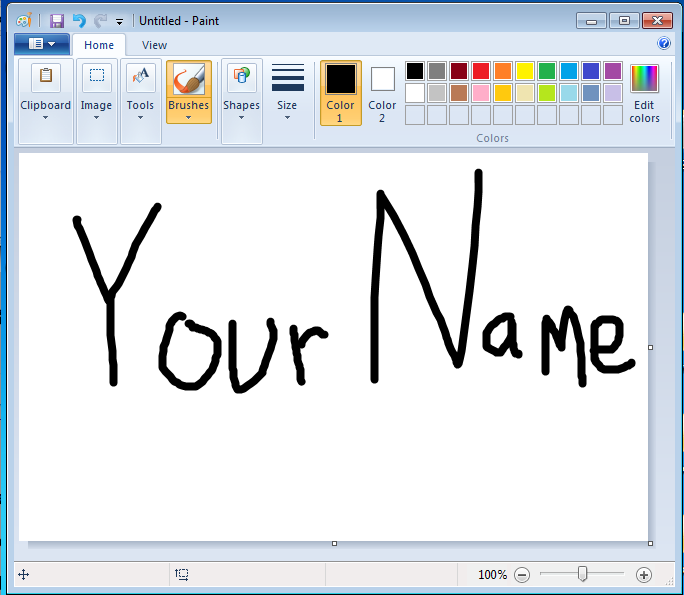
Save the file in your Pictures folder with the name "YOURNAME-p13a". Don't use the literal text "Your Name"--use your own name. Use a File Type of PNG.
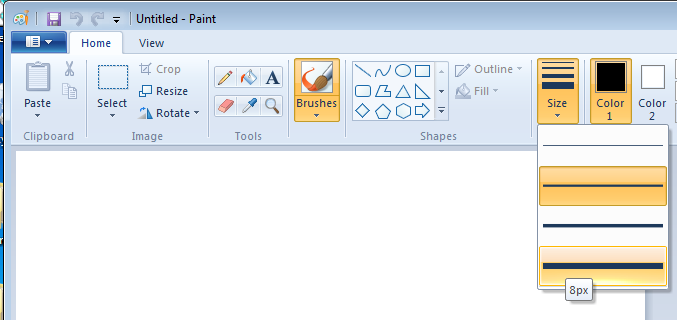
Click the bucket tool, click any color, and paint the background some other color, as shown below. Make sure your name is still readable.
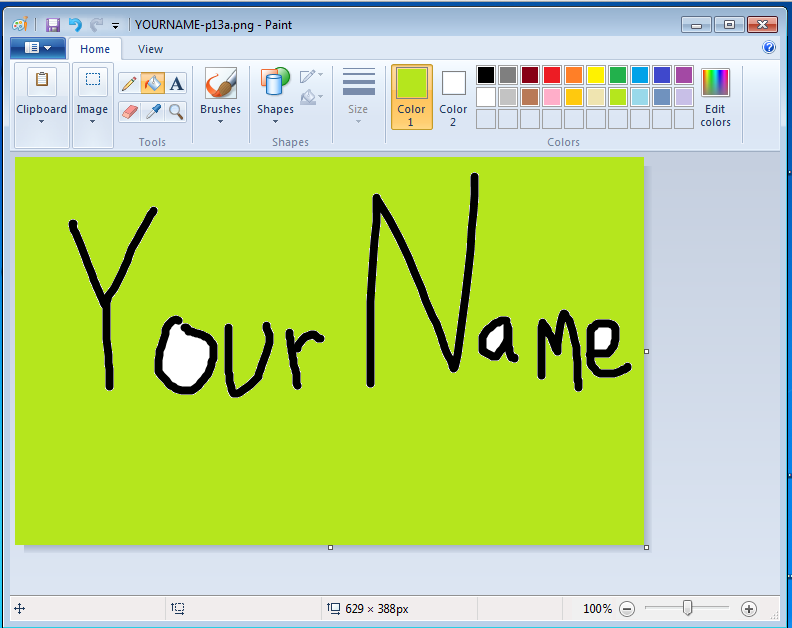
Save the file in your Pictures folder, or any other folder you can find, with the name "YOURNAME-p13b". Use a File Type of PNG.
Close Paint.
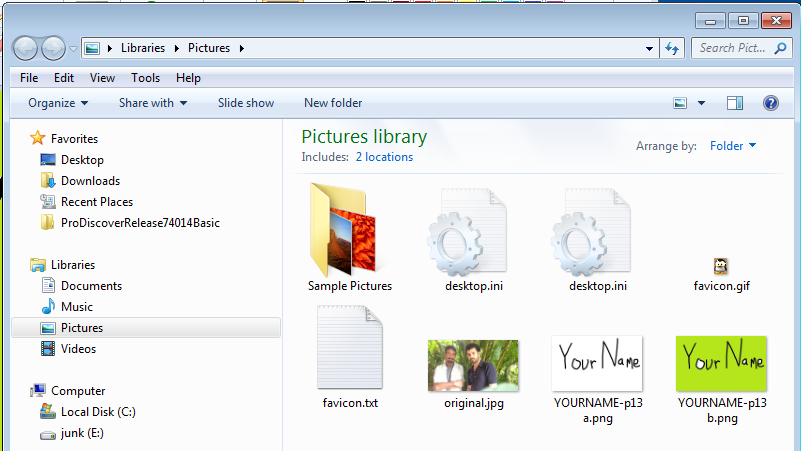
Click Start, Pictures.
You should see two thumbnail images of the two files you just made, as shown below:
Drag the "YOURNAME-p13b" file into the Recycle Bin
Right-click the Recycle Bin and click "Empty recycle bin". Click Yes to confirm the deletion.
In the Student window, click Organize, "Folder and search options".
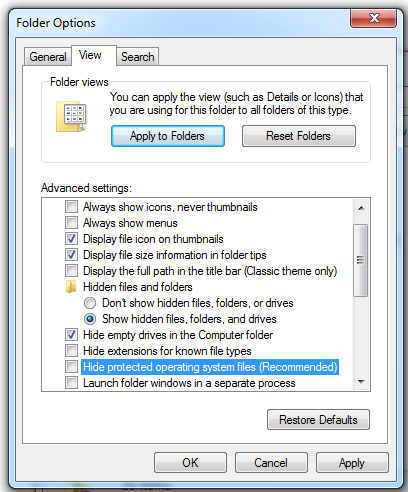
Click the View tab.
Make these two adjustments, as shown below:
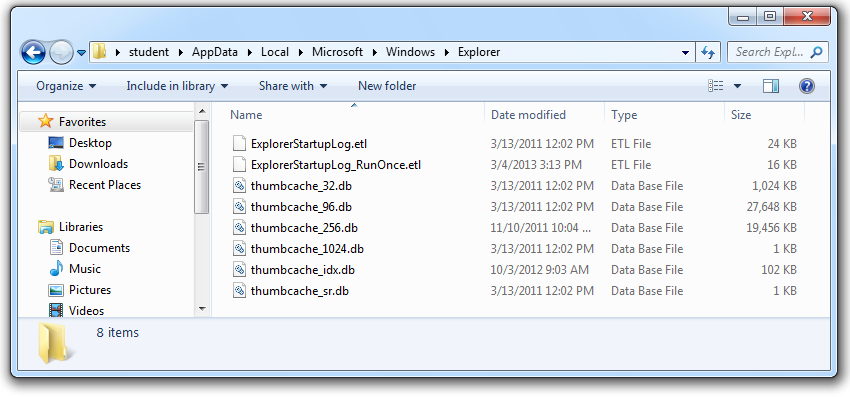
In the Student window, double-click AppData, Local, Microsoft, Windows, and Explorer.
You should see several "thumbcache" files, as shown below.
https://code.google.com/p/thumbcache-viewer/
Click the Downloads tab.
Download the thumbcache_viewer.exe file and run it.
In "Thumbcache Viewer", click File, Open.
Navigate to C:\Users\Student\AppData\Local\Microsoft\Windows\Explorer and double-click thumbcache_256.db. If you are working at home, replace "Student" with your username.
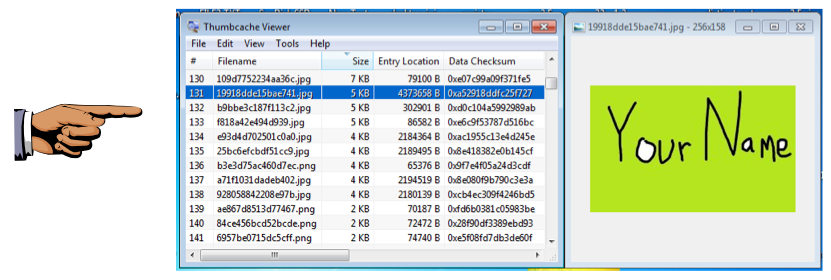
A list of files with long hexadecimal names appears, as shown below:
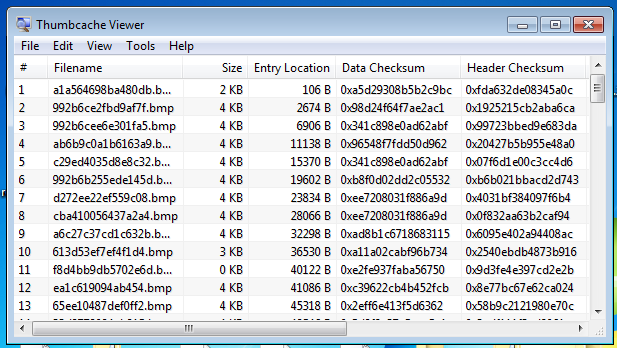
Many of the images have "Size" of zero. Click the gray Size column header to sort the list by size.
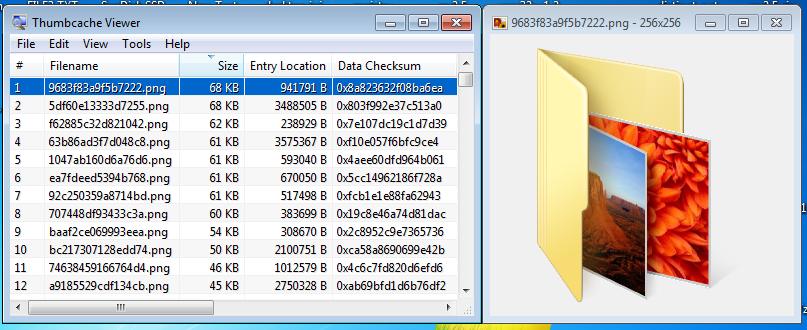
Click the largest image.
The image appears in Image Viewer, as shown below:
Press the down-arrow key to scroll through the images and find one with your name on it, as shown below:
If you can't find the image, try the other thumbcache files.
Press the PrintScrn key in the upper-right portion of the keyboard. That will copy the whole desktop to the clipboard.
YOU MUST SUBMIT AN IMAGE OF THE WHOLE DESKTOP TO GET FULL CREDIT!
Open Paint and paste in the image.
Save the image with the filename "Your Name Proj 13". Use your real name, not the literal text "Your Name".
Attach the image to an email.
Send it to: cnit.121@gmail.com with a subject line of "Proj 13 From Your Name", replacing Your Name with your own first and last name. Send a Cc to yourself.
https://code.google.com/p/thumbcache-viewer/
http://www.woanware.co.uk/?page_id=89
Last Modified: 3-14-13 3:35 pm