Enter this command, followed by the Enter key:
startx
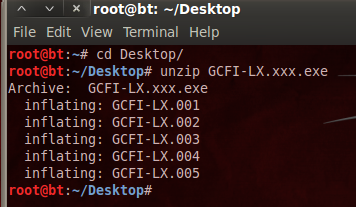
To unzip the file, open a Terminal window and enter these commands, pressing the Enter key after each one, as shown below:
   cd Desktop

   unzip GCFI-LX.xxx.exe
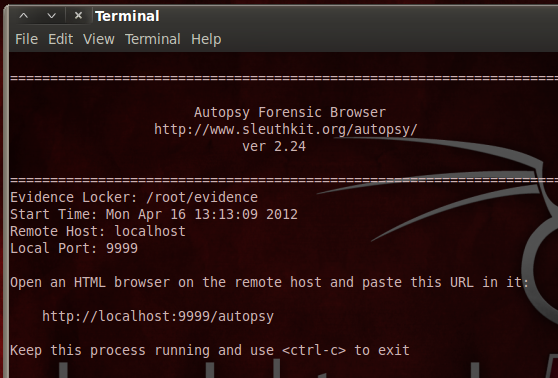
The program launches, printing the text shown below on this page. Leave this window open.
From the BackTrack menu, click Applications, Internet, "Firefox Web Browser".
When Firefox opens, go to this address:
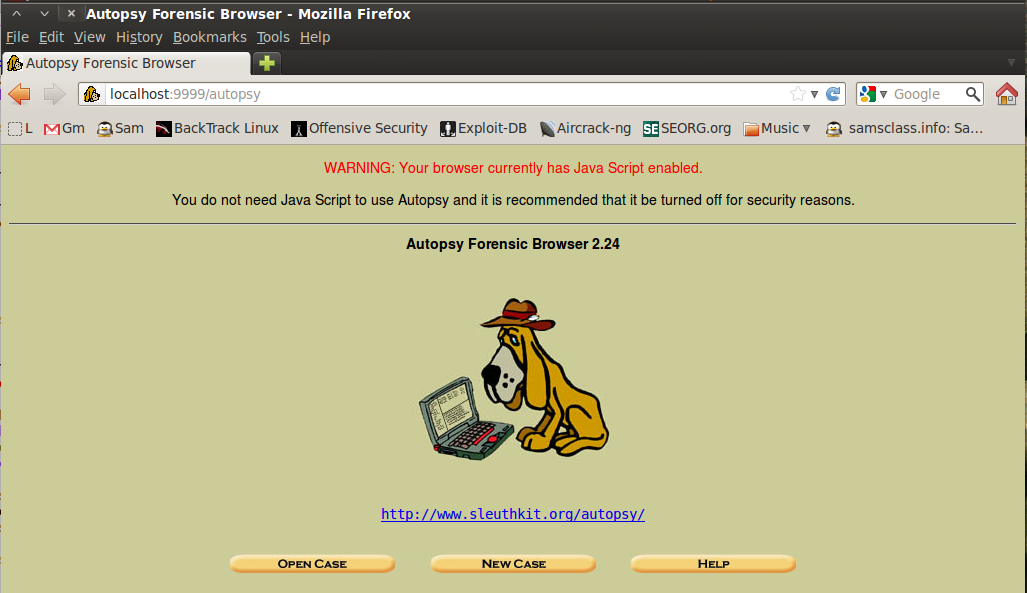
http://localhost:9999/autopsyAutopsy opens, as shown below on this page. You may see a warning that Javascript is enabled, or that NoScript is blocking scripts. You can just ignore those notices--Autopsy doesn't use JavaScript anyway.
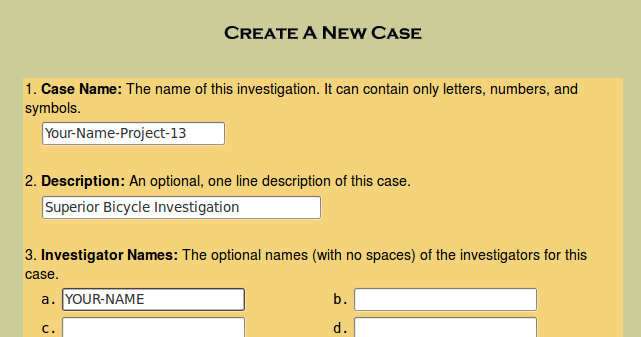
In the "Create a New Case" window, enter a Case Name of "Your-Name-Project-13", replacing "Your-Name" with your own name.
Enter a Description of "Superior Bicycle Investigation".
Enter your name (without spaces) in the Investigator Names section, as shown below on this page:
Click the "New Case" button.
In the "Creating Case" .window, click the "Add Host" button.
In the "Add a New Host" window, accept the default options and click the "Add Host" button.
In the "Adding host" window, click the "Add Image" button.
In the next window, click the "Add Image File" button.
In the "Add a New Image" window, enter in these options, as shown below on this page:
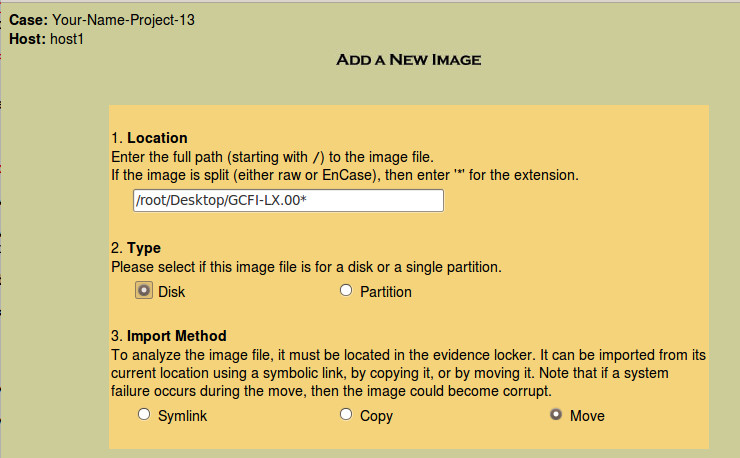
Click Next.
In the "Split Image Confirmation" window, click Next.
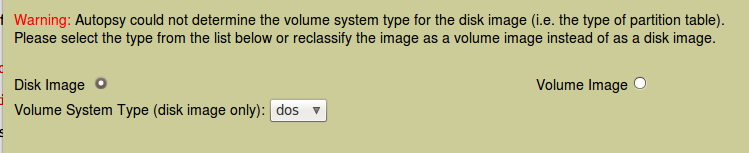
The next screen shows a "Warning" -- accept the default option of "dos", as shown below, and click OK.
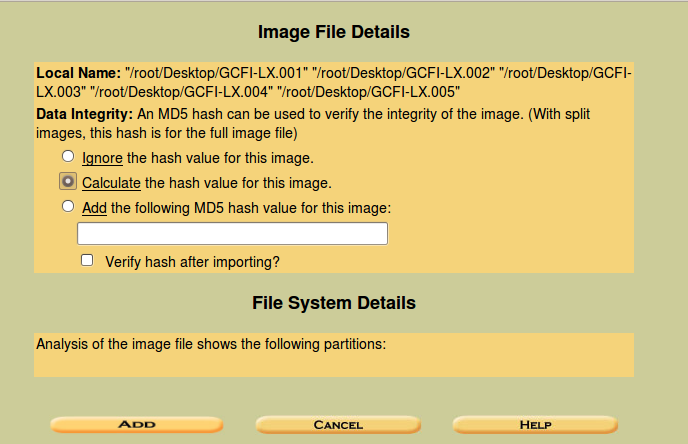
In the "Image File Details" section, click the "Calculate the hash value for this image" button, as shown below. Click Add.
A message appears saying "Calculating MD5 (this could take a while)". It took about 3 minutes when I did it. When it completes, you will see a MD5 hash, as shown below on this page.
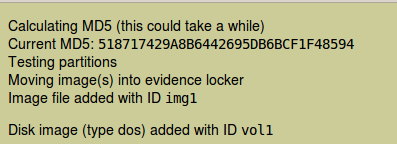
Click OK.

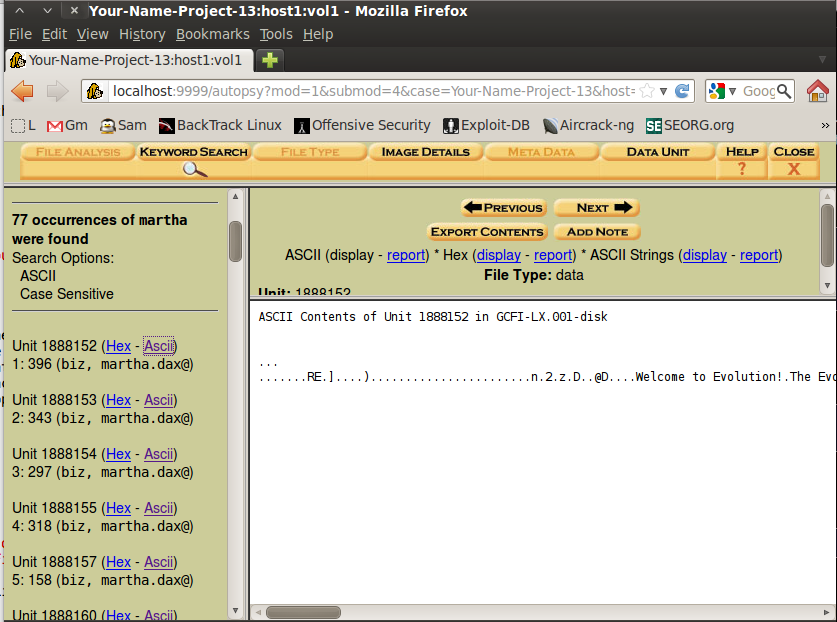
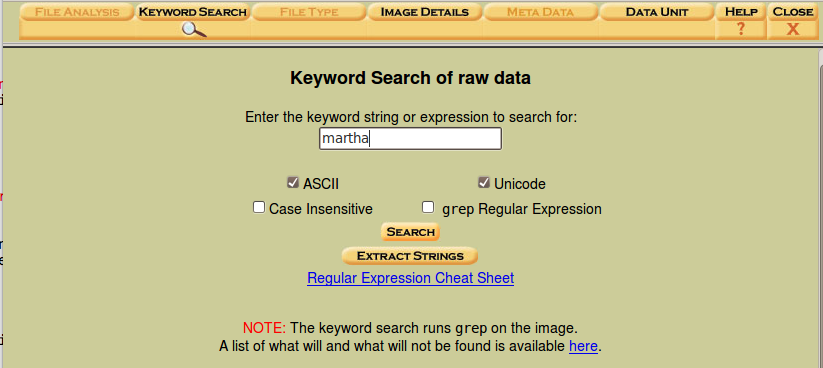
In the next window, click the "Keyword Search" tab.
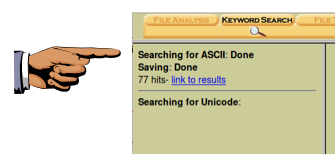
In the search box, type martha as shown to the right on this page. Click the Search button. Wait while the search is performed--it took about 3 minutes when I did it. 2:18
Save the image with the filename "Your Name Proj 13". Select a "Save as type" of PNG or JPEG.