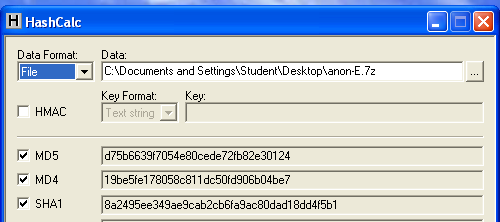
Use Hashcalc to calculate the hash of the file you downloaded. It should match the figure below:
Unzip the file with 7-Zip.
When you get an Error box saying "The KFF Hash library file was not found...", click OK.
When a box pops up explaining the limitations of the demonstration version, click OK.
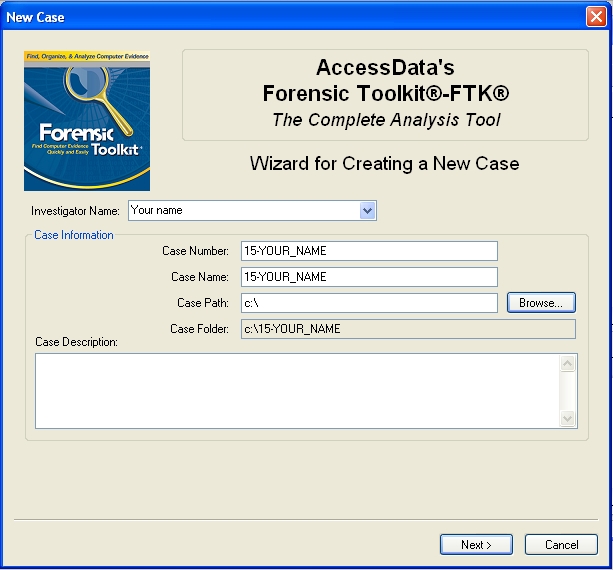
In the screen titled "Wizard for Creating a New Case", fill in the fields as shown below, changing "YOUR_NAME" to your own name. click Next.
In the screen titled "Forensic Examiner Information", leave the fields blank and click Next.
In the screen titled "Case Log Options", accept the default selections, which will log everything. click Next.
In the screen titled "Processes to Perform", deselect "KFF Lookup" and "Decrypt EFS Files". click Next.
In the screen titled "Refine Case-Default", accept the default of "Include All Items". click Next.
In the screen titled "Refine Index - Default", click Next.
In the "Add Evidence to Case" box, select "Acquired Image of Drive", and click Continue.
In the "Browse for Folder" box, navigate to your Desktop, open the "E" folder, and double-click the anon1a.E01 file.
In the "Evidence Information" box, click OK.
In the "Add Evidence" box, click Next.
In the "New Case Setup is Now Complete" box, click Finish.
A "Processing Files..." box appears. Wait a few seconds for the processing to finish.
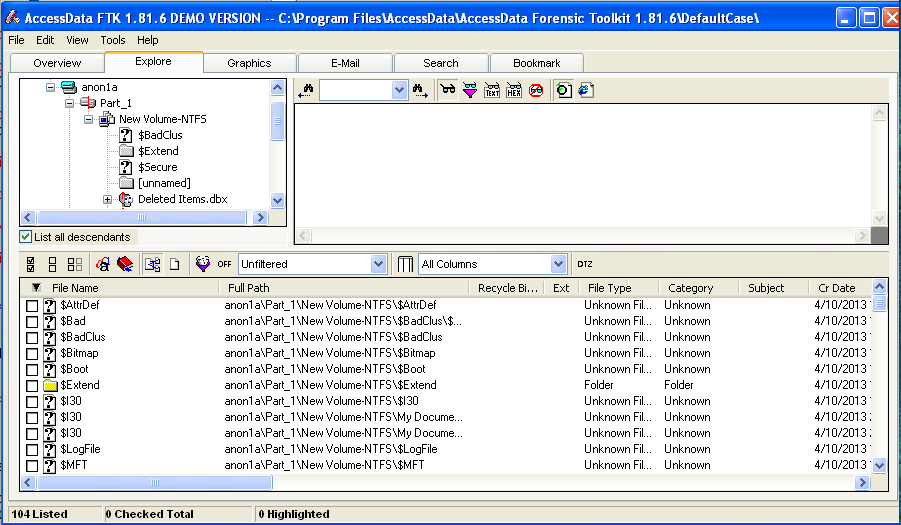
Click the Explore tab.
In the left center, check the "List all Descendants" box. You should see a long list of files, with "104 Listed" in the Status Bar, as shown below on this page.
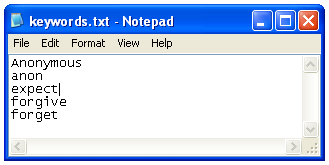
Save this file on your desktop as "keywords.txt".
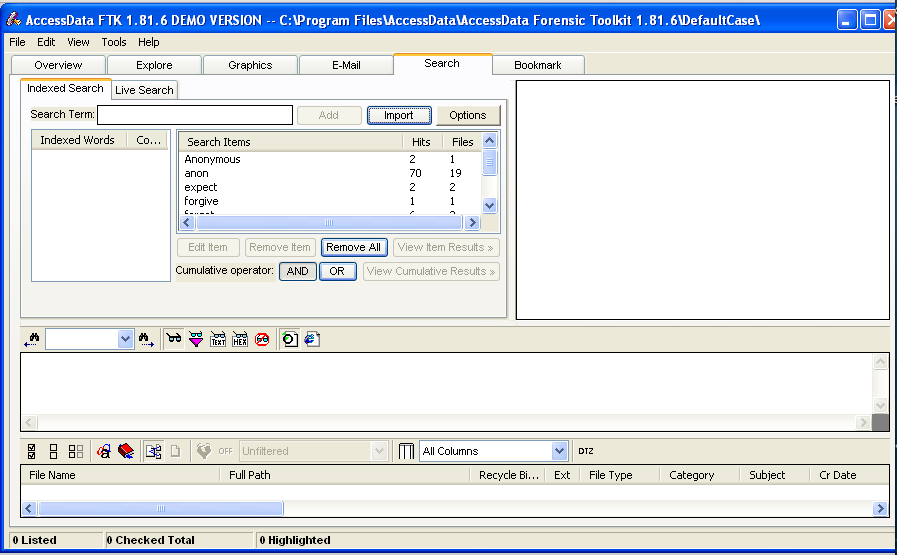
In FTK, click the Search tab.
Click the Import button.
In the "Import Search Terms" box, navigate to your desktop and double-click the keywords.txt file.
A "Import Search Terms" box pops up, saying 'Do you wish to show items that have 0 hits?". Click No.
In the "Cumulative Operator" line, click the OR button.
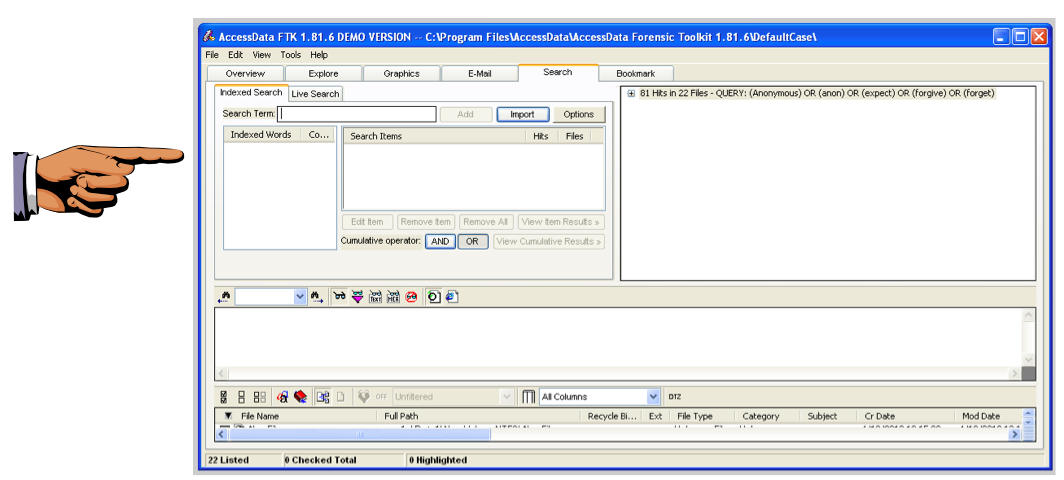
In the "Cumulative Operator" line, click the "View Cumulative Results" button.
In the "Filter Search Hits" box, accept the default selection of "All files" and click the OK button.
The upper right pane should now show "81 Hits in 22 Files", as shown below.
Click on the host machine's taskbar.
Capture your whole desktop with the PrintScrn key.
YOU MUST TURN IN A COMPLETE DESKTOP IMAGE TO GET FULL CREDIT.
Save the image with the filename "Your Name Proj 15a".
Your screen should now look like the image shown below on this page. This file is an email message, and you can read it in the lower-center pane. This is obviously unimportant spam.
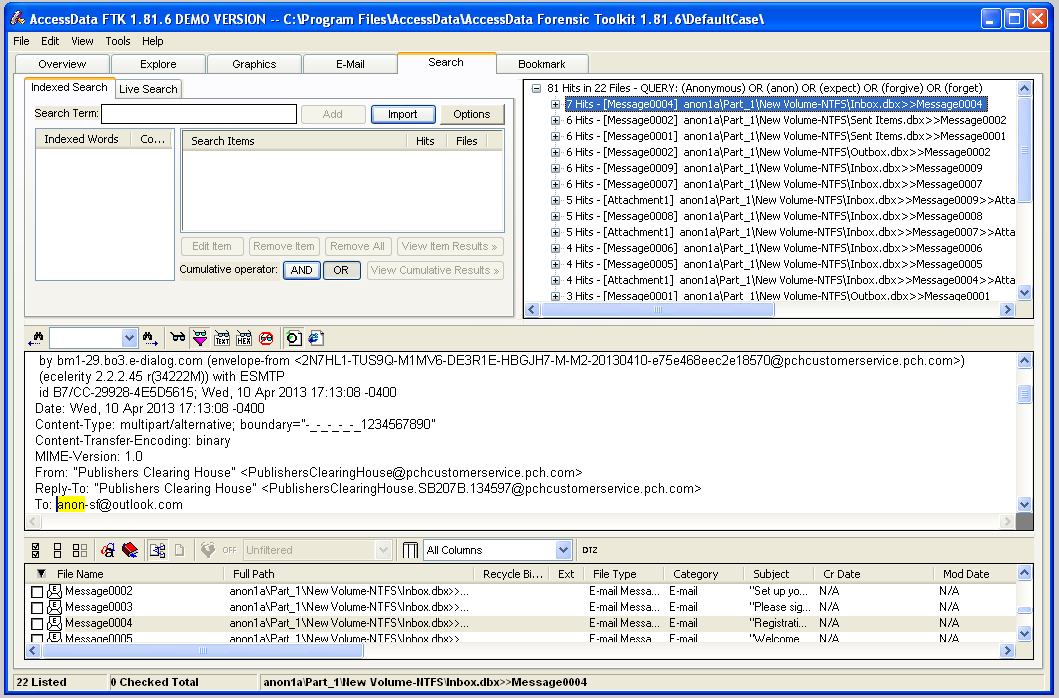
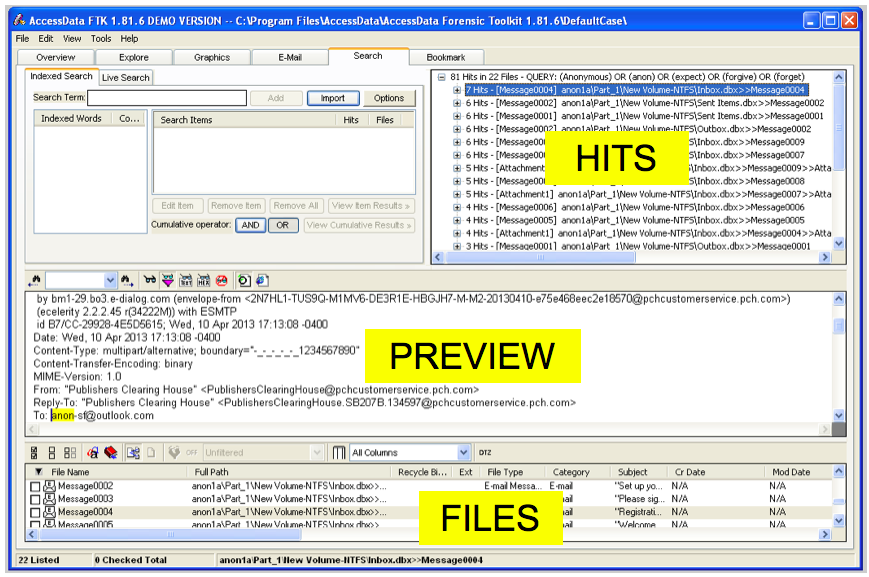
Proceed through all 22 files in this manner.
You should find an email bragging about an obvious crime, and several suspicious files.
Click on the host machine's taskbar.
Capture your whole desktop with the PrintScrn key.
YOU MUST TURN IN A COMPLETE DESKTOP IMAGE TO GET FULL CREDIT.
Save the image with the filename "Your Name Proj 15b".
To see the images, click the Graphics tab at the top of the FTK window.
In the center left, there is a tree structure showing files and folders. Click the top item, Case, and use the down-arrow to move to the next item.
When you encounter containers, use the right-arrow to expand them.
When you highlight a container that has graphics in it, you will see thumbnails in the top pane, as shown below:
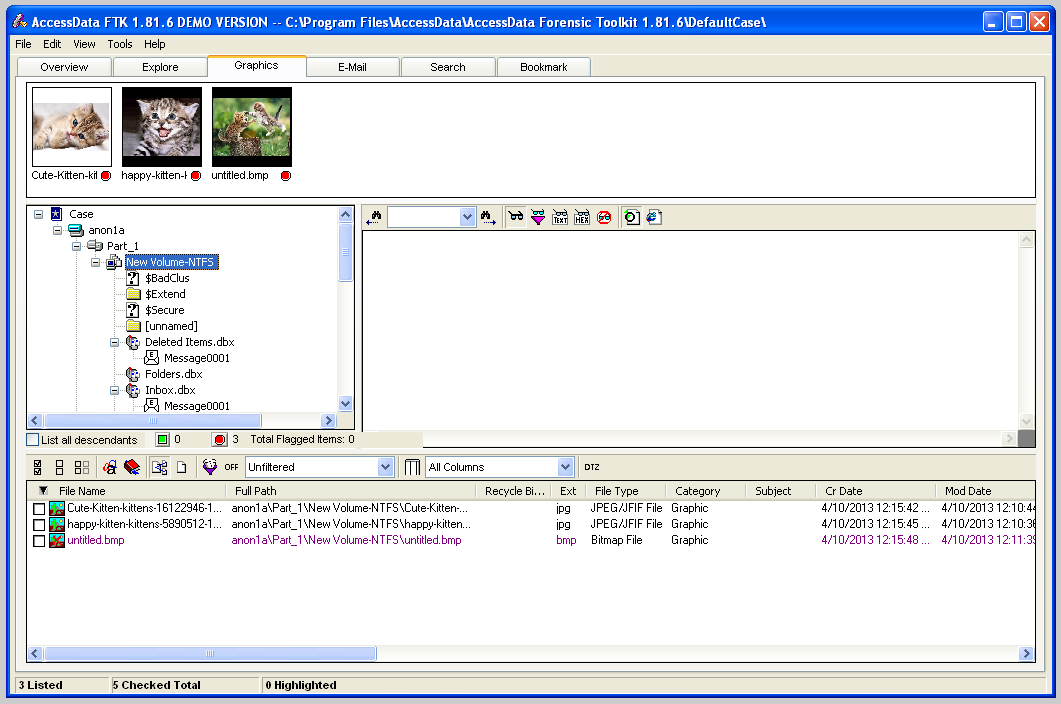
The kittens are not incriminating, but you might want a closer look at them to be sure.
In the top pane, click one of the thumbnails. The image is shown full-size in the center right pane, as shown below:
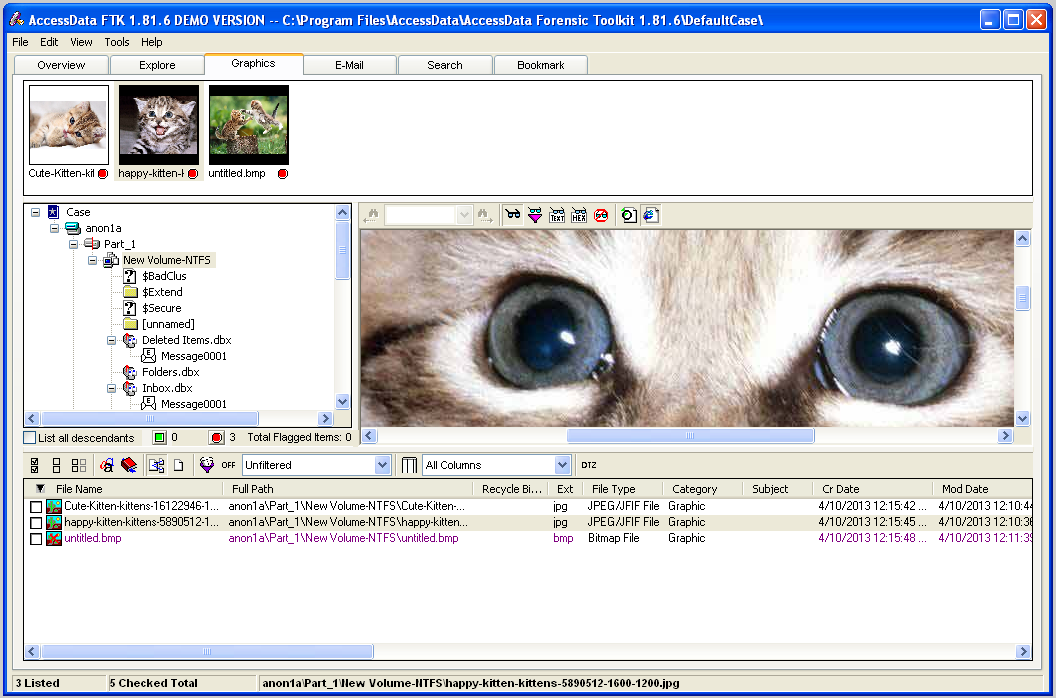
Continue to examine all the containers until you find suspicious images. Mark all the suspicious images with by checking the boxes in the lower pane, just as you did with the email messages.
One of the images shows a defaced Web page. Adjust it so that the defacement is clearly visible.
Click on the host machine's taskbar.
Capture your whole desktop with the PrintScrn key.
YOU MUST TURN IN A COMPLETE DESKTOP IMAGE TO GET FULL CREDIT.
Save the image with the filename "Your Name Proj 15c".
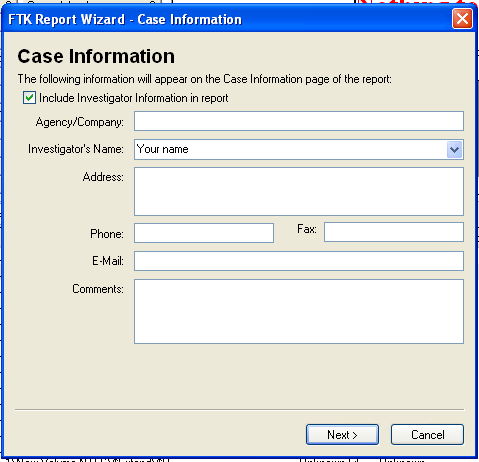
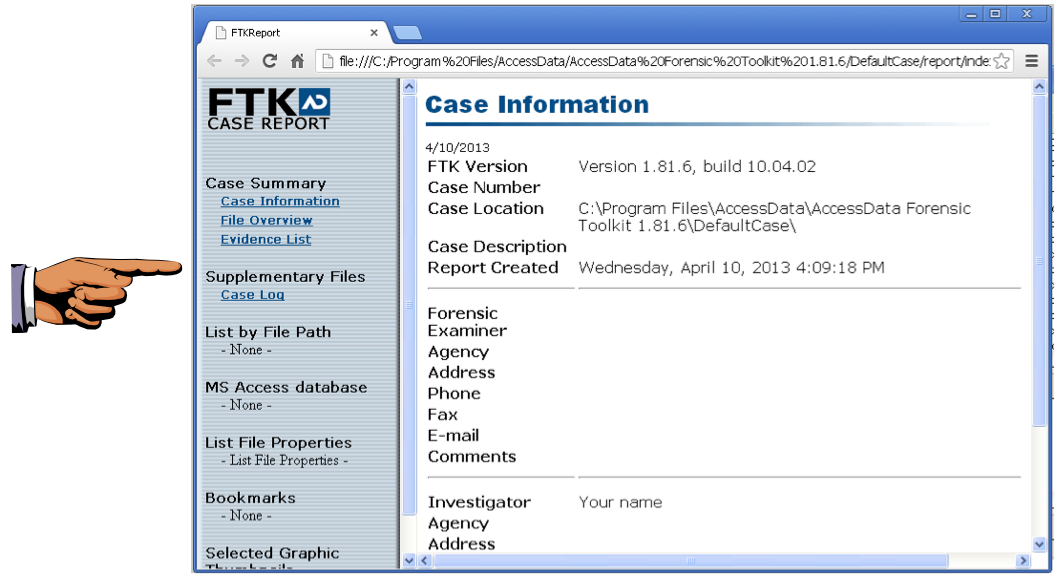
In the "Case Information" screen, click Next, as shown below.
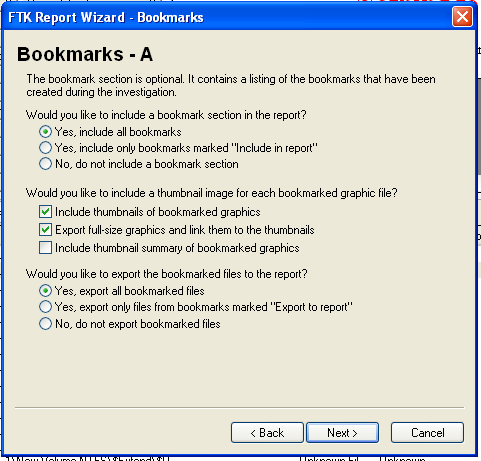
In the "Bookmarks - A" page, click the "Yes, export all bookmarked files" button, as shown below. Then click Next.
In the "Bookmarks - B" page, click Next.
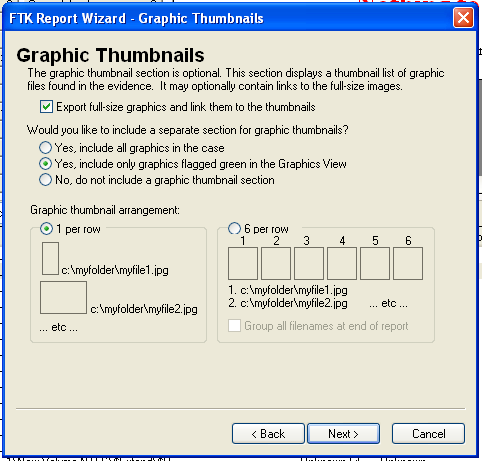
In the "Graphic Thumbnails" page, click "Export full-size graphics and link them to the thumbnails", as shown below. Then click Next.
In the "List by File Path" page, click Next.
In the "List File Properties - A" page, click Next.
In the "Supplementary Files" page, click Next.
In the "Report Location" page, click Finish.
A "Report Wizard" box pops up, asking "Do you wish to view the report?".
Click Yes.
The Report appears, as shown below.
Click on the host machine's taskbar.
Capture your whole desktop with the PrintScrn key.
YOU MUST TURN IN A COMPLETE DESKTOP IMAGE TO GET FULL CREDIT.
Save the image with the filename "Your Name Proj 15d".
In FTK, from the top menu bar, click File, "Export Files".
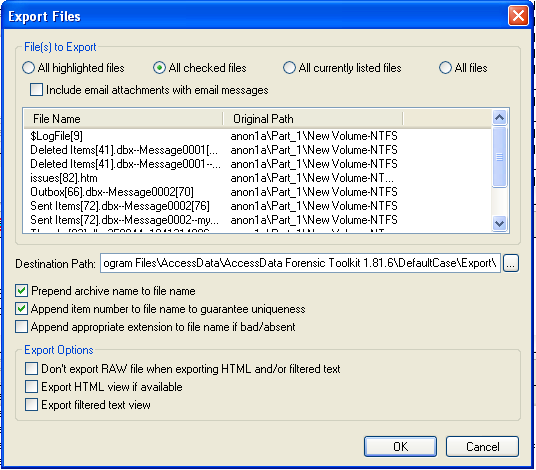
In the "Export Files" box, click "All checked files", as shown below. Then click OK.
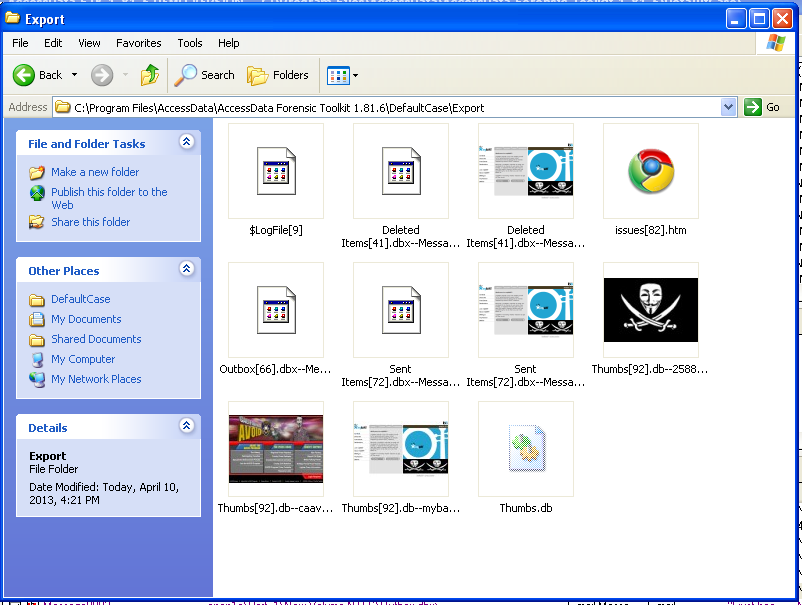
To see the exported files, click Start, Computer, and navigate to the C:\Program Files\AccessData\AccessData Forensic Toolkit 1.81.6\DefaultCase\Export" folder.
The files are there, as shown below.
Last Modified: 4-10-13