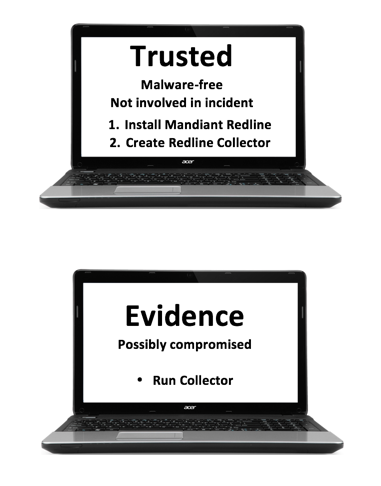
In our case, we'll use the same machine for both roles just to make the project easier. This is not a proper practice for real data collection, however.
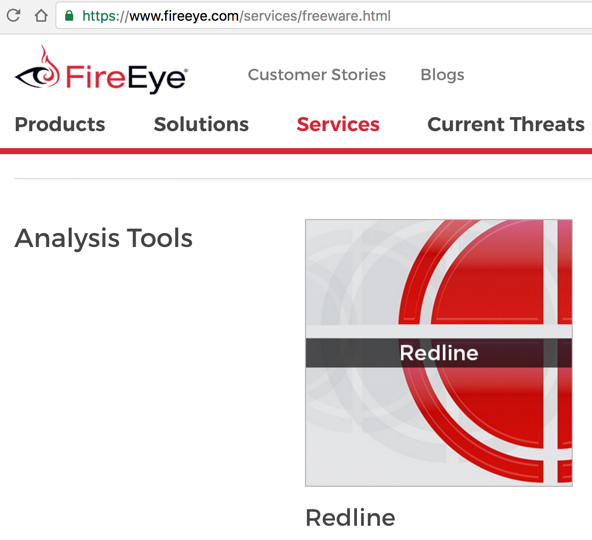
https://www.fireeye.com/services/freeware.html
Click the image of Redline, as shown below.
Fill in the form, with real or fake data, as shown below.

Click the "Download Now" button. On the next page, click the "DOWNLOAD REDLINE 1.14" button.
A sdl-redline.zip file downloads, 69.2 MB in size.
Double-click Redline-1.14(1).msi. Install the software with the default options.
In the search results, click Redline.
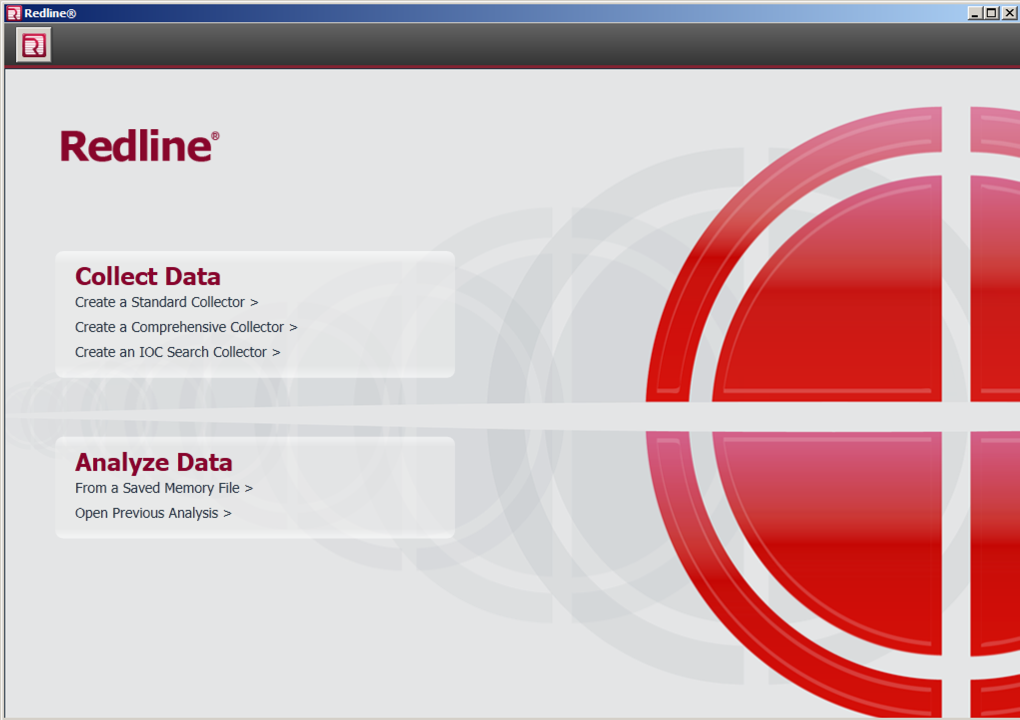
Redline launches, as shown below.
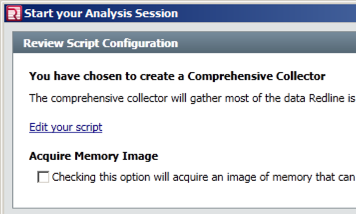
On the next screen, in the "Review Script Configuration" section, click "Edit your script", as shown below.
In the "View and Edit Your Script" box, on the Memory tab, examine the items, as shown below.
It will collect running processes, drivers, and "Hooks" (which are frequently used by malware). Leave these settings at their default values.
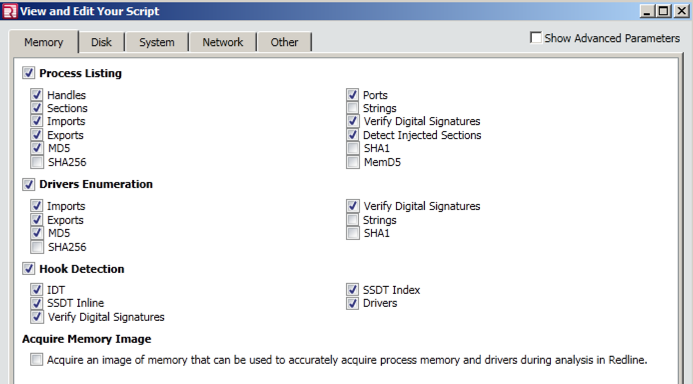
Click the other tabs to see what data Redline is collecting. Don't change any settings.
In the "View and Edit Your Script" box, at the lower right, click OK.
In the "Start your Analysis Session" window, at the lower right, click Browse.
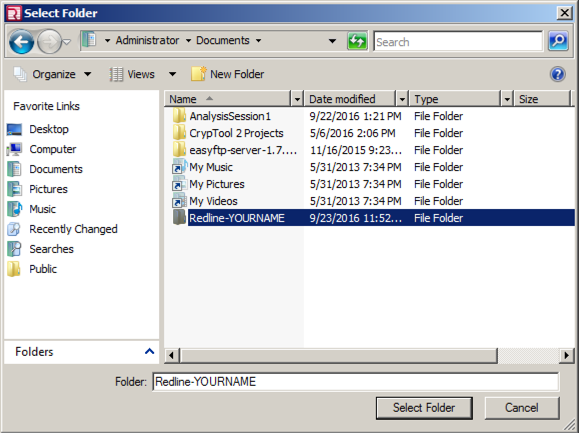
In the Select Folder box, navigate to some folder you can find later, such as your Documents folder. Right-click an empty portion of the window and click New, Folder. Name the new folder Redline-YOURNAME, repacing "YOURNAME" with your own name.
Double-click the Redline-YOURNAME folder to open it, as shown below, and click the "Select Folder" button.
In the "Start your Analysis Session" window, at the lower right, click OK.
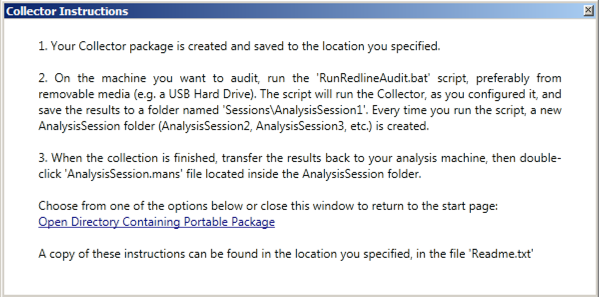
When the collector is prepared, the box shown below appears. Read it and close it. Then close Redline.
Open File Explorer and navigate to the Redline-YOURNAME folder.
Double-click the RunRedlineAudit file, as shown below.
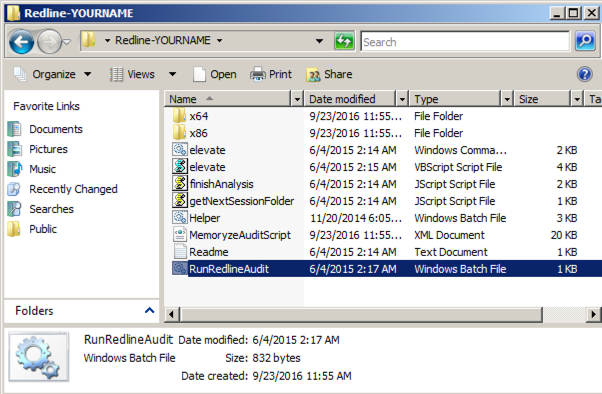
Note: This is not the recommended way to use Redline, because it stores the results on the evidence system, potentially overwriting data that could be important. The proper procedure is to put the collector on a removable device or a network share and run it from there. We are doing it this way just to make the project simpler.A black command prompt window opens, and messages scroll by, as shown below. Many of them are warnings, but none should be errors.

The collection will approximately 30 minutes. When it's done, the Command Prompt window will close.
Open Mandiant Redline.
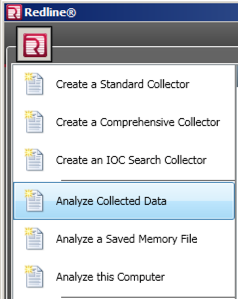
In the Redline window, at the top left, click the little square icon approximately 1 cm wide.
Click "Analyze Collected Data", as shown below.
In the "Start your Analysis Session" window, at the top right, in the "Audit Location" section, click the Browse... button, as shown below.

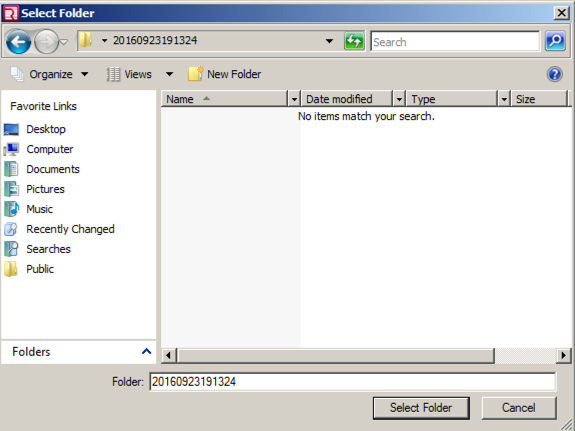
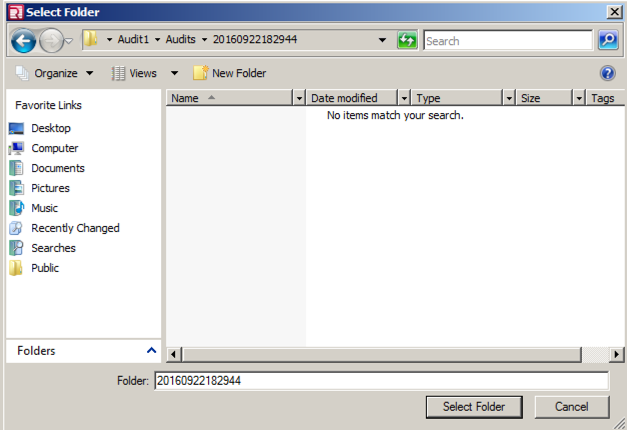
In the "Select Folder" box, navigate to the Redline-YOURNAME folder you created, and click on it, as shown below.
Double-click the Redline-YOURNAME folder to open it.
Double-click the Sessions folder.
Double-click the AnalysisSession1 folder.
Double-click the Audits folder.
Double-click the folder starting with WIN.
Double-click the folder starting with 2016.
Click the "Select Folder" button, as shown below.
In the "Start your Analysis Session" window, at the bottom right, click the Next button.
In the "Start your Analysis Session" window, at the bottom right, click the Browse... button.
Navigate to a convenient location, such as your Documents folder, create a new folder named Results-YOURNAME, and click that folder, as shown below.
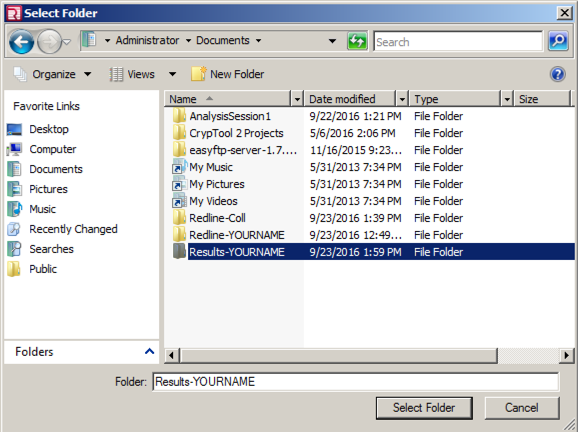
Click the "Select Folder" button.
In the "Start your Analysis Session" window, at the bottom right, click the OK button.
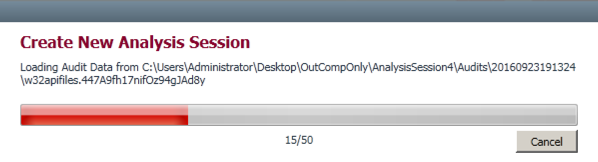
A box appears saying "Create New Analysis Session", as shown below. Wait until the process finishes. It should take about 3 minutes.
When the process is complete, a "Start Your Investigation" window appears, as shown below.
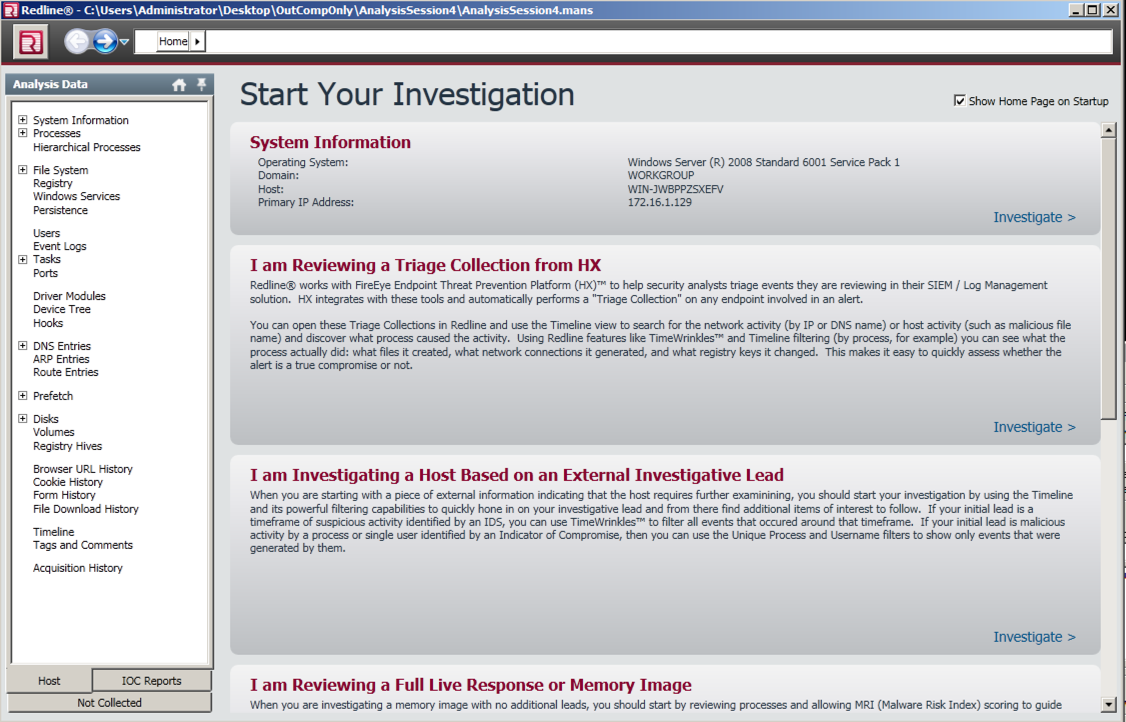
In the right pane of the "Start Your Investigation" window, at the bottom, click "I am Reviewing a Full Live Response or Memory Image".
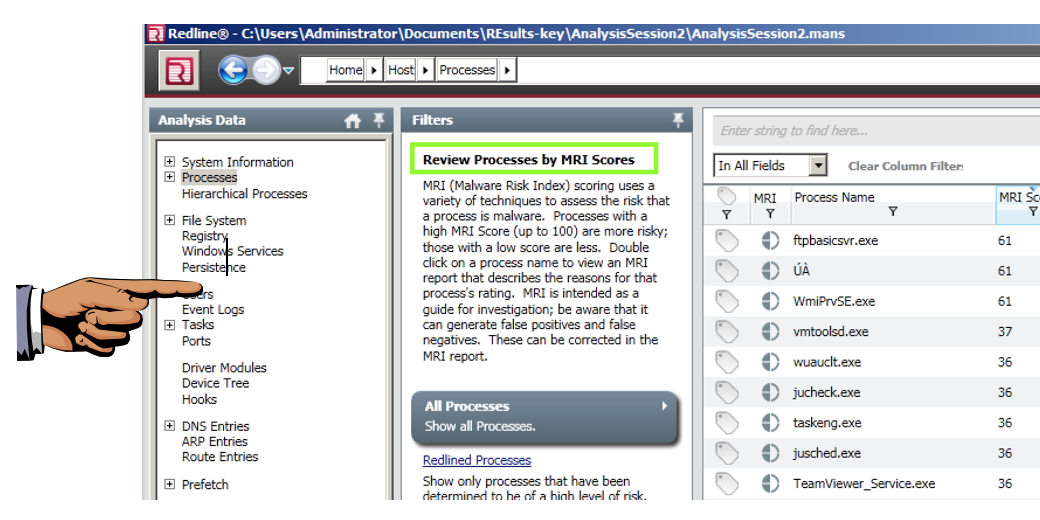
When the analysis completes, you'll see "Analysis Data" showing processes rated by MRI score, as shown below.
Save a whole-desktop image with the filename "YOUR NAME Proj 15a", replacing "YOUR NAME" with your real name.
YOU MUST SUBMIT A FULL-DESKTOP IMAGE FOR FULL CREDIT!
https://samsclass.info/121/proj/Audit1.zip
Right-click the file and click "Extract Files", Extract.
In the Redline window, at the top left, click the little square icon approximately 1 cm wide.
Click "Analyze Collected Data".
In the "Start your Analysis Session" window, at the top right, in the "Audit Location" section, click the Browse... button. Navigate into the folder you just unzipped and select the folder with a long numerical name, as shown below.
Redline finds two suspicious processes and labels them with a red icon, as shown below.
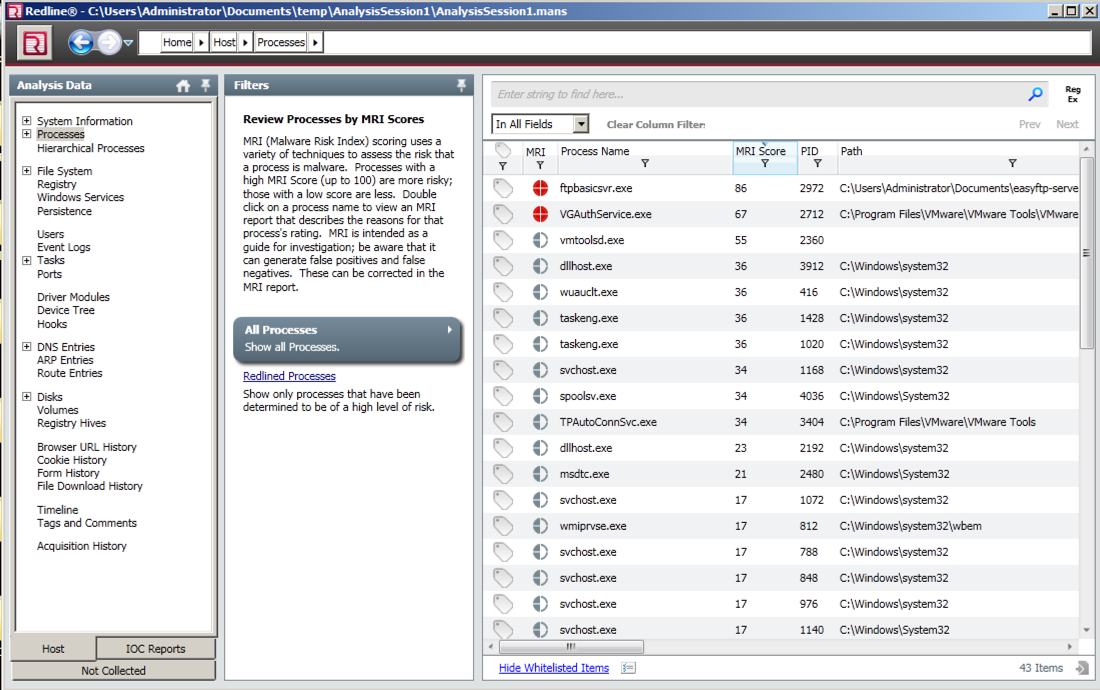
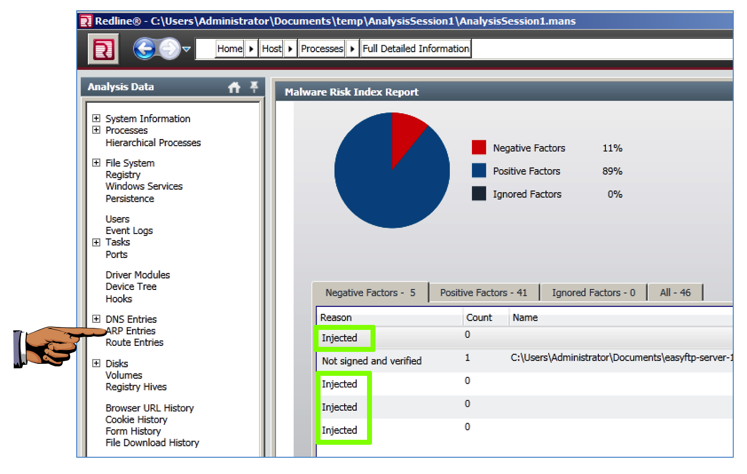
Double-click the ftpbasicsvr item. A "Malware Risk Index Report" opens. At the bottom, click the "MRI Report" tab.
Scroll down to see the Injected items found in this file, as shown below. These are exploits inserted into the file by Metasploit, including a meterpreter shell and a keylogger.
Save a whole-desktop image with the filename "YOUR NAME Proj 15b", replacing "YOUR NAME" with your real name.
YOU MUST SUBMIT A FULL-DESKTOP IMAGE FOR FULL CREDIT!
Send a Cc to yourself.