Download this file and move it to C:\IDA
At the bottom of the page, click the "IDA Freeware (16mb)" link.
Install the software with the default options. I saw an error message saying something about a single-quote directory not found, but just closed it and it seemed not to matter.
When you see the IDA window shown below, click the OK button.
Click "I Agree".
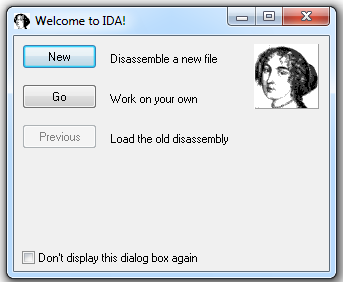
In the "Welcome to IDA!" box, as shown below, click the New button.
If you are using Windows 7, IDA crashes. It needs Administrator privileges.
Click Start, type IDA, right-click "IDA Pro Free", and click "Run as Administrator", as shown below:

If a "User Account Control" box pops up, click Yes.
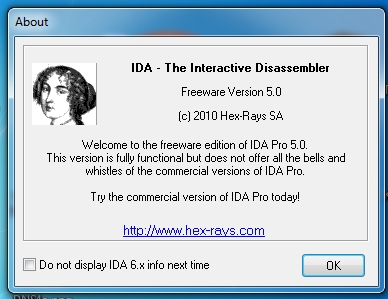
In the "About" box, click the OK button.
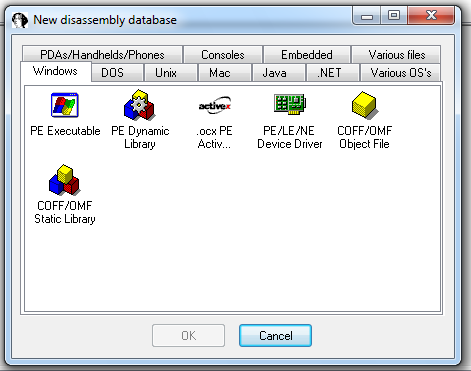
In the "New disassembly database" box, click "PE Executable", and then click OK, as shown below:
In the "Select PE Executable to disassemble" box, navigate to the crackme-121-1.exe file you saved earlier in the C:\IDA directory and double-click it.
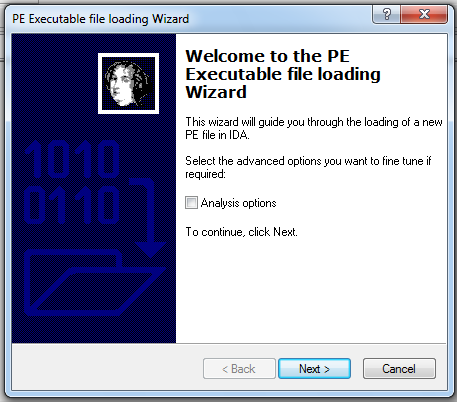
In the "Welcome to the PE Executable file loading Wizard" box, click the Next button, as shown below:
In the "Segment Creation" box, click Next.
In the "File loading" box, click Finish.
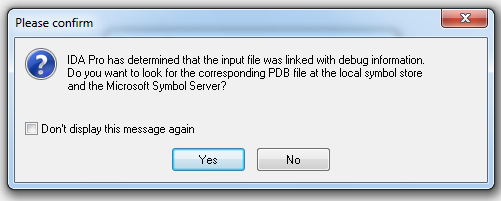
A box pops up saying "...the input file was linked with debug information...", as shown below. Click the Yes button.
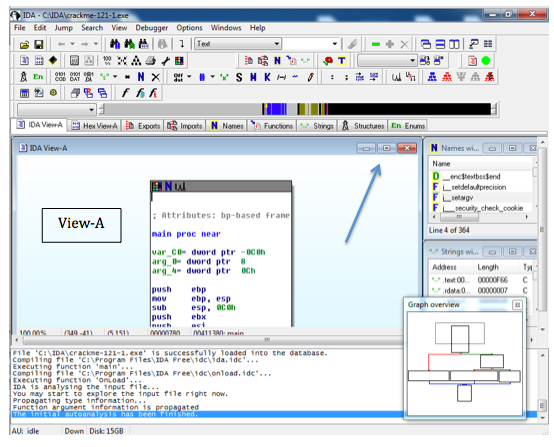
Close the "Graph Overview" box in the lower right corner.
Drag the lower border of the "View-A" pane down, to make as large a viewable area as possible.
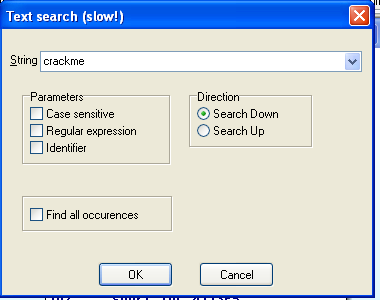
From the IDA menu bar, click Search, Text.
Search for crackme as shown below.
Click OK.
Right-click in the "View-A" box and click "Fit window", as shown below:

You should now see the entire program shown as six boxes connected by lines, as shown below. (Ignore the two extra boxes at the upper left):
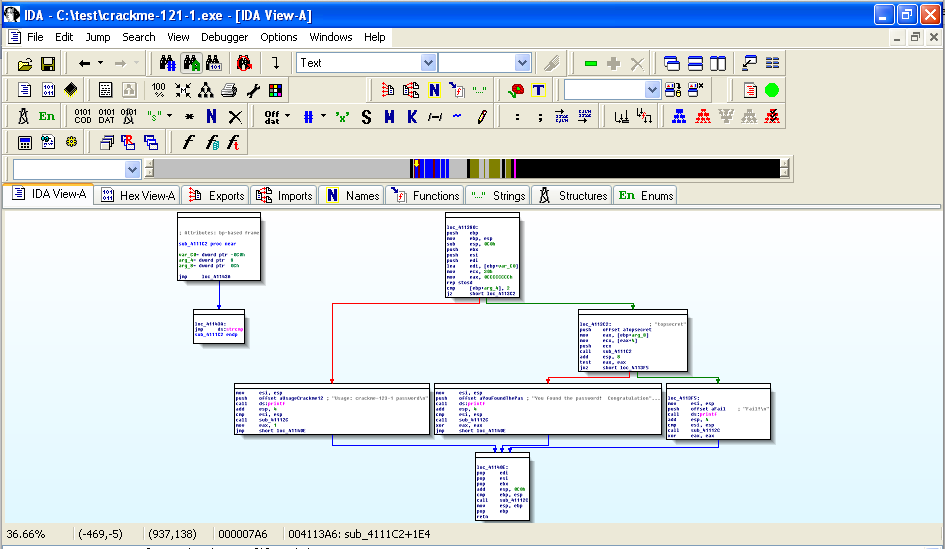
For this project, I have labelled the modules with letters as shown below:
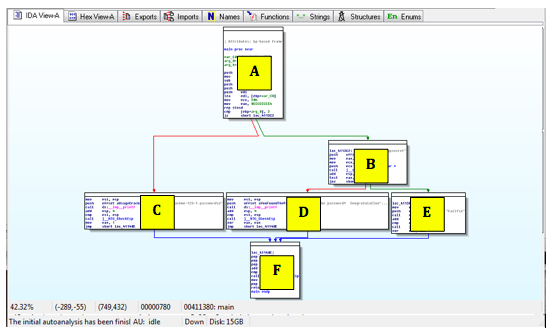
Right-click in the "View-A" box and click "Zoom 100%", as shown below:

Click and drag the "View-A" display as needed to make module A visible, as shown below:
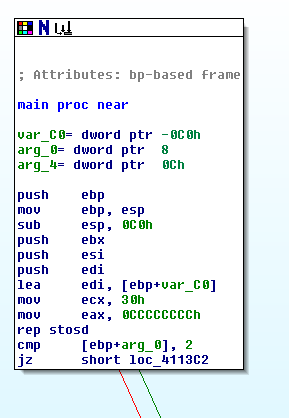
The assembly code is hard to read, but you don't need to understand it all. Focus on the last two instructions:
cmp          [ebp+arg_0], 2

jz           short loc_4113C2
This compares some number to 2 with the cmp (Compare) operation, and jumps to a different module if it is 2, using the jz (Jump if Zero) operation.
Drag the "View-A" display to make Module C visible, as show below:
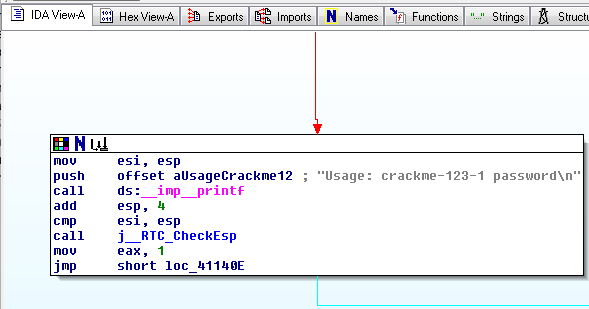
Notice the gray readable text on the right side, saying "Usage: crackme-123-1 password".
This module pushes those characters onto the stack with a push command, and then calls the printf function with the call ds:_imp_printf command.
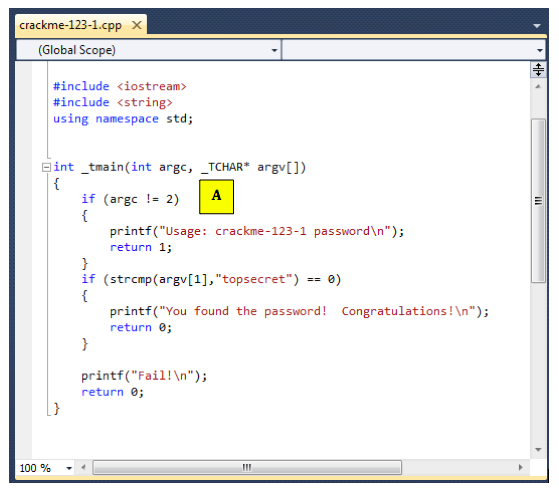
The figure below shows the C statements that comple to the "C" module:
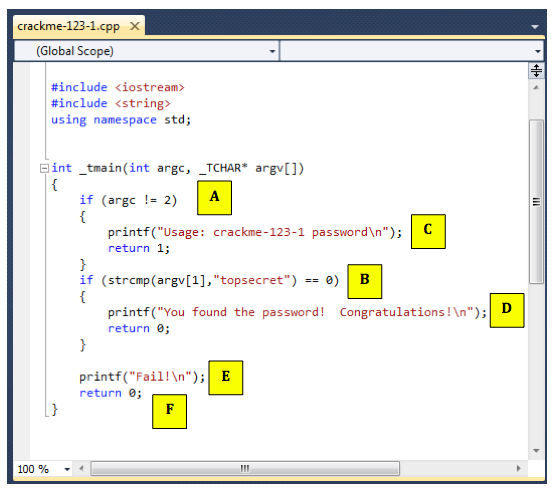
Follow along in IDA Pro and make sure you see what each of the six modules do, and how they correspond to the C source code.
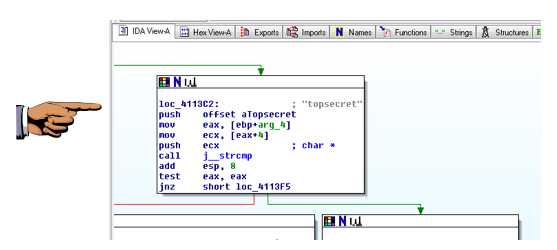
Make sure the gray "topsecret" text is visible.
Save this image with the filename Proj X11a from YOUR NAME
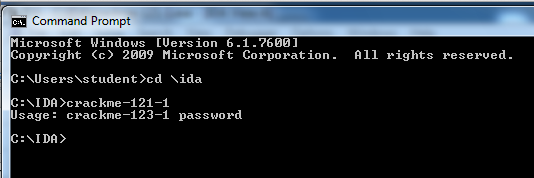
In the Command Prompt window, execute these commands:
cd \IDA

crackme-123-1
If you see a message saying "This application has failed to start because MSVCR100D.dll was not found", download that file here, and put it in the same folder as the .exe file:
This message is telling you that you need to add a password after the "crackme-123-1".
In the Command Prompt window, execute this command:
crackme-123-1 wrongpassword
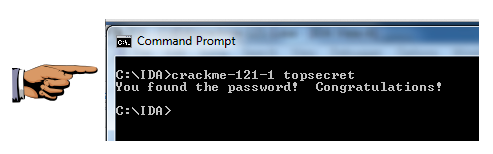
In the Command Prompt window, execute this command:
crackme-123-1 topsecret
Save this image with the filename Proj X11b from YOUR NAME
It is very similar to crackme-123-1. Perform these steps:
Download this file:
Perform these steps:
Download this file:
Perform these steps: