fwknop is the newest and best version of port knocking, requiring only a single packet to knock. The packet contains a cryptogaphic key, and is resistant to brute-force and replay attacks.
In a Terminal window, enter this commands, and then press Enter:
ping samsclass.info
In a Terminal window, enter this commands, and then press Enter:
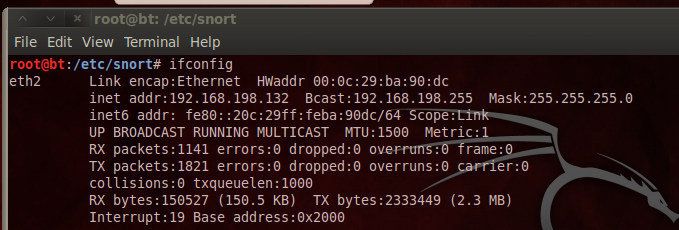
ifconfig
Also make a note of your Linux machine's IP address. You will need it later.
  sshd-generate

  /etc/init.d/ssh start
lsof -i :22
You should see two sshd processes listening, as shown below:

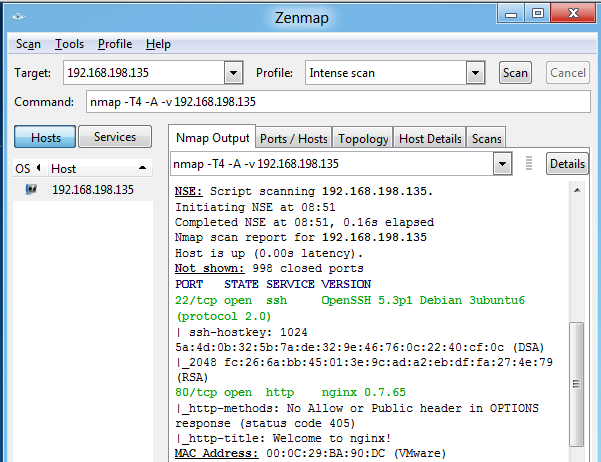
You should see port 22 open, as shown below:
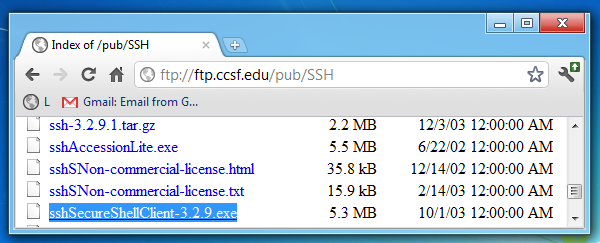
Download sshSecureShellClient-3.2.9.exe and install it with the default options.
Start the "SSH Secure Shell" program. Click the "Quick Connect" button.
In the "Host Name" field, enter your Linux machine's IP address.
In the "User name" field, enter root
as shown below:
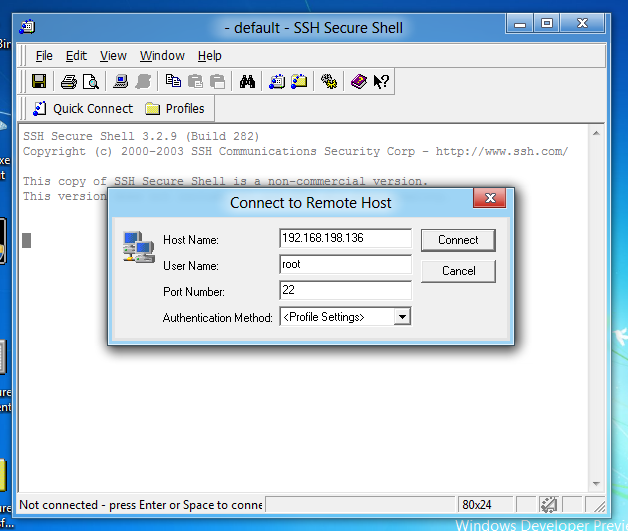
Click Connect.
In the "Host Identification" box, click Yes.
In the Password box, enter password of toor and press Enter.
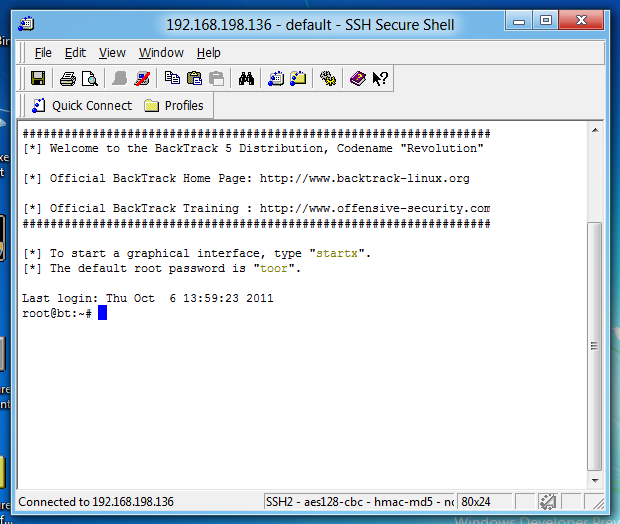
You should see a screen saying "Welcome to the BackTrack 5 Distribution...", as shown below:
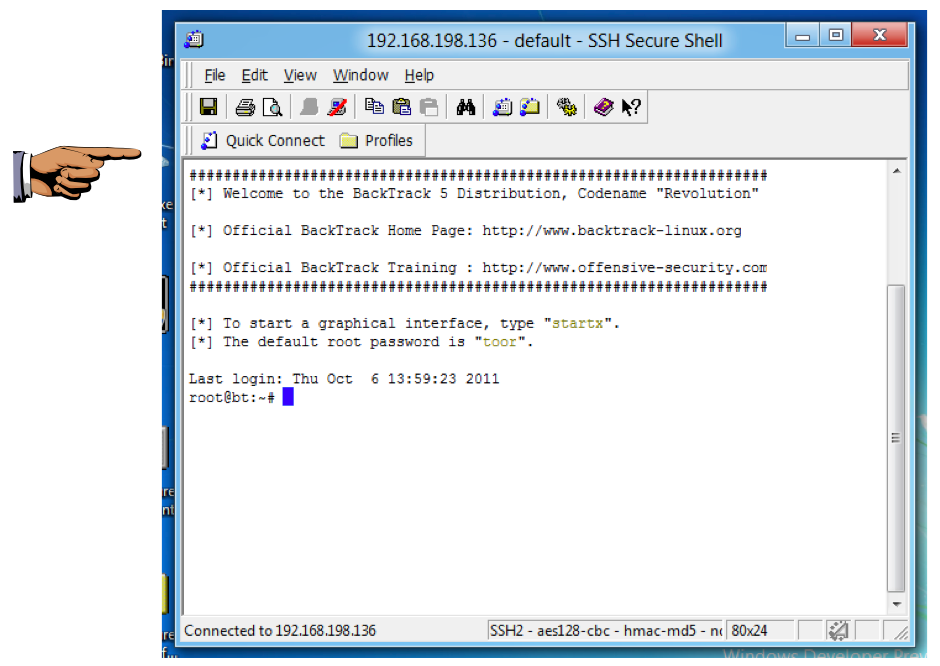
Save a screen capture with a filename of "Proj 13a from YOUR NAME".
In your Windows machine, in the SSH Secure Shell window,
at the # prompt, type exit and press Enter.
apt-get install fwknop-server -y
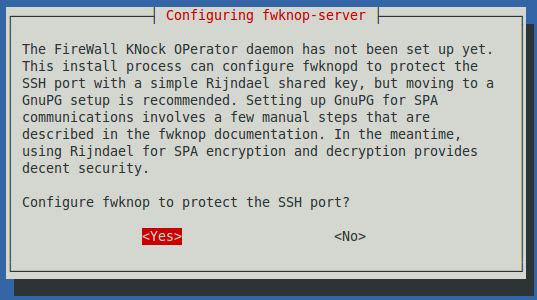
A "Configuring fwknop-server" box appears, as shown below.
The first question is "Configure fwknop ro peotect the SSH port?"
Press the Tab key to highlight <Yes> and press the SPACEBAR.
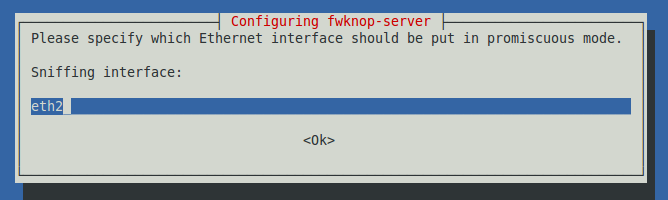
The next screen asks you which interface to put in promiscuous mode, as shown below. Type the interface name that goes to the Internet, which you determined previously with the ifconfig command. In my case, it is eth2.
After typing the interface name, press the Tab key to highlight <OK> and press the SPACEBAR.
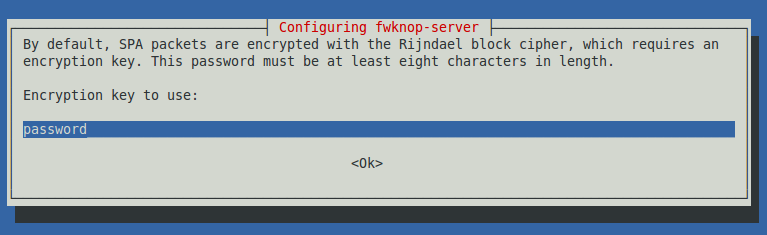
The next screen asks you to enter an encryption key, as shown below.
Enter a password you can remember, such as password (of course, don't use such an obvious password on a real production server).
Press the Tab key to highlight <OK> and press the SPACEBAR.
iptables --flush
iptables -t nat --flush
iptables -t mangle --flush
iptables --policy INPUT DROP
iptables --policy OUTPUT ACCEPT
iptables -A INPUT -i lo -j ACCEPT
iptables -A INPUT -m state --state ESTABLISHED,RELATED -j ACCEPT
iptables -A INPUT -m pkttype --pkt-type broadcast -j DROP
iptables -A INPUT -m pkttype --pkt-type multicast -j DROP
iptables -A INPUT -j LOG
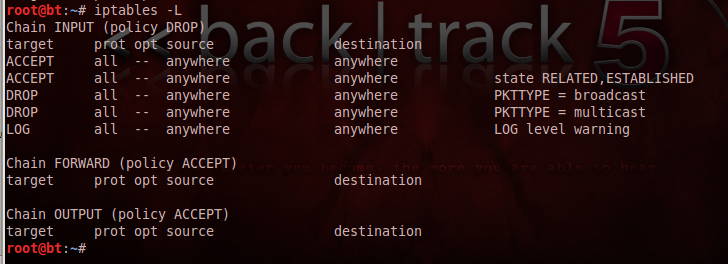
To examine your firewall rules, on your Linux machine, in a Terminal window, enter this command, and then press Enter:
iptables -L
On your Linux machine, in a Terminal window, enter this command, and then press Enter:
nano /etc/fwknop/fwknop.conf
ENABLE_SPA_PACKET_AGING Y
Change the Y to a N, as shown below:
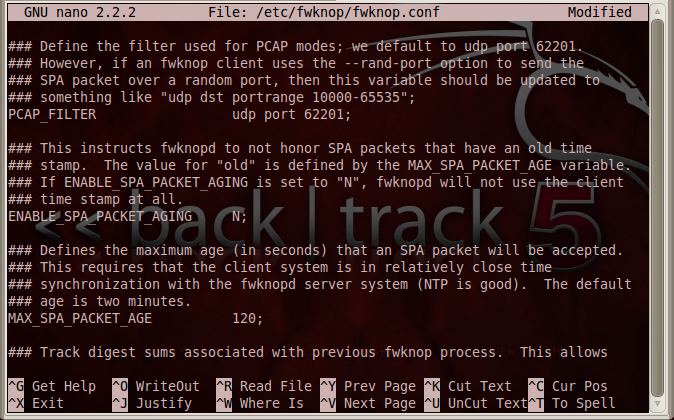
Save the file with Ctrl+X, Y, Enter.
On your Linux machine, in a Terminal window, enter this command, and then press Enter:
nano /etc/fwknop/access.conf
FW_ACCESS_TIMEOUT: 30;
Change the 30 to 90, as shown below:
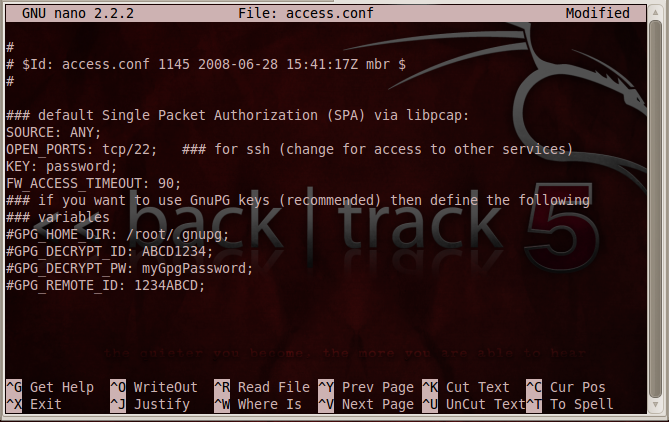
Save the file with Ctrl+X, Y, Enter.
/etc/init.d/fwknop-server restart
watch "tail /var/log/messages"
You should see the message "All 1000 scanned ports...are filtered", as shown below:
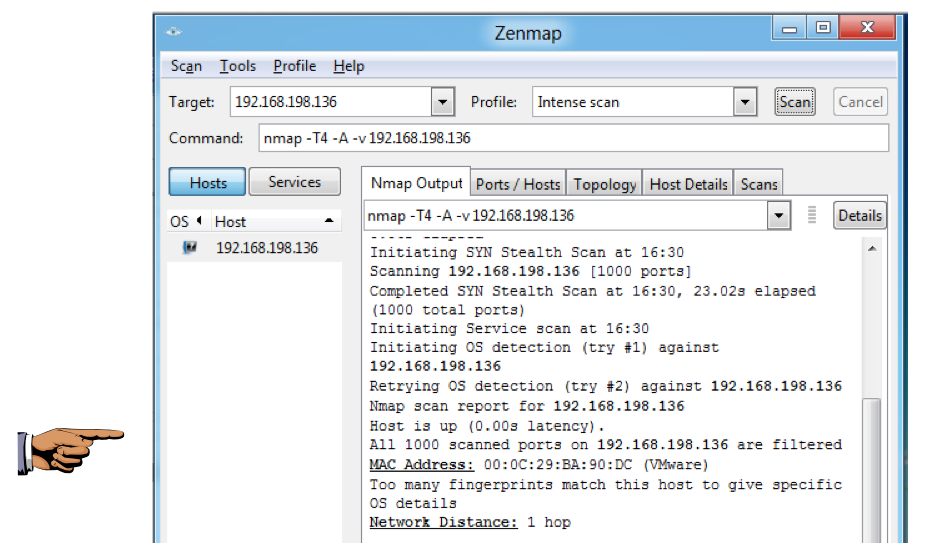
Save a screen capture with a filename of "Proj 13b from YOUR NAME".
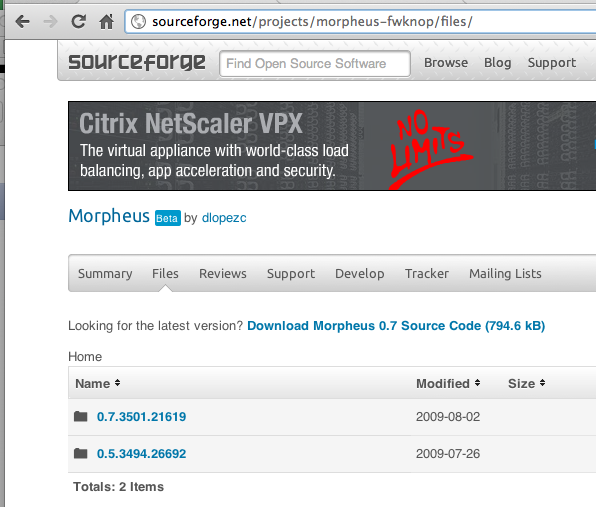
http://sourceforge.net/projects/morpheus-fwknop/files/
Click the "0.7.3501.21619" link, as shown below:
On the next page, find the "Morpheus 0.7 Installer.zip" link, as shown below:
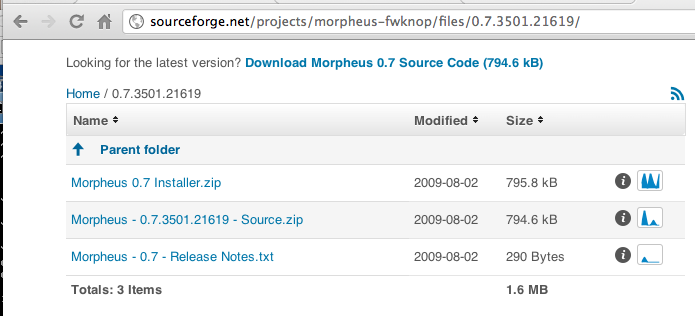
Download the "Morpheus 0.7 Installer.zip" file and save it. Be careful not to download the source code--you need the Installer.
Unzip the "Morpheus 0.7 Installer.zip" file to reveal the "Morpheus 0.7 Installer.exe" file.
Double-click the "Morpheus 0.7 Installer.exe" file and install the software with the default options.
On my system, the installation requested permission to download a new .NET version from Windows Update, which I approved. That was somewhat confusing, because two boxes popped up requesting permission, one hidden behind other windows, and the installation could not proceed until I found the hidden box and approved it there. Once I got the process approved, it was fairly rapid, as shown below:
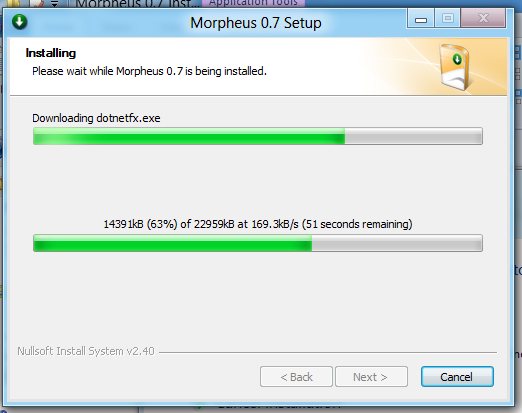
After the download was complete, the actual installation took 10-15 minutes when I did it. When the installation is complete, Morpheus opens.
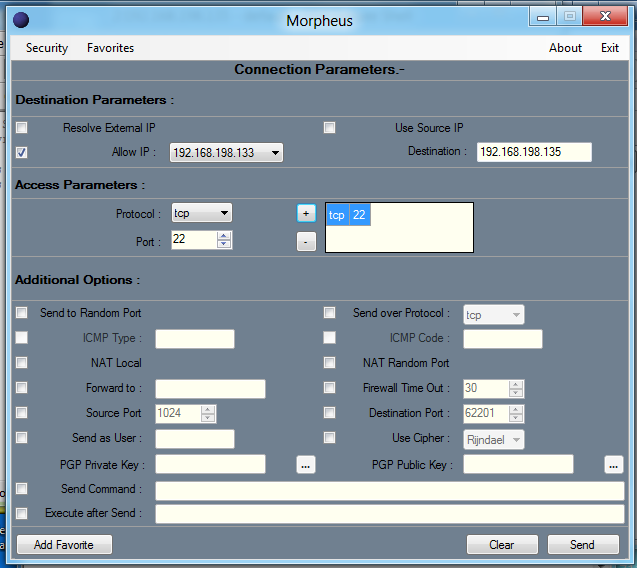
Your Morpheus window should look like the image shown below:
On your Windows machine, in the "Morpheus" window, click the "Send" button.
A box pops up asking you to enter your passphrase. Enter password, as shown below:
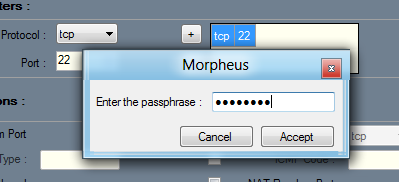
Click the Accept button.
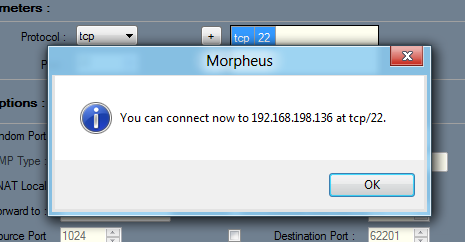
A box pops up saying "You can now connect...", as shown below.
On the Linux machine, you should see the message "received valid Rindjael encrypted packet…", as shown below:

Save a screen capture with a filename of "Proj 13c from YOUR NAME".
In the "Host Name" field, enter your Linux machine's IP address.
In the "User name" field, enter root
as shown below:
Click Connect.
In the "Host Identification" box, click Yes.
In the Password box, enter password of toor and press Enter.
You should see a screen saying "Welcome to the BackTrack 5 Distribution...", as shown below:
In your Windows machine, in the SSH Secure Shell window,
at the # prompt, type exit and press Enter.
Email the images to cnit.122sam@gmail.com with a subject of "Project 13 from YOUR NAME".
On your Linux machine, in a Terminal window, enter these commands, pressing Enter after each one:
iptables --flush
iptables --policy INPUT ACCEPT
http://cipherdyne.org/blog/2009/08/morpheus-fwknop-windows-ui-update.html
http://cipherdyne.org/blog/2007/11/fwknop-windows-ui.html
https://help.ubuntu.com/community/SinglePacketAuthorization
http://ubuntuforums.org/showthread.php?t=812573
Last modified 10-27-11 6:30 am