
In a Terminal window, enter these commands, pressing Enter after each one:
  apt-get install clamav-daemon clamav-freshclam -y

  freshclam -v
You will see some warning messages, saying "This version of the ClamAV engine is outdated." For this project, just ignore them, but in a production environment it would be good to find out how to update the engine.
In a Terminal window, enter this command, and then press Enter:
apt-get install squid -y
nano /etc/squid/squid.conf
Add this line:
http_port 3128
Save the file with Ctrl+X, Y, Enter.
Now you need to restart Squid.
In a Terminal window, enter this command, And Then Press Enter:
/etc/init.d/squid restart
netstat -an | grep 3128

In a Terminal Window, enter this command, and then press Enter:
apt-get install dansguardian -y
nano /etc/dansguardian/dansguardian.conf
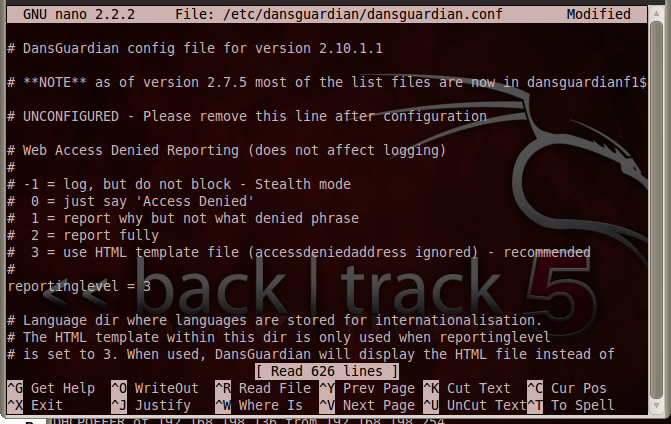
2. Activate the antivirus. To do that, in nano, press Ctrl+W to start a search in the configuration file.
At the bottom of the screen, a white bar appears starting
with Search:. Type contentscanner
and press Enter.
Remove the # character from the first line beginning with "contentscanner", as shown below:
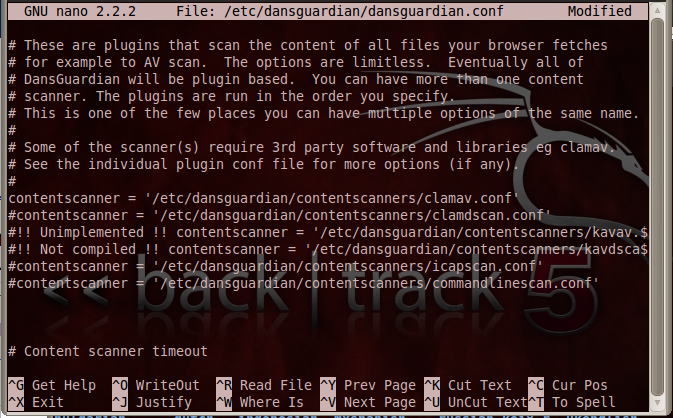
Save the file with Ctrl+X, Y, Enter.
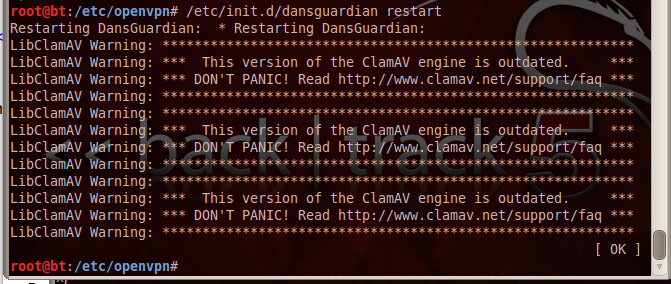
Now you need to restart DansGurdian.
In a Terminal window, enter this command, and then press Enter:
/etc/init.d/dansguardian restart
netstat -an | grep 8080

In Firefox, click Edit, Preferences.
In the "Firefox Preferences" box, on the Network tab, click the Settings button.
Click the "Manual proxy configuration" button.
Enter a Port of 8080
Click the "Use this proxy server for all protocols" button, as shown below:
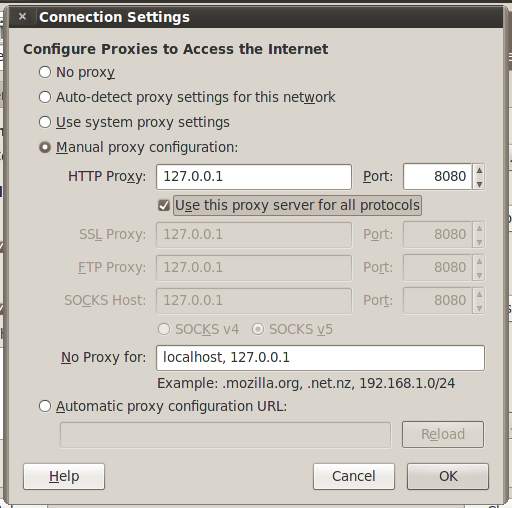
Click the OK button.
Click the Close button.
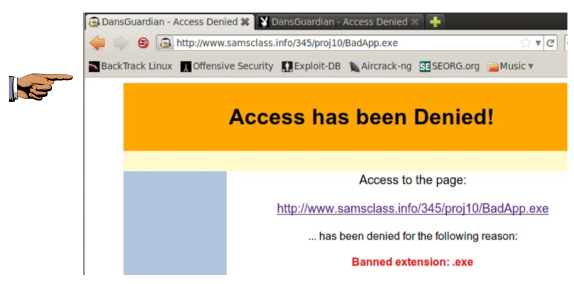
In Firefox, go to this URL:
http://samsclass.info/345/proj10/BadApp.exe
You should see a page titled "DansGuardian - Access Denied", telling you "Access has been Denied!", as shown below:
Save a screen capture with a filename of "Proj 14 from YOUR NAME".
Email the image to cnit.122sam@gmail.com with a subject of "Project 14 from YOUR NAME".
Last modified 11-8-11 9 pm