CNIT 123 Proj X9: HTTP Basic Authentication (10 pts.)

What You Need

A Linux machine. I used a BackTrack 2 R2 Virtual Machine.

Starting Apache

In a Terminal window, execute this command:
/etc/init.d/apache2 start
If you see an error saying Apache is not installed, follow the instructions on your screen to install it.

In a Terminal window, execute this command:

ifconfig
Find your IP address. Open Firefox and enter your IP address in the URL. You should see a Web page--if your Apache is newly installed, it will be an Apache default page.

Making the secret Page

In a Terminal window, execute these commands:
mkdir /var/www/secret

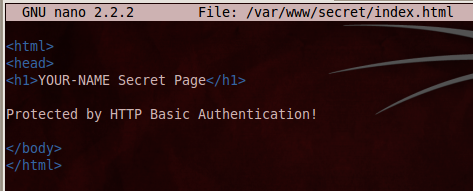
nano /var/www/secret/index.html

In nano, enter the HTML code shown below, replacing YOUR-NAME with your own name:

<html>
<head>
<h1>YOUR-NAME Secret Page</h1>

Protected by HTTP Basic Authentication!

</body>
</html>

Save the file with Ctrl+X, Y, Enter.

In Firefox, append /secret to the IP address to view your page, as shown below:

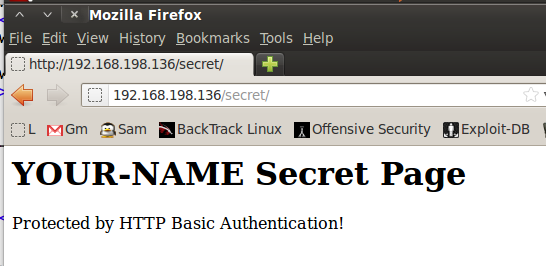
There was no password required to see this page.

Configuring Basic Authentication

In a Terminal window, execute this command:
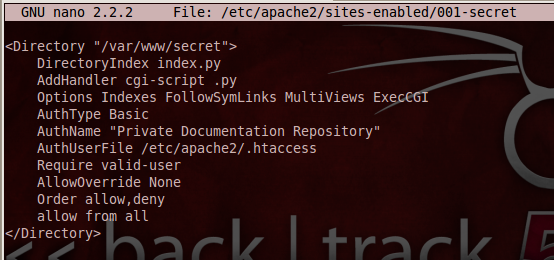
nano /etc/apache2/sites-enabled/001-secret
In nano, enter the code shown below:

<Directory "/var/www/secret">
DirectoryIndex index.py
AddHandler cgi-script .py
Options Indexes FollowSymLinks MultiViews ExecCGI
AuthType Basic
AuthName "Private Documentation Repository"
AuthUserFile /etc/apache2/.htaccess
Require valid-user
AllowOverride None
Order allow,deny
allow from all
</Directory>
Save the file with Ctrl+X, Y, Enter.

Specifying Username and Password

In a Terminal window, execute this command replacing "YOUR-NAME with your own name. When you are prompted for a password, enter secretpassword twice.
htpasswd -c /etc/apache2/.htaccess YOUR-NAME

Restart Apache

In a Terminal window, execute this command:
/etc/init.d/apache2 restart
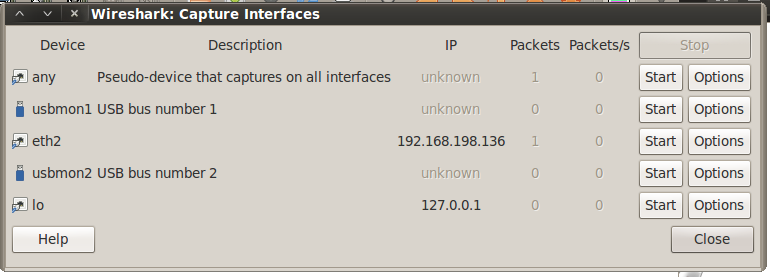
Starting Wireshark

In a Terminal window, execute this command:
wireshark
In Wireshark, click < Capture, Interfaces.

In the Interfaces list, on the lo line, click Start, as shown below:

Authenticating

In Firefox, refresh the page with your IP address followed by /secret

A login box pops up, as shown below. Log in with your name and the password secretpassword

In Wireshark, click Capture, Stop.

In Wireshark, click Statistics, "Conversation List", "TCP (IPv4 & IPv6)".

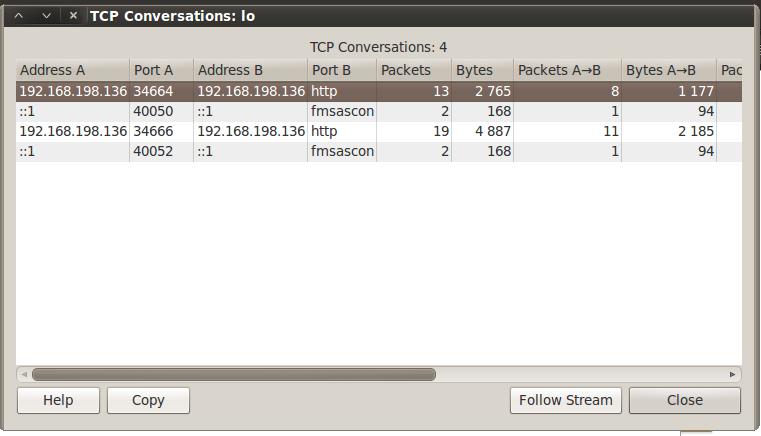
Click the first conversation to highlight it, as shown above, and click the "Follow Stream" button.

You see an "Authorization Required" message, as shown below:

Scroll down to find the "Authorization: Basic" message, shown below:

Saving the Screen Image

Make sure the "Authorization: Basic" message is visible, as shown above.

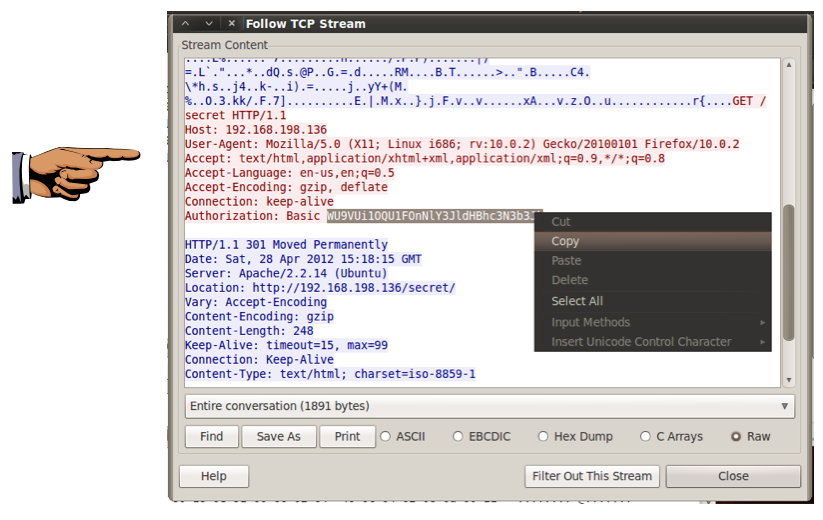
Save this image as a PNG file, named "Proj X9a from YOUR NAME"

Copying the BASE64 Code

Highlight the scrambled BASE64 text in the "Authorization: Basic" with the mouse, right-click, and click Copy, as shown above.

Decoding the BASE64 Code In Firefox, go to

http://www.opinionatedgeek.com/dotnet/tools/base64decode/

Paste in the BASE64 Code and click Decode.

You should see your name and password, as shown below:

Saving the Screen Image

Make sure your name and password are visible, as shown above.

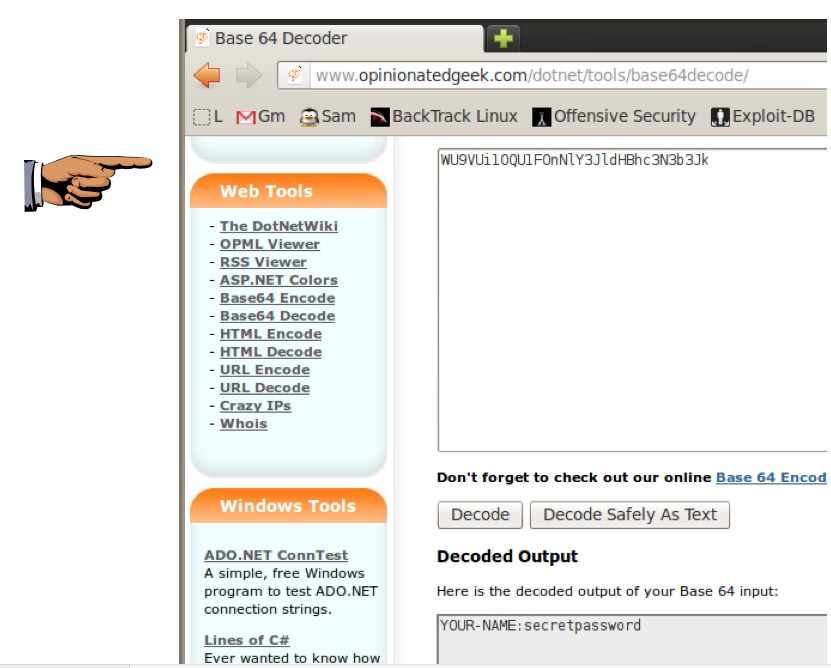
Save this image as a PNG file, named "Proj X9b from YOUR NAME"

Turning in Your Project

Email the images to cnit.123@gmail.com with a subject of "Proj X9 from YOUR NAME".

Source

http://doc.norang.ca/apache-basic-auth.html

Last modified 4-28-12 Sam Bowne