Bypassing a forgotton Windows password is a common help desk task. It can be done with any Linux boot disk, but it's easiest with the Ultimate Boot CD.
If you are on campus, CCSF blocks Mega, so use this link instead: UBCD from Google Drive
Here is information about the file:
Size: 656,347,136 bytes
MD5 (UBCD.iso) = 751fc468e60a5619b3087440506484b8
SHA1 (UBCD.iso) = ade65fa9a78089cb38aae10b435069433b4c7dd1
SHA256 (UBCD.iso) = a42b67c4393be005731ad15789119f657ba923521a266024c85bfae5941056e7
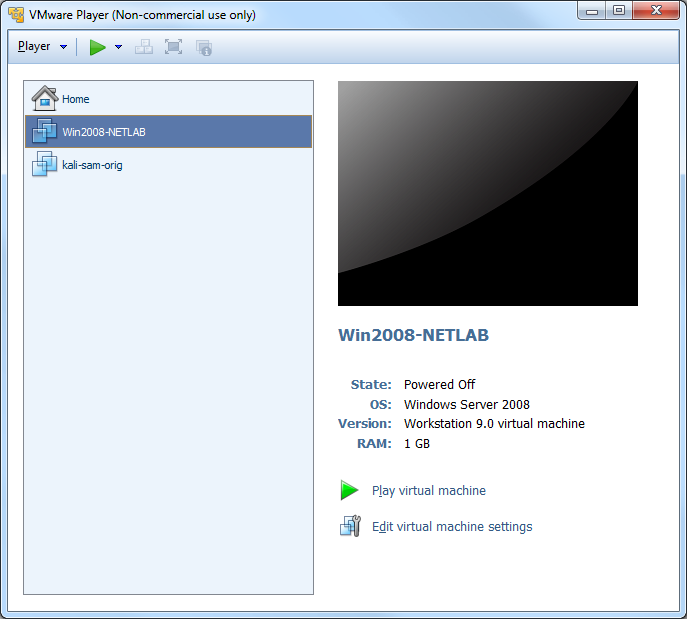
If your virtual machine's State is "Powered Off", as shown below, that's good.
If not, start the VM, click the Start button, and shut it down normally.
On the lower right, click "Edit virtual machine settings".
In the left pane of the "Virtual Machine Settings" window, click CD/DVD. On thr right side, click "Use ISO image file". Click the Browse... button and navigate to the UBCD>iso file you downloaded.
At the top right, make sure that "Connect at power on" is checked.
Then click OK.

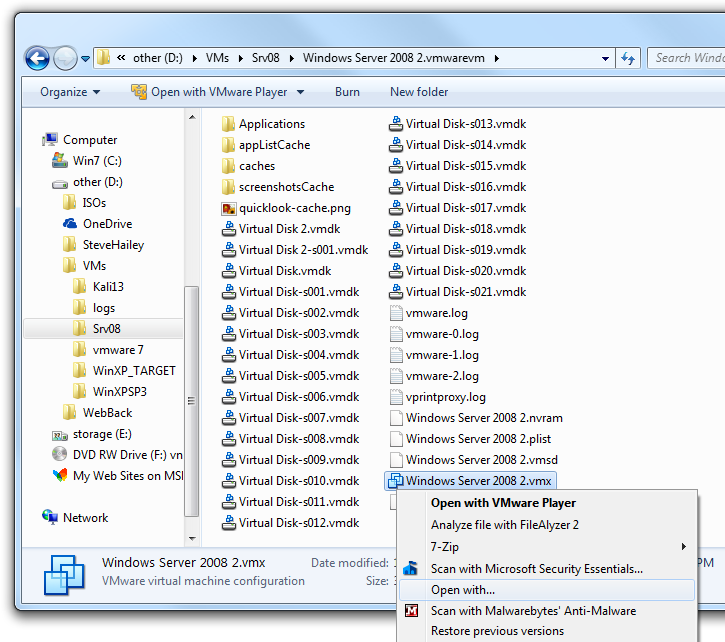
Click Start, Computer. Open the drive and folder containing your Windows Server 2008 virtual machine.
Open the "Windows Server 2008 2.vmwarevm" folder.
Right-click the "Windows Server 2008 2.vmx" file and click "Open with...", as shown below.
In the "Open with" box, in the right center, click the down-arrow to show the Other Programs.
Find Wordpad and click it. (Notepad doesn't work well for this.)
Clear the "Always use the selected program to open this kind of file box.
Click OK.
The "Windows Server 2008 2.vmx" file opens in Wordpad. Scroll to the bottom and carefully type in this line, ensuring that is is exactly correct, including capitalization:
bios.bootDelay = "5000"
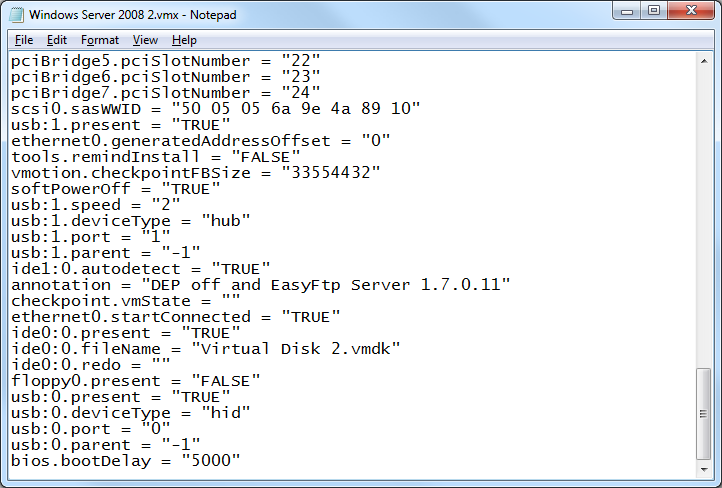
In Wordpad, click File, Save. Close Wordpad.
You should see a black screen with a message at the bottom, saying "Press F2 to enter SETUP", as shown below.
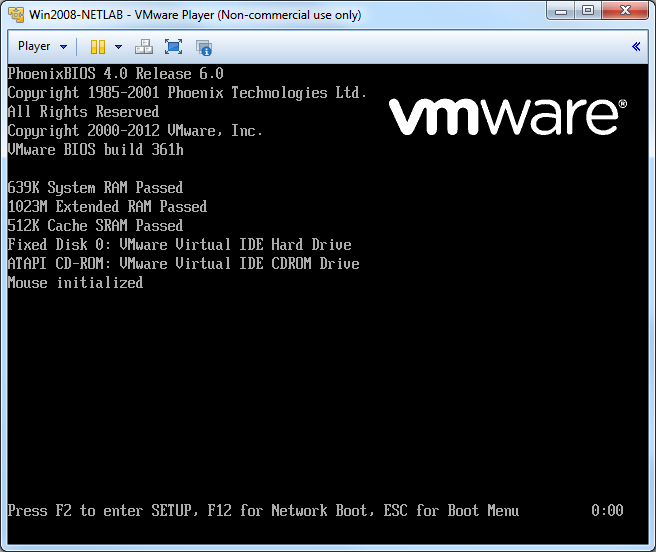
Click in the black VMware Player window and press the F2 key on the keyboard. If you are too slow doing this, Windows will start. If that happens, log in and shut Windows down again normally.
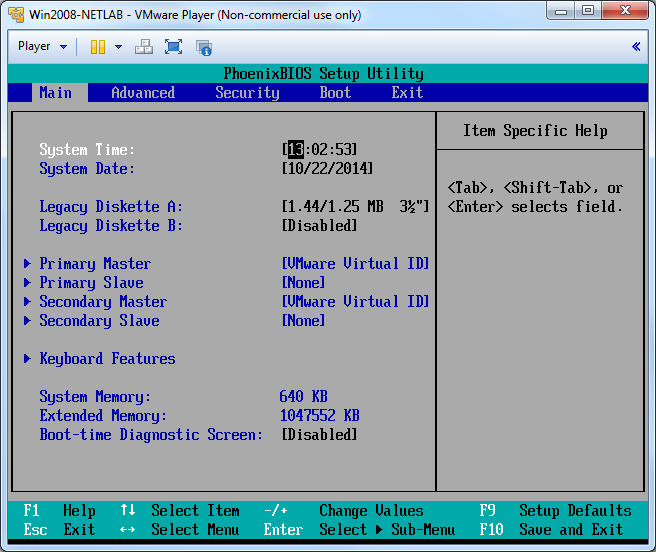
When you succeed, you will see the BIOS, as shown below.
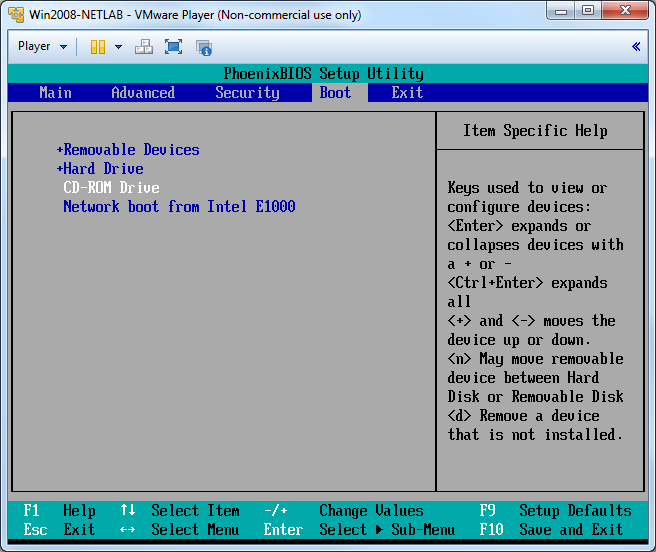
In the BIOS, press the right-arrow key on the keyboard three times to select "Boot Menu".
Press the down-arrow key on the keyboard enough times to select "CD-ROM Drive", as shown below.
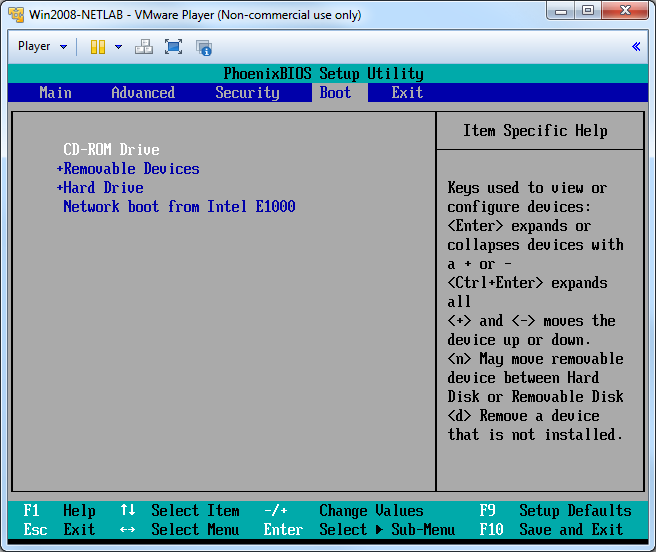
Press the + key on the keyboard (using the Shift key) several times, to "CD-ROM Drive" to the top of the list, as shown below.
Press the F10 key on the keyboard to save changes.
Press the Enter key to confirm.
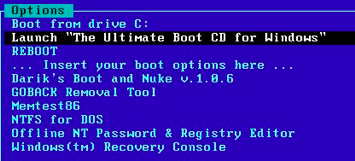
When you see a box saying "Select shell to start", don't click anything--just wait for it to close.
When you see a box saying "Network support is not started yet. Do you want to start network support now?" click No.
Troubleshooting
If your computer cannot boot from the UBCD, and crashes with the Blue Screen of Death, that means your hardware requires a driver that is not included in the UBCD image. If that happens, skip this project and do Proj X7: Bypassing Windows Logins with UBCD (2014) instead. That uses a Linux-based boot disk which is more likely to work.
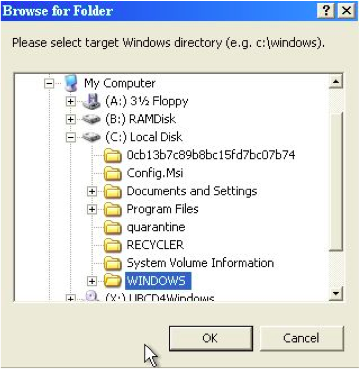
In the "Password Renew for NT's v. 1.1 BETA" box, in the lower right, click the "Select a target" button. In the "Browse for folders" box, expand"(C:) Local Disk", click the WINDOWS folder, and click OK, as shown below.
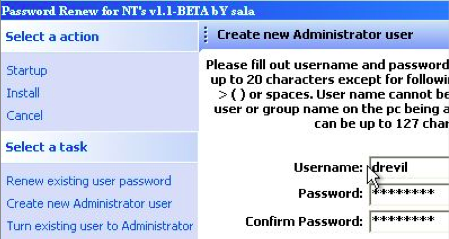
In the "Password Renew for NT's v. 1.1 BETA" box, in the left pane, click "Create a new Administrator user".
In the right pane, enter a user name of drevil and a password of P@ssw0rd, in both password boxes, as shown below.
In the left pane, click Install. A box should pop up saying "Password Renew for NTs is successfully done!", as shown below.

Press Ctrl+Alt to release the mouse from the Virtual Machine.
Press Shift+PrintScrn. That will copy the whole desktop to the clipboard.
Open Paint and paste in the image.
Saving this file may be a bit confusing, because Windows is not running from the hard disk, and the usual folders such as "Documents" are not easy to find. Navigate carefully to "C:\Users\Student\Documents" and save it there. Another alternative is to take a photo of the screen with your cellphone.
Save the image with the filename "Your Name Proj 13". Use your real name, not the literal text "Your Name". YOU MUST SUBMIT AN IMAGE OF THE WHOLE DESKTOP TO GET FULL CREDIT!
From the virtual machine's desktop, click Start. Shut down the virtual machine and restart it.
Let Windows start up normally.
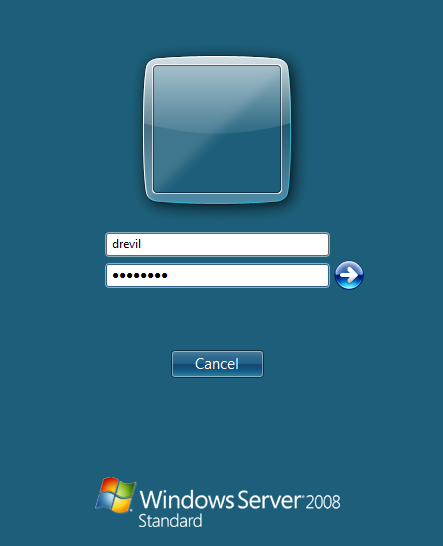
Log in with a username of drevil and a password of P@ssw0rd, as shown below.
A BIOS password to prevent booting from the CD would slow an attacker down a bit, but all you need to do is open the system unit and remove the motherboard battery to defeat that.
Download links added 1-26-18 6:17 am