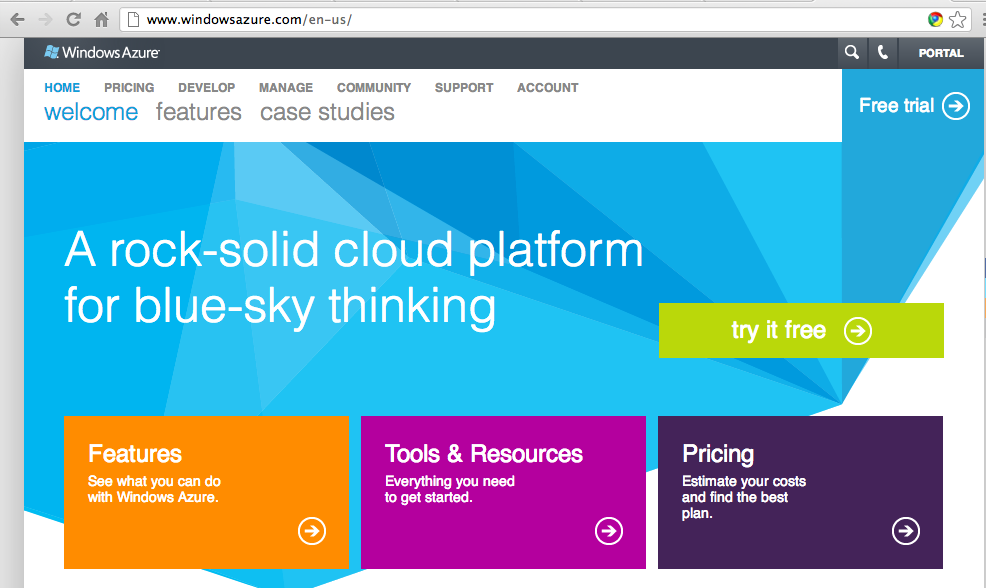
Click Features and scan the options--it sounds very interesting!
In the upper right of the "features" page, click the "Free trial" button.
On the next page, click the green "try it free" button, as shown below:
On the net page, sign in with a Windows Live account (now called a Microsoft account). If you don't have one, on the left, click the "Sign up now" link.
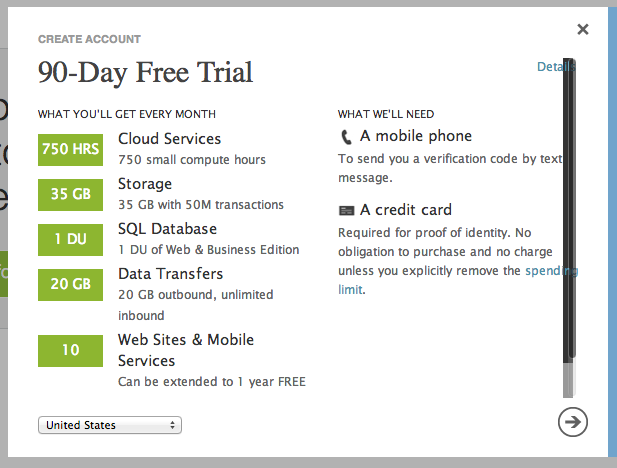
On the next page, the details of the free service are specified. Click the green "try it free" button.
In the next screen, enter your cell phone number and click the "Send text message" icon.
When you get the message, enter the code in the second field and and click the "Verify code" icon.
Click the right-arrow icon.
On the next page, fill in your billing information.
Click the right-arrow icon.
Your Azure home page opens, as shown below.
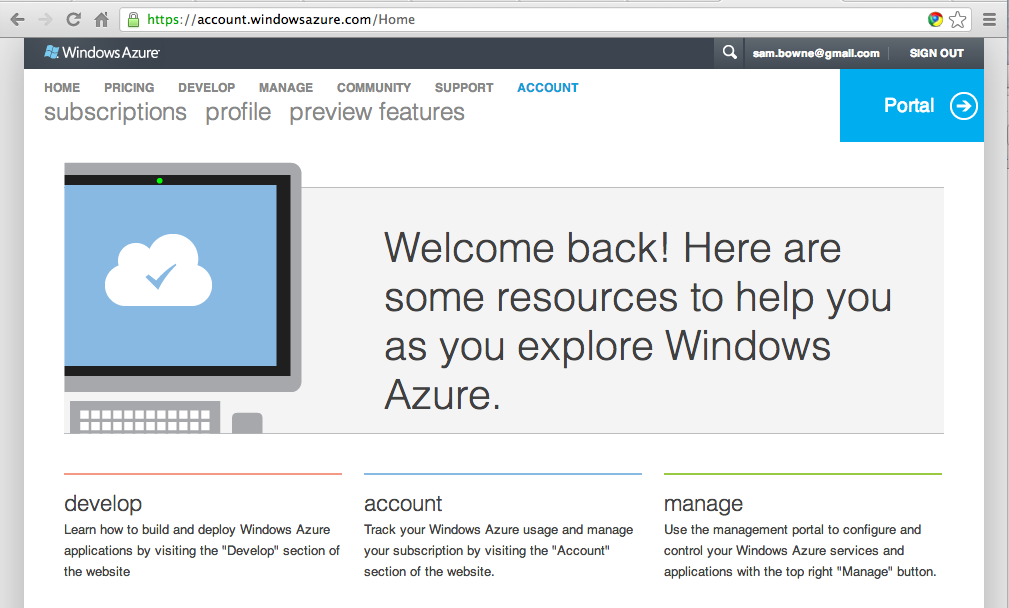
At the upper right, click Portal.
On the left, click NETWORKS.
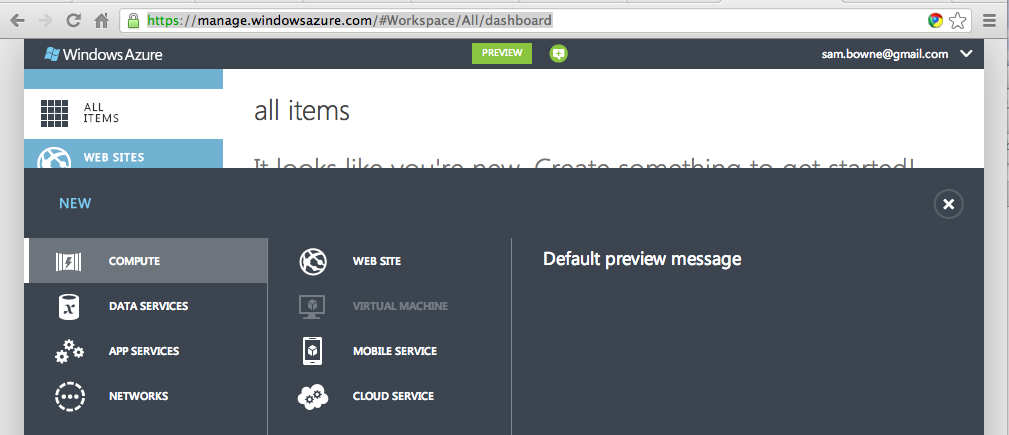
In the top center, click "VIRTUAL NETWORK".
In the upper middle, click "CUSTOM CREATE"
In the next page, fill in these items, as shown below, replacing "YourName" with your own name.
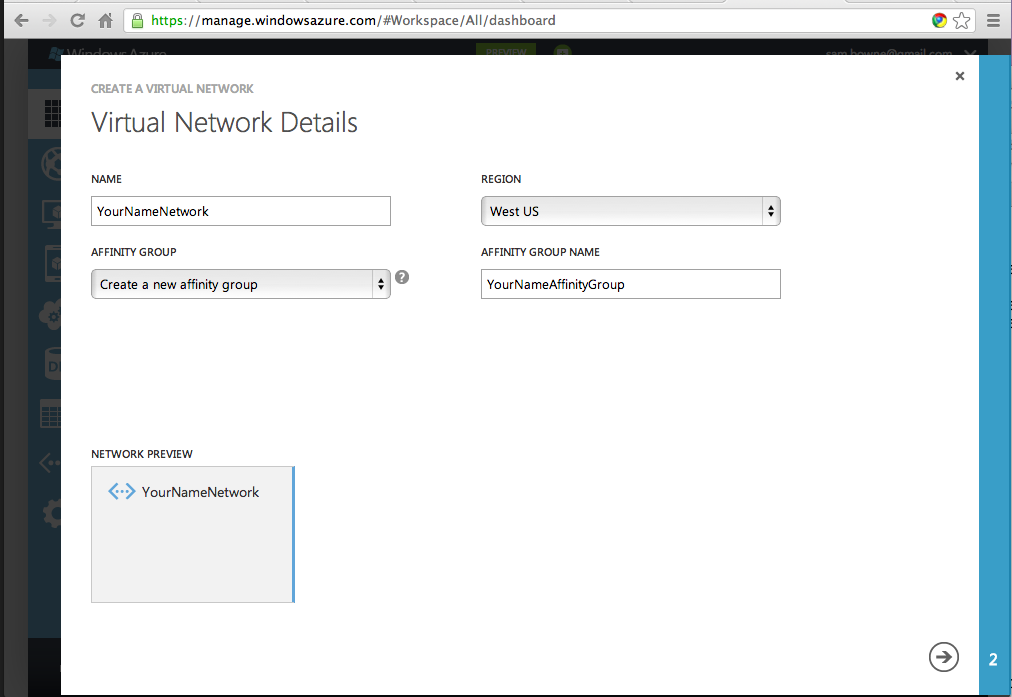
At the lower right, click the right-arrow icon.
On the "Address Space and Subnets" screen, accept the default options, as shown below, and click the right-arrow icon.

On the "DNS Servers and Local Network" screen, just leave the DNS SERVERS boxes empty (Azure will provide DNS).
On the lower right-hand of the screen, click the check button
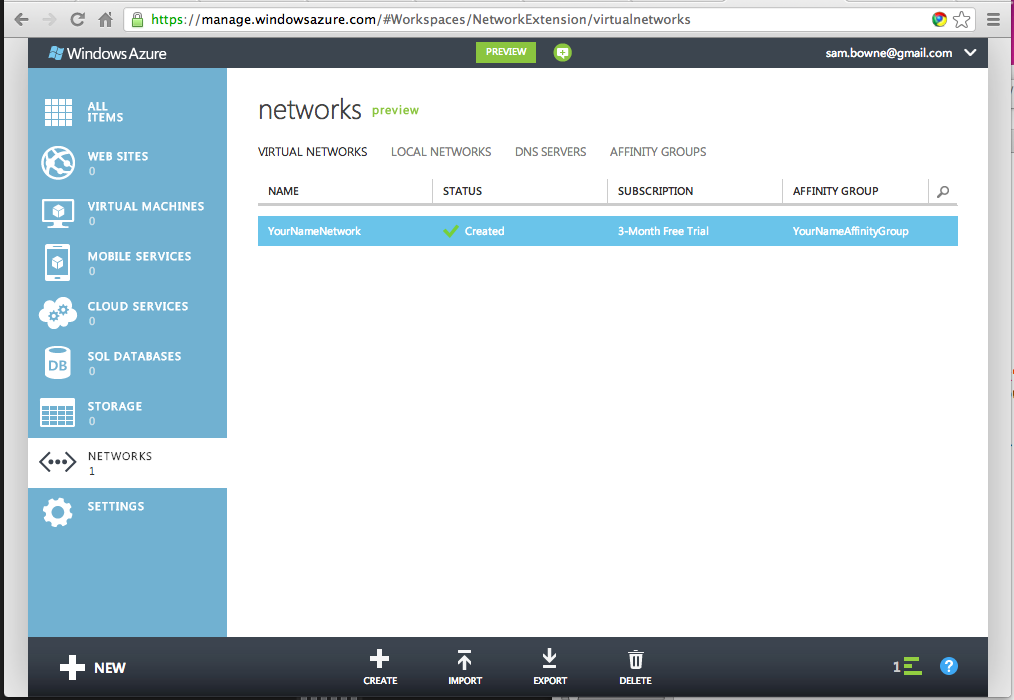
The Portal page appears, showing your new network, as shown below. Wait for the status to change from "Creating" to "Created". When I did it, it took about two minutes.
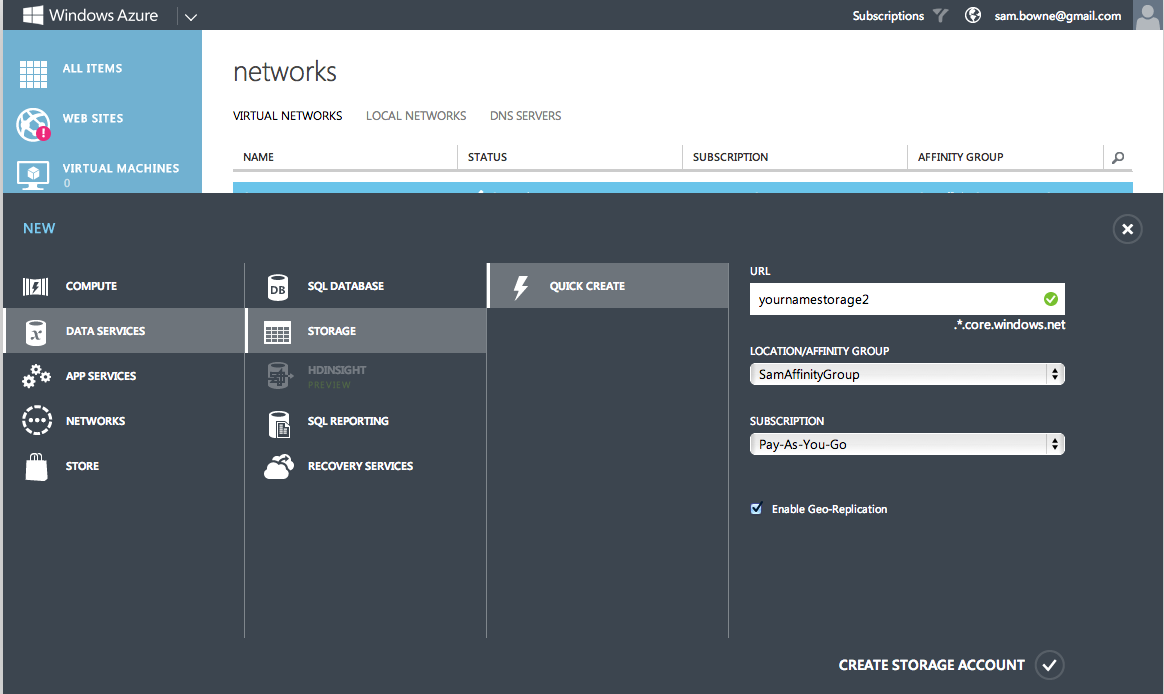
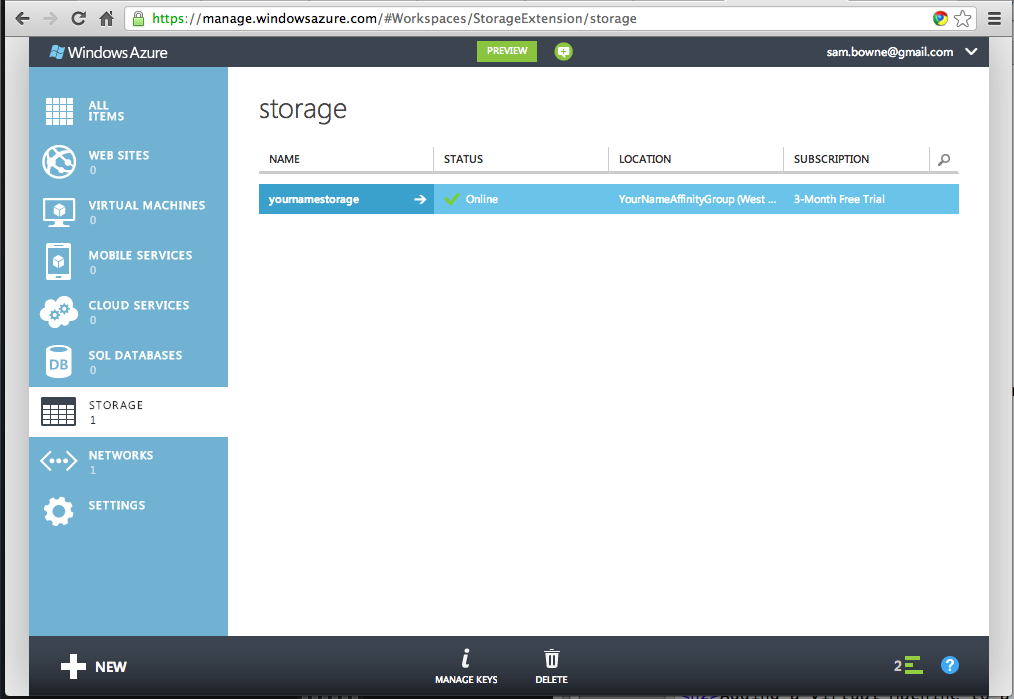
In the center left of the screen, click STORAGE.
In the upper center, click "QUICK CREATE",
On the right, fill in a URL of yournamestorage as shown below. (I already had a storage account in that name so I had to add a "2" to the end when making the image.)
In the lower right, click "CREATE STORAGE ACCOUNT"
Wait until the STATUS changes from "Creating" to "Online", as shown below. This took two minutes when I did it.
On the left, click COMPUTE.
In the middle of the page, click "VIRTUAL MACHINE".
In the upper middle, click "CREATE A VIRTUAL MACHINE"
In the center-right, click "FROM GALLERY"
The options appear, as shown below:
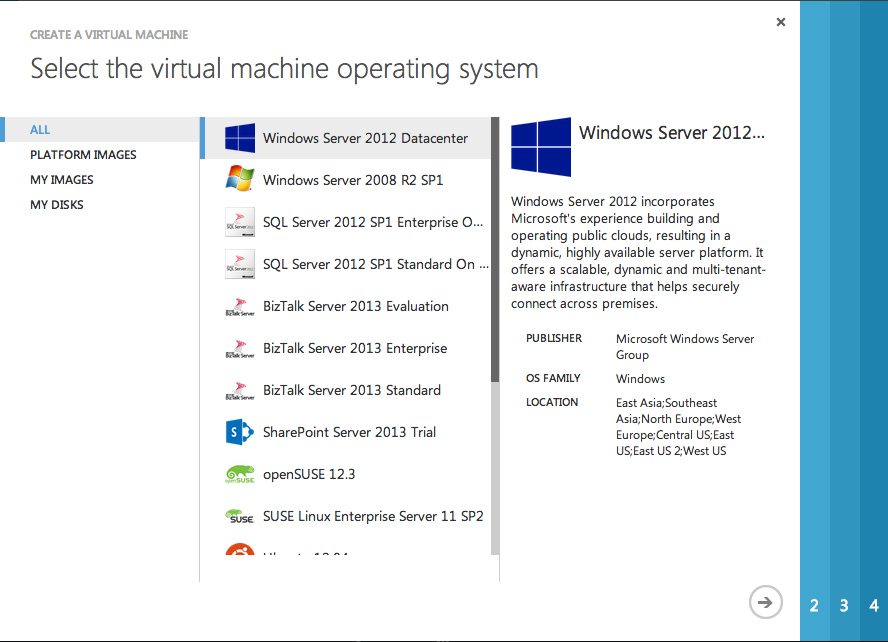
Click "Windows Server 2012 Datacenter".
On the bottom right, click the right-arrow.
In the "VM Configuration" page, enter a "VIRTUAL MACHINE NAME" of
YOURNAME-Azure
Replace YOURNAME with your own real name.
Enter YOURNAME in the "New User Name" box.
Choose a password containing uppercase letters, lowercase letters, and numbers or symbols. Write it down so you don't forget it!
Enter your password in both password boxes, as shown below.
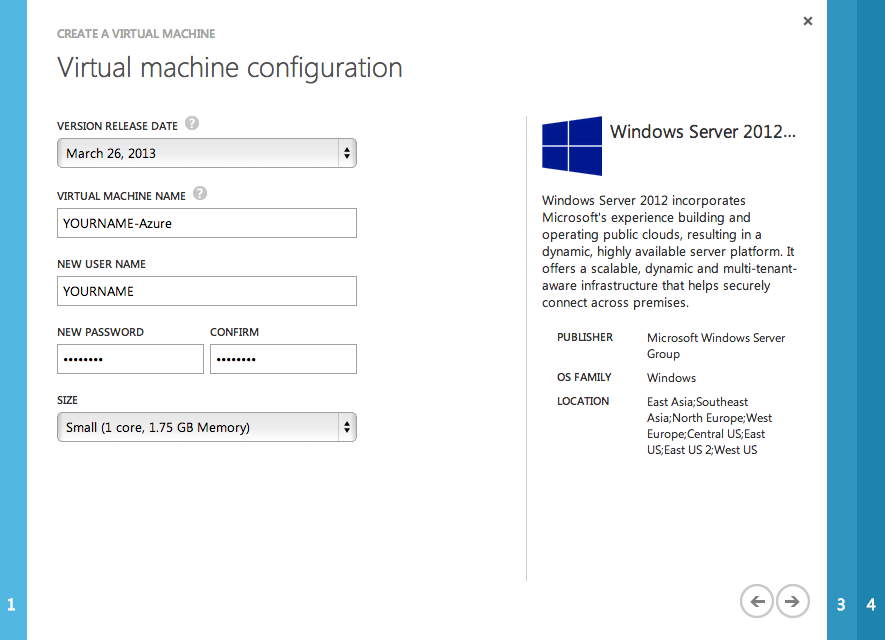
On the bottom right, click the right-arrow.
In the "Virtual machine Mode" page, enter a "DNS NAME" of
YOURNAME-Azure
Replace YOURNAME with your own real name.
In the "STORAGE ACCOUNT" field, select yournamestorage, as shown below.
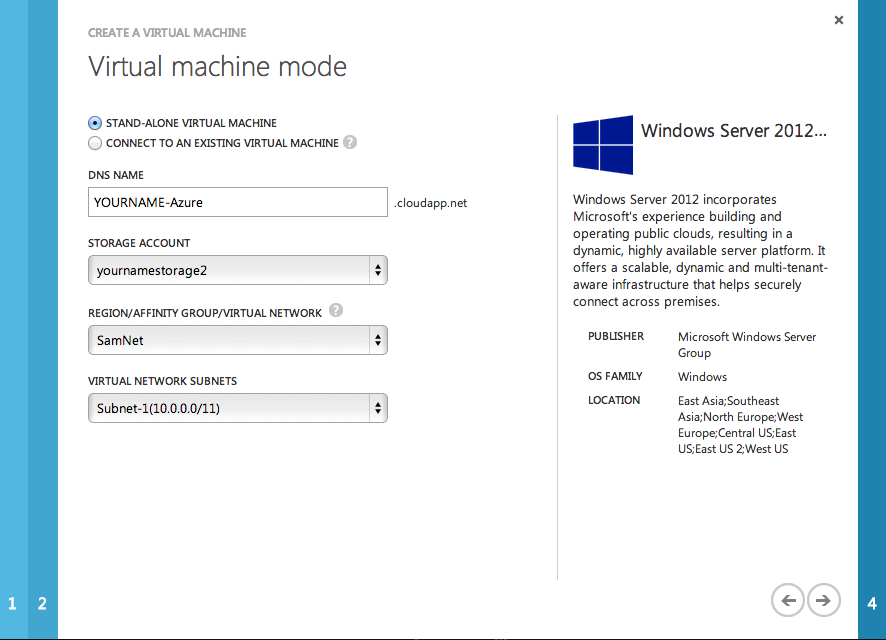
On the bottom right, click the right-arrow.
In the "Virtual machine options" page, leave the "AVAILABILITY SET" field at the default selection of (None)
On the bottom right, click the checkmark.
It will take a few minutes to provision your virtual machine.
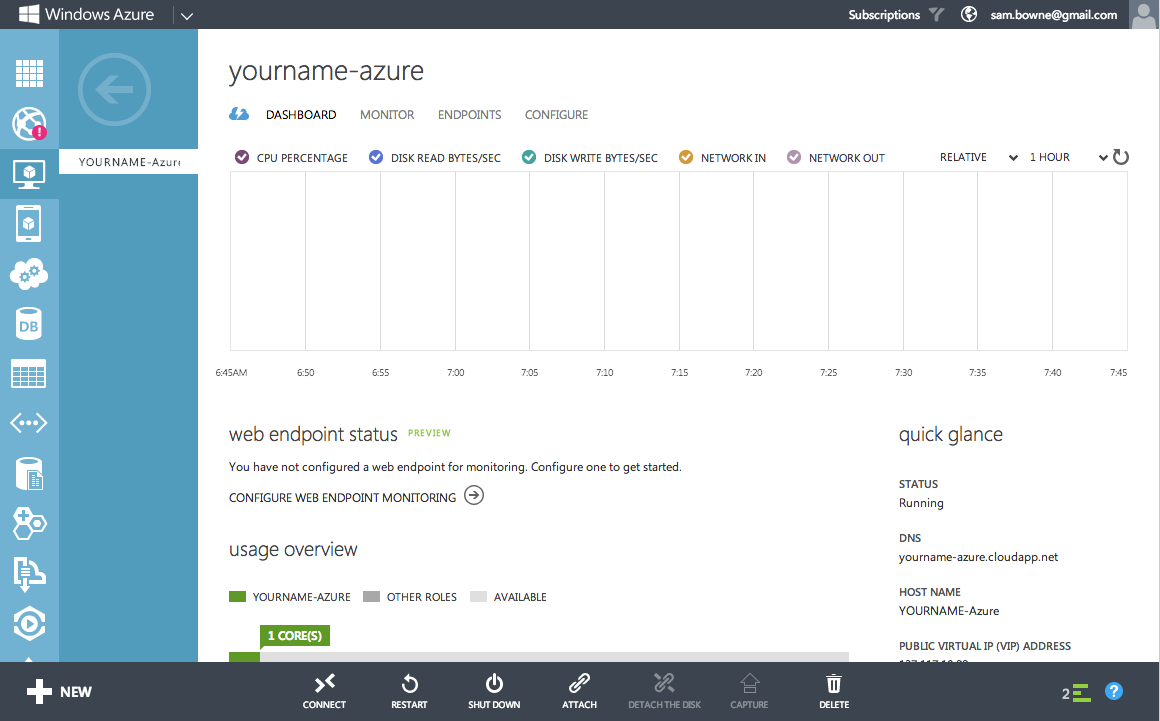
When the process is complete, you will see a status of "RUNNING", as shown below:

Save a screen image with the filename Proj 6xa from Your Name.
In the upper center, click YourName-Azure.
A page with helpful resources appears, as shown below:
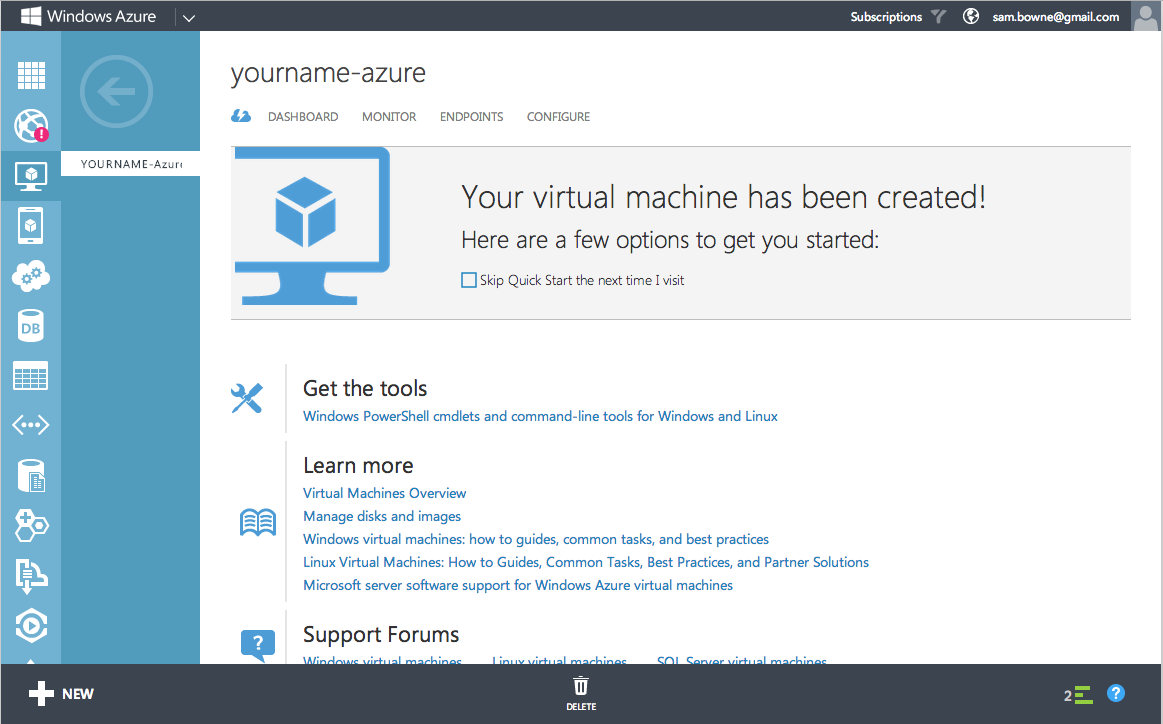
In the top center, click DASHBOARD.
In the dark bar at the bottom of the screen, on the left side, click CONNECT, as shown below:
This downloads a file named "YourNameVM.rdp".
Open the downloaded file to get an RDP login box, as shown below:

In the "Remote Desktop Connection" box, log in with the user name and password you chose earlier.
Leave the "Domain" field empty and click OK.
An error message appears, saying the server name on the certificate is incorrect, as shown below:
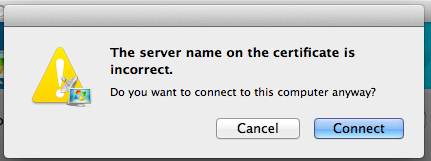
That's disconcerting, but just click Connect anyway.
An empty black desktop opens.
Wait a couple of minutes, and "Server Manager" will open, as shown below:

You now have a whole virtual server to use free!
Save a screen image with the filename Proj 6xb from Your Name.
Email the image to cnit.345@gmail.com with a Subject line of Proj 6x from Your Name.
You can configure network services such as IIS, and enable port forwarding (called "ENDPOINTS"), but only for TCP and UDP ports and only up to a maximum of 25 endpoints per VM.
Last modified: 7:45 am 4-17-13