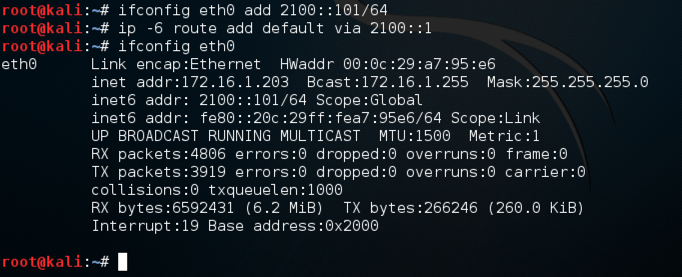
ifconfig eth0 add 2100::101/64

ip -6 route add default via 2100::1

ifconfig eth0
Your network adapter now has three addresses, as shown below.
The "Link" scope address is automatically configured by the adapter, and only works for traffic on the local network segment, like a MAC address.
The "Global" scope address could be used for communication over the Internet, if it were in a range provided to you by an ISP.
In IPv4, the most common address classes are /8, /16, and /24, also called classes A, B, and C. In IPv6, the addresses are 128 bits long, and the most commmon address type is /64.
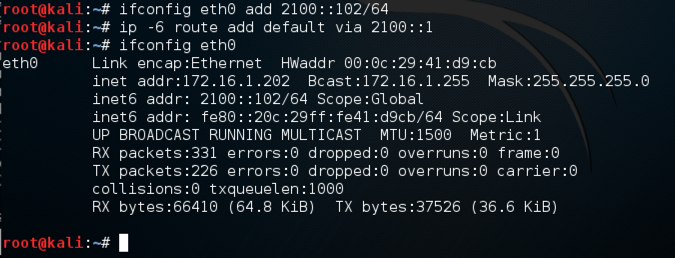
ifconfig eth0 add 2100::102/64

ip -6 route add default via 2100::1

ifconfig eth0
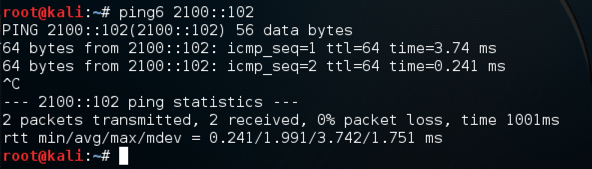
ping6 2100::102
Press Ctrl+C to stop the pings.
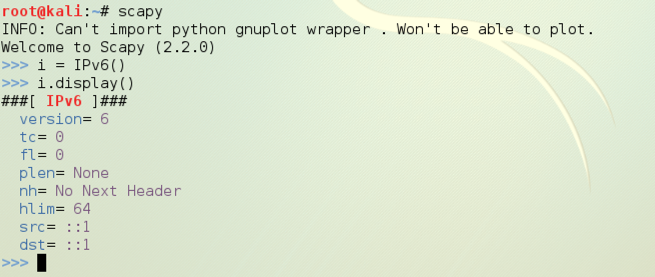
scapy

i = IPv6()

i.display()
If the colors are difficult to see, adjust them by clicking Edit, "Profile Preferences", Colors. I used "Black on light yellow".
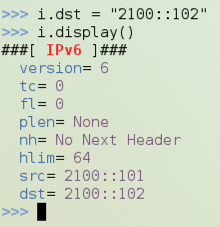
In the Sender machine, execute these commands to assign the IPv6 destination address,
i.dst = "2100::102"

i.display()
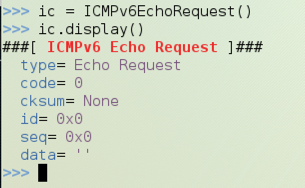
ic = ICMPv6EchoRequest()

ic.display()
sr1(i/ic)

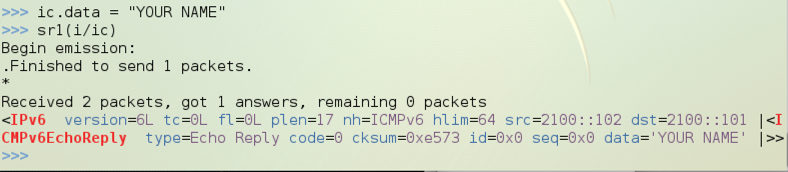
Use these commands to send a packet with your name in it, and look at the reply:
ic.data = "YOUR NAME"

sr1(i/ic)
scapy

p = sniff(filter="udp and dst port 4444", count=1)

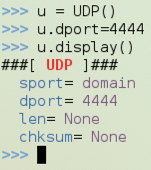
u = UDP()

u.dport = 4444

u.display()
Execute this command to send an UDP packet to the Windows machine:
send(i/u/"YOUR NAME SENT VIA IPv6 UDP\n")
p[0]

http://packetstorm.Sendersecurity.com/papers/general/blackmagic.txt
http://www.secdev.org/projects/scapy/
Last modified 5-1-12
Update for NETLAB 6-11-16