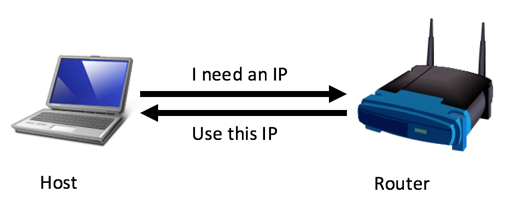
(After this process, a couple of additional DHCP packets are sent to make sure that no other device is using the same address.)
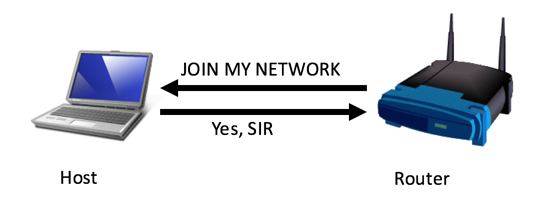
However, in IPv6 the most common method is through Router Advertisements. This is a "push" process: the router announces its presence with a special packet that is multicast to all nodes, and they then join the network, as shown below.
(After this process, a couple of additional Neighbor Discovery packets are sent to make sure that no other device is using the same address.)
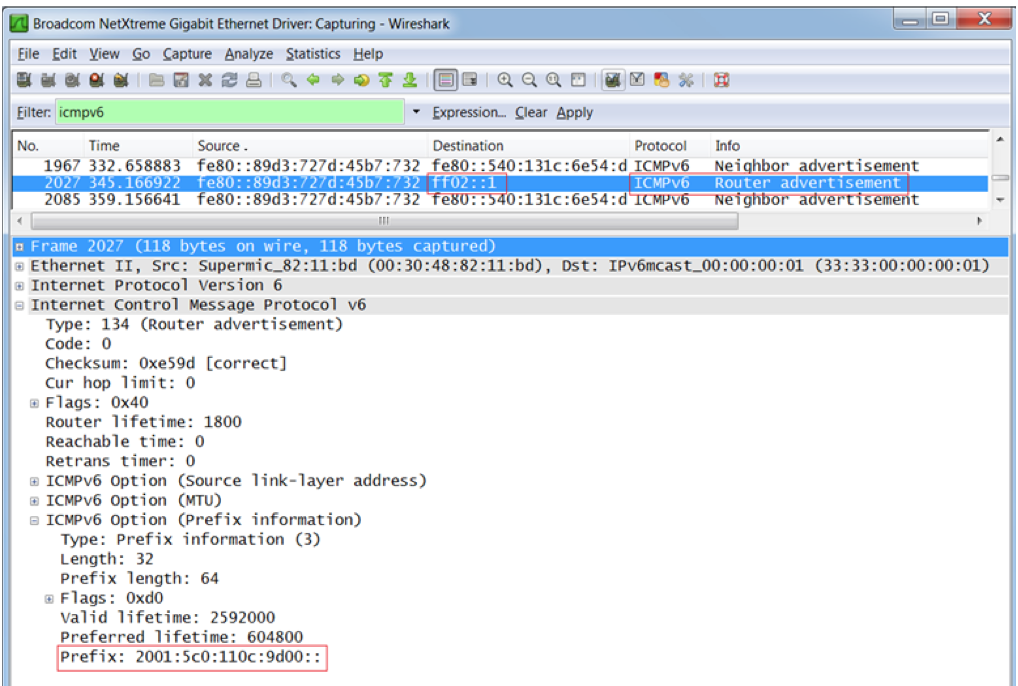
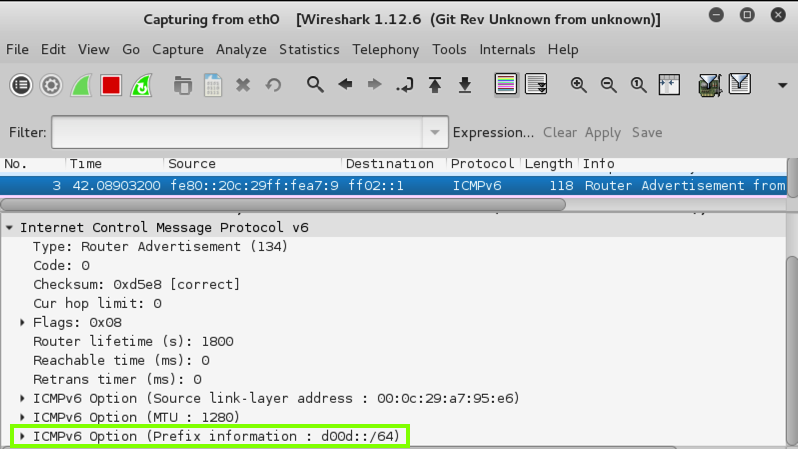
A Routing Advertisement packet is shown below. Notice these elements, outlined in red:
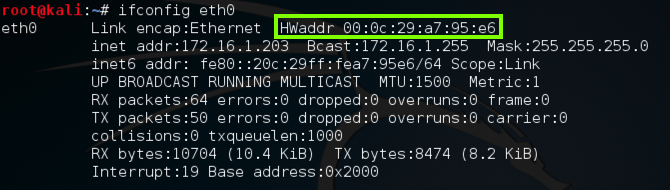
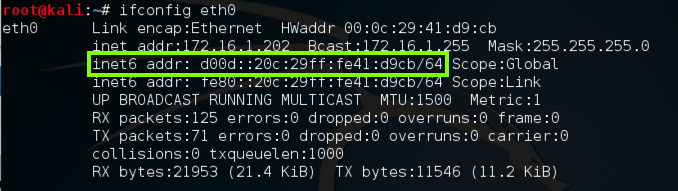
ifconfig eth0
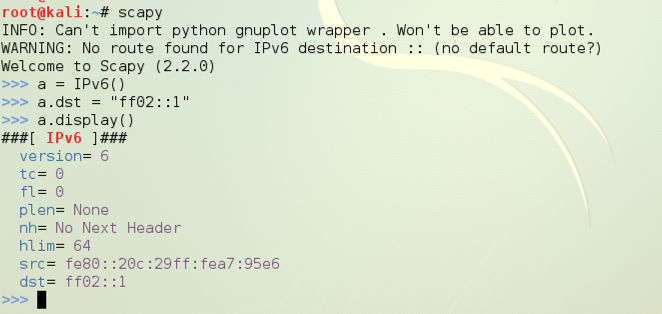
scapy

a = IPv6()

a.dst = "ff02::1"

a.display()
If the colors are difficult to see, adjust them by clicking Edit, "Profile Preferences", Colors. I used "Black on light yellow".
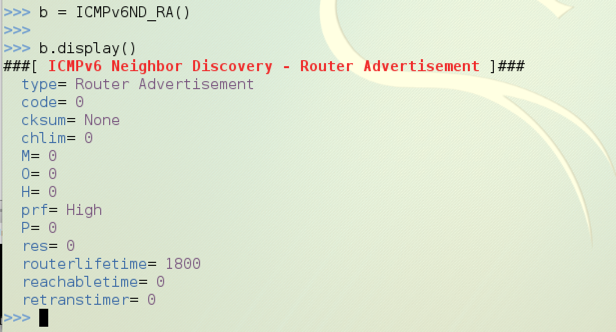
b = ICMPv6ND_RA()

b.display()
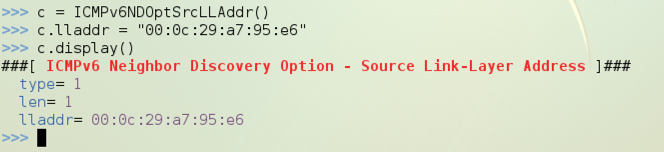
c = ICMPv6NDOptSrcLLAddr()

c.lladdr = "00:50:56:24:3b:c0"

c.display()
d = ICMPv6NDOptMTU()

d.display()

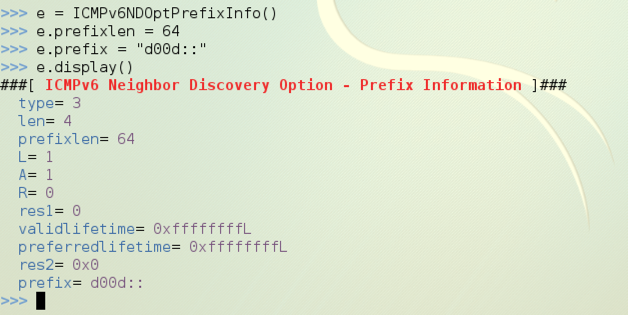
e = ICMPv6NDOptPrefixInfo()

e.prefixlen = 64

e.prefix = "d00d::"

e.display()
In the new Terminal window, execute this command:
wireshark
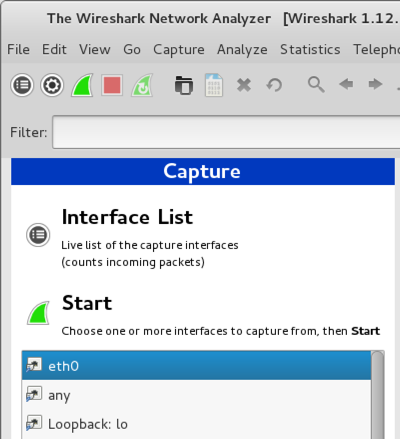
Press Enter to close them. In the Wireshark window, click eth0 to highlight it, as shown below.
Then click Start.
send(a/b/c/d/e)
You should see a message saying "Sent 1 packets".
The Wireshark window should show the Router Advertisement packet. Click it in the upper pane to select it, and expand the middle pane so the Prefix: d00d:: information is visible, as shown below on this page:
ifconfig eth0
http://www.packetlevel.ch/html/scapy/scapyipv6.html