I wrote this project for a 32-bit Kali 2 VM because that's what my students already have. But if you have a 64-bit system handy, it would probably work better.
apt-get update
apt-get install docker.io -y
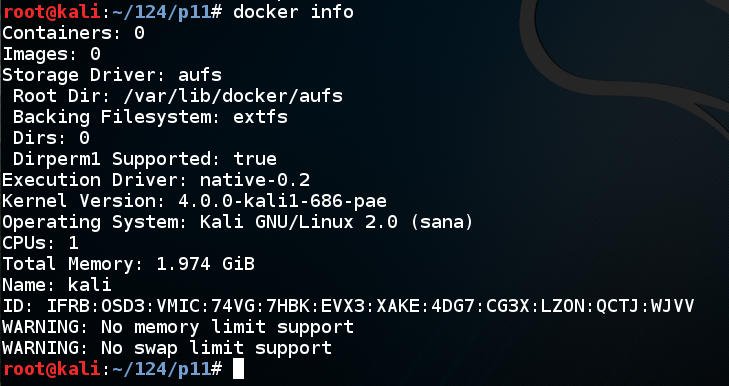
docker info
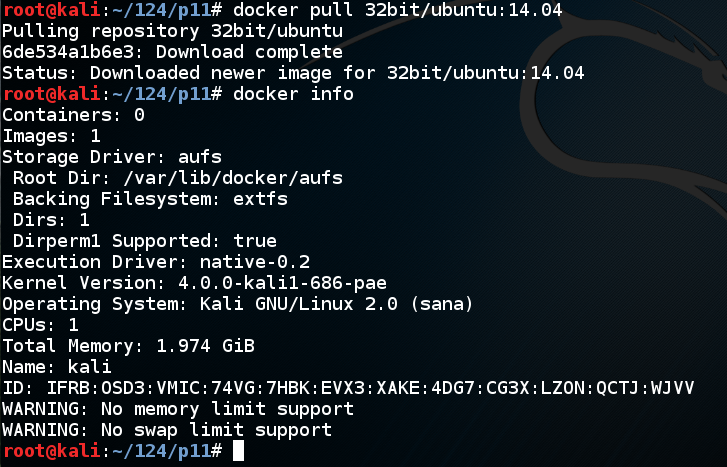
docker pull 32bit/ubuntu:14.04

While waiting for the download, take a look at the available images here:
https://hub.docker.com/u/32bit/
As you can see, there are only 4 images available. That's what we get for using a 32-bit host.
Take a look at all the 64-bit images:
https://hub.docker.com/explore/?page=1
When the image is finished downloading, execute this command:
docker info
Execute this command:
docker images

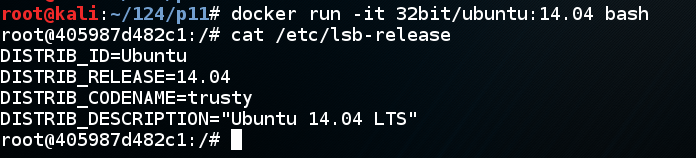
docker run -it 32bit/ubuntu:14.04 bash

cat /etc/lsb-release
This is really Ubuntu, not Kali, as shown below.
ifconfig

exit
The "exit" command leaves the Ubuntu container and returns to Kali.
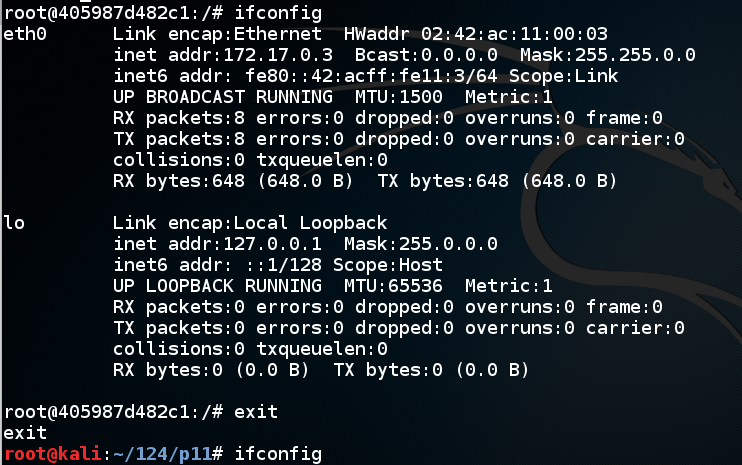
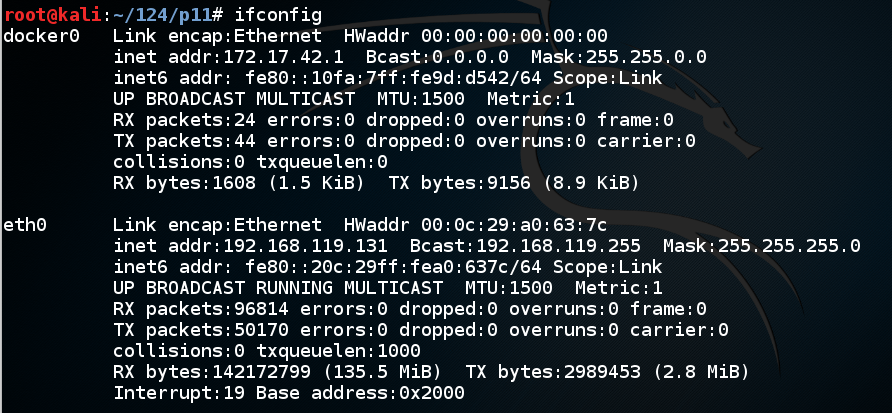
At the Kali prompt, execute this command:
ifconfig
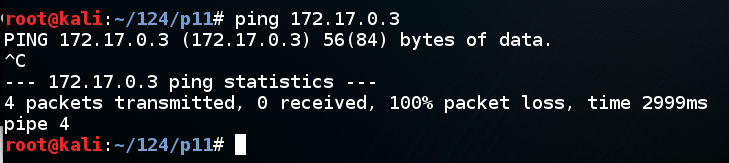
At the Kali prompt, execute this command, replacing the IP address with the IP address of your Ubuntu container. After a few seconds, press Ctrl+C.
ping 172.16.0.3
docker ps

docker ps -a
Notice that the Ubuntu container has a "CONTAINER ID" number and also "NAMES". Currently it has a randomly generated name--when I did it, my container was named "insane_meitner", as shown below.

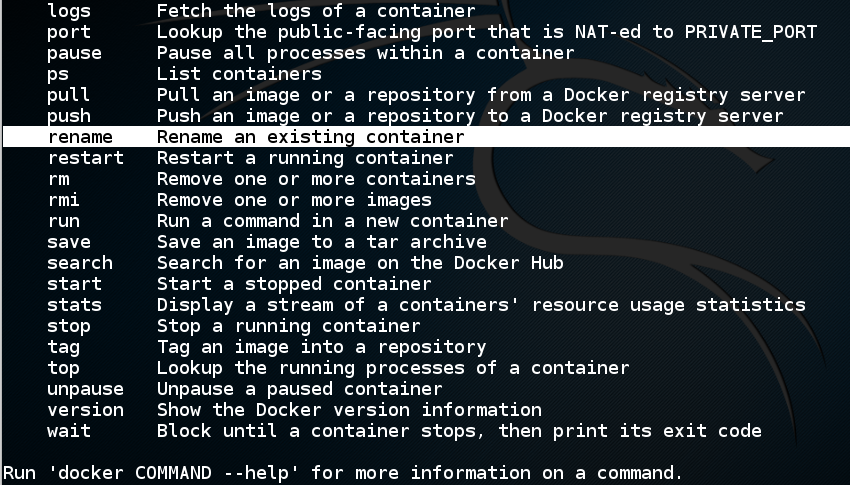
docker help
At the end of the output, it tells us how to learn more about a command: Run 'docker COMMAND --help'.
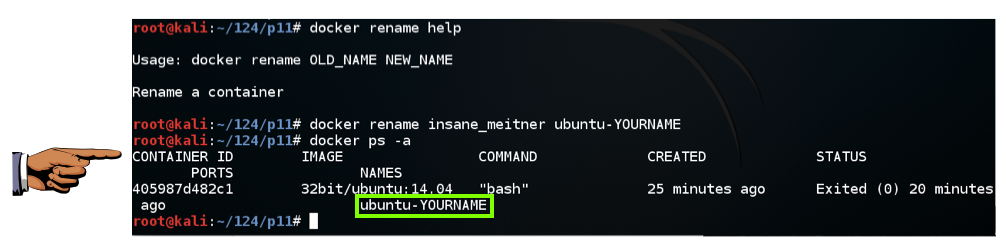
Execute these commands, using the correct name of your container instead of "insane_meitner", and your own name instead of "YOURNAME":
docker rename help

docker rename insane_meitner ubuntu-YOURNAME

docker ps -a
Click on the host machine's desktop.
Press Shift+PrintScrn. That will copy the whole desktop to the clipboard.
Open Paint and paste in the image.
Save the image with the filename "Your Name Proj 13a". Use your real name, not the literal text "Your Name". YOU MUST SUBMIT AN IMAGE OF THE WHOLE DESKTOP TO GET FULL CREDIT!
In Kali, in a terminal window, execute these commands to start your container, replacing "YOURNAME" with your own name.
docker start ubuntu-YOURNAME

docker ps

Since your container has restarted, it may have a new IP address. To check, we'll attach to the running container.
Execute these commands:
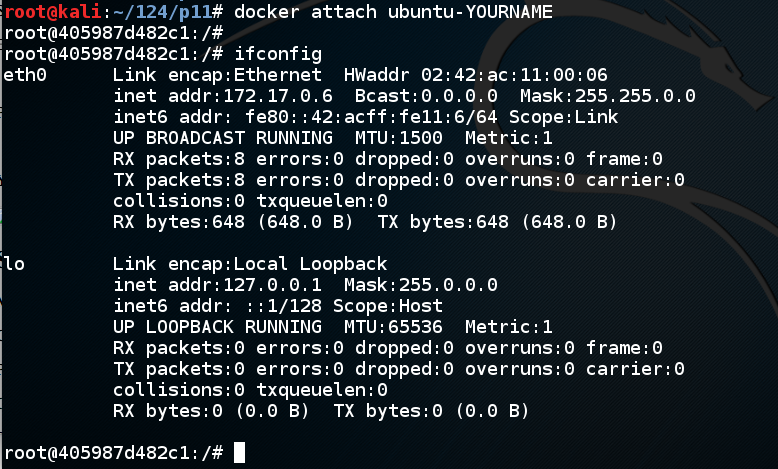
docker attach ubuntu-YOURNAME
ifconfig
Then execute these commands, replacing the IP address with the correct address of your container:
docker ps

ping 172.17.0.6

Press Ctrl+C to stop the pings.
docker attach ubuntu-YOURNAME
service apache2 start

This Ubuntu image doesn't have Apache installed on it. To install it, execute these commands:
apt-get update

apt-get install apache2 -y

netstat -pant

echo "<h2>Ubuntu Container on Kali -- YOURNAME</h2>" > /var/www/html/index.html
Click IceWeasel.
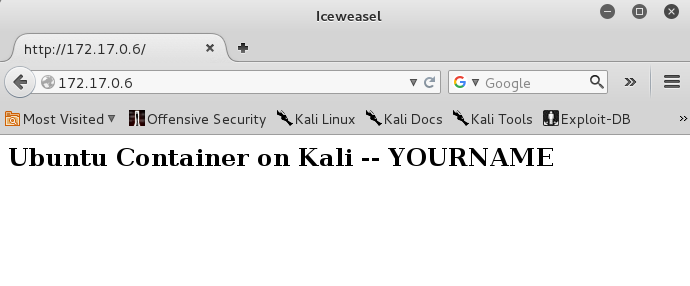
In Iceweasel, in the address bar, enter the IP address of your ubuntu container. You should see the Web page you just created, as shown below.
The browser times out, as shown below.
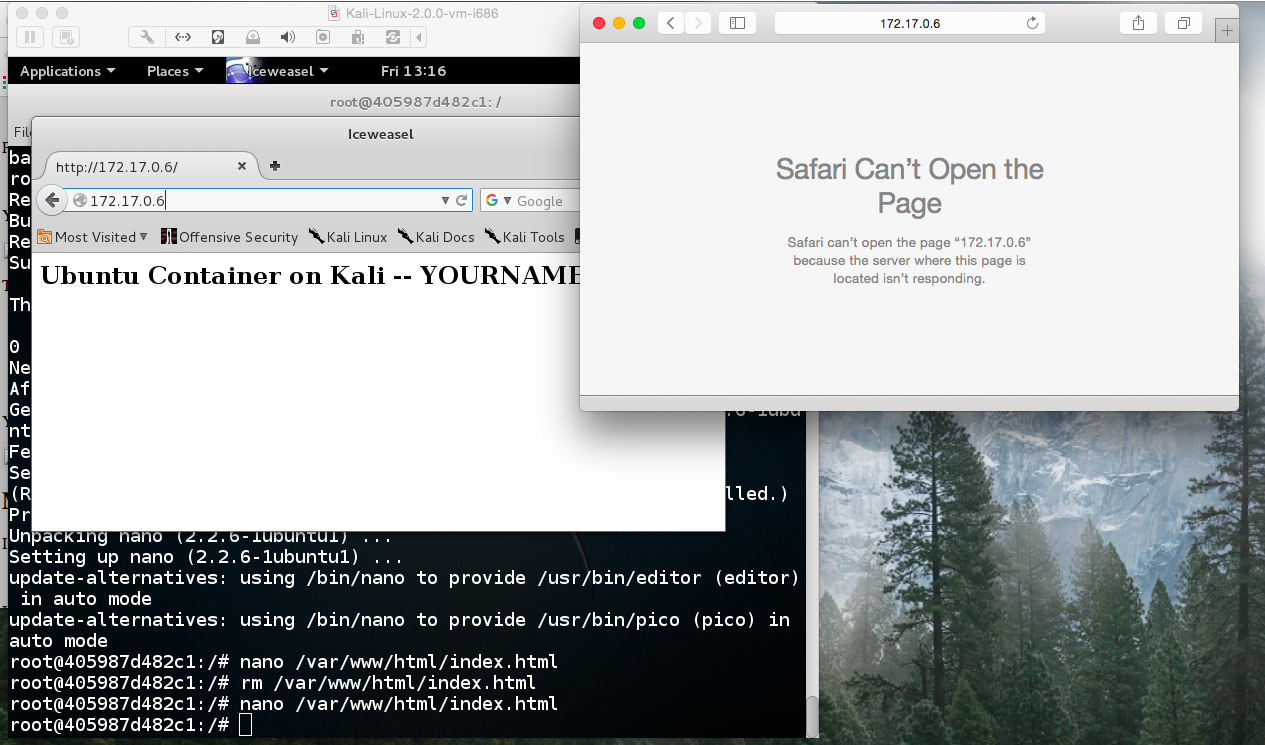
This happened because the Ubuntu container is behind a virtual router with Network Address Translation--it's not directly connected to the host system.
To operate network services inside the container, we need to specify port forwarding --connecting a port on the Kali host to a port on the Ubuntu guest.
Starting from the Ubuntu prompt, execute these commands, replacing "YOURNAME" with your own name.
exit
docker run -p 8080:80 -it 32bit/ubuntu:14.04 bash
apt-get update
apt-get install apache2 -y
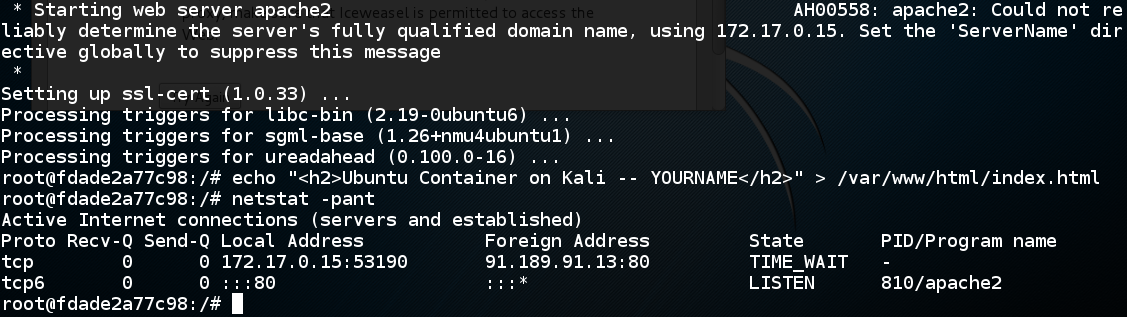
echo "<h2>Ubuntu Container on Kali -- YOURNAME</h2>" > /var/www/html/index.html
netstat -pant
Press Ctrl+P and then press Ctrl+Q to detach from the container and leave it running.
In the Kali terminal, execute this command:
netstat -pant
In the Kali terminal, execute this command:
ifconfig

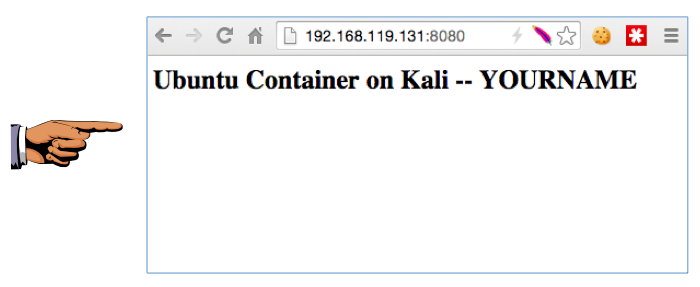
Find the address of the eth0 interface. That's the address that can be seen from the host machine.
The page should open, as shown below.
Click on the host machine's desktop.
Press Shift+PrintScrn. That will copy the whole desktop to the clipboard.
Open Paint and paste in the image.
Save the image with the filename "Your Name Proj 13b". Use your real name, not the literal text "Your Name". YOU MUST SUBMIT AN IMAGE OF THE WHOLE DESKTOP TO GET FULL CREDIT!