If that is your situation, do these steps to connect through a UDP-based IPv4 tunnal.
Note: If you have Comcast home service, you should already have native IPv6. Connect your Kali VM in Bridged mode and try it--this tunnel may not be needed!
I recommend that you put your Kali machine in NAT made for this. That simplifies things in S214, where the local IPv6 tunnel will cause extra confusing addresses.
In Kali, in a Terminal window, execute these commands:
apt-get install gogoc -y

nano /etc/gogoc/gogoc.conf
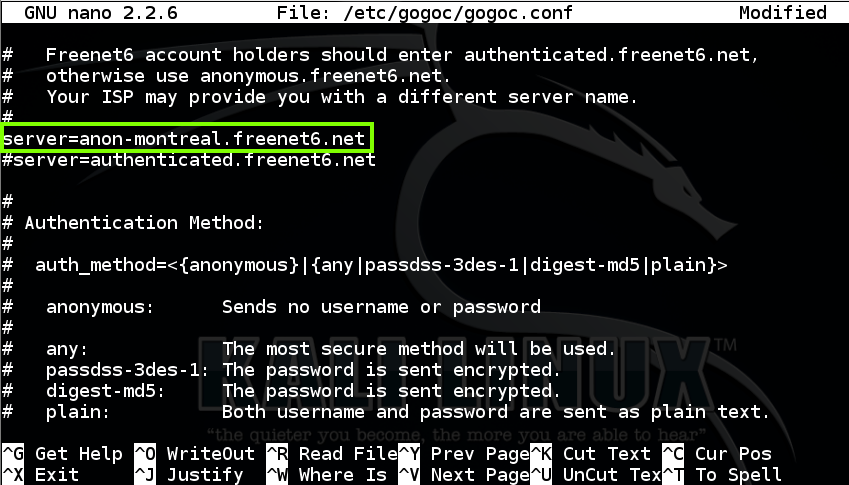
In nano, scroll down a screen or two and change the server to
anon-montreal.freenet6.net
as shown below. This was necessary to reach a working server when I did it on 7-27-15.
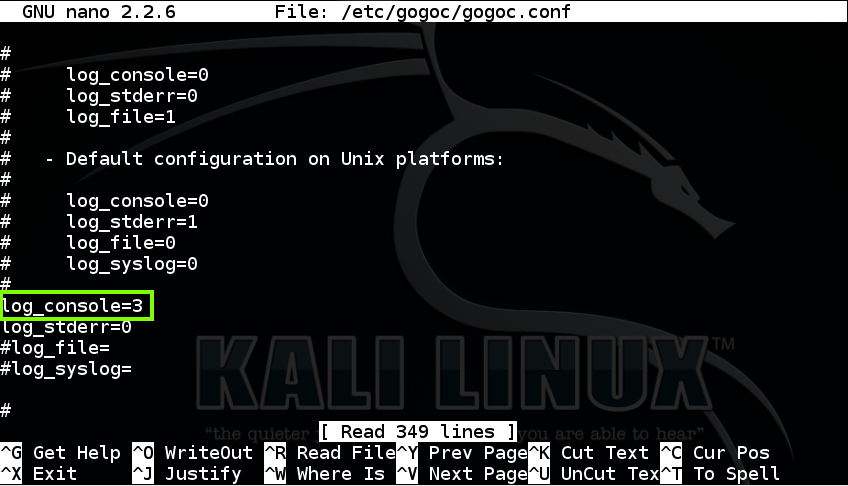
Scroll down several more screens and set log_console=3 as shown below. This makes gogoc print out a lot of useful messages as it connects.
Save the file with Ctrl+X, Y, Enter.
In Kali, in a Terminal window, execute these commands:
mkdir /var/run/gogoc

gogoc -n
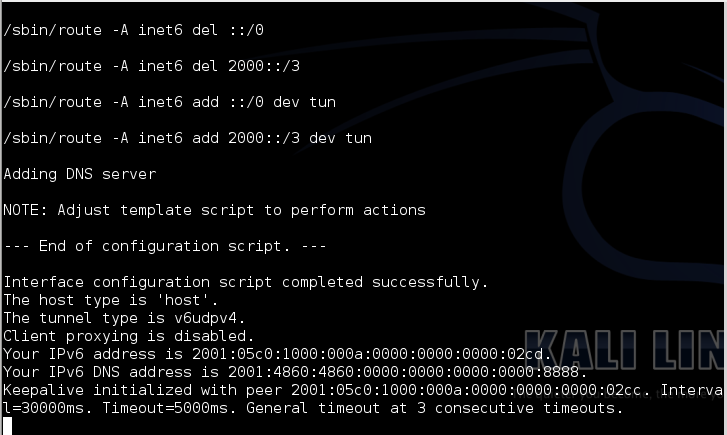
LEAVE THIS TERMINAL WINDOW OPEN! If you close it you will lose your IPv6 connection!
Open another Terminal window and execute this command:
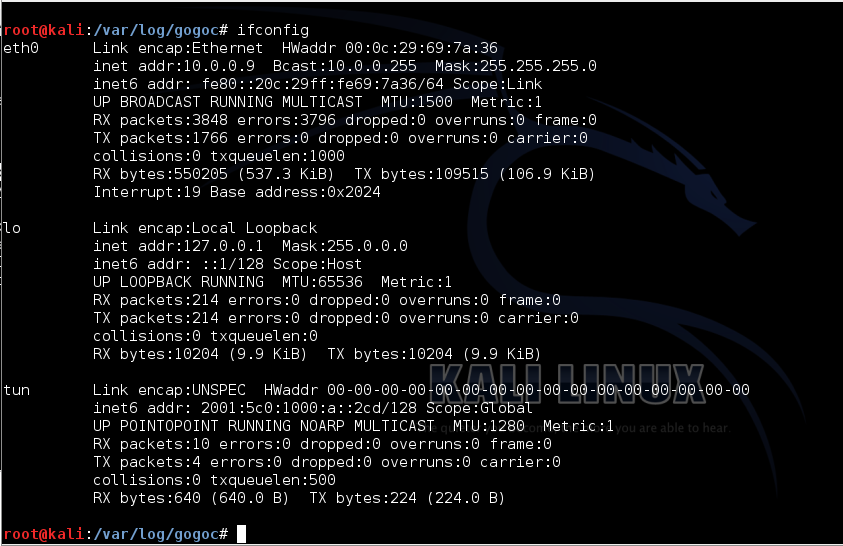
ifconfig
In a Terminal window, execute this command:
ping6 attack.samsclass.info

Capture a whole-desktop image. Save it as "Proj 2xa from YOUR NAME".
YOU MUST SEND IN A WHOLE-DESKTOP IMAGE FOR FULL CREDIT
In Kali Linux, in a Terminal window, execute this command:
nano grab6.py
import socket
s = socket.socket(socket.AF_INET6, socket.SOCK_STREAM)

s.connect(("attack.samsclass.info", 6000))
print s.recv(1024)
s.close()
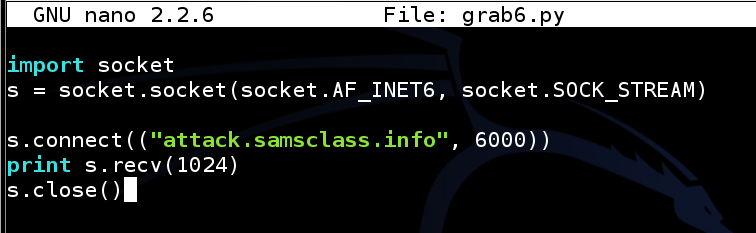
Save the file with Ctrl+X, Y, Enter.
python grab6.py

Click on the host system's taskbar, at the bottom of the screen.
Press the PrntScrn key to capture the whole desktop. Open Paint and paste in the image.
Save the image as "Proj 2xb from YOUR NAME".
YOU MUST SEND IN A WHOLE-DESKTOP IMAGE FOR FULL CREDIT
s.bind(('',3000))

Save the image as "Proj 2xc from YOUR NAME".
YOU MUST SEND IN A WHOLE-DESKTOP IMAGE FOR FULL CREDIT

Tip: Don't use two loops; use two scripts. First find the listening port; then probe that port with various source ports.
Save the image as "Proj 2xd from YOUR NAME".
YOU MUST SEND IN A WHOLE-DESKTOP IMAGE FOR FULL CREDIT
Save the image as "Proj 2xe from YOUR NAME".
YOU MUST SEND IN A WHOLE-DESKTOP IMAGE FOR FULL CREDIT