
The other is the WINDBG machine, which is the Windows 7 host.
Click Start, Run.
In the Run box, execute this command:
notepad c:\boot.ini
/debug /debugport=com1 /baudrate=115200
Save the file.
If you cannot save the file, open a Command Prompt and execute this command, to remove the Read-only, System, and Hidden flags from the file:
attrib -R -S -H c:\boot.ini
On the WINDBG machine, start VMware Player.
In the left pane of VMware Player, click your TARGET machine.
At the lower right of VMware Player, click "Edit virtual machine settings".
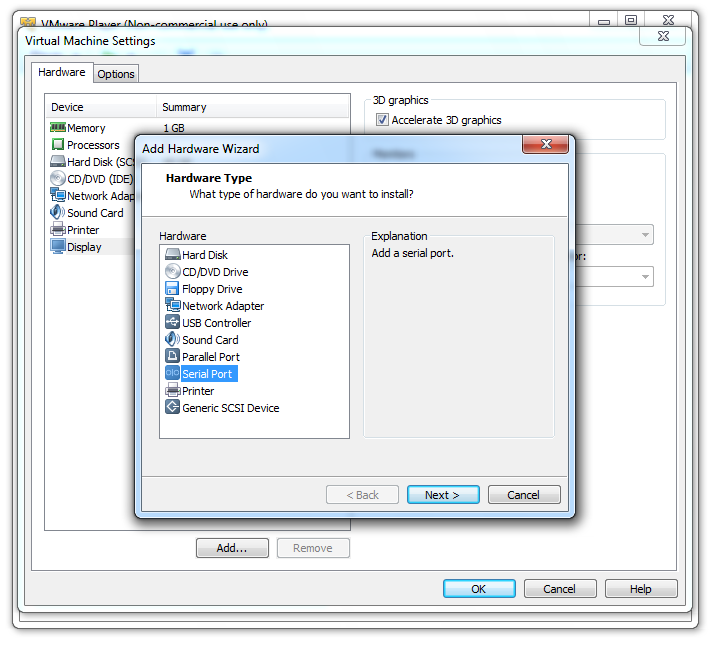
In the left side of the "Virtual Machine Settings" box, click the Add... button.
In the "Hardware Type" box, select "Serial Port", as shown below.
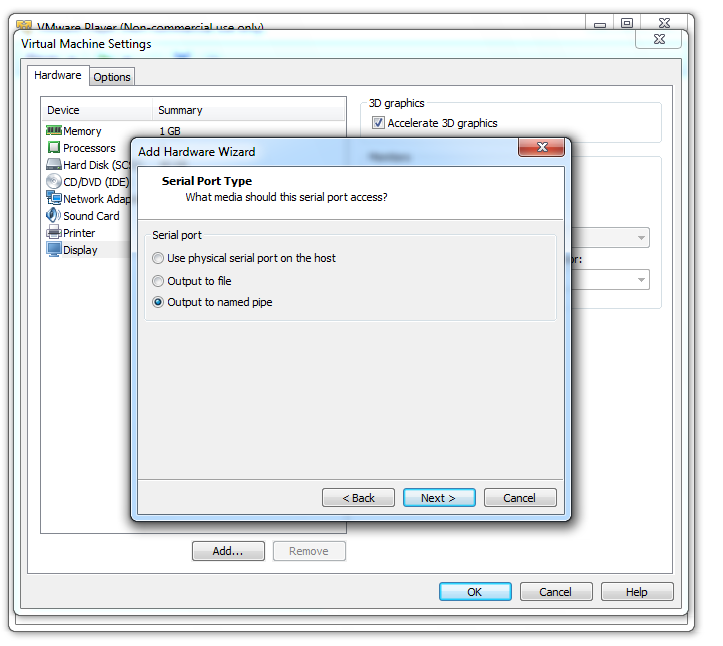
Click Next.
In the "Serial Port Type" box, click "Output to named pipe", as shown below.
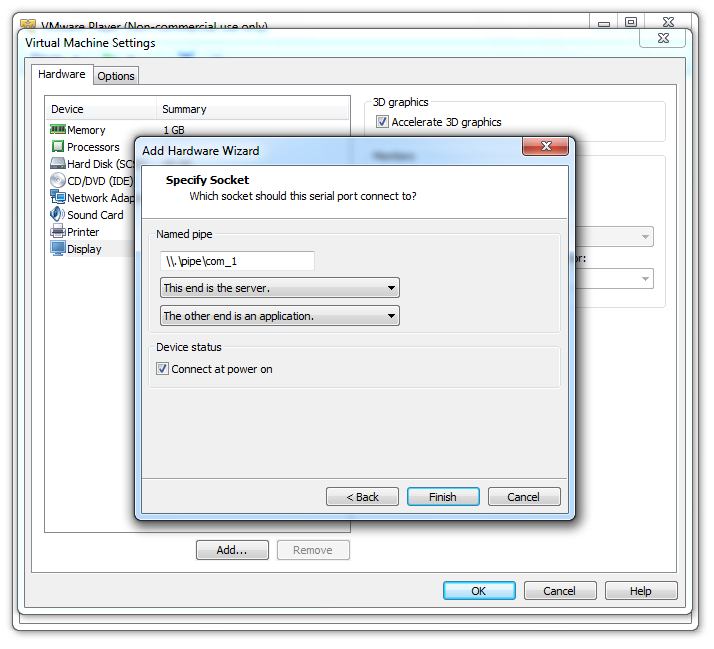
Click Next.
In the "Specify Socket" box, enter a Named Pipe of
\\.\pipe\com_1
In the two drop-down list boxes, select
This end is the server.
and
The other end is an application.
as shown below.
Click Finish.
In the "Virtual Machine Settings" box, on the lower right, click the "Yield CPU on poll" box, as shown below.
Then click the OK button.

WinDbg can download them automatically as needed, but downloading them separately is the best procedure if you plan to work without always being connected to a reliable, high-speed Internet connection.
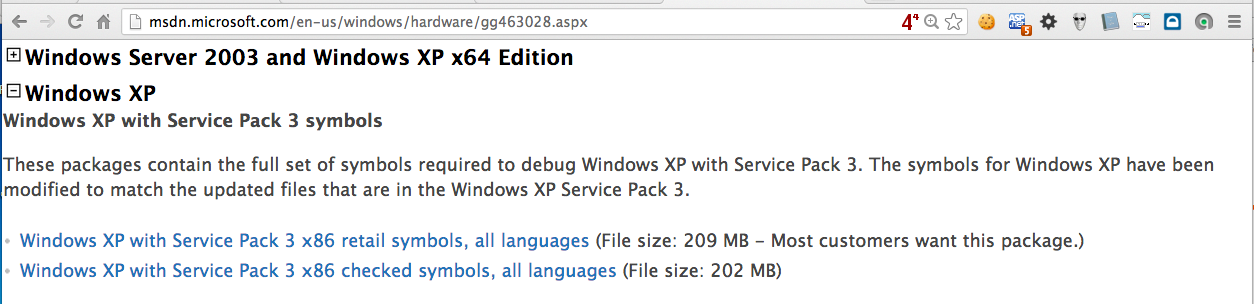
Start the WINDBG machine. in a Web browser, go to
http://msdn.microsoft.com/en-us/windows/hardware/gg463028.aspx
Download the symbol file for "Windows XP with Service Pack 3 x86 retail symbols, all languages", as shown below.
You end up with an EXE file. Run it in the WINDBG machine. Accept all the default options.
First it will extract into a temporary directory with a long name, then it will automatically extract into C:\Windows\Symbols. Accept that selection.
http://msdn.microsoft.com/en-US/windows/desktop/bg162891
Click the blue Download button.
Save the sdksetup.exe file on your desktop.
Double-click the sdksetup.exe file.
Accept the agreement and click the "Accept & Install" button.
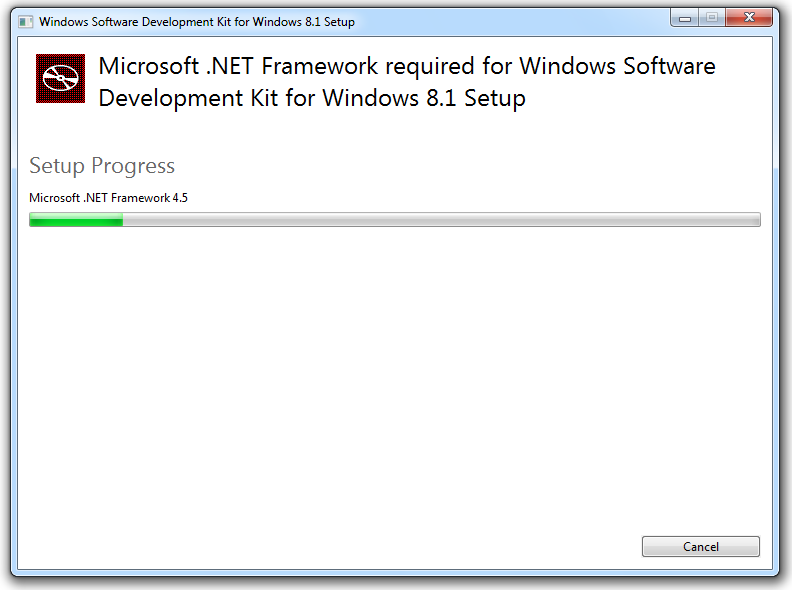
Wait while .NET installs, as shown below.
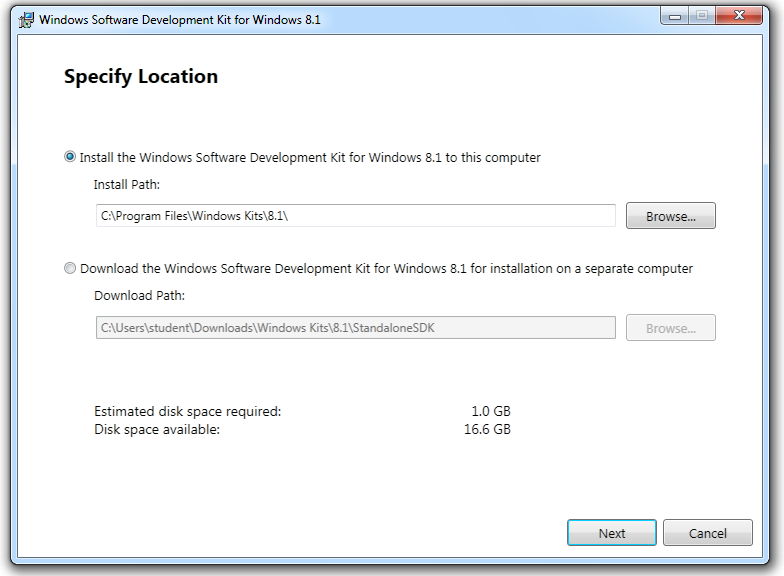
In the "Specify Location" box, accept the default options, as shown below.
Click Next.
In the "Join the Customer Experience Improvement Program (CEIP)" box, accept the default selection of No and click Next.
In the "License Agreement" box, click Accept.
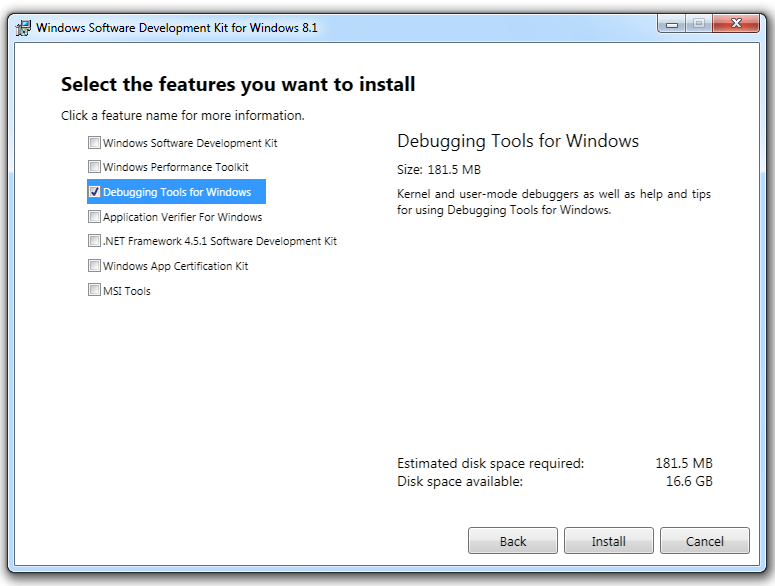
In the "Select the features you want to install" box, clear all the check boxes except "Debugging Tools for Windows", as shown below.
Click Install.
When the process is complete, you see a message saying "Welcome to the Windows Software Deveopment Kit for Windows 8.1!".
Click Close.
Launch WinDbg. If you are using Windows 7, run it as Administrator.
In WinDbg, click File, "Symbol File Path". Enter this line, as shown below:
SRC*c:\windows\symbols*
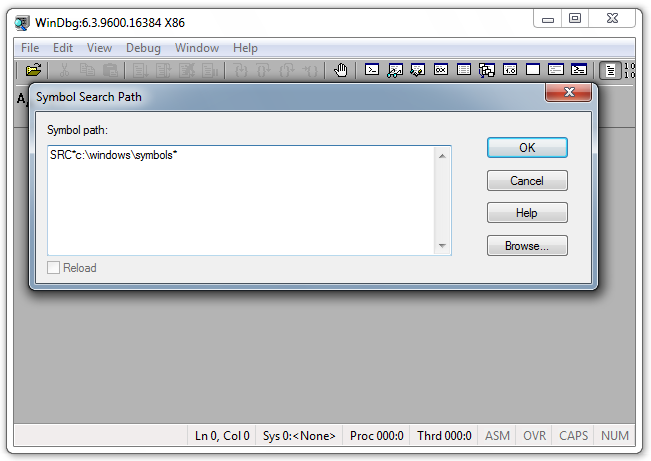
Click the OK button.
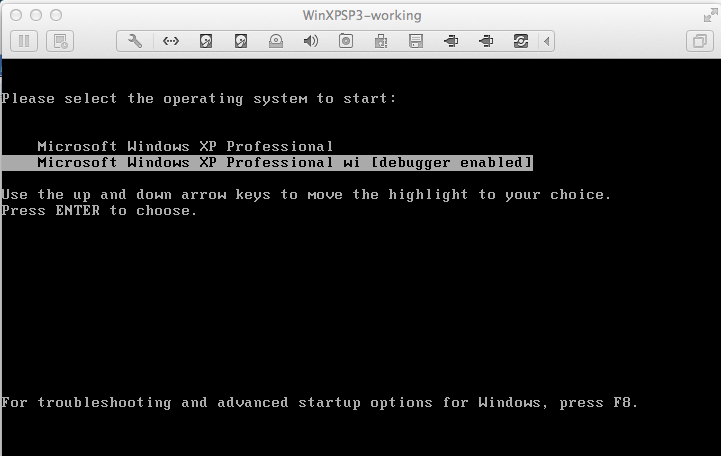
When you should see two boot-menu options, choose the second one, "Microsoft Windows XP Professional with debugger enabled", as shown below.
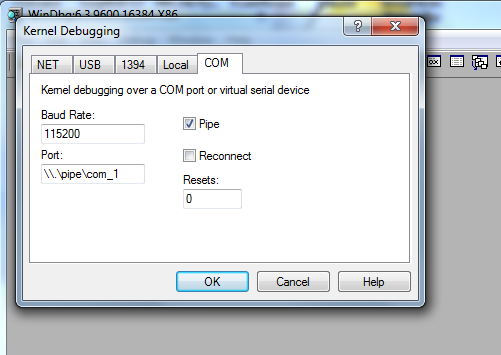
In the "Kernel Debugging" box, click the COM tab.
Change the Port to
\\.\pipe\com_1
Your WINDBG machine should now show the message "Connected to Windows XP", as shown below. (The figure below shows "com_2" instead of "com_1", just ignore that.)
If it doesn't connect, try restarting the virtual machine.

On your keyboard, press the PrntScrn key.
Click Start, type in PAINT, and open Paint.
Press Ctrl+V to paste in the image of your desktop.
YOU MUST SUBMIT WHOLE-DESKTOP IMAGES TO GET FULL CREDIT.
Save the image with a filename of "Proj 12 from YOUR NAME".
Last Modified: 10-21-13 10:23 pm