If you don't have an expendable machine, use the S214 lab machines.
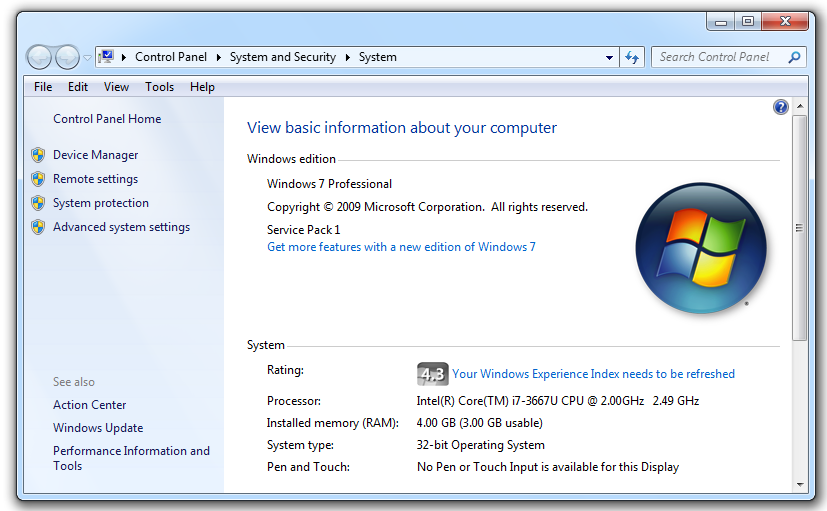
Find your Windows version. My machine is using Windows 7 Professional Service Pack 1, as shown below.
Look in the "System" section to see whether you are using a 32-bit or 64-bit version.
http://msdn.microsoft.com/en-us/windows/hardware/gg463028.aspx
Download the symbol file for your version of Windows.
You end up with an EXE file. Run it. Accept all the default options. It will automatically install symbols into C:\Symbols.
Open a browser and go to
http://msdn.microsoft.com/en-US/windows/desktop/bg162891
Click the blue Download button.
Save the sdksetup.exe file on your desktop.
Double-click the sdksetup.exe file.
Accept the agreement and click the "Accept & Install" button.
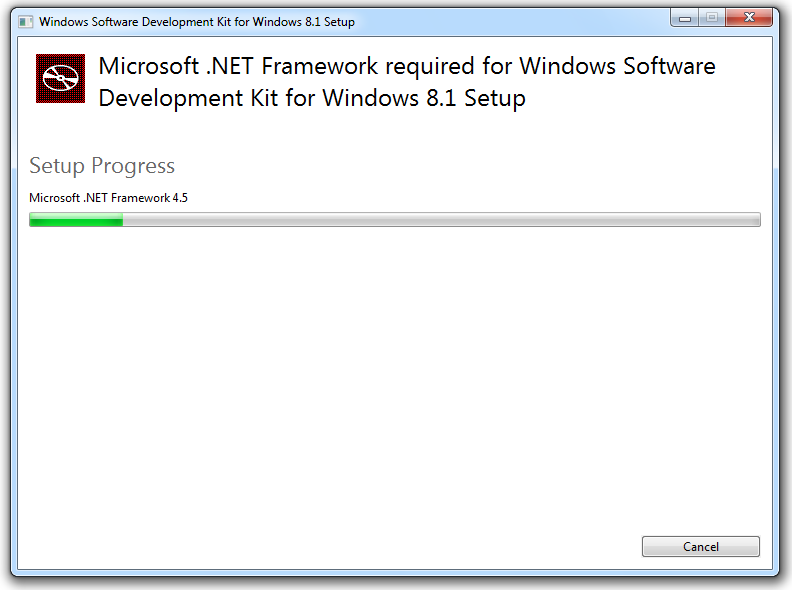
Wait while .NET installs, as shown below.
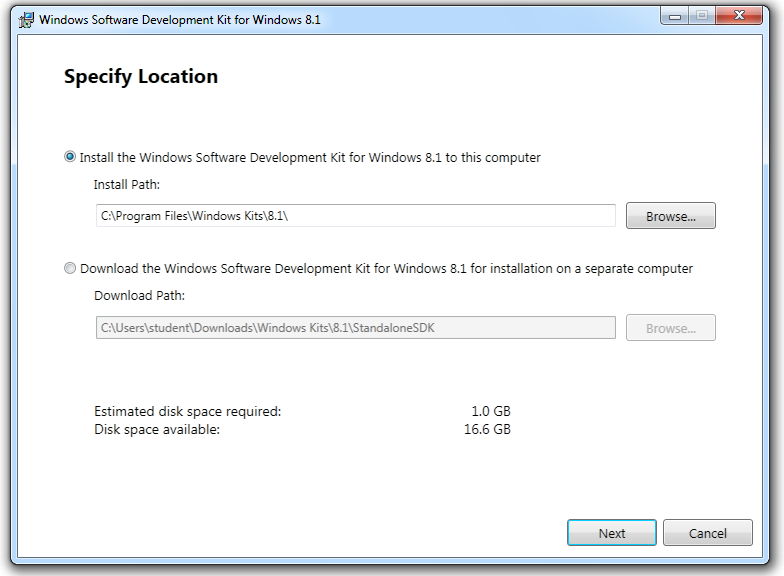
In the "Specify Location" box, accept the default options, as shown below.
Click Next.
In the "Join the Customer Experience Improvement Program (CEIP)" box, accept the default selection of No and click Next.
In the "License Agreement" box, click Accept.
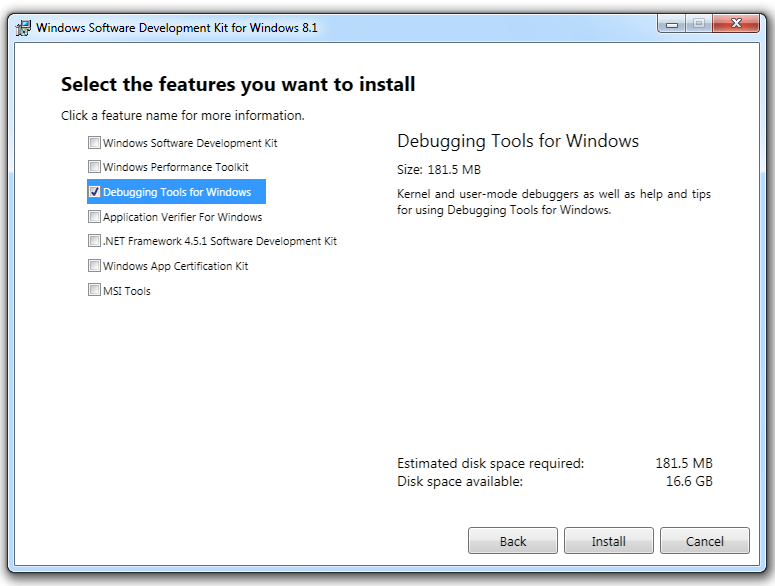
In the "Select the features you want to install" box, clear all the check boxes except "Debugging Tools for Windows", as shown below.
Click Install.
When the process is complete, you see a message saying "Welcome to the Windows Software Deveopment Kit for Windows 8.1!".
Click Close.
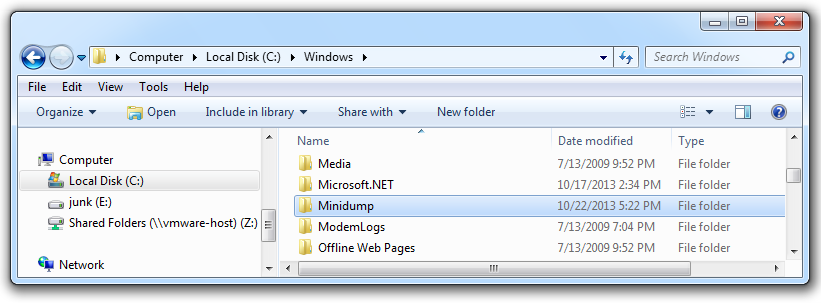
Navigate to C:\Windows.
See if there is a folder named minidump. If there is not, create one, as shown below.
On the left side, cick "Advanced system settings".
On the Advanced tab, in the Performance section, click the Settings button.
In the "Performance Options" box, click the Advanced tab.
Click the Change... button.
In the "Virtual Memory" box, make sure the "Automatically manage paging file size for all drives" box is checked, as shown below.
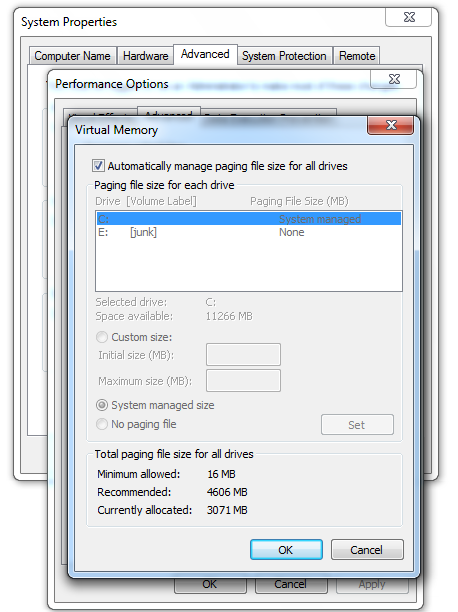
In the "Virtual Memory" box, click OK.
In the "System Properies" pop-up box, click OK.
In the "Performance Options" box, click OK.
In the "System Properties" box, click OK.
In the "Microsoft Windows" pop-up box, click the "Restart Now" button.
On the left side, cick "Advanced system settings".
On the Advanced tab, in the "Startup and Recovery" section, click the Settings button.
In the "Startup and Recovery" box, in the "System failure" section, configure these settings, as shown below.
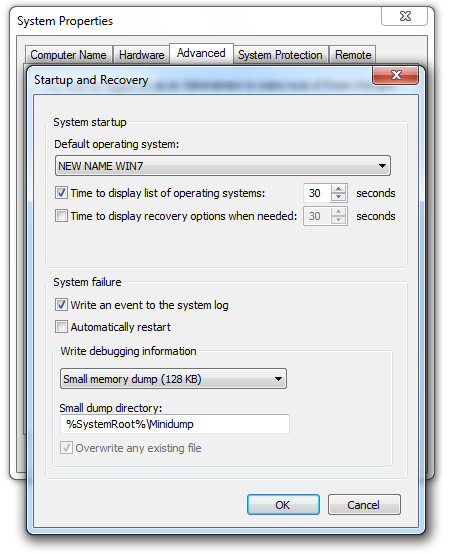
In the "Startup and Recovery" box, click OK.
In the "System Properties" box, click OK.
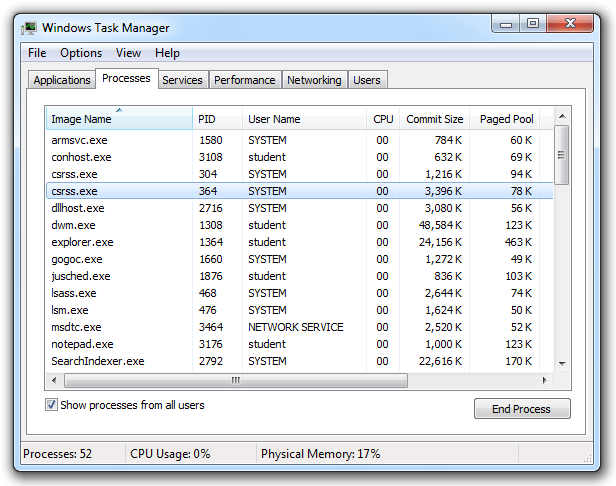
In "Windows Task Manager", at the bottom, click the "Show processes from all users" button.
If a "User Account Control" box pops up, click Yes.
On the Processes tab, click csrss, as shown below.
Click the "End process" button.
A box pops up, warning you that this will shut down the operating system immediately, as shown below.
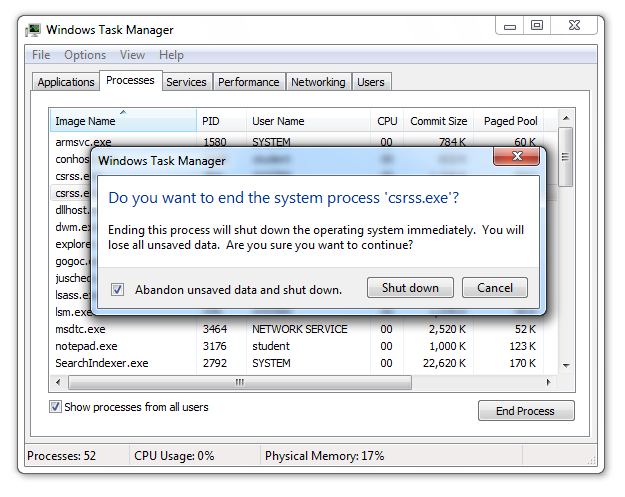
Check the "Abandon unsaved data and shut down" box.
Click the "Shut down" button.
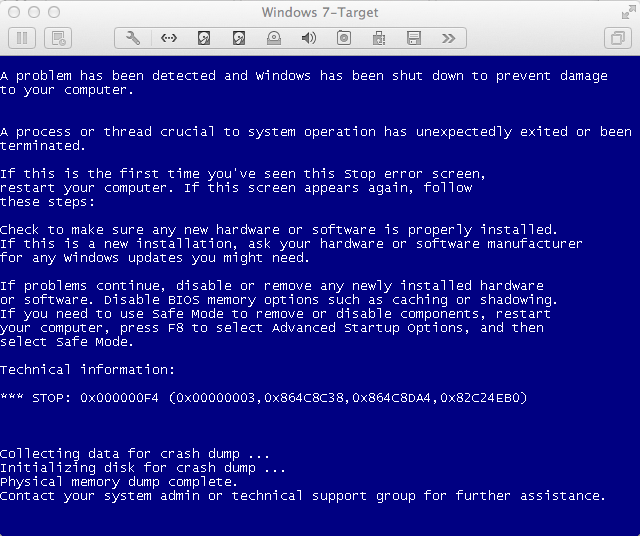
The Blue Screen of Death appears.
Wait till you see the message "Physical memory dump complete", as shown below.
Power the machine off.
If you are using a virtual machine, click "Virtual Machine, "Shut Down", "Force Shut Down", "Force Shut Down".
The "Windows Error Recovery" screen appears, as shown below.
Highlight "Start Windows Normally" and press Enter.
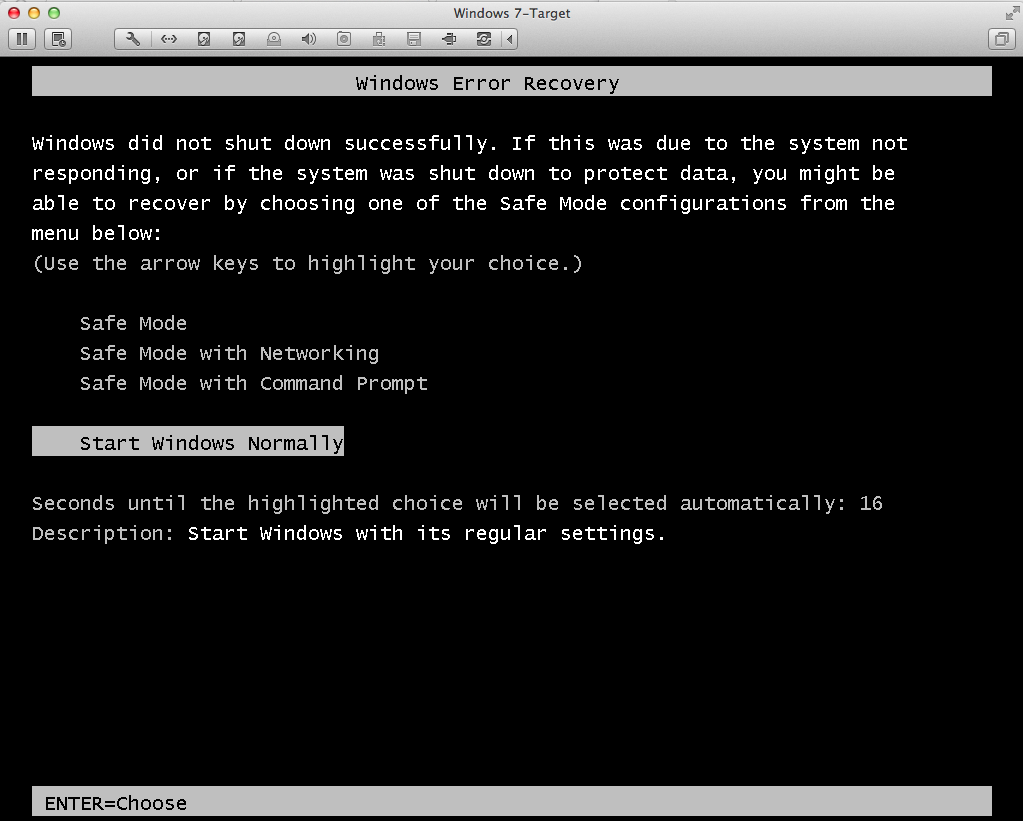
Note: Sometimes I was unable to restart Windows this way, and I had to run "Startup Repair" twice.
When the machine starts again, you see a box saying "Windows has recovered from an unexpected shutdown", as shown below.
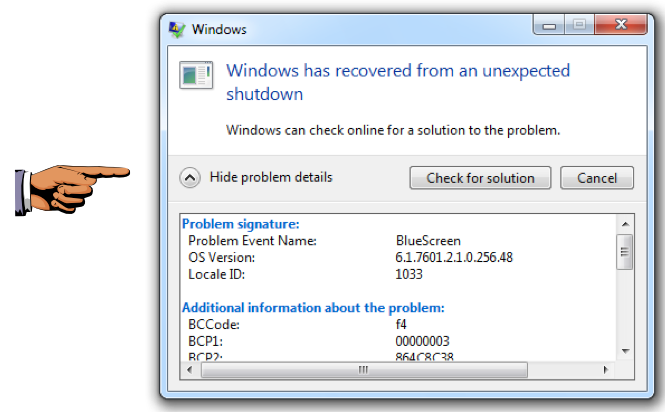
Save a whole-desktop image with a filename of "Proj 8xa from YOUR NAME".
YOU MUST SUBMIT WHOLE-DESKTOP IMAGES TO GET FULL CREDIT.
Launch WinDbg. If you are using Windows 7, run it as Administrator.
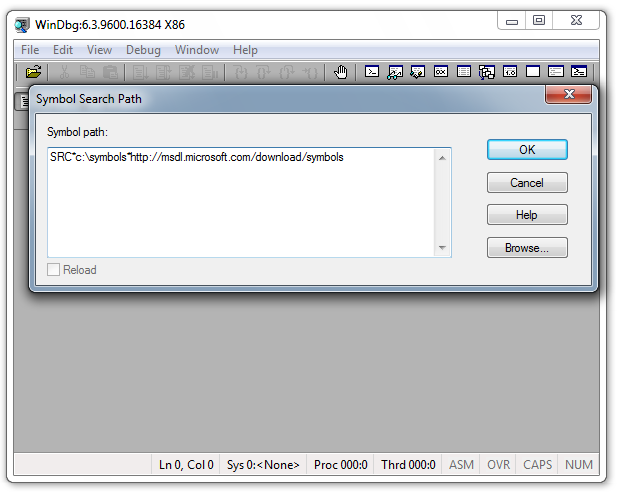
In WinDbg, click File, "Symbol File Path". Enter this line, as shown below.
Note: In previous projects we used the C:\Windows\Symbols folder instead.
SRC*c:\symbols*http://msdl.microsoft.com/download/symbols
This will use the symbols we downloaded, and download any additional necessary ones from Microsoft.
Click the OK button.
Navigate to C:\Windows\minidump.
Open the .dmp file.
If you get an error message saying you don't have permission to open the file, close WinDbg and run it as Administrator.
The crash dump loads, as shown below.
WhenI did it, there were error messages complaining about the ntoskrnl symbols, which I was unable to resolve.
But for this project, the symbols don't really matter much.
Scroll to the bottom of the window to see the message with the important information:
Probably caused by csrss.exe
as shown below. In this case, that's a complete explanation of the problem.

Save a whole-desktop image with a filename of "Proj 8xb from YOUR NAME".
YOU MUST SUBMIT WHOLE-DESKTOP IMAGES TO GET FULL CREDIT.
http://www.zdnet.com/how-to-create-a-blue-screen-of-death-1339291443/ Last Modified: 10-28-13 12:55 pm