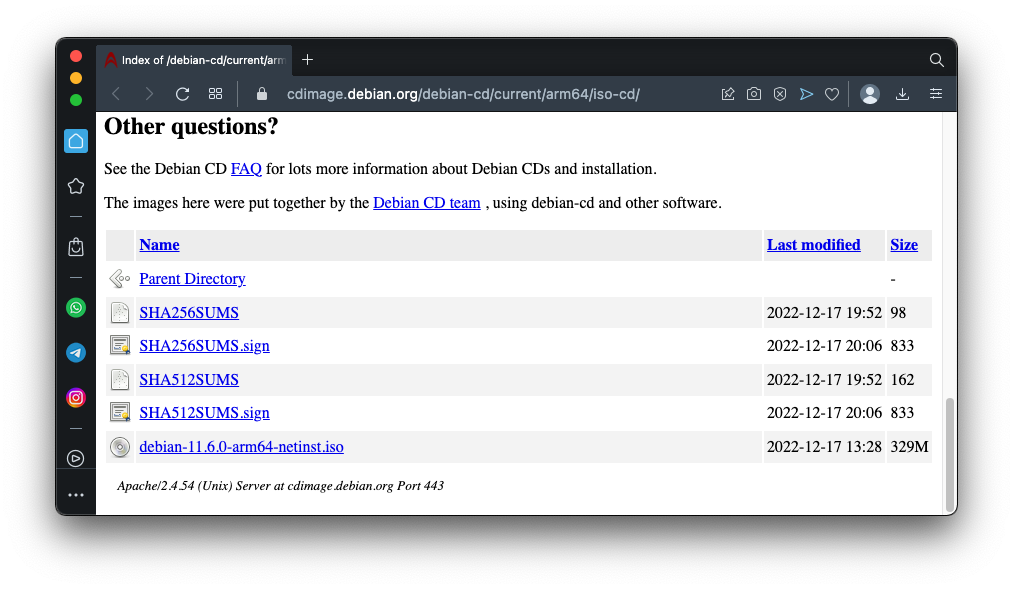
https://cdimage.debian.org/debian-cd/current/arm64/iso-cd/.
Download the Debian ISO file at the bottom of that page, as shown below.
From the menu at the top left of your desktop, click File, New.
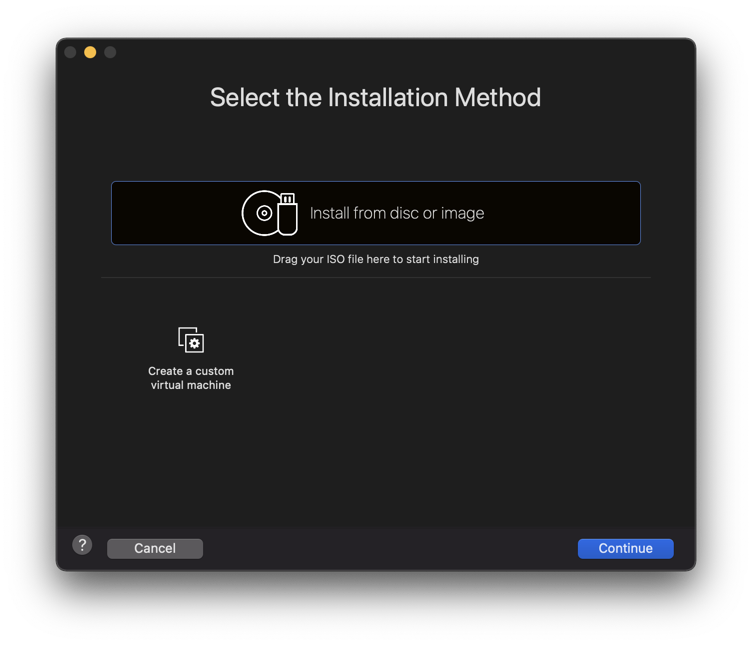
In the "Select the Installation Method" screen, drag the ISO file and drop it on the "Install from disc or image" field, as shown below.
In the "Create a New Virtual Machine" screen, click Continue.
In the "Finish" screen, click Finish.
Click Save.
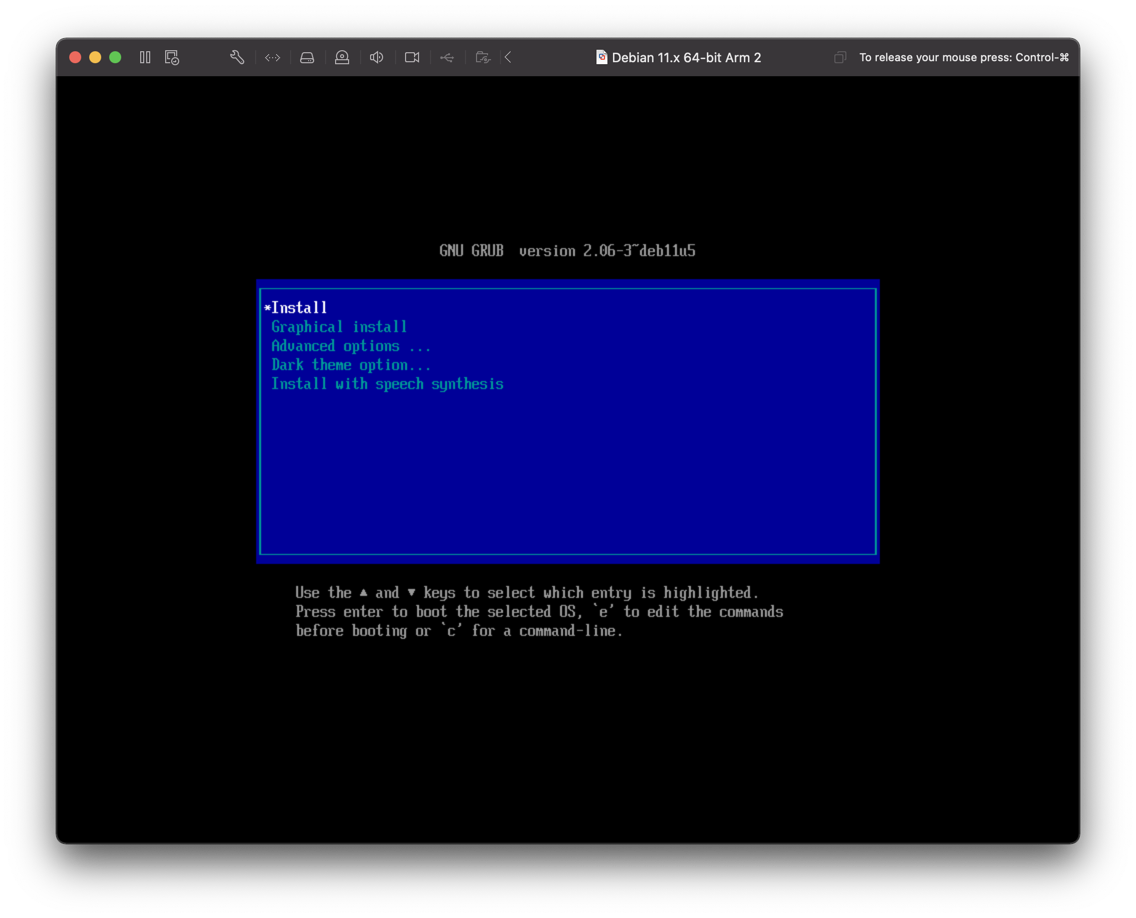
The installer starts.
To release the mouse, press command+Tab.
To send input to the virtual machine, click in the virtual machine's window.
At the "Select a language" screen, press Enter to accept the default of "English".
At the "Select your location" screen, press Enter to accept the default of "United States".
At the "Configure the keyboard" screen, press Enter to accept the default of "American English".
At the "Configure the network" screen, press Enter to accept the default of "debian". Press Enter again to accept a blank domain name.
Now you need to create a non-root account. I recommend using debian for its username and password.
Press Enter again.
At the "Selected for partitioning" screen, press Enter to accept the default of "All files in one partition...".
Press Enter again.
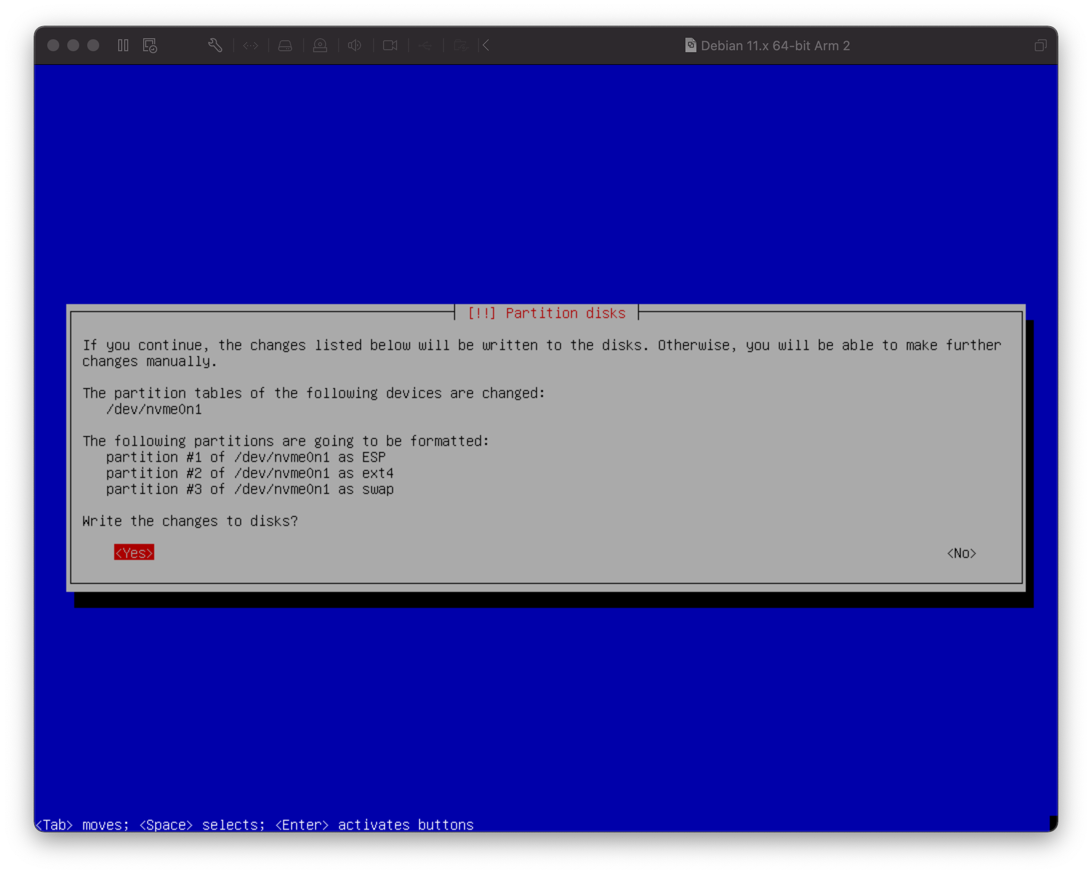
At the next "Partition disks" screen, press Tab to highlight Yes, as shown below, and then press Enter.
Software installs for a few minutes.
At the next "Configure the package manager screen, press Enter to accept the default of "United States".
At the next "Configure the package manager screen, press Enter to accept the default of "deb.debian.org".
At the next "Configure the package manager screen, press Enter to accept the default of no HTTP proxy.
At the "Configuring popularity-contest" screen, press Enter to accept the default of "No".
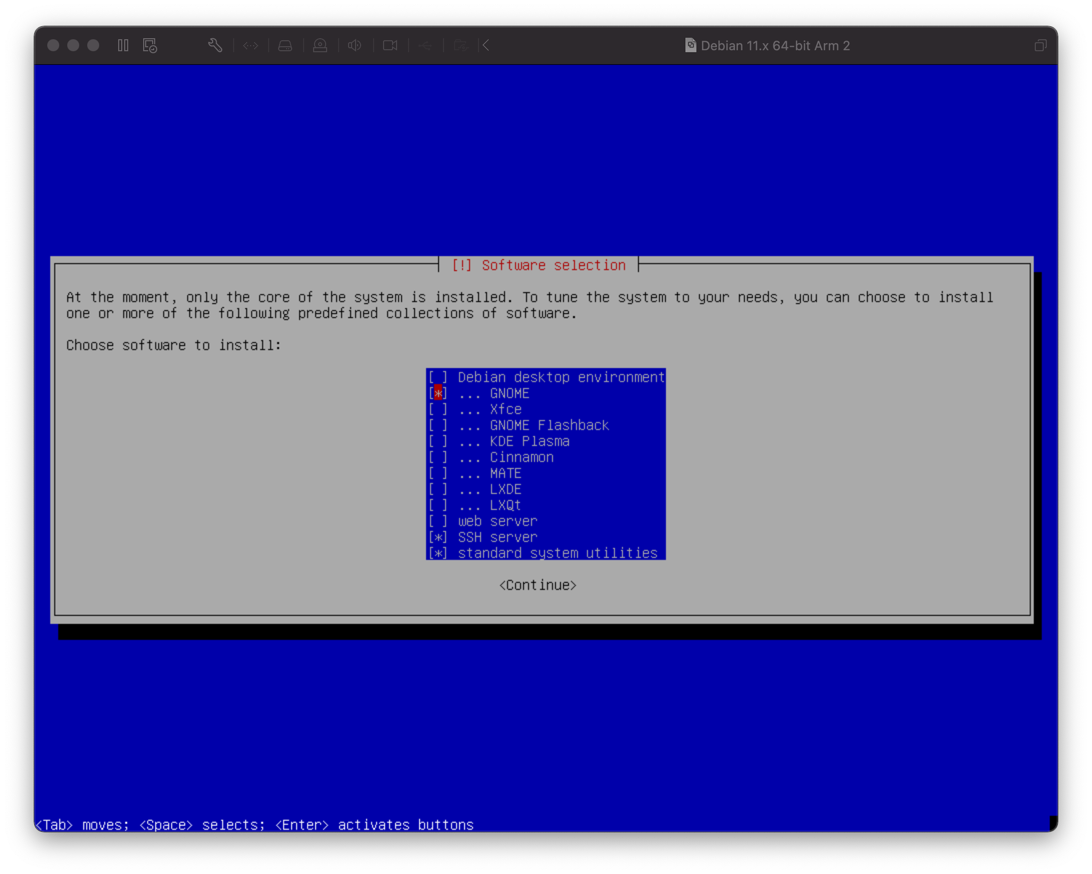
At the "Software selection" screen, press Tab and then SPACEBAR to select Gnome, as shown below. Then press Enter.
Software downloads and installs.
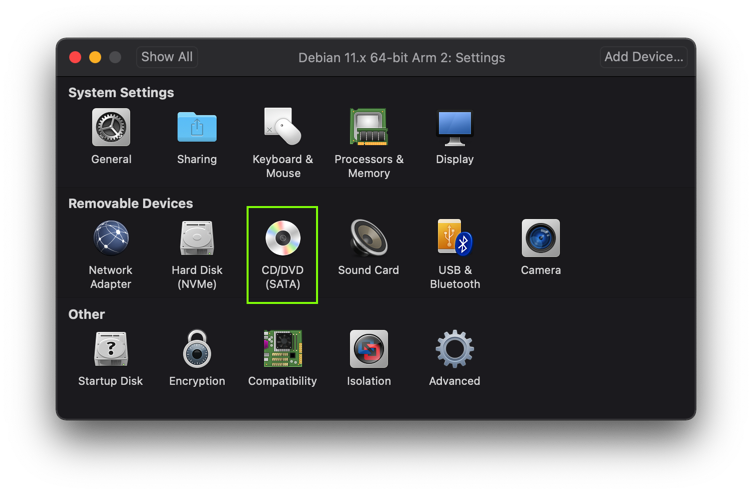
When you see the "Finish the installation" screen, click the wrench icon in the virtual machine's window, outlined in green in the image below.

In the Settings box, click "CD/DVD", outlined in green in the image below.
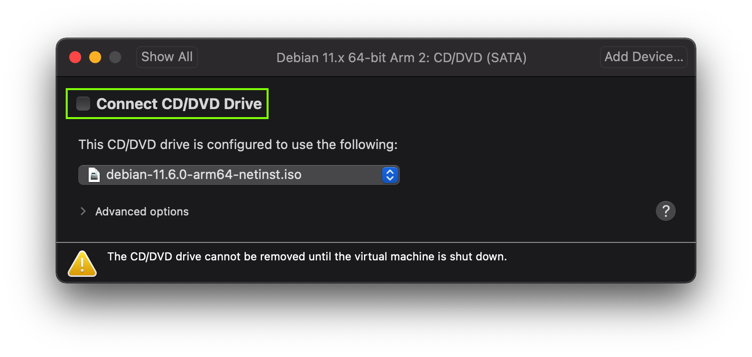
In the CD/DVD box, verify that the "Connect CD/DVD Drive" box is unchecked, outlined in green in the image below.
Close the Settings box.
Click in the virtual machine's window, and press Enter.
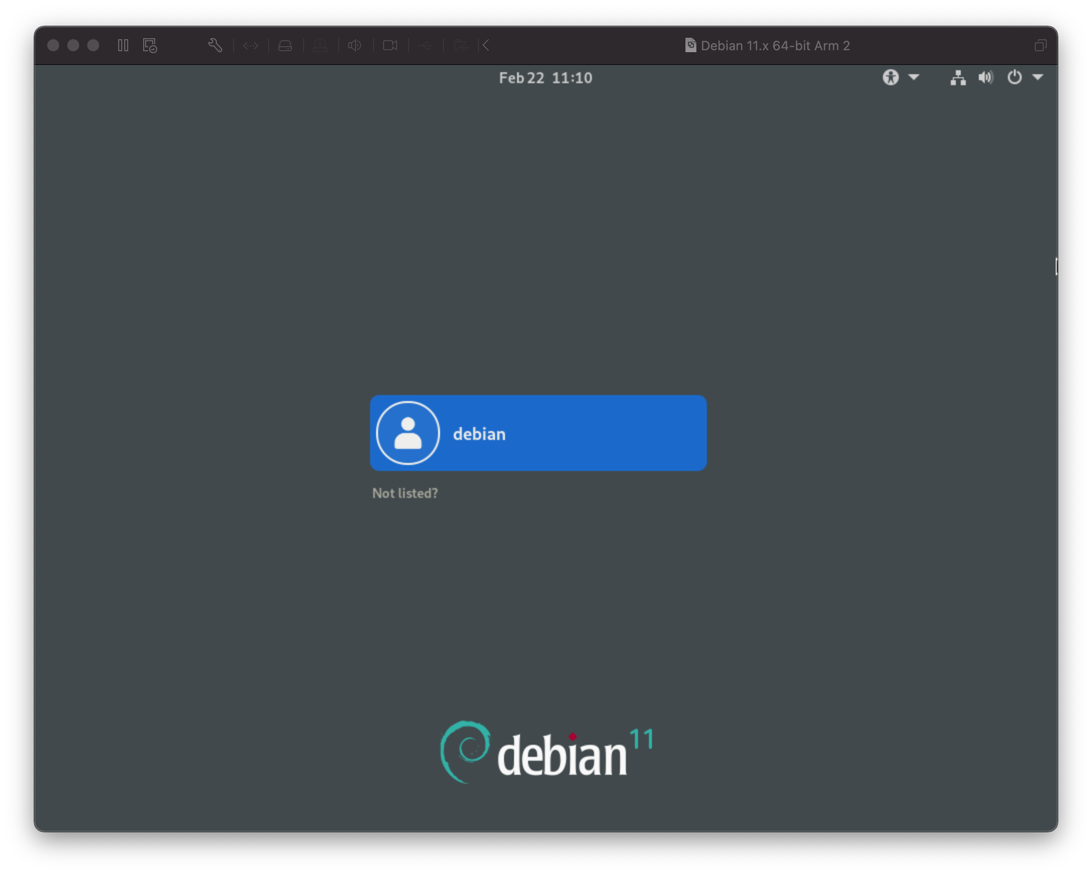
Click debian and enter your password, which is probably also debian
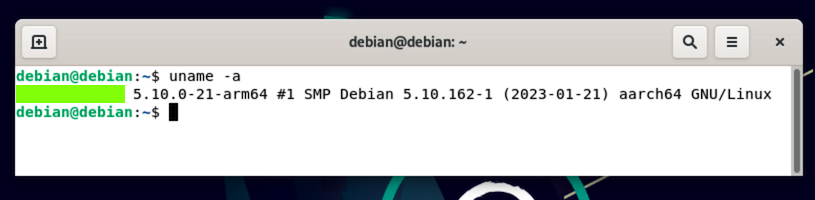
ED 40.1: OS Version (15 pts)
In your Linux machine, open a Terminal window and execute this command:The flag is covered by a green rectangle in the image below.
su -
Then execute these commands:
usermod -a -G sudo debian
exit
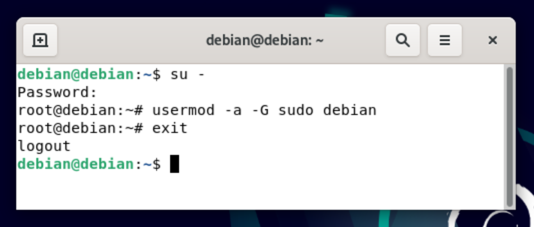
At the top right of your Debian desktop, click the circular icon and restart your Debian virtual machine.
Log in as "debian" again.
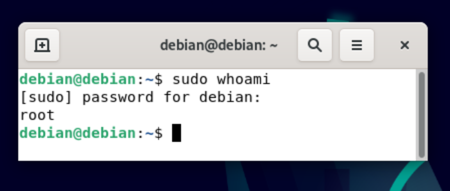
Then execute this command to verify that you have "sudo" privileges:
sudo whoami
You should see a username of "root", as shown below.
Posted 2-22-23
VMware instructions updated 4-29-25