Warning for Windows Users
In June, 2023, this project stopped working for Windows users.I recommend doing this project instead:
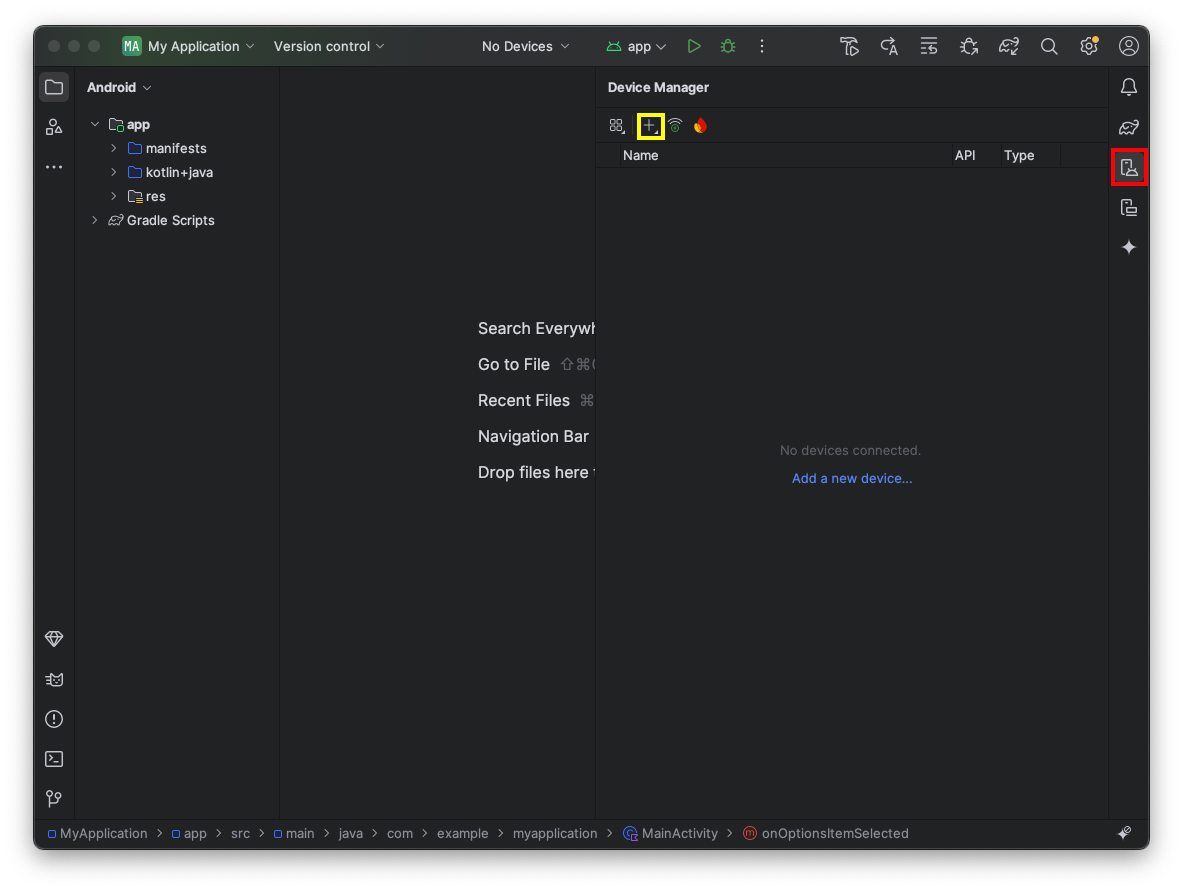
In Android Studio, on the right side, click the "Virtual Device Manager" button, outlined in red in the image below.
Then click the plus-sign, outlined in yellow in the image below, and click "Create Virtual Device".
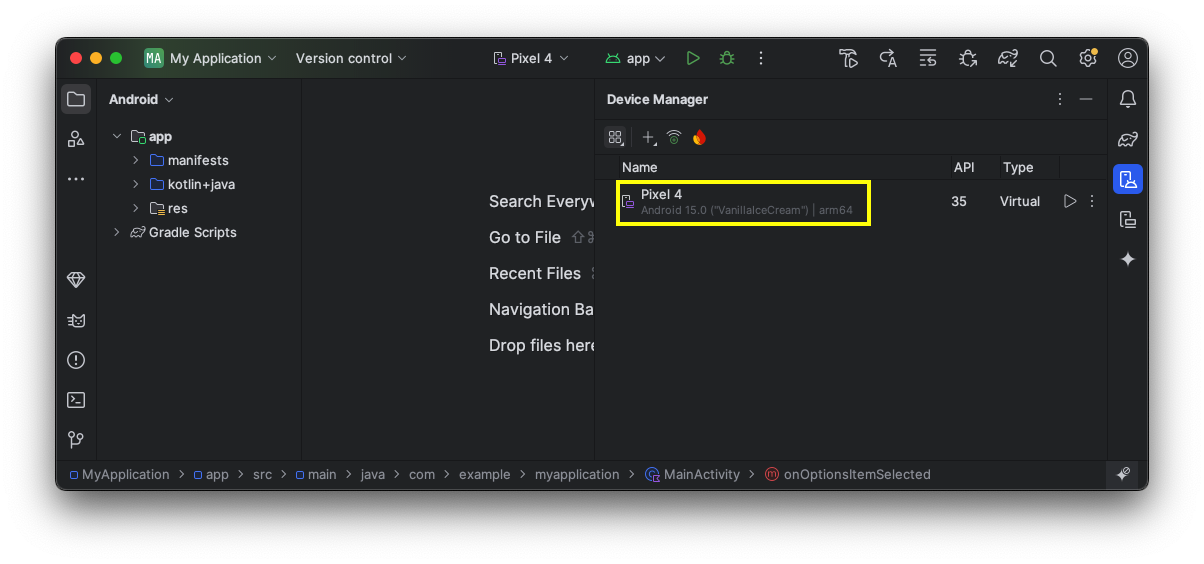
Make these selections:
Click Finish.
Mac Users
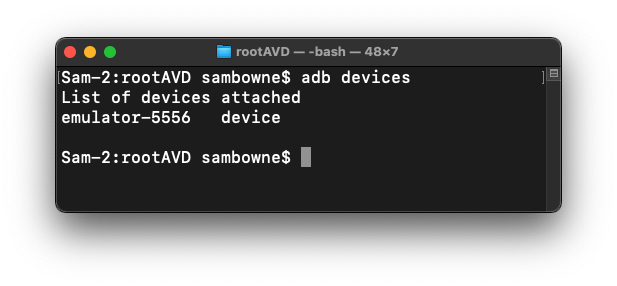
In a Terminal, execute these commands:If you see an error message saying "command not found", execute this command to fix the Path:
You should see your device listed, as shown below.
Windows Users In a Web browser, go to
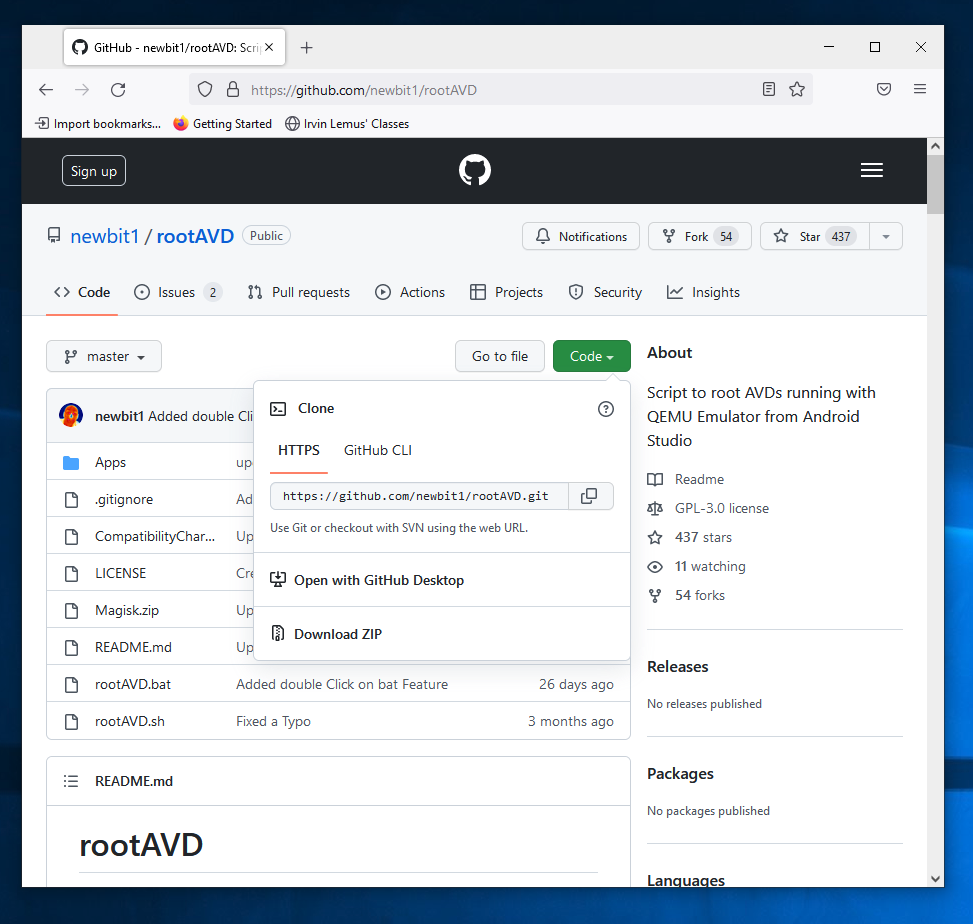
https://github.com/newbit1/rootAVD
Click the Code button. Click "Download ZIP", as shown below.
At the bottom of your Windows desktop, click the yellow folder icon to launch File Explorer.
Open your Downloads folder. Right-click the rootAVD-master.zip file and click "Extract All...," Extract.
Open a Command Prompt window and execute these commands:
If you see an error message saying "Not found: adb", close the Command Prompt window.Open an Administrator Command Prompt window and execute this command to fix the Path:
Close the Administrator Comand Prompt window and open a normal Comand Prompt window.Then execute these commands:
Mac Users
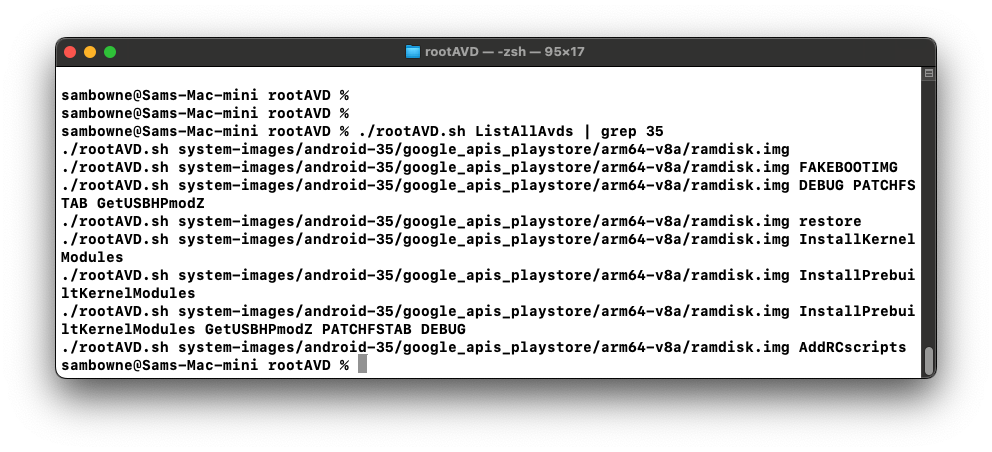
In a Terminal, execute these commands:You see a long list of commands for many Android versions.Execute the command with the correct API number for your emulator, which is probably API 30, x86, ending in "ramdisk.img", as shown below:
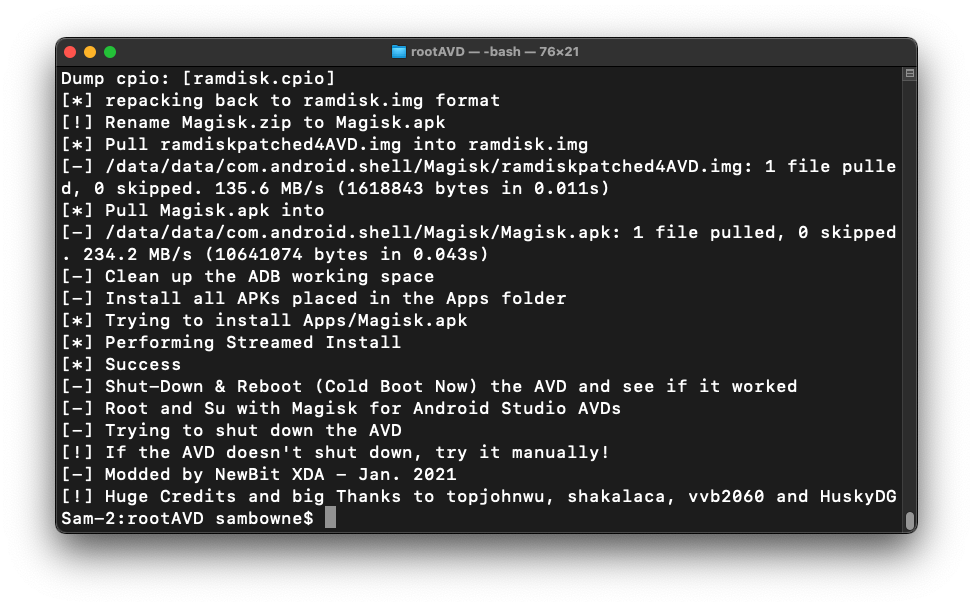
If the script works perfectly, Aa lot of messages scroll by, as shown below, and your emulator shuts off.If it hangs on "Trying to install Apps/*", stop it with Ctrl+C.
Windows Users In the Command Prompt, execute this command:
You see a list of commands, as shown below.
Execute the first command, the one with no added parameters. On my system, it was:
A lot of messages scroll by, and your emulator shuts off.
If you see a box saying "Bluetooth keeps stopping", click "Close app".
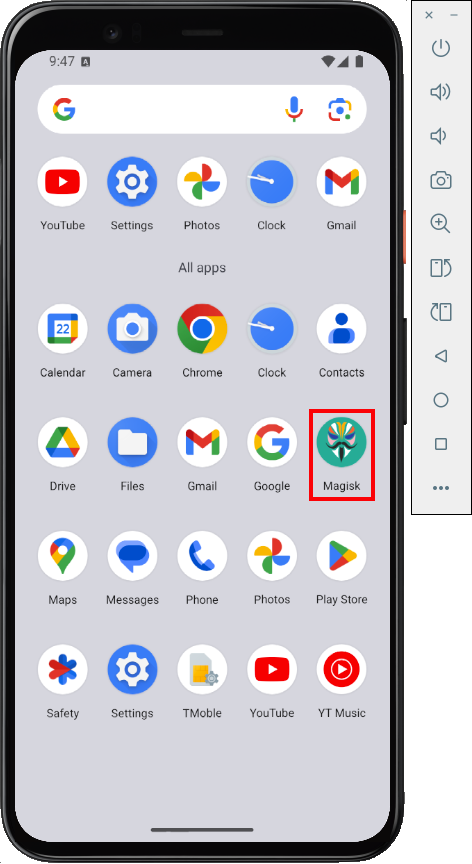
Hold down the mouse button and drag up to see all the apps.
Tap the Magisk app, outlined in red in the image below.
A box pops up asking "Allow Magisk to send you notifications".
Tap Allow.
In the main Magisk screen, tap the Update button, outlined in red in the image below.

In the next screen, tap the slider to "Allow from this source" and, at the top left, tap the back-arrow.
Tap the Update button again.
A page of text appears. At the bottom right, tap INSTALL.
Magixk closes. A notification pops up, saying "Magisk has been updated".
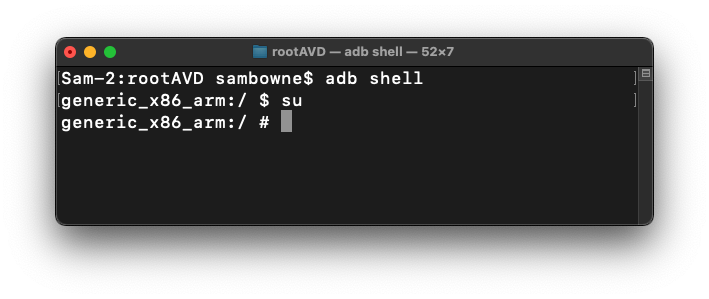
In a Command Prompt or Terminal, execute these commands:
adb shell
su
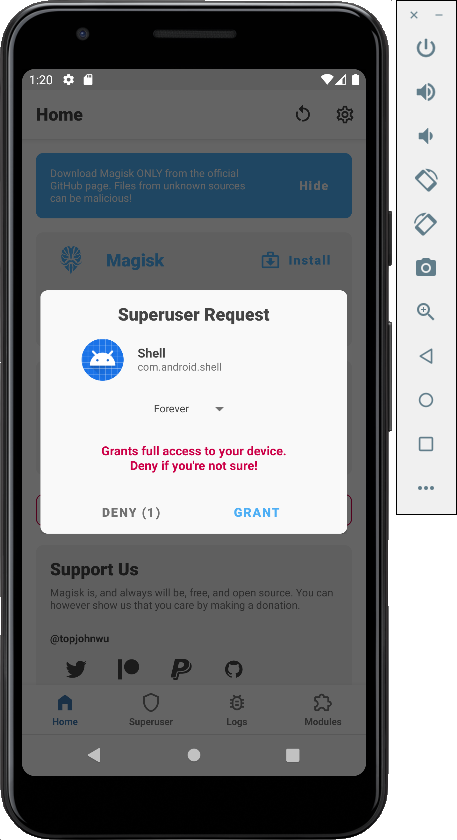
Click GRANT.
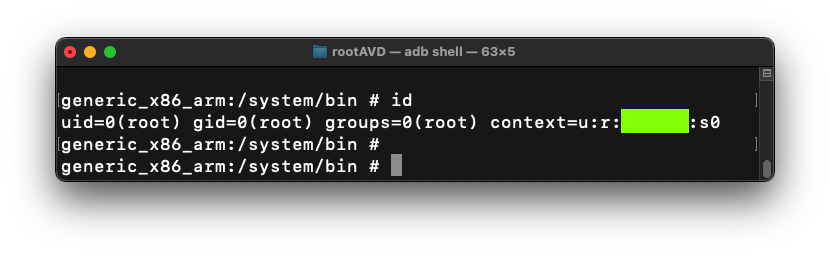
You get a root shell, as shown below.
Troubleshooting
If you are too slow, you need to open Magisk on your emulator.At the bottom, click Superuser.
Toggle the "[SharedUID] Shell" switch.
M 142.1: id (15 pts)
In your root shell, execute this command:Find the text covered by a green box in the image below. That's the flag.
Posted 10-7-22
PATH command fixed 10-17-11
Minor updates to instructions 3-13-23
Magisk update processed added 6-21-23
Referral to M 145 added 7-1-23
Troubleshoting steps updated 4-29-24
Updated 9-22-25