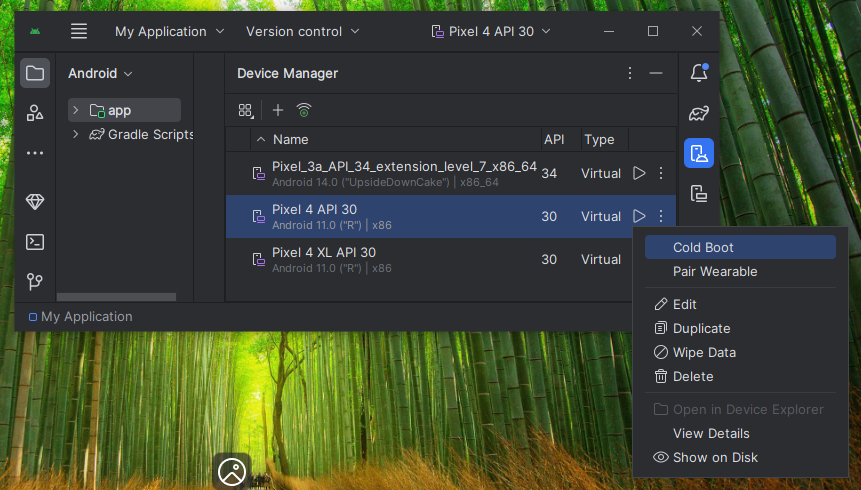
M 147.4: Fixing the ADB Path (10 pts)
In Android Studio, at the top left,
click the four-bar icon.
Click Tools, "SDK Manager".
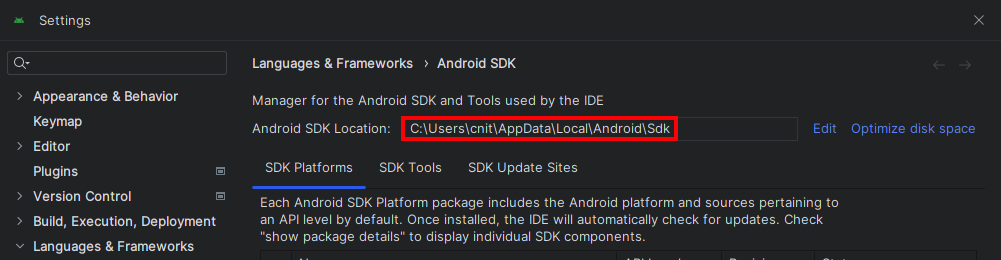
At the top, note the Android SDK Location,
outlined in red in the image below.
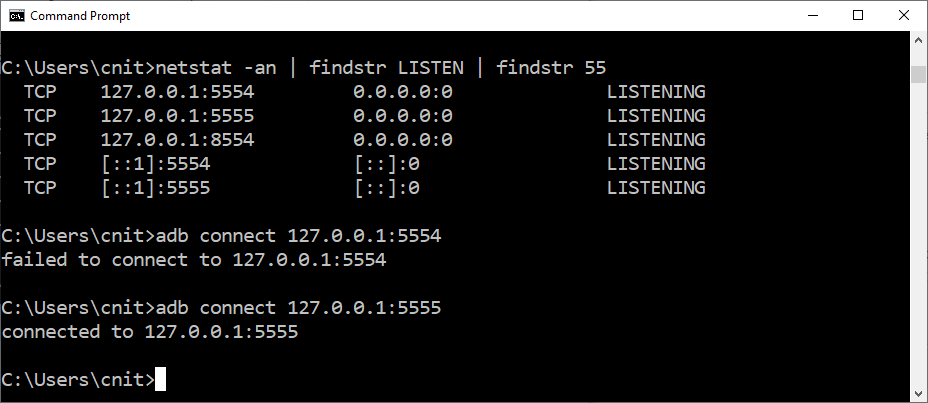
Open a Terminal or Command Prompt. Execute these commands,
placing the correct Android SDK Location
in the first command:
cd C:\Users\cnit\AppData\Local\Android\Sdk
cd platform-tools
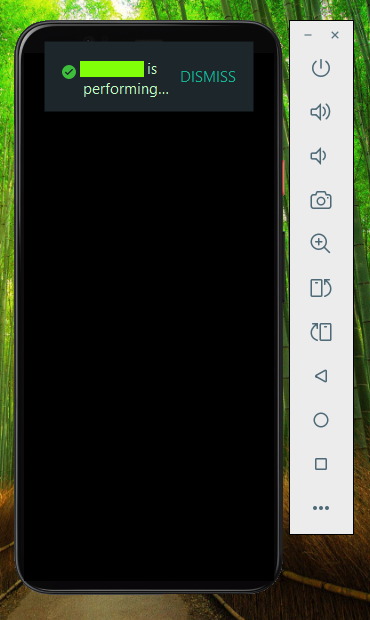
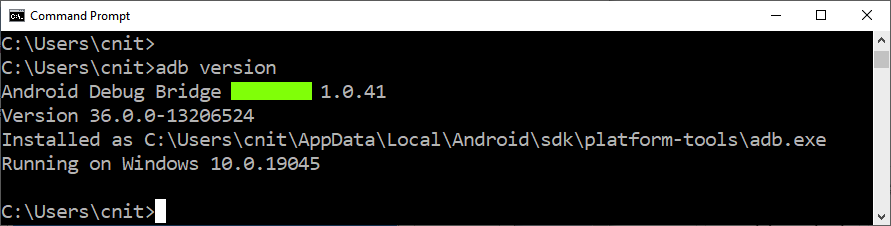
adb | more
Adb should run,
as shown below.

From the search bar at the lower left of
the desktop, search for
ENVIRONMENT.
Click "Edit the system environment variables".
In the System Properties box,
at the bottom, click the
"Environment Variables..." button.
In the Environment Variables box,
in the top section, click
Path. Click the Edit...
button.
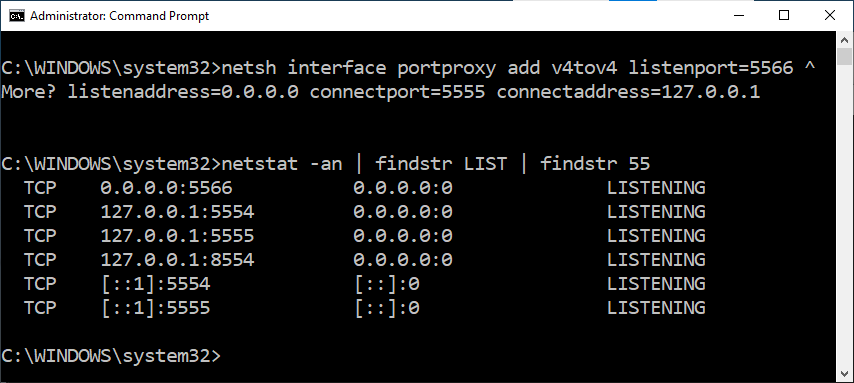
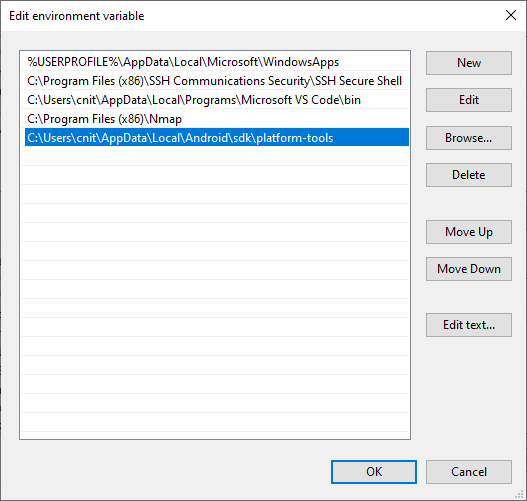
Add the path to ADB to the list,
as shown below.
At the bottom of the Edit Environment Variables
box, click OK.
At the bottom of the Environment Variables
box, click OK.
At the bottom of the System Propertie
box, click OK.
Close the Terminal or Command Prompt and open
a new one.
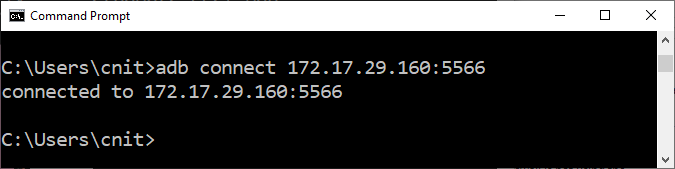
Execute this command:
adb version
The flag is covered by a green rectangle
in the image below.
|