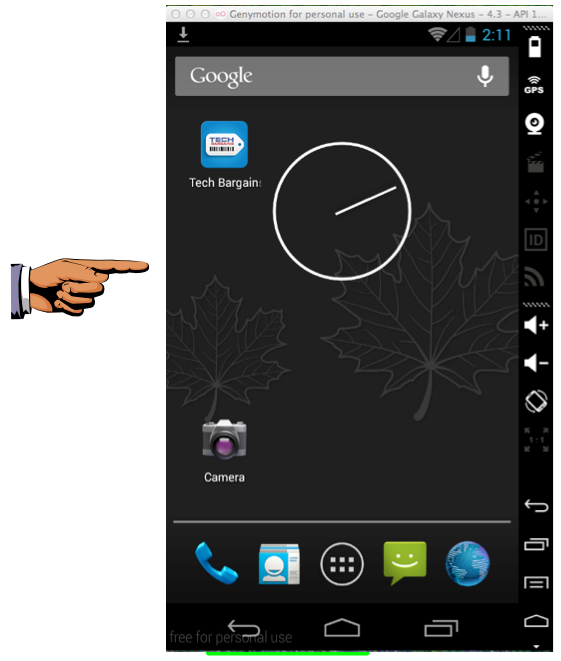
The Android device starts up. Swipe up with the mouse to see the Home Screen, as shown below.

In a Web browser, go to http://portswigger.net/burp/download.html
At the bottom of the "Free Edition" column, click "Download now".
A "burpsuite_free_v1.6.jar" file downloads. Double-click it to launch it.
Burp opens, as shown below.
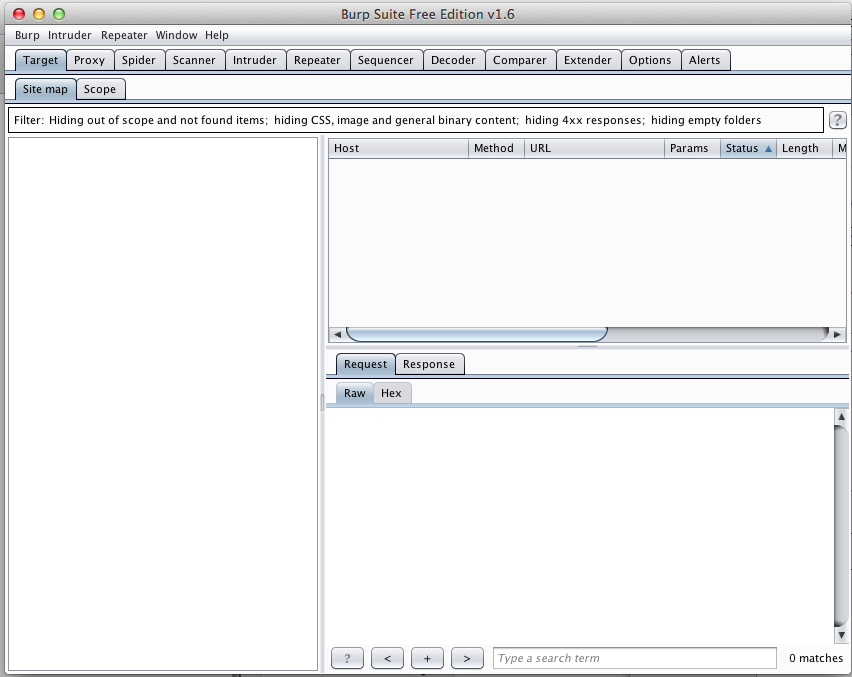
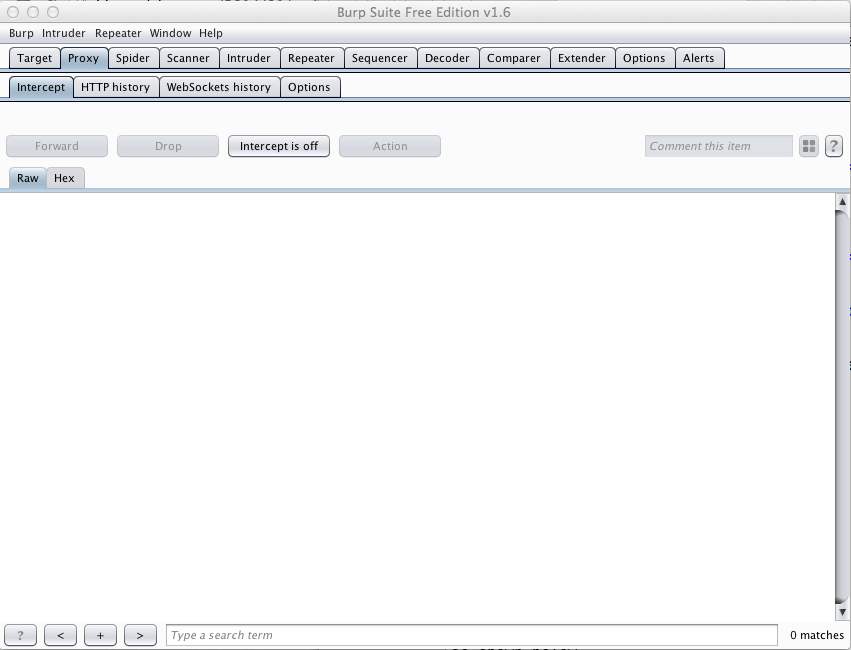
In Burp, click the Proxy tab.
Click the Intercept sub-tab.
Click the "Intercept is on" button, so it shows "Intercept is off", as shown below.
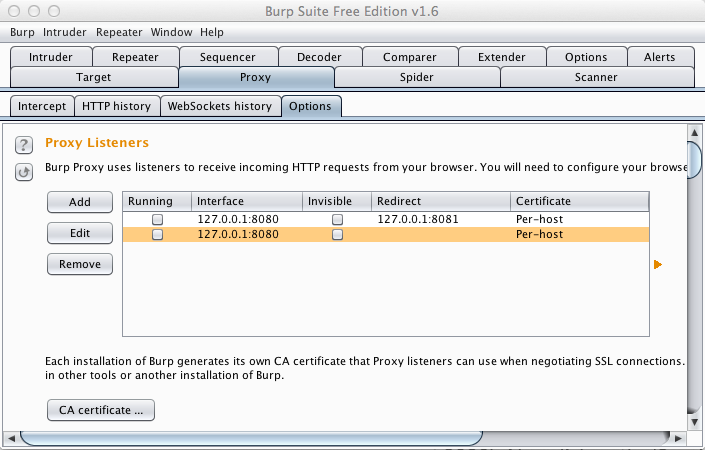
Click the Options sub-tab.
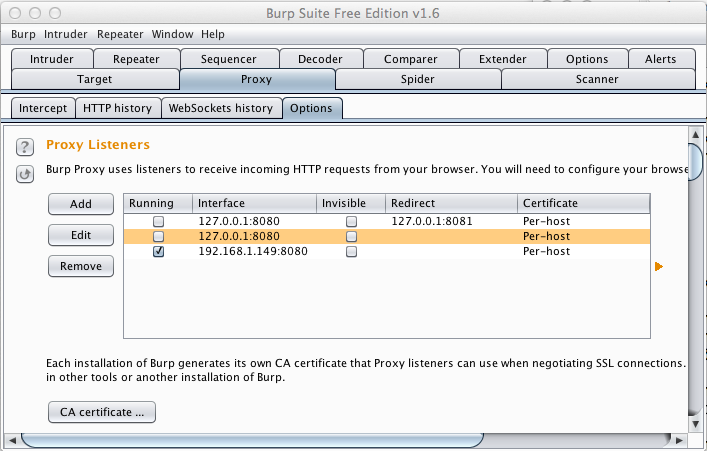
If any listeners are running, clear their check-boxes to stop them, as shown below.
Click the Add button.
In the "Add a new listener" box, in the "Bind to port" field, enter 8080.
In the "Specific address" list box, select your host computer's IP address that you determined earlier, as shown below.
Click OK.
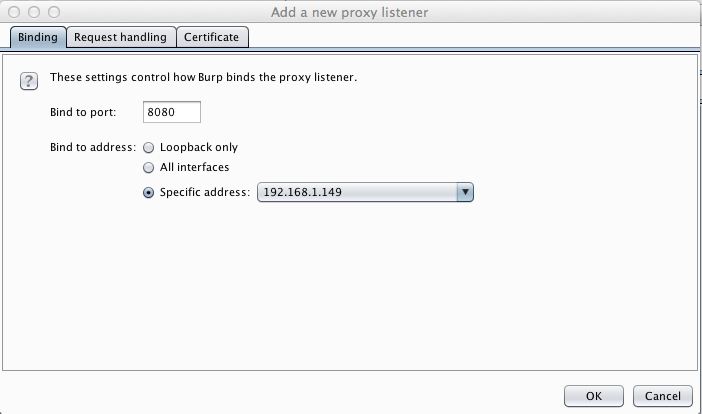
Burp should now show a listener on your IP address and port 8080, as shown below.
Click the Target tab.
Click the Scope sub-tab.
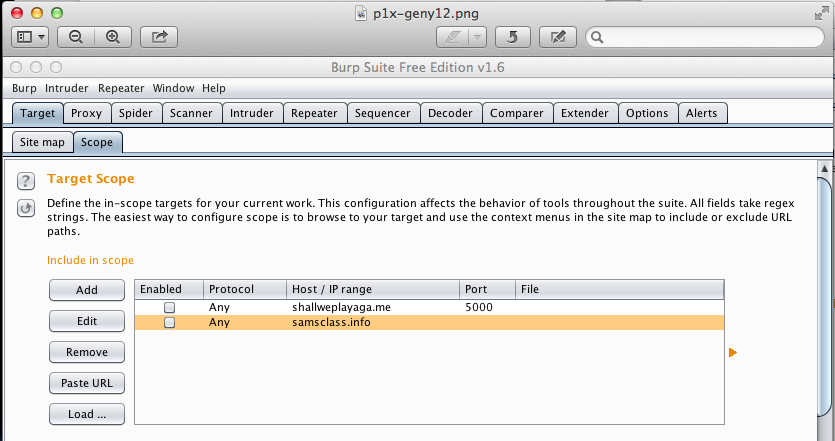
In the "Include in scope" section, clear all the check boxes, as shown below.
Click the Add button.
In the "Add URL to include in scope" box, click OK.
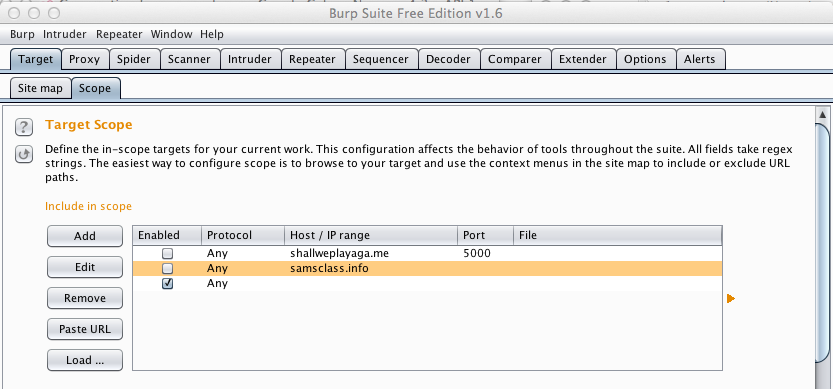
Burp now shows a scope of "any", as shown below.
Drag the screen to the left to see the second page of apps.
Click Settings.
In Settings, click Wi-Fi.
Click and hold WiredSSID until a box pops up.
Click on "Modify network".
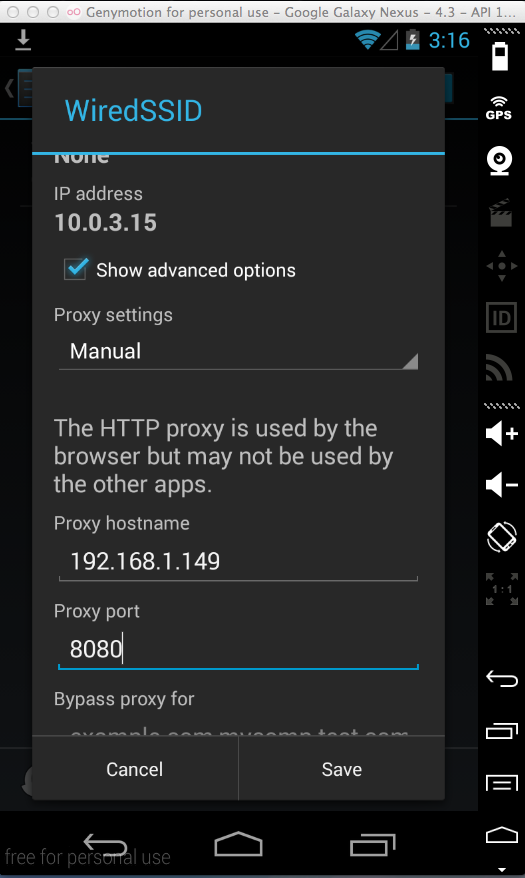
Check the "Show advanced options" box and select Manual from the Proxy Settings menu.
Enter your host machine's IP address in the "Proxy hostname" field, and 8080 in the "proxy port" field, as shown below.
Then click Save.
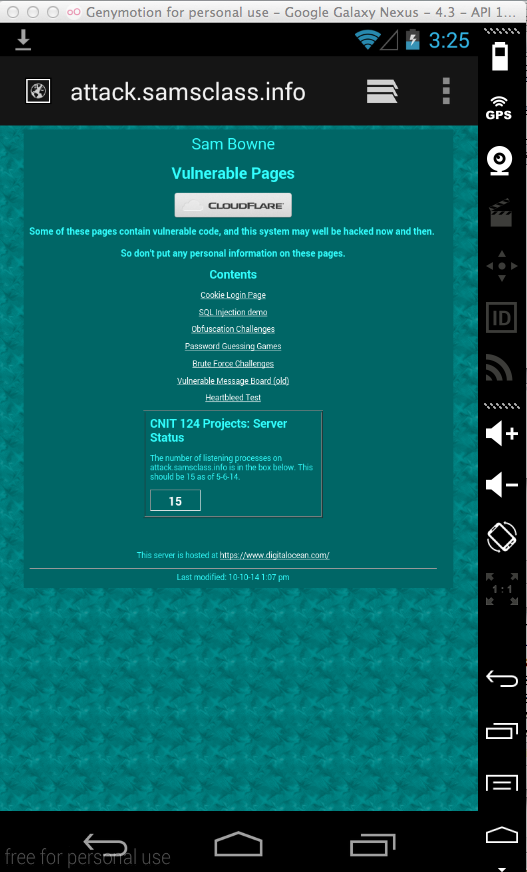
"Vulnerable Pages" opens, as shown below.
In Burp, click the Proxy tab.
Click the "HTTP history" sub-tab.
Find the line that shows the http://attack.samsclass.info page loading, as shown below.

A "Security warning" box pops up, as shown below.
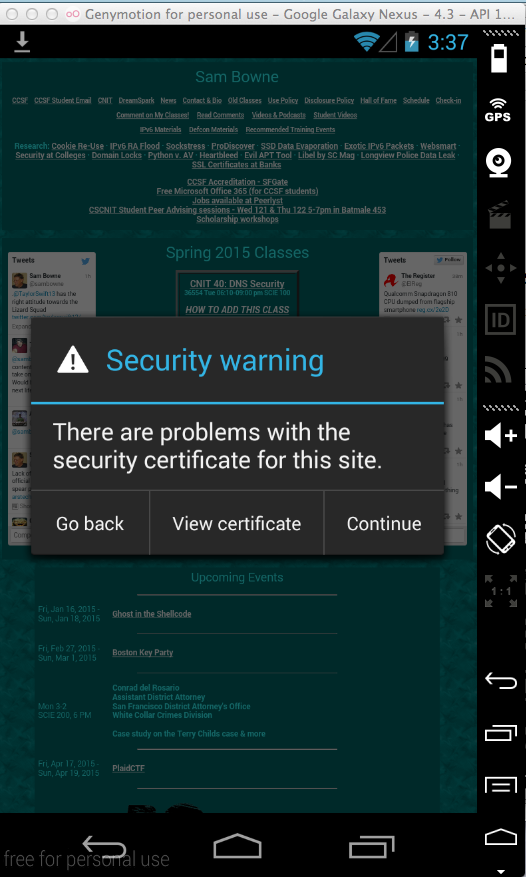
Click "View certificate".
This certificate is from "PortSwigger", the makers of Burp, as shown below.
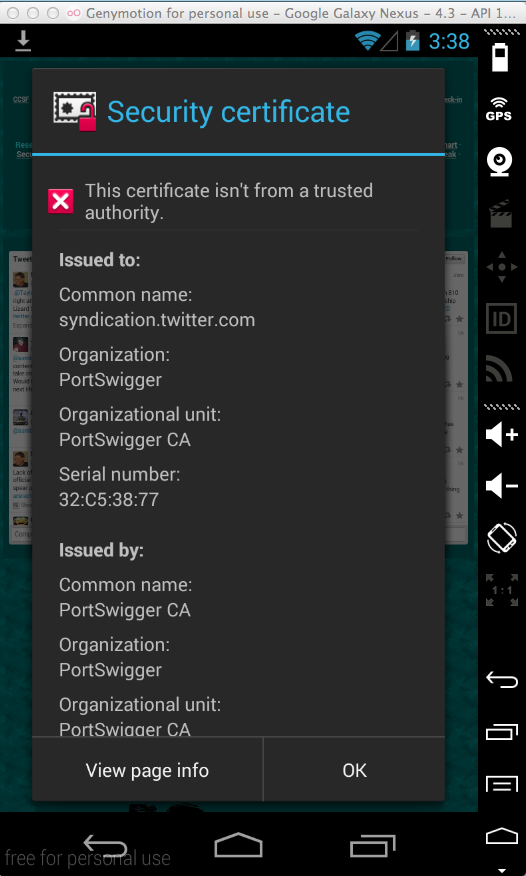
We want to add PortSwigger as a trusted certificate authority to get rid of these messages.
In Burp, click the Proxy tab.
Click the Options sub-tab.
Click the "CA certificate..." button.
In the "CA Certificate" box, click the "Certificate in DER format" button, as shown below.
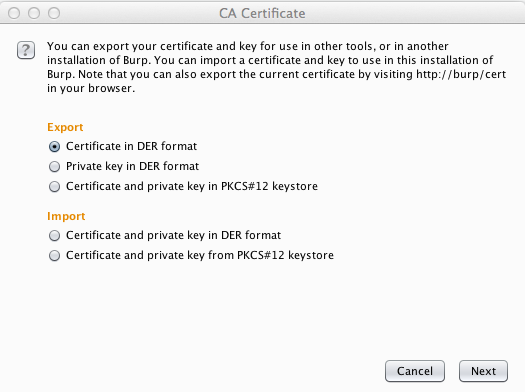
Click Next.
Save the certificate somewhere you can find it, such as on your Desktop.
Give it a name of portswigger.cer, as shown below.
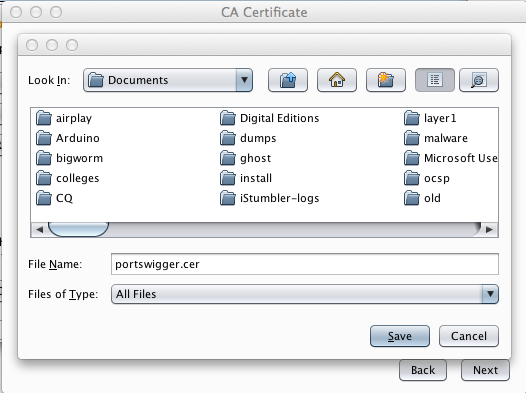
Click Save.
Click Next. Click Close.
A message appears, saying "Files successfully copied to sdcard/Download", as shown below.
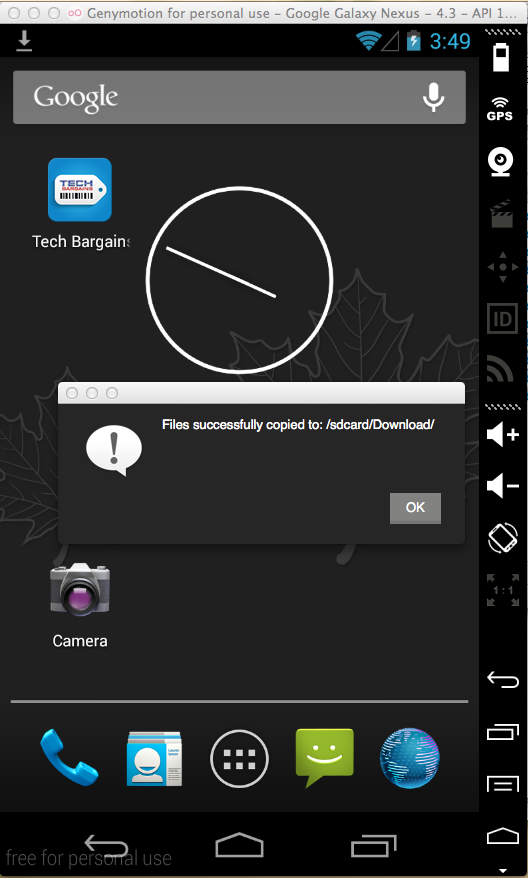
Click OK.
From the Android home screen, click the circle icon in the bottom center.
Drag the screen to the left to see the second page of apps.
Click Settings.
In Settings, scroll down and click Security.
In Security, scroll down and click "Install from SD card", as shown below.
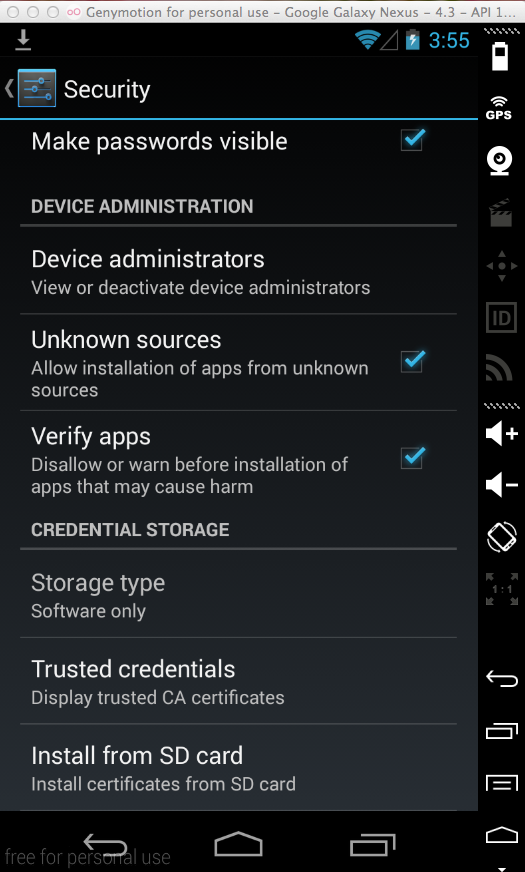
A box pops up titled "Name the certificate".
Click OK.
If you have a PIN configured, you will have to enter it.
A box pops up, saying "Portswigger is installed".
If you see "Security warning" boxes, click "Go back" until they vanish.
Go to
The page should load without any error messages, as shown below.

Click the "HTTP history" sub-tab.
Find the line that shows the https://samsclass.info page loading, as shown below.

This makes Burp untrusted again.
To test it, open a Web browser and go to https://samsclass.info.
A "Security warning" box pops up, as shown below.

This is the way we want Burp set up to easily detect apps that don't validate SSL signatures.
Android Assessments with GenyMotion + Burp