We'll use the free ProGuard tool to do that.
You started with an APK file, the sort that is used to distribute Android apps in the Google Play Store and elsewhere.
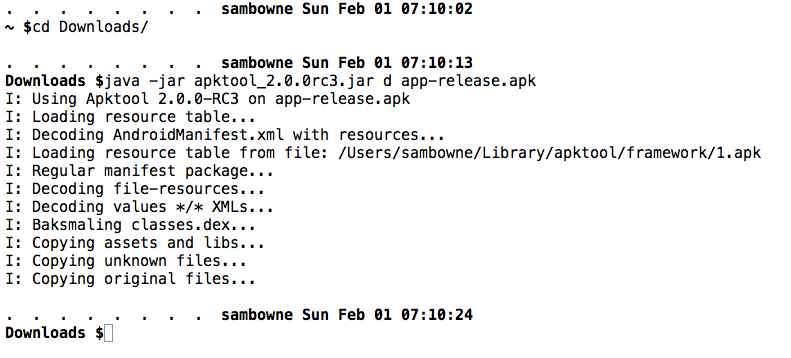
You disassembled it with apktool:
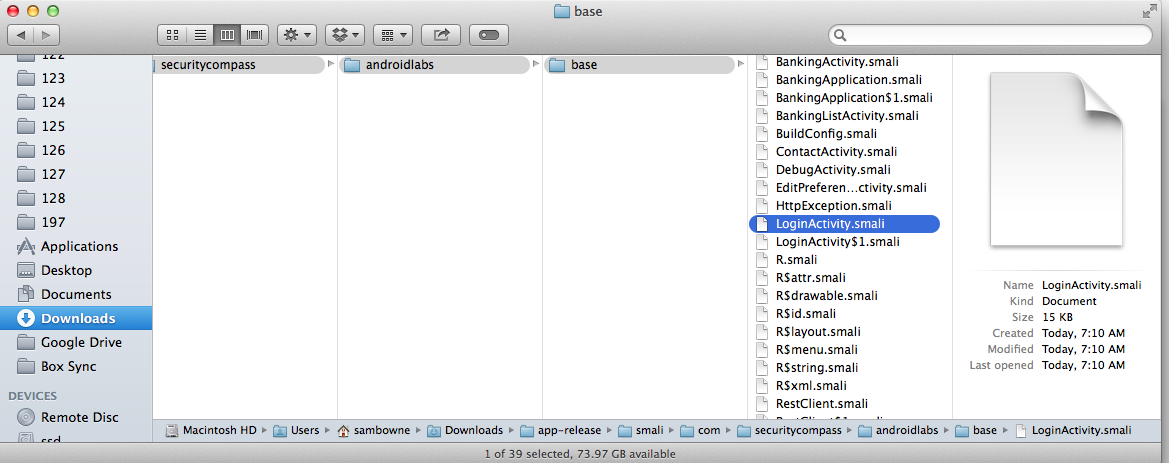
This created a set of smali files with descriptive names like "LoginActivity" and "RestClient":
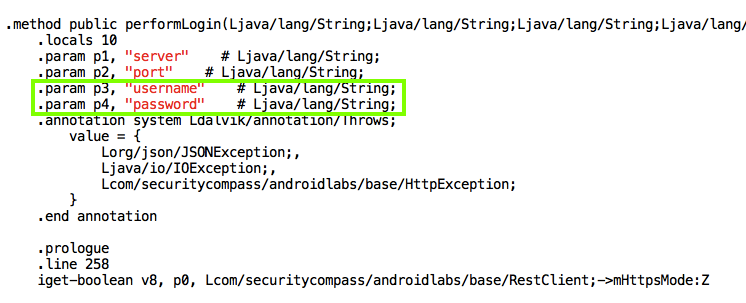
Inside the files, there are variables with descriptive names like "username" and "password", as shown below in the "RestClient" file:
For reference, here are the occurrences of "password" in the decompiled APK file we've been using:
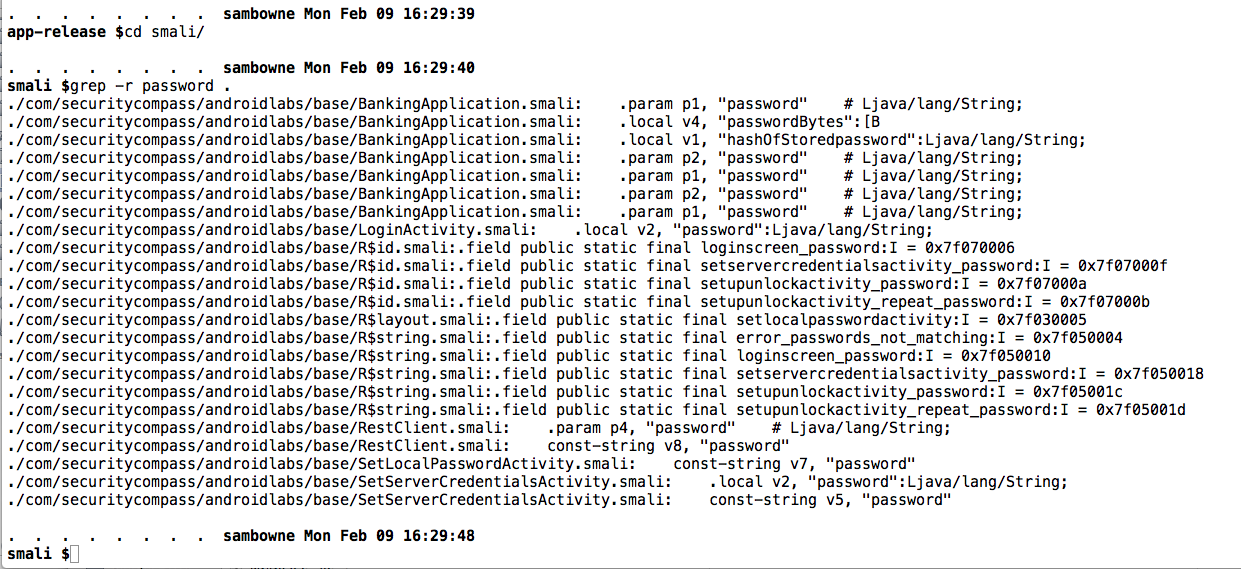
Those descriptive names are helpful for the app developer, but they are also helpful for the attackers reverse-engineering the code.
Obfuscation allows the developers to continue seeing helpful names, but conceals them from reverse engineers.
If you don't have it, download this zip file:
https://samsclass.info/128/proj/AndroidLabs-Base-Sam.zip
Unzip the file.
A folder named "AndroidLabs-Base-Sam" appears.
Click File, "Import Project".
Navigate to the "AndroidLabs-Base-Sam" folder and click OK.
Click Next. Click Finish.
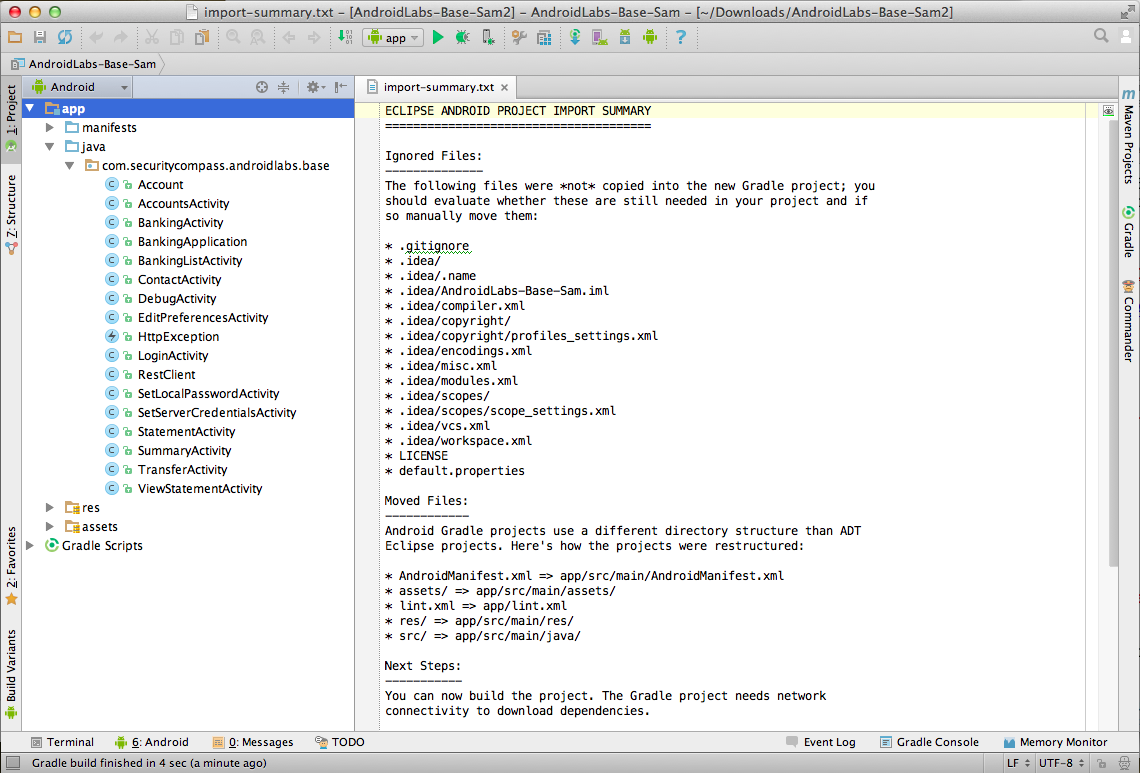
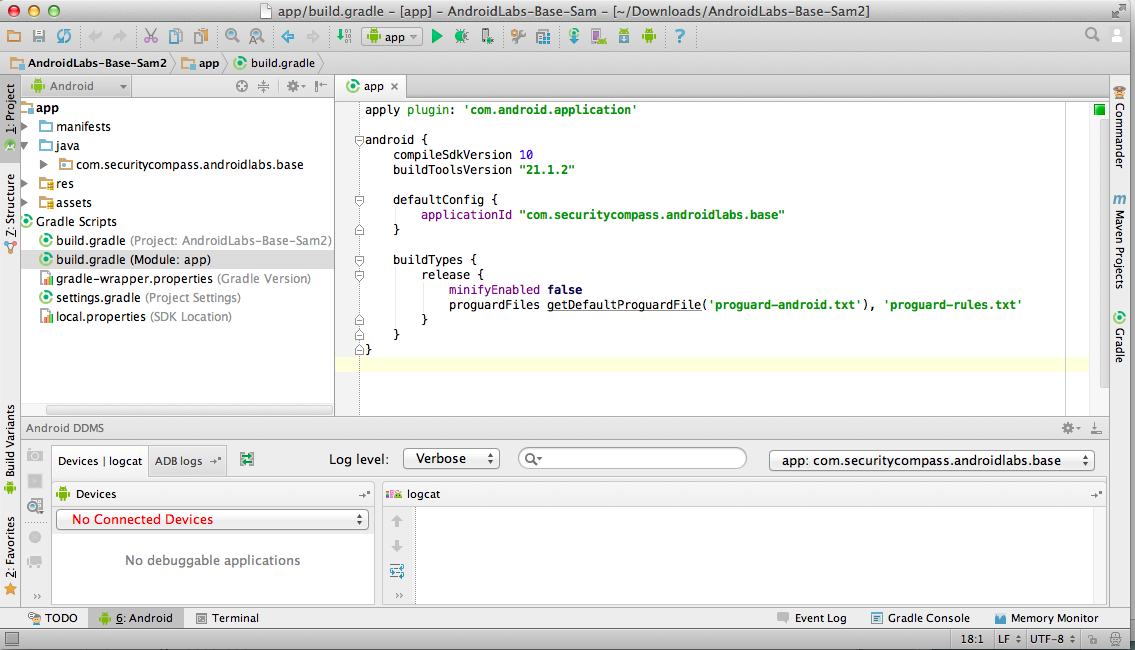
The source code for the app appears, as shown below.
In the top right pane, change "minifyEnabled" from "false" to true, as indicated by a red outine in the figure below.
Then, in the upper right, click "Sync Now".
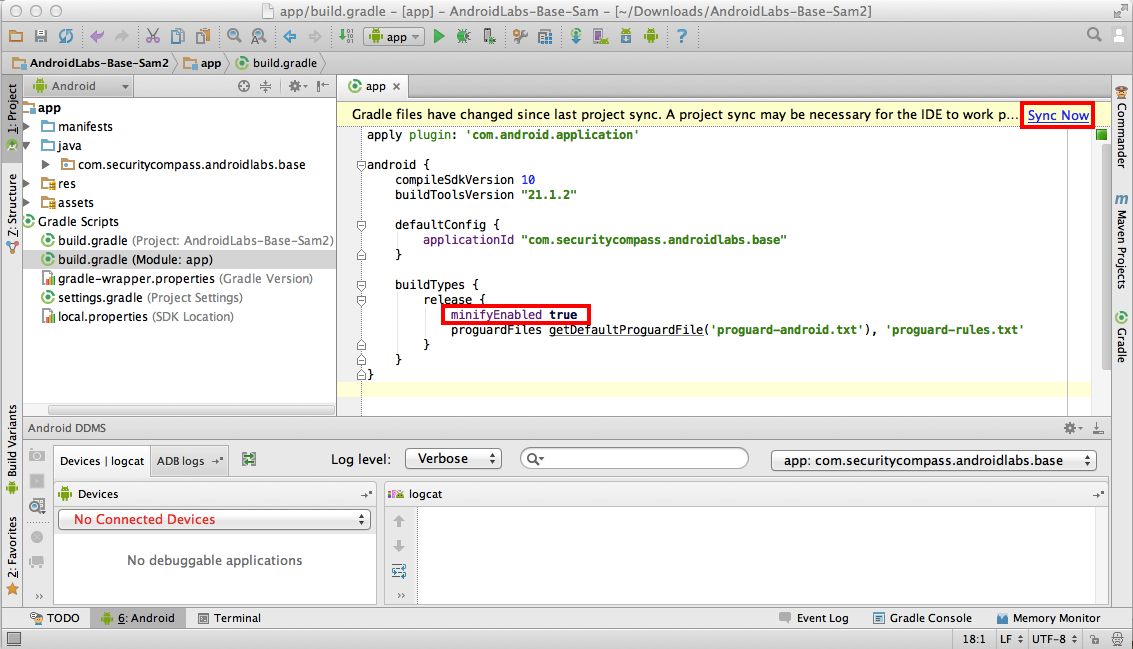
Wait a few seconds for the sync to finish and the yellow bar to vanish.
In the first box, accept the default selection of app and click Next.
In the "Key store path" screen, the path to the key you created in project 9 shoud fill in automatically. All you need to do is to fill in the passwords, as shown below.
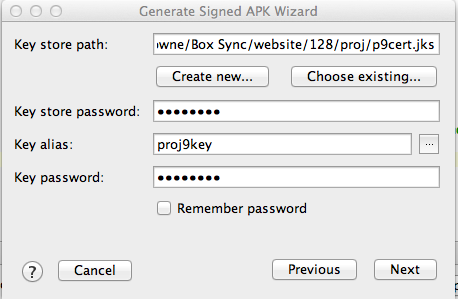
Click Next.
Click Finish.
The build fails. A message at the bottom says we need to provide a "proguard-rules.txt" file,
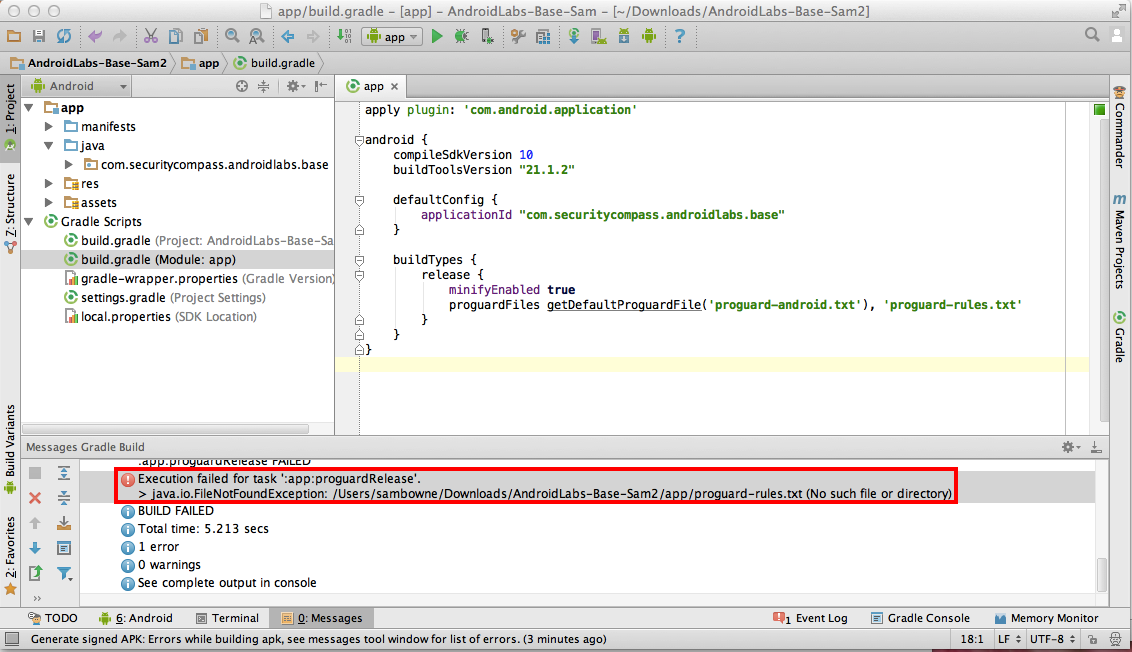
On my system, it needs to be:
/Users/sambowne/Downloads/AndroidLabs-Base-Sam2/app/proguard-rules.txt
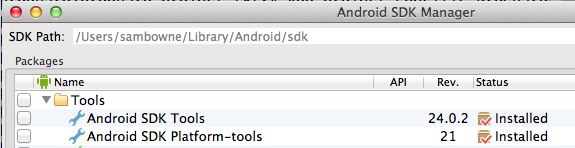
Note the SDK path shown at the top, as shown below.
On my system it is
/Users/sambowne/Library/Android/sdk
If you use a Mac, open a Terminal window and execute this command, replacing the first path with your correct SDK path with "/tools/proguard/proguard-android.txt" appended to it, and the second path with the exact path and filename specified in the error message from Android Studio:
cp /Users/sambowne/Library/Android/sdk/tools/proguard/proguard-android.txt /Users/sambowne/Downloads/AndroidLabs-Base-Sam2/app/proguard-rules.txt

In the first box, click Next.
In the "Key store path" screen, fill in the passwords, and click Next
Click Finish.
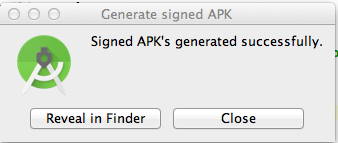
A box pops up saying "Signed APK's generated successfully", as shown below.
Click the "Reveal in Finder" button.
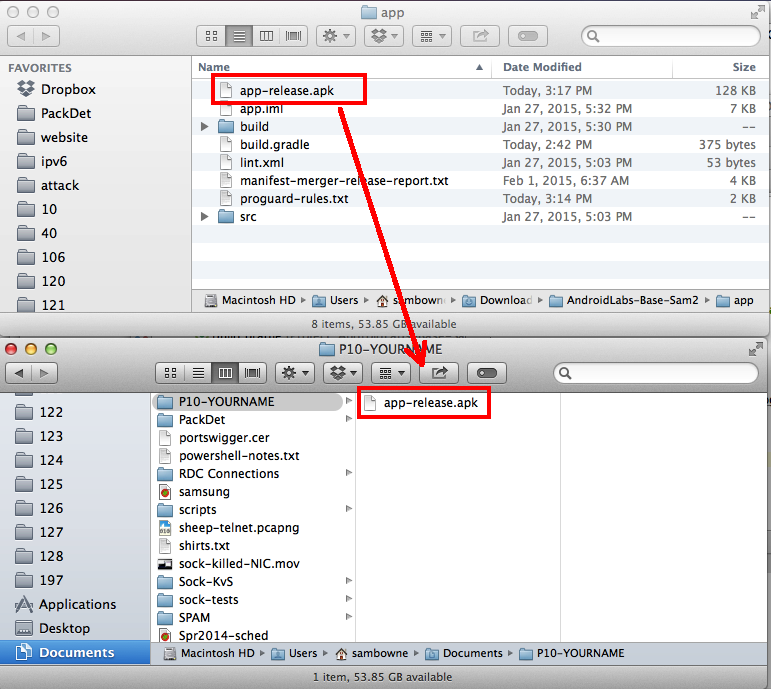
Copy the app-release.apk file to your working folder, as shown below.
https://bitbucket.org/iBotPeaches/apktool/downloads
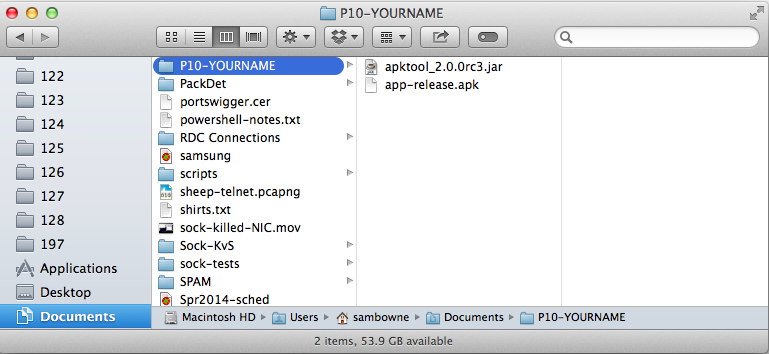
Copy it to your working folder, which is probably a subfolder of the Documents folder.
The APK file and apktool should both be in the same folder, as shown below.
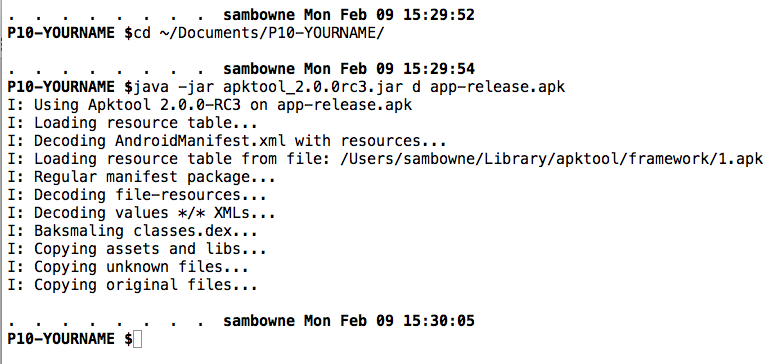
Change directory to your working directory and decompile the app with java, as shown below.
cd ~/Documents/P10-YOURNAME

java -jar apktool_2.0.0rc3.jar d app-release.apk
Click Next.
Open this series of folders:
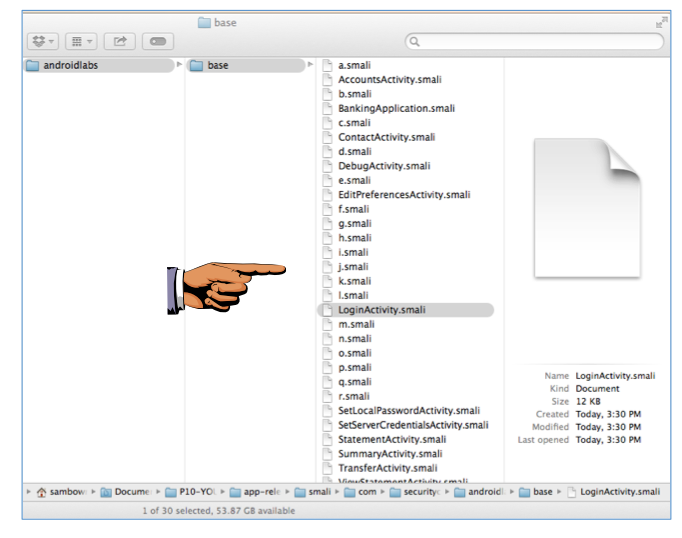
Notice that many of the filenames are now changed to single letters. The "RestClient" file is no longer visible, but "LoginActivity" is.
Save a full-desktop image.
YOU MUST SUBMIT A FULL-SCREEN IMAGE FOR FULL CREDIT!
Save the image with the filename "YOUR NAME Proj 10", replacing "YOUR NAME" with your real name.
cd app-release

cd smali

grep -r password .
FINDSTR /S password ./*
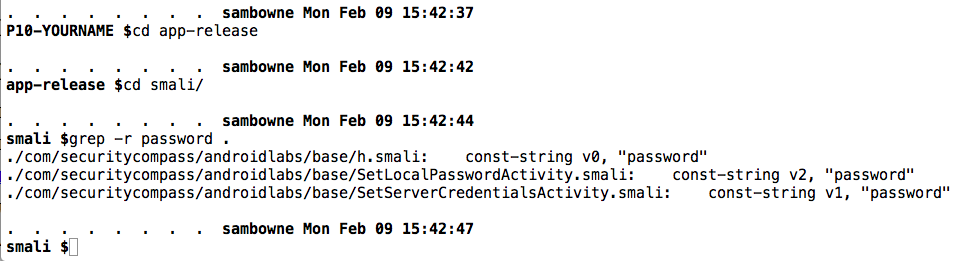
So the attack surface has been decreased, but there are still some informative filenames present.