DO NOT DO THIS PROJECT ON YOUR PERSONAL PHONE UNLESS YOU FULLY UNDERSTAND THE RISKS.
We have iPhone 4 devices you can use in the S214 hacking lab to do this project. They are good for this because even when fully updated, they can still be jailbroken.
In my case I used a Mac.
Start iTunes.
If iTunes is not installed, get it here:
http://www.apple.com/itunes/download/
If a box appears offering to install QuickTime, "iTunes has detected a problem with your audio configuration...", close it.
If a box appears saying "iTunes has detected a problem with your audio configuration...", close it.
If the "iTunes Quick Tour" box pops up, close it.
A box pops up on the phone saying "Trust This Computer?". Tap Trust.
A box pops up on your computer asking "Do you want to allow this computer to access information on this iPhone?" Click Continue.
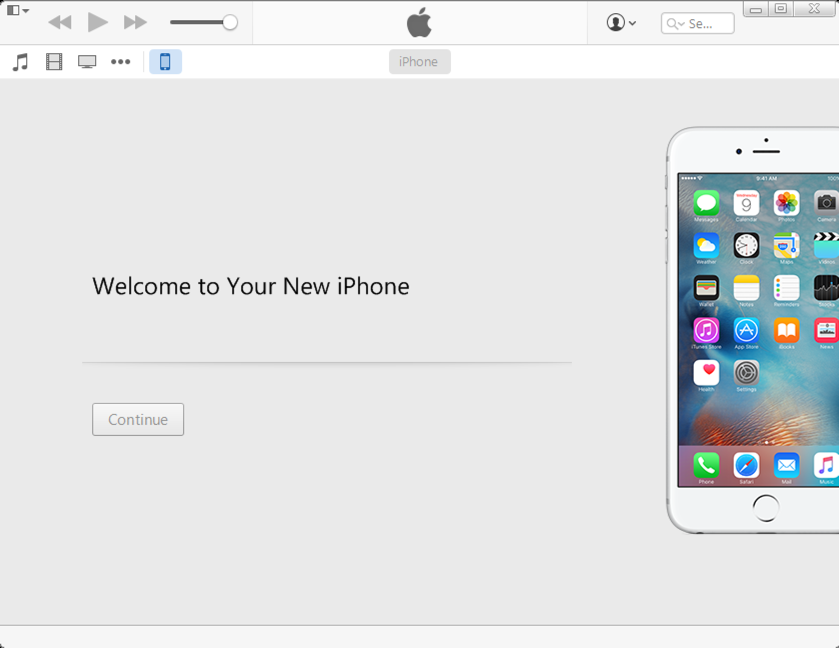
iTunes now shows a message: "Welcome to Your New iPhone!", as shown below.
Click Continue.
A message appears saying "Sync with iTunes". Click "Get Started".
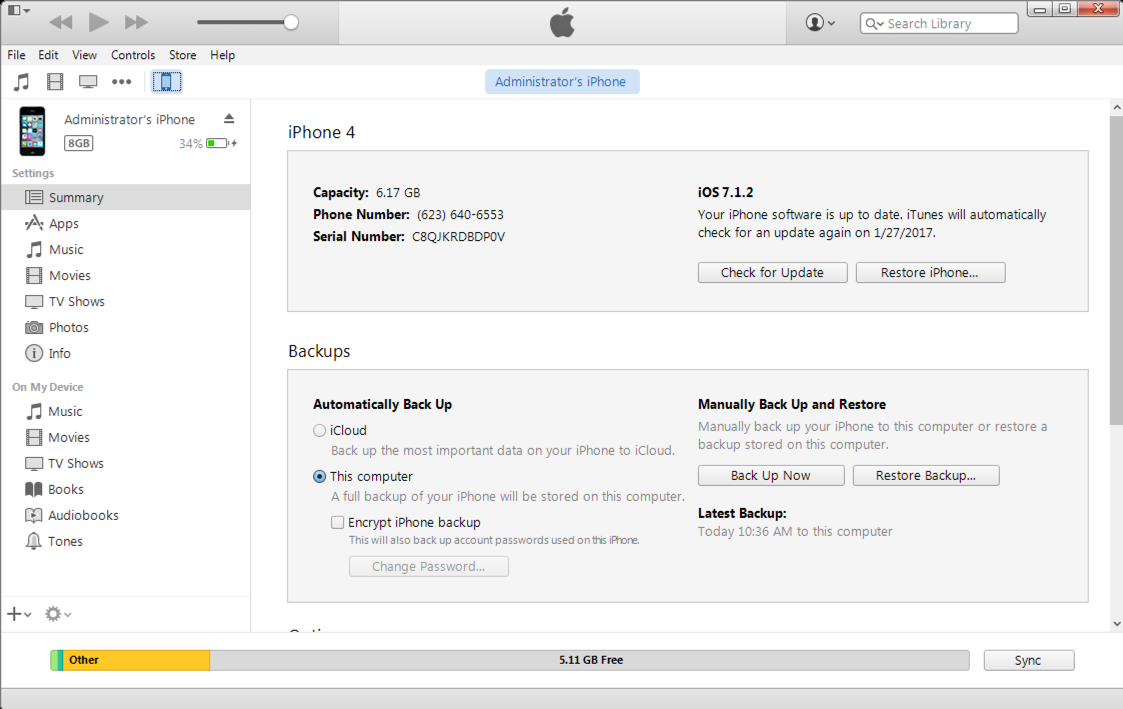
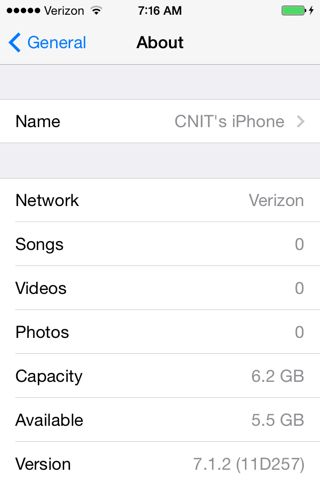
iTunes shows information about your iPhone, as shown below.
In the upper right portion of this window, click "Restore iPhone...".
A box pops up asking "Are you sure...". Click Restore.
If a box pops up saying "There are purchased items...", click Continue.
A box appears showing what version of iOS you are about to install on the phone. It should be "iOS 7.1.2" as shown below.
IF YOU SEE VERSION 9 OR LATER, STOP HERE. If you update a device to the latest version of iOS 9 or 10, there is no known way to jailbreak it after that.
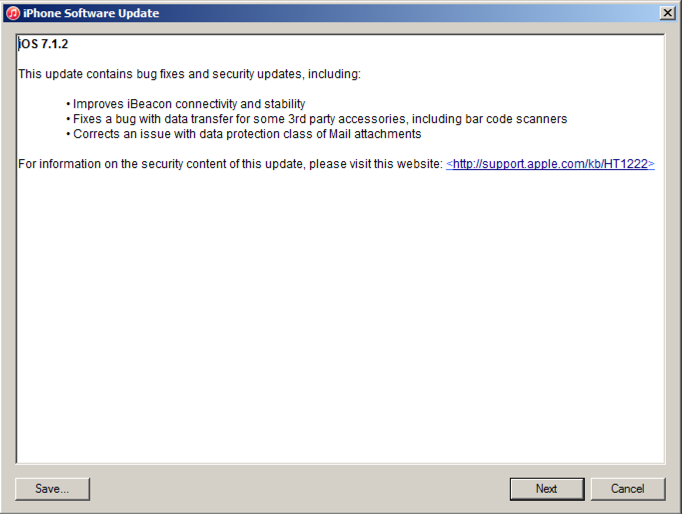
Click Next.
Click Agree.
Wait while iTunes downloads software and installs it on the iPhone. When it's done, your phone screen turns white and says "Hello".
Swipe to the right to open the phone.
Connect it to a Wi-Fi network.
Select "Set Up as New iPhone".
Tap "Sign in with Your Apple ID". Connect it to this Apple Account (I was getting frustrated when I chose this password):
Tap "Don't Use iCloud".
Tap "Don't Add Passcode".
Tap Continue.
Tap "Don't Send".
Tap "Get Started".
Pangu uses iTunes, so you also must have iTunes running on your Windows system.
Start iTunes.
If iTunes is not installed, get it here:
http://www.apple.com/itunes/download/
A box pops up on the phone saying "Trust This Computer?". Tap Trust.
A box pops up on your computer asking "Do you want to allow this computer to access information on this iPhone?" Click Continue.
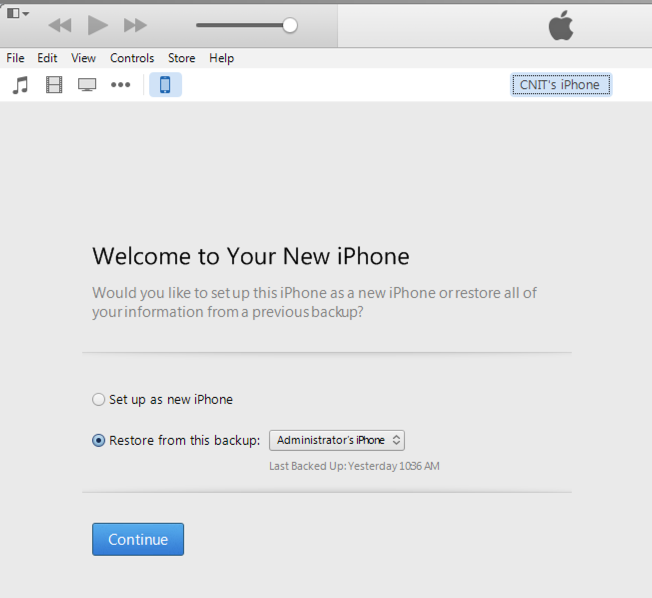
iTunes now shows a message: "Welcome to Your New iPhone!", as shown below.
Leave this window open.
Unplug the USB cable connecting your iPhone to the Windows machine.
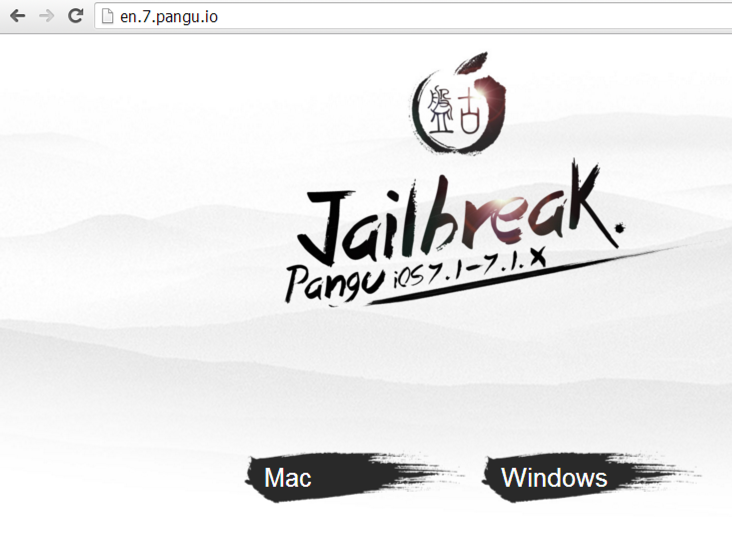
Click Windows, as shown below.
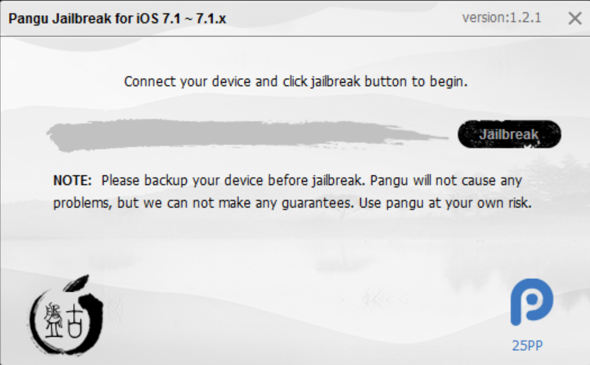
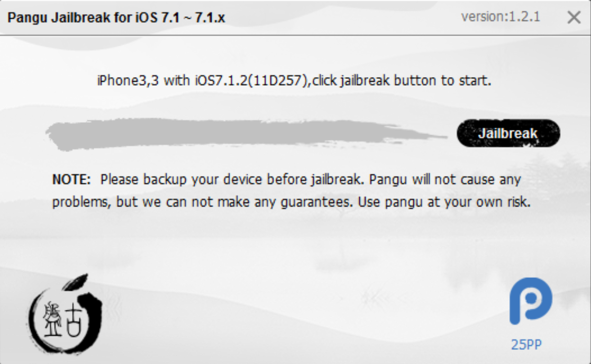
When the Pangu_v1.2.1.exe file downloads, run it. A Pangu window opens, as shown below.
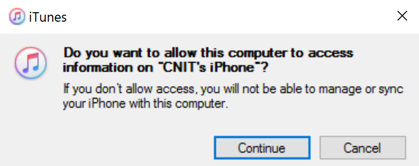
An iTunes box pops up, as shown below. Click Continue.
Swipe your finger across your iPhone to unlock it. When a box pops up asking if you want to trust the computer, tap Trust.
Pangu detects the device, as shown below. Click Jailbreak.
Instructions appear telling you to adjust the date on the iPhone to June 2, 2014. Do that, as shown below.
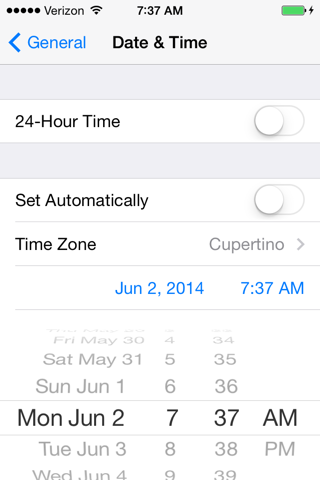
As soon as you adjust the date, Pangu starts "Injecting bundles".
A message appears, saying "Please tap the 'Pangu' icon...", as shown below.
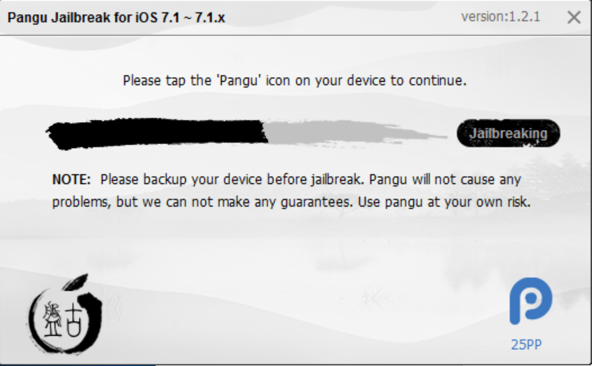
On your iPhone, return to the home screen. Swipe to the second page of apps. Tap Pangu, as shown below.
Tap Continue.

Pangu continues and reboots your phone. Just wait. If you are using a virtual machine, it will ask where to connect the USB after the phone reboots. Connect it to "Windows".
When the jailbreak is done, your phone will show a message saying "Storage is almost full", and your iPhone will reboot again. That's normal.
When your iPhone reboots again, Pangu is done.
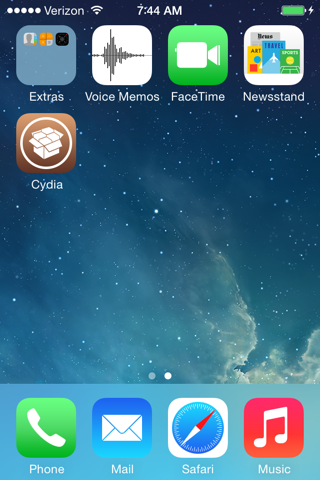
Swipe to unlock your phone. From the home screen, swipe to the second page of apps. You see Cydia, as shown below. Your phone is jailbroken!
On the iPhone home screen, tap Settings.
Tap Wi-Fi and connect to a wireless network.
At the top left of the screen, tap the blue Settings text.
Tap General. Tap Auto-Lock. Tap Never.
A box pops up saying "Storage almost full". That's normal and it's OK to ignore it. Tap Done. Wait while Cydia continues to prepare the phone, and the phone restarts.
Swipe to wake the phone. slide to the second page and tap Cydia again.
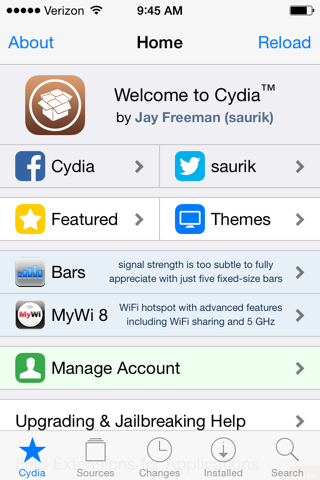
Cydia opens, as shown below.
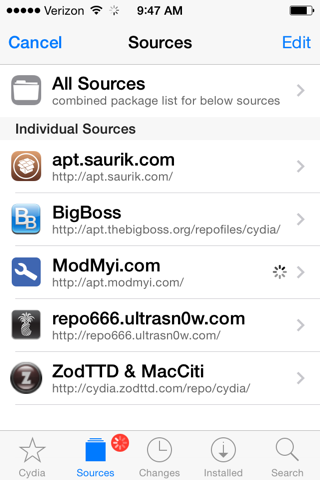
At the lower right, tap Sources.
Here you see some spinning icons, because sources are loading over Wi-Fi, as shown below. Wait till they all finish spinning.
A box pops up saying "4 Essential Upgrades". Tap "Upgrade Essential". Tap Confirm.
Wait while upgrades install, as shown below.

When the process is done, tap "Close Cydia".
The Cydia homepage opens again. At the lower right, tap Search.
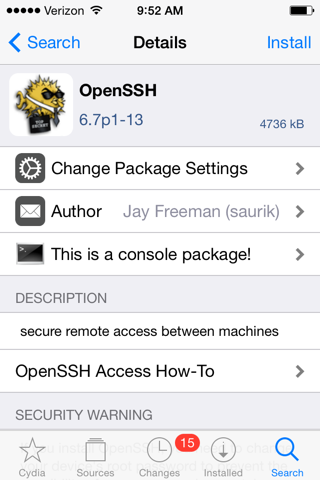
Search for OpenSSH, as shown below. Click Install. Click Confirm.
When you see the message "Installed OpenSSH", tap "Return to Cydia".
Tap Search.
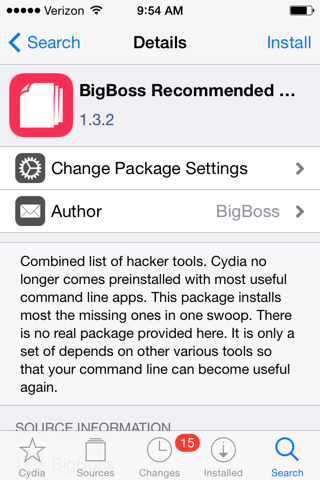
Search for "BigBoss Recommended Tools", as shown below. Click Install. Click Confirm.
When you see "Complete" at the top of the screen, scroll down and tap "Return to Cydia".
Tap Search.
Search for MobileTerminal, as shown below. Click Install. Click Confirm.
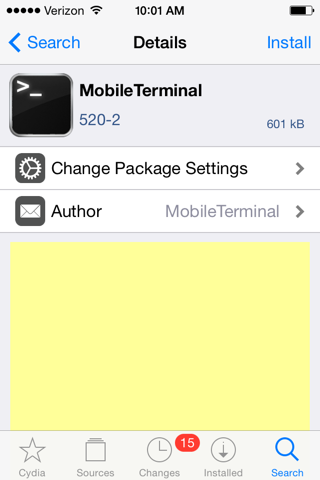
When you see "Complete" at the top of the screen, tap "Return to Cydia".
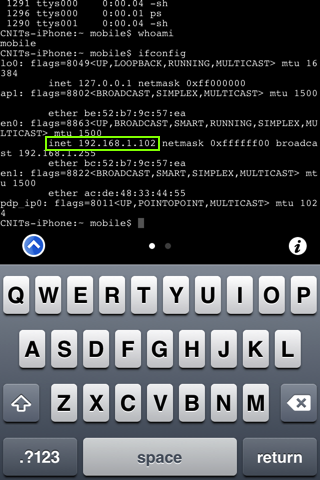
You can execute Unix commands directly here. Try executing ps to see running processes, and whoami to see who you are logged in as.
Execute ifconfig to see your IP address, as shown below. When I did it, my IP address was 192.168.1.102.
Right-click the itunnel_mux_rev71.zip file and click "Extract All...", Extract.
A folder opens, containing two files, as shown below.
Click Start and type CMD
Open a Command Prompt and execute this command, replacing the path in the "cd" command to go into the folder where you unzipped the itunnel files.
cd \Users\Student\Downloads\itunnel_mux_rev71

itunnel_mux.exe --iport 22 --lport 2222
This creates a local listening process on port 2222 that connects to the iPhone through the USB cable.

Click Start and type PUTTY.
Troubleshooting
If you see this error message when running itunnel: "[FATAL] Could not locate 'Apple Mobile Device Support' folder path in registry: ABORTING", download this 64-bit driver and install it:
Launch Putty if it is found. If it's not found, get it here:
In PuTTY, enter these items, as shown below.
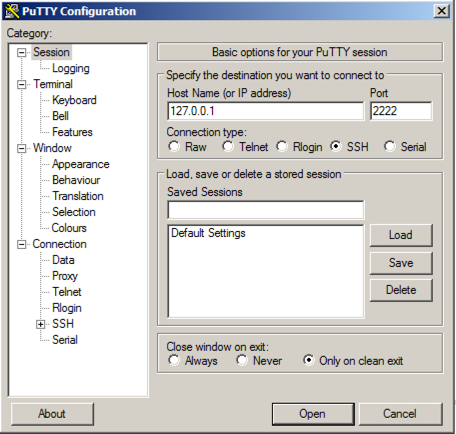
At the bottom of the PuTTY window, click the Open button. If a "PuTTY Security Alert" box pops up, click Yes.
Login with a username of root
The password is alpine
passwd
Execute these commands to complete the project, replacing "YOURNAME" with your own name,
uname -a

date

echo YOURNAME
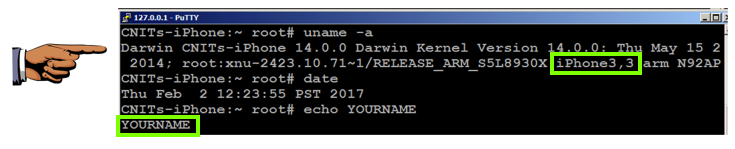
Capture a full-screen image.
YOU MUST SUBMIT A FULL-SCREEN IMAGE FOR FULL CREDIT!
Save the image with the filename "YOUR NAME Proj 1x", replacing "YOUR NAME" with your real name.
http://iphonedevwiki.net/index.php/SSH_Over_USB
Updated 4-12-17