Troubleshooting
One student used Windows 8 Pro 64 bit. The Android VM worked but as soon as it was rooted it became unusable by running so slowly that the mouse became useless.To avoid that, use Windows 7.
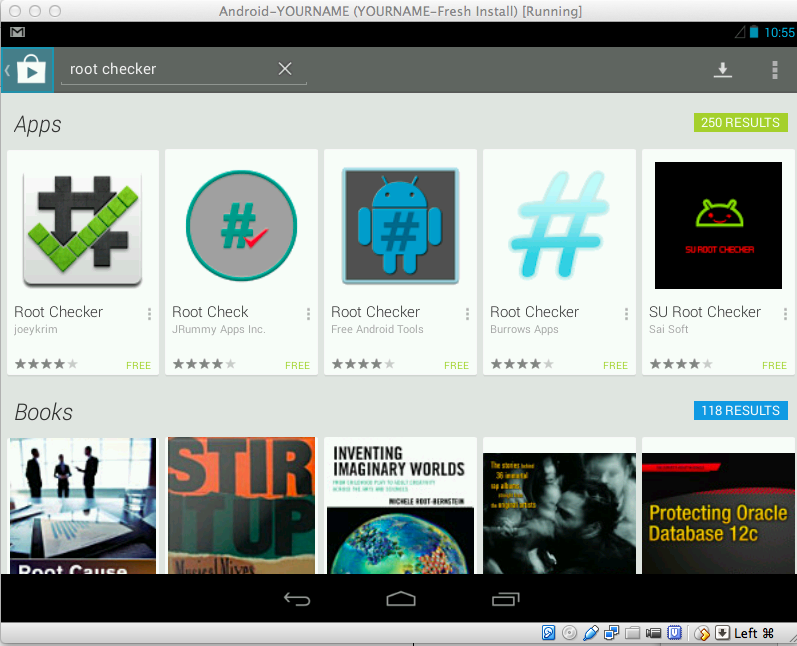
Enter a search string of "root checker" and press Enter.
Click the first result, "Root Checker", as shown below.
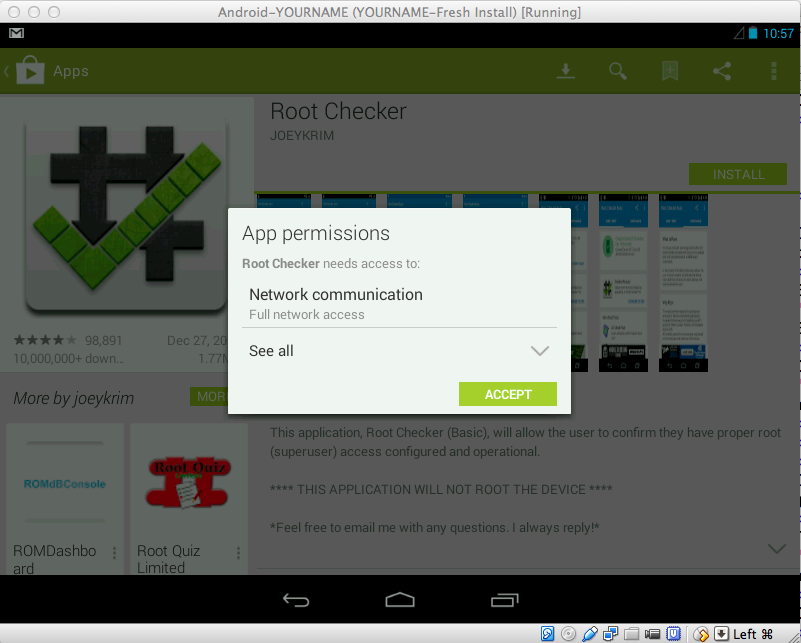
In the next screen, click the green INSTALL button.
The next screen shows the "App permissions", as shown below.
Click ACCEPT.
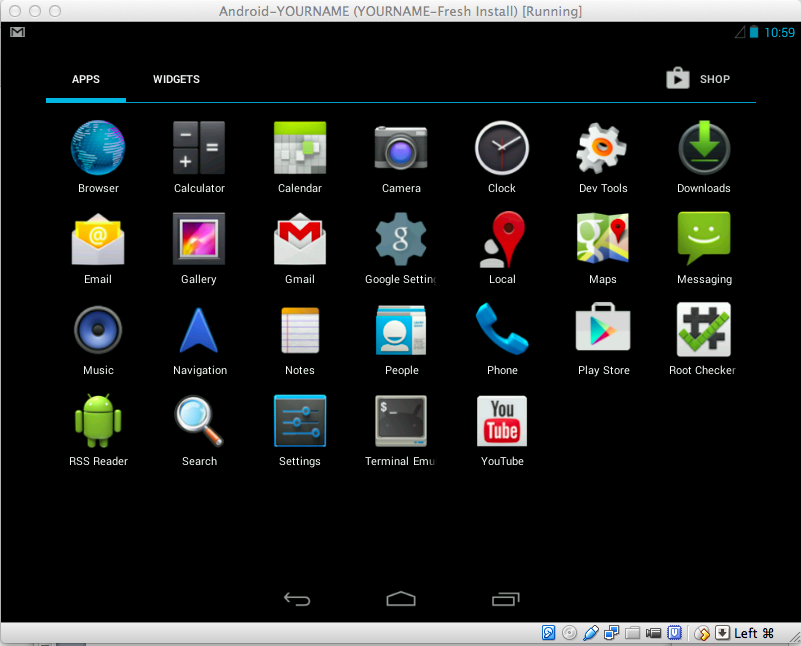
When the installation finishes, click the center icon at the bottom of the Android screen, which looks like an envelope that's been opened. This is the Home button.
From the Home screen, click the circle at the bottom to open the APPS screen, as shown below.
Click the "Root Checker" icon.
A "Disclaimer" appears. Click AGREE.
A "What's New" appears. Click OKAY.
A "Root Checker Basic" screen appears, as shown below.
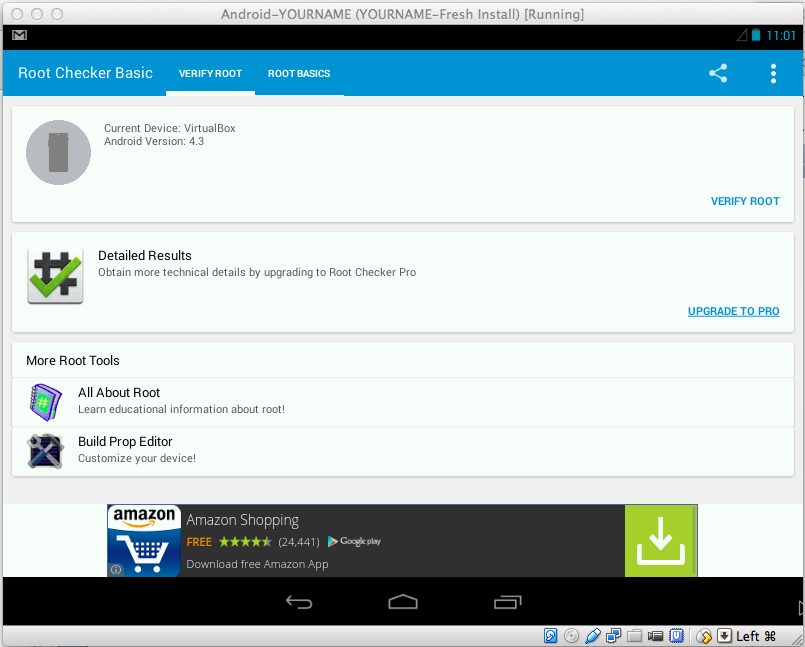
In the top section, on the right, click "VERIFY ROOT".
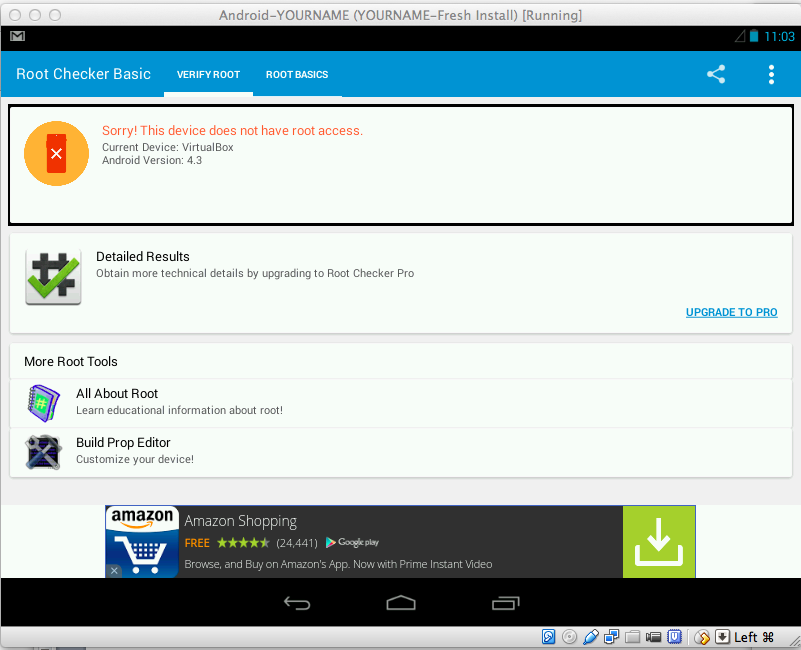
A message appears, saying "Sorry! This device does not have root access", as shown below.
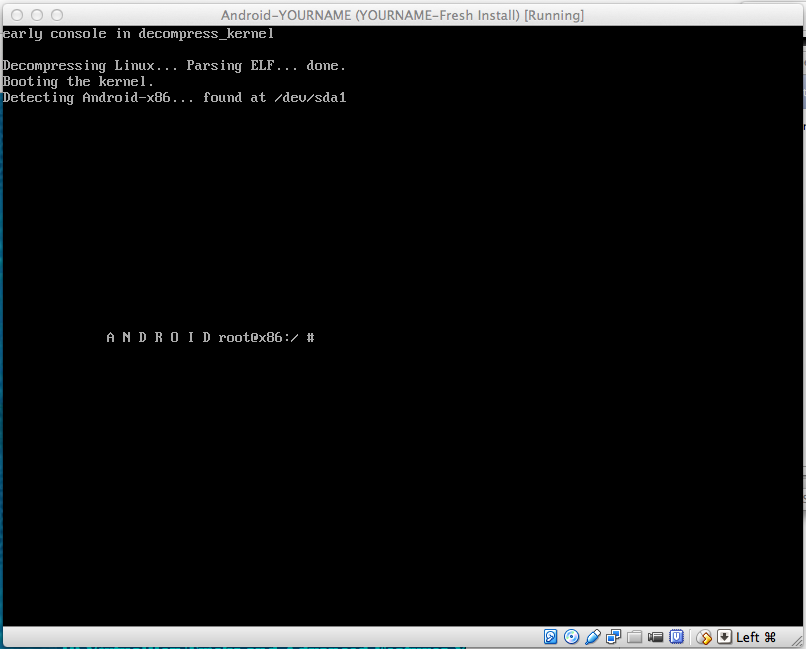
If you are using a PC, press Alt+F1.
If you are using a Mac, press fn+Alt+F1.
A root terminal opens, as shown below.
Execute these commands in the Terminal:
cd /storage/emulated/legacy/Download

wget http://attack.samsclass.info/Ax86-4.3root.zip

unzip Ax86-4.3root.zip
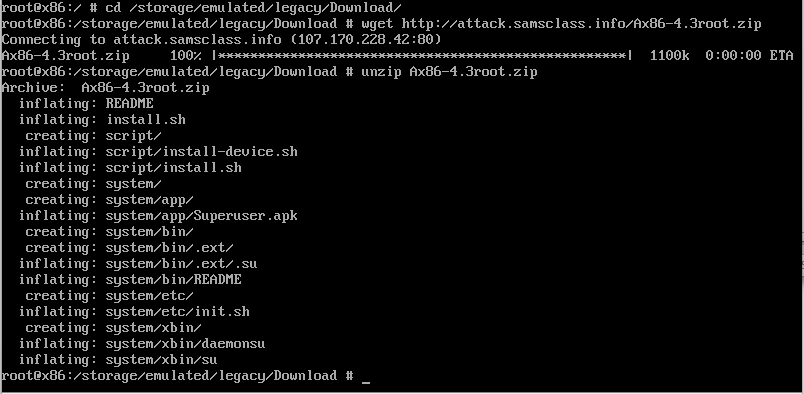
You have now downloaded and unzipped an Android root script.
I didn't write it--I got it here:
http://forum.xda-developers.com/showthread.php?p=44239140#post44239140
I just renamed it and uploaded it to my server to defeat the Web filter at CCSF.
In the terminal, execute this command:
sh install.sh
Are you running on the Alt+F1 android shell? (Y/N):type Y and press Enter.
Then press Enter twice.
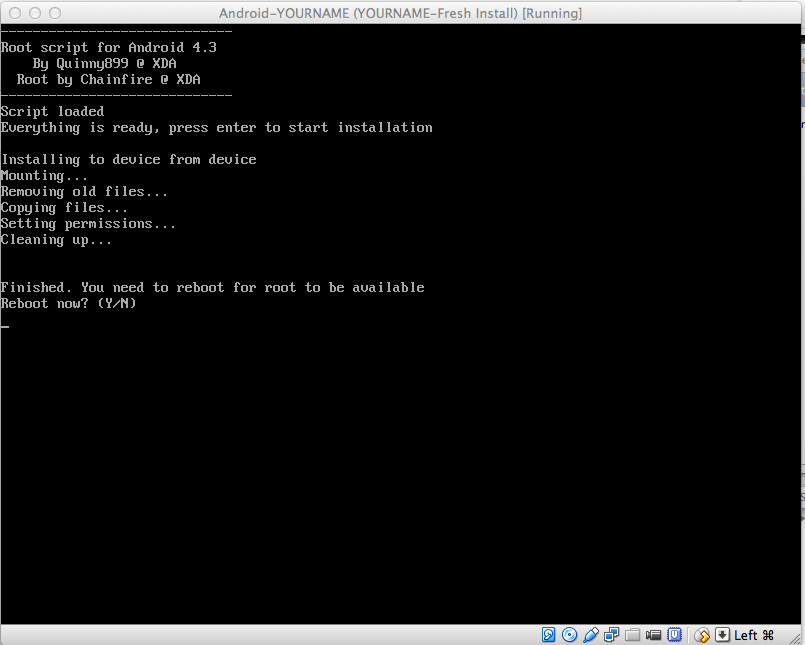
When you see the question
Reboot now? (Y/N)type Y and press Enter.
When your VM restarts, drag the lock to the right to return to the home screen, as shown below.
Click the "Root Checker" icon.
A "Disclaimer" appears. Click AGREE.
A "What's New" appears. Click OKAY.
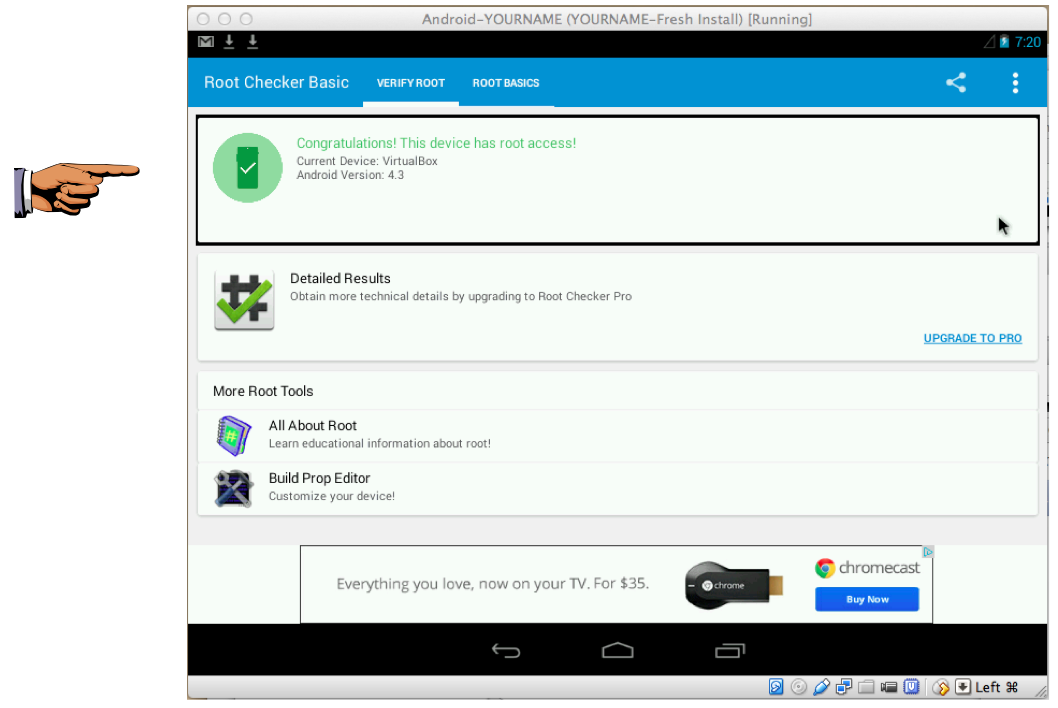
A "Root Checker Basic" screen appears, as shown below.
In the top section, on the right, click "VERIFY ROOT".
A message appears, saying "Congratulations! This device has root access", as shown below.
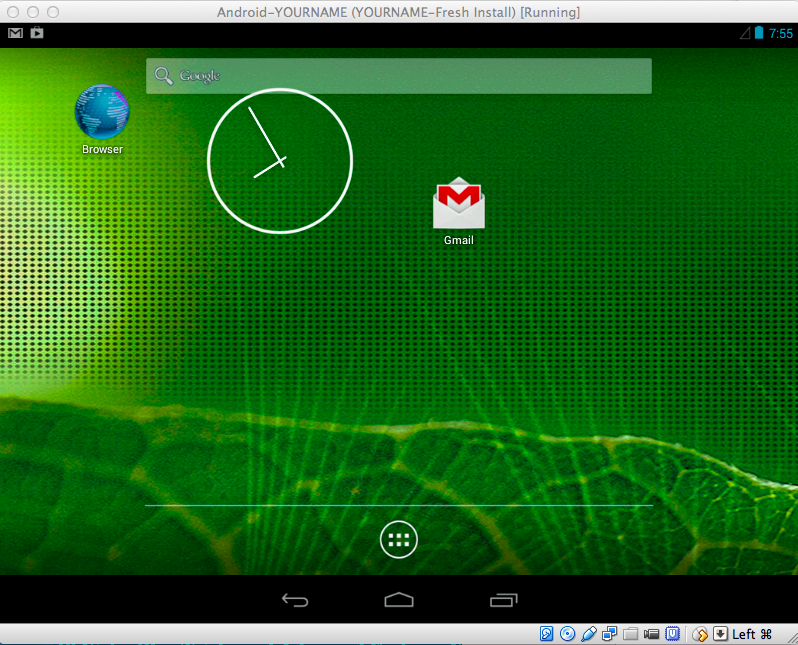
You will see the keystroke indicated that can release the cursor from the virtual machine.
On a Mac, it is the left Command button, as shown in the image above.
On a PC, it's the Right Ctrl key.
Press the indicated key.
The mouse pointer escapes from the VM.
Here's how to capture a screen image:
On a PC: press Shift+PrntScrn, open Paint, and press Ctrl+V.
On a Mac, press Shift+Ctrl+3. The captured image appears on your desktop.
Save the image as "Proj 2 from YOUR NAME".
Make sure your image shows "Congratulations! This device has root access", as shown above.