Unzip the file you just downloaded. A folder named AndroidLabs-master appears.
In Android Studio, click File, "Import Project".
Navigate to the AndroidLabs-master folder.
When the project loads, click Run, "Run 'app'".
Select the Nexus 5 emulator.
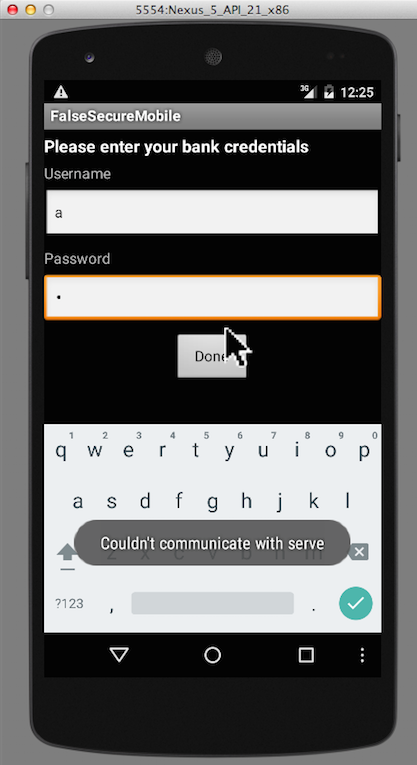
You see a bank login screen, as shown below.
Enter anything in the username and password fields and click Done.
Note: the keyboard on your computer won't work in the emulator. You must use the mouse to click on letters on the on-screen keyboard.
You see the message "Couldn't communicate with server", as shown above.
This is expected--we haven't yet set up the server.
If you have a PC, in a Web browser, go to
http://www.python.org/downloads/ Click Python 2.7.9.
Install the software with the default options.
Right-click the link below and save the file on your desktop.
https://bootstrap.pypa.io/ez_setup.py
Double-click the ez_setup.py file.
sudo easy_install blinker cherrypy flask flask-sqlalchemy simplejson
If you are using a PC, open an Administrator Command prompt and execute this command:
c:\python27\Scripts\easy_install blinker cherrypy flask flask-sqlalchemy simplejson
If you are using Ubuntu 14.04, CherryPy does not install correctly with easy_install. Execute this command: sudo pip install CherryPy
https://github.com/securitycompass/LabServer
On the right side, click "Download ZIP".
Find the LabServer-master.zip file and unzip it. A LabServer-master folder appears.
Find the complete path to this folder. When I did it on my Mac, it was:
/Users/sambowne/Downloads/LabServer-masterIf you are on a Mac, execute these commands, adjusting the path in the first command to the correct path for your machine:
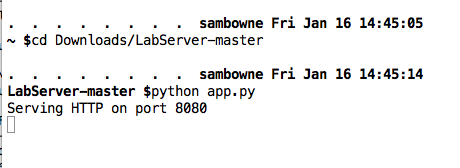
cd /Users/sambowne/Downloads/LabServer-master
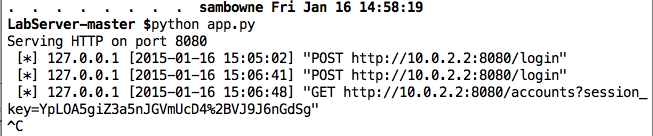
python app.py
cd c:\Users\student\Downloads\LabServer-master\LabServer-master

app.py
Leave this window open.
Click Done.
You see the message "Please configure a local password", as shown below.
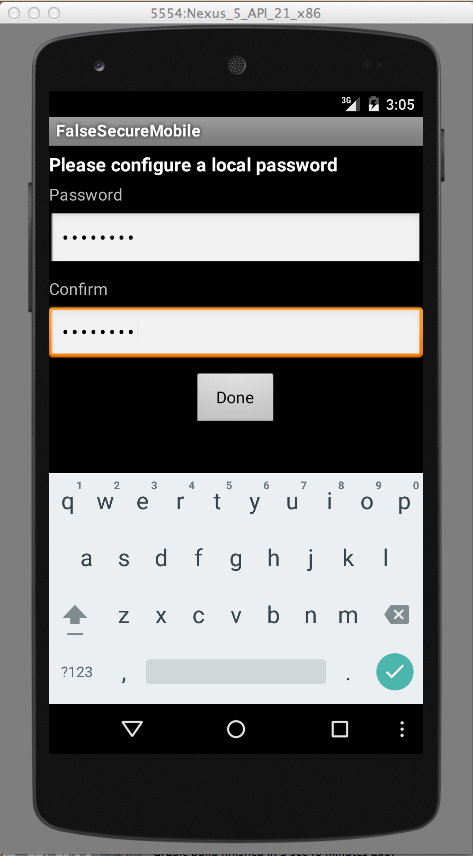
Enter a password of P@ssw0rd in both fields and click Done.
You now see the main app page, as shown below.
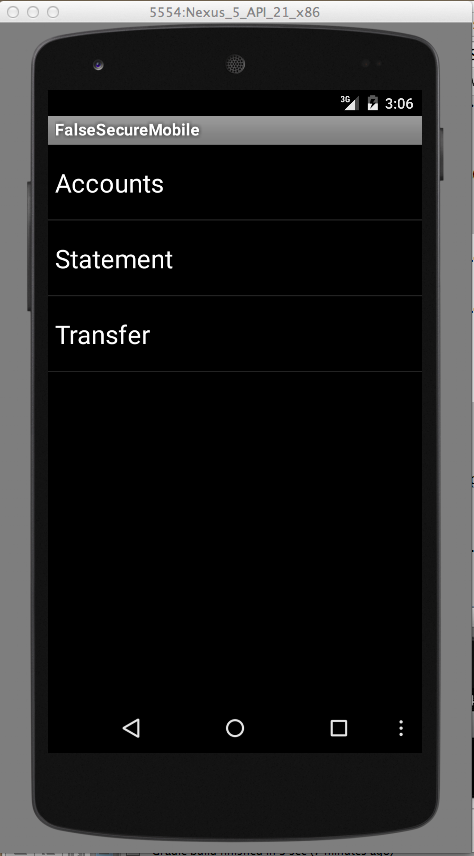
Click each of the three items and explore the app. It has basic banking functionality.
Press Ctrl+C to stop the server, as shown below.
Don't close this window--you'll need it again later.
In a Web browser, go to http://portswigger.net/burp/download.html
At the bottom of the "Free Edition" column, click "Download now".
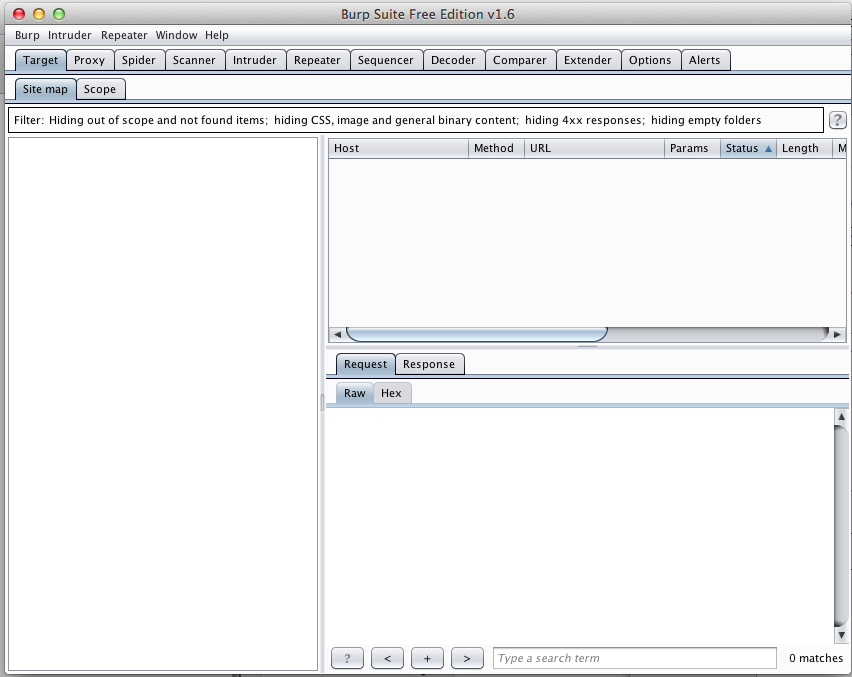
A "burpsuite_free_v1.6.jar" file downloads. Double-click it to launch it.
Burp opens, as shown below.
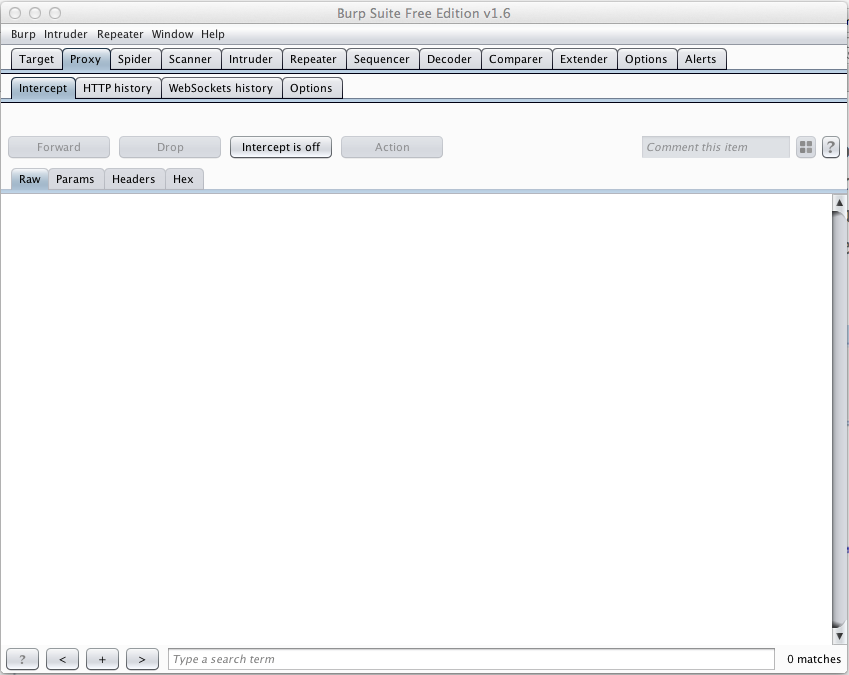
In Burp, click the Proxy tab. Click the Intercept button. Make sure the button label reads "Intercept is off", as shown below.
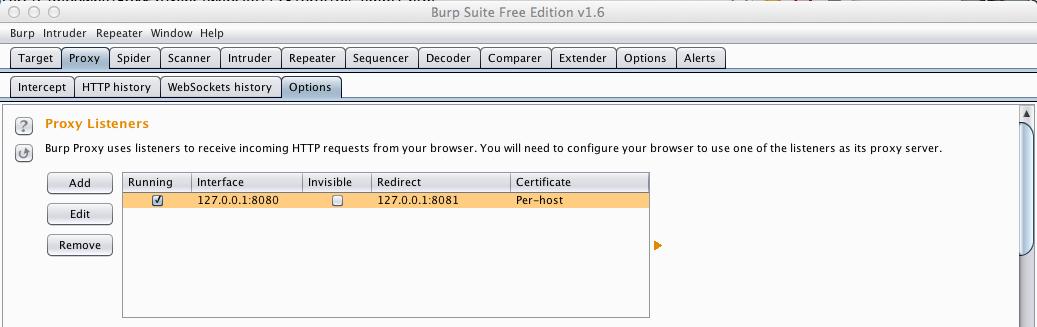
Click the Options tab.
Burp is listening on 127.0.0.1:8080, as shown below.
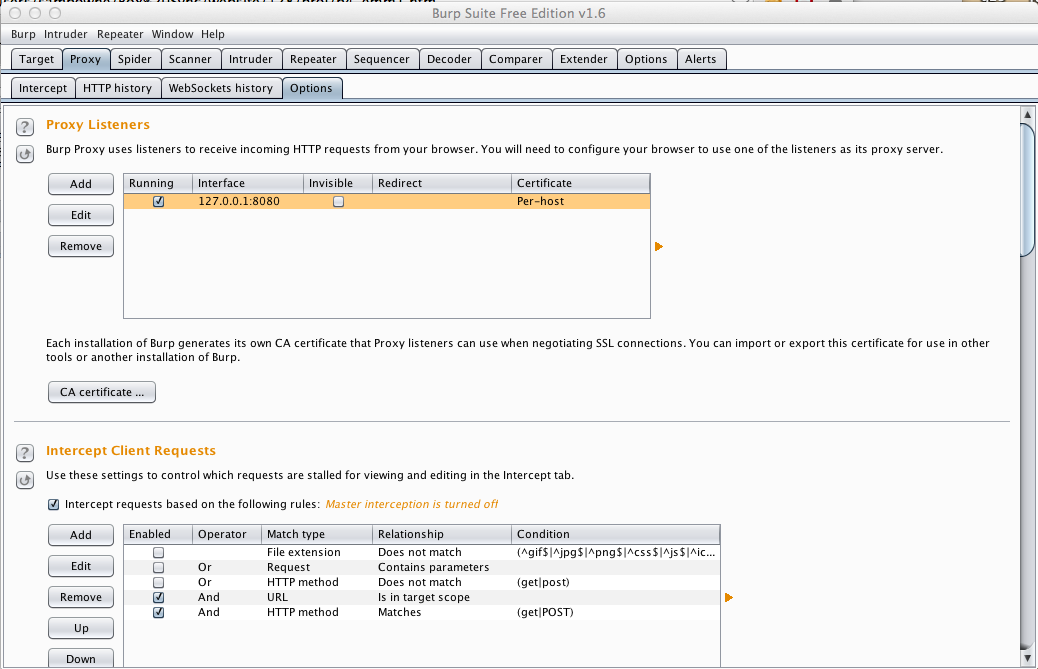
This is good, because the emulated Android phone is using that address and port number to reach the server.
So the requests from the emulated Android phone will reach Burp. We now need to tell Burp where the real server can be found.
In Burp, click the Edit button.
In the "Edit proxy listener" box, click the "Request handling" tab.
Enter these values, as shown below:
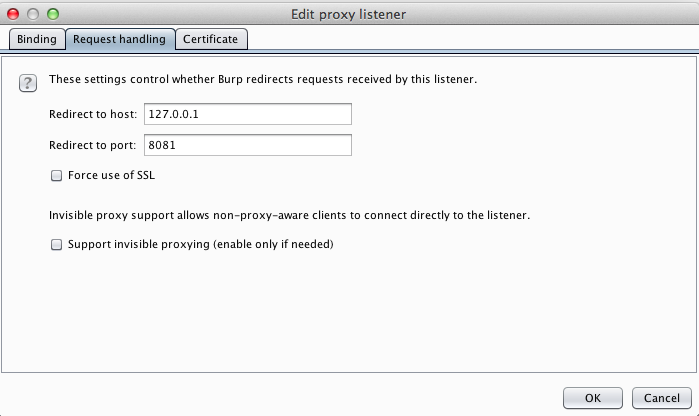
Click OK. Burp now shows an Interface of 127.0.0.1:8080 and a Redirect of 127.0.0.1:8081, as shown below.
python app.py --port 8081
Leave this window open.

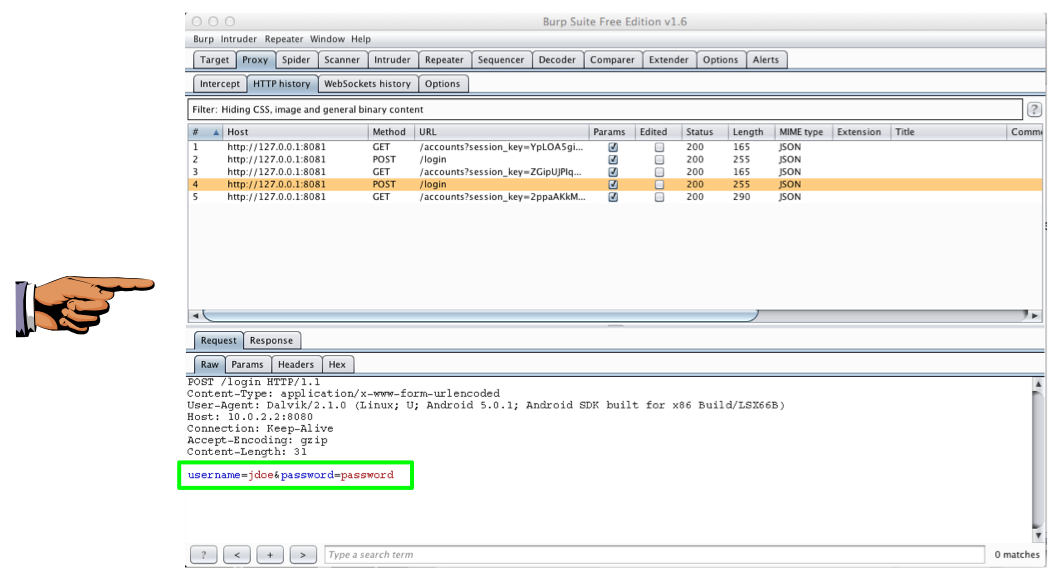
You should see your account balances, as shown below.

Click a "POST /login" line.
The lower pane shows the data the banking app sent to the server.
The username of jdoe and password of password are visible in cleartext, as shown below.
Save a full-desktop image of this screen. On a Mac, press Commmand+3. On a PC, press Shift+PrntScrn and paste into Paint.
YOU MUST SUBMIT A FULL-SCREEN IMAGE FOR FULL CREDIT!
Paste the image into Paint.
Save the image with the filename "YOUR NAME Proj 4", replacing "YOUR NAME" with your real name.