If 7-zip is not found, download and install it from here:
https://samsclass.info/128/proj/com.stitcher.player-iOS7.0-(Clutch-2.0.4).ipa
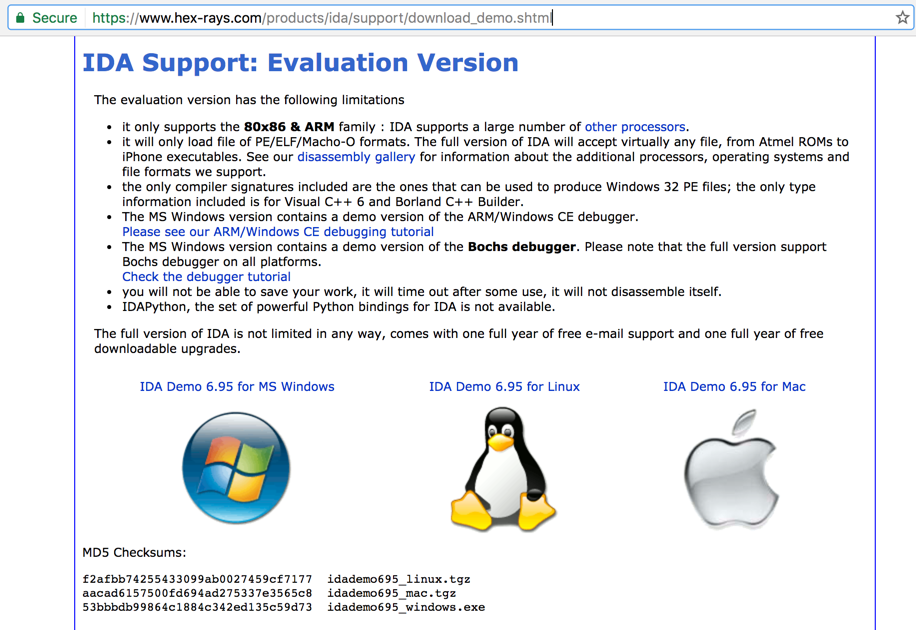
https://www.hex-rays.com/products/ida/support/download_demo.shtml
Download and install the correct version for your OS, as shown below.

Troubleshooting
If you are using Windows and see this error: "The application has failed to start because api-ms-win-crt-runtime -|1-1-0.dll was not found," you may be using the old Windows 2008 Server VM. It won't work. Try using Windows 10 instead.
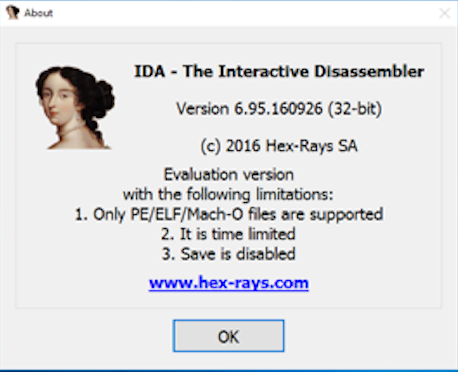
IDA opens, as shown below. Click OK.
Troubleshooting
If you are using Windows and see this error: "The volume label ... is incorrect," close IDA Pro and re-start it as Administrator.
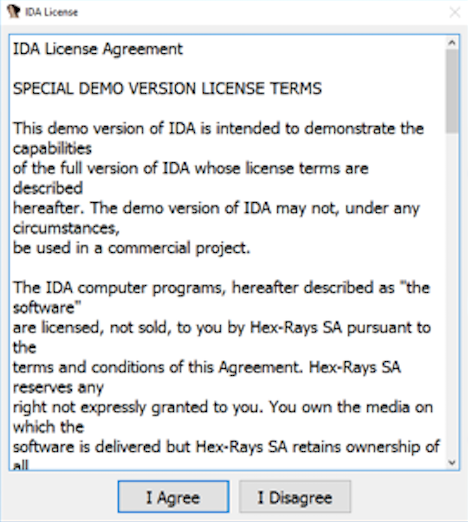
A license agreement appears, as shown below. Click "I Agree".
In the next screen, click New.
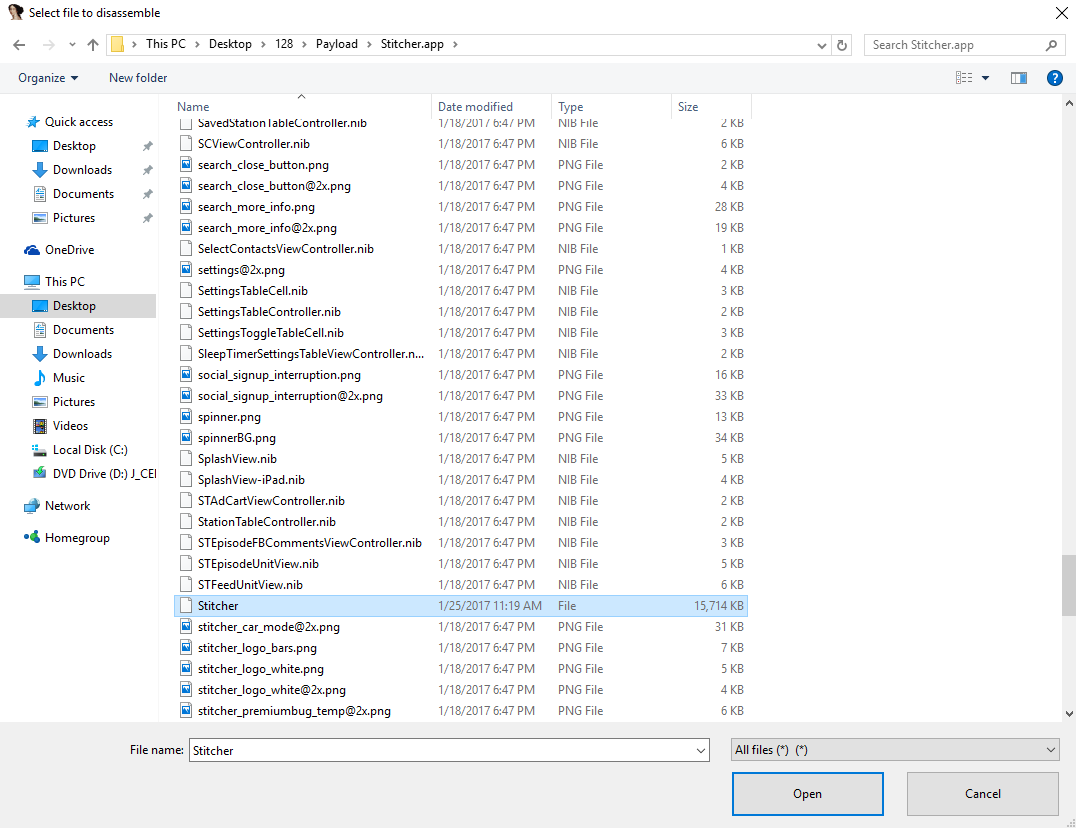
A "Select file to disassemble" box opens. Navigate to your Downloads folder. Open the Payloads folder. Open the Stitcher.app folder.
In the lower right of the "Select file to disassemble" box, select "All files (*).(*)", as shown below.
Double-click Stitcher.
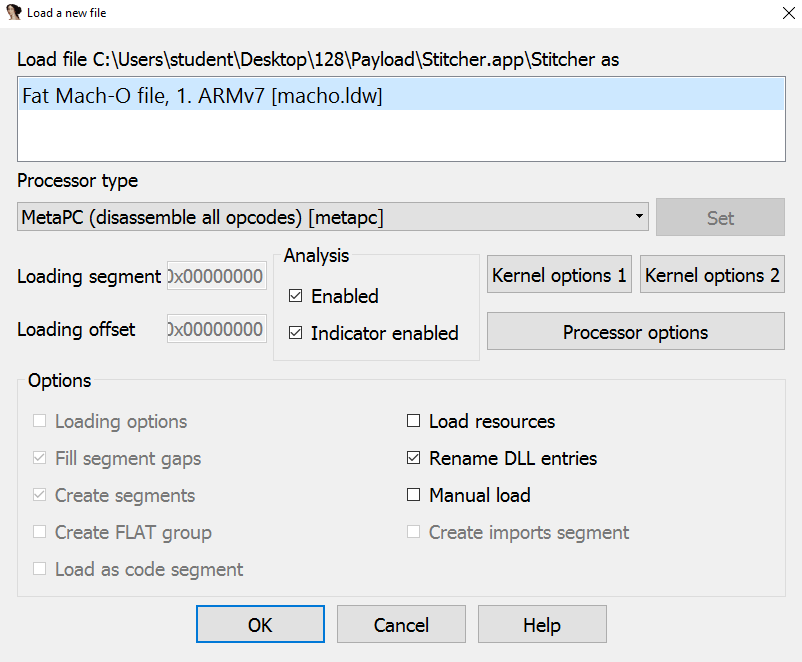
A "Load a new file" box opens, as shown below.
Click OK.
A "Please confirm" box opens saying that "Objective-C 2.0 structures have been detected. Do you want to parse the and rename methods?" Click Yes.
Wait while IDA analyzes the file. Click OK.
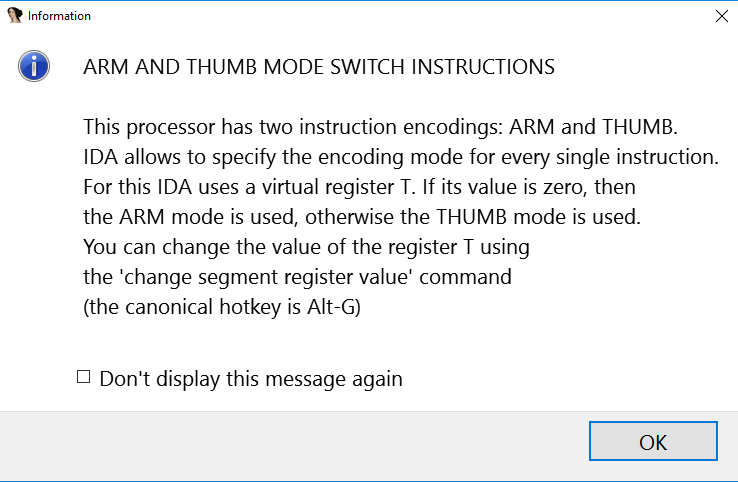
An Information box appears, as shown below.
Click OK.
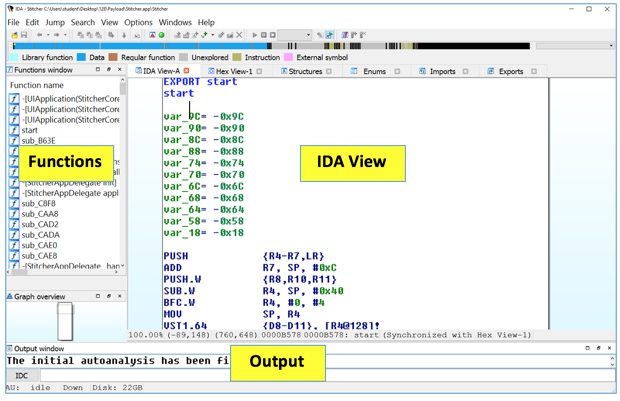
The main IDA window opens, as shown below.
Note the colored bar at the top of the window. It starts out mostly brown, but colors in with dark blue as IDA finishes processing the file.
After 3 minutes or so, IDA finishes analyzing the file and this message appears at the bottom: "The initial autoanalysis has been finished.", as shown below.
Troubleshooting
IDA may take a long time to load the file, especially in S214. Wait until you see the "The initial autoanalysis has been finished." message.
At the bottom of the IDA window, close the "Output window".
On the left, notice the "Functions" window. This lists the functions in the program (also called "methods"). They include the ones you found in an earlier project with class-dump, like "[StitcherAppDelegate init]" and other ones with automatically-generated names like "sub_B63E".
On the right is the "IDA View" window. This is the main window you use to read code. Right now it's in Graph View, showing a block of code in a box.
On the lower left, find the "Graph overview" window. This shows the Graph View, shrunken way down.
From the menu bar, click Search, Search....
In the "Enter the search substring" box, type
encrypt
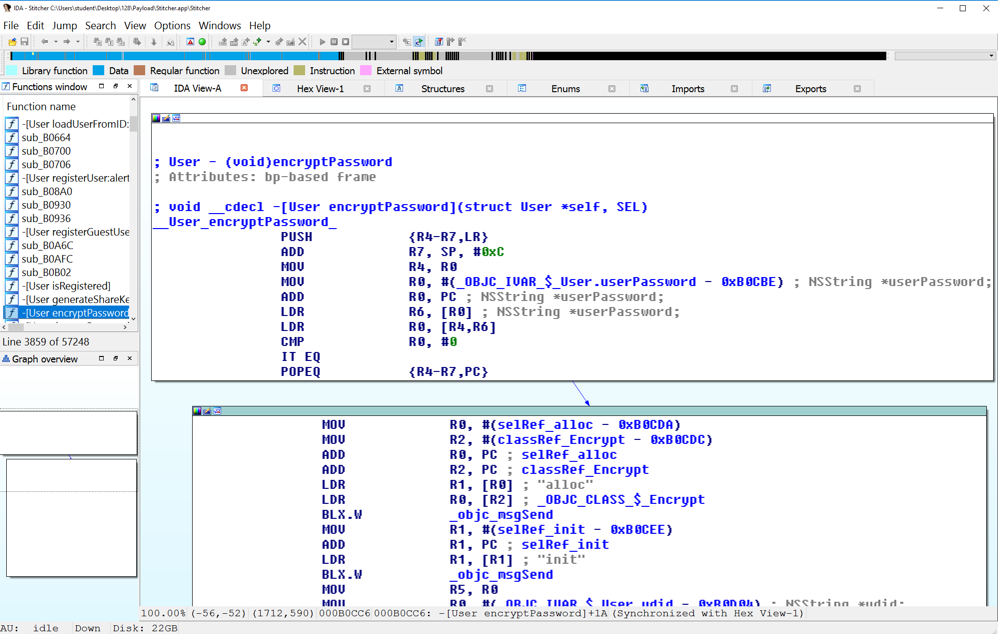
The [User encryptPassword] function is highlighted.
Double-click [User encryptPassword] to show the assembly code for this function, as shown below.
In the Functions window, click [User encryptPassword].
From the menu bar, click Search, "Search Again".
The [Encrypt init] method is highlighted. Double-click [Encrypt init] to see its assembly code, as shown below.
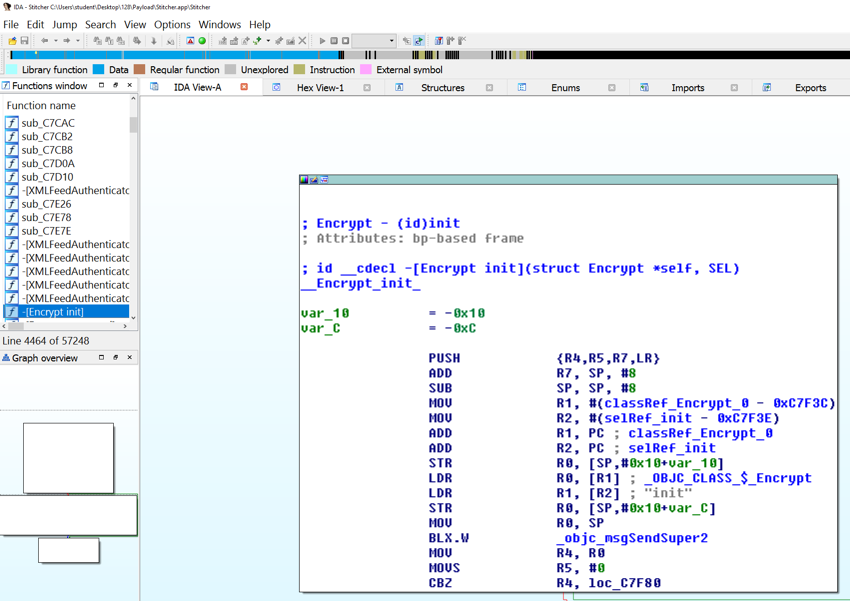
This code doesn't tell us much either.
In the Functions window, click [Encrypt init].
From the menu bar, click Search, "Search Again".
The [Encrypt encrypted] method is highlighted. Double-click [Encrypt encrypted] to see its assembly code, as shown below.

This code isn't fun to read either.
In the Functions window, click [Encrypt encrypted].
From the menu bar, click Search, "Search Again".
The [Encrypt clear] method is highlighted. Double-click [Encrypt clear] to see its assembly code.
Again, it doesn't do much interesting.
In the Functions window, click [Encrypt clear].
From the menu bar, click Search, "Search Again".
The [Encrypt findInKey:key] method is highlighted. Double-click [Encrypt findInKey:key] to see its assembly code.
Again, it doesn't do much interesting.
In the Functions window, click [Encrypt findInKey:key].
From the menu bar, click Search, "Search Again".
The [Encrypt setClear] method is highlighted. Double-click [Encrypt setClear] to see its assembly code, as shown below.
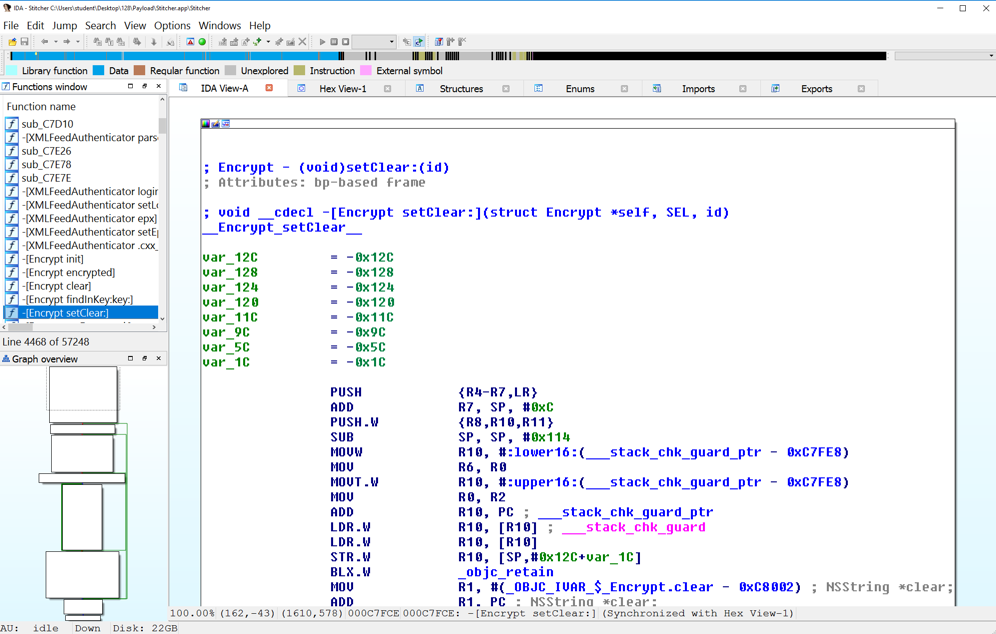
In the IDA-View A pane, on the right, click on the blue background outside the box and drag up, to see the rest of the code.
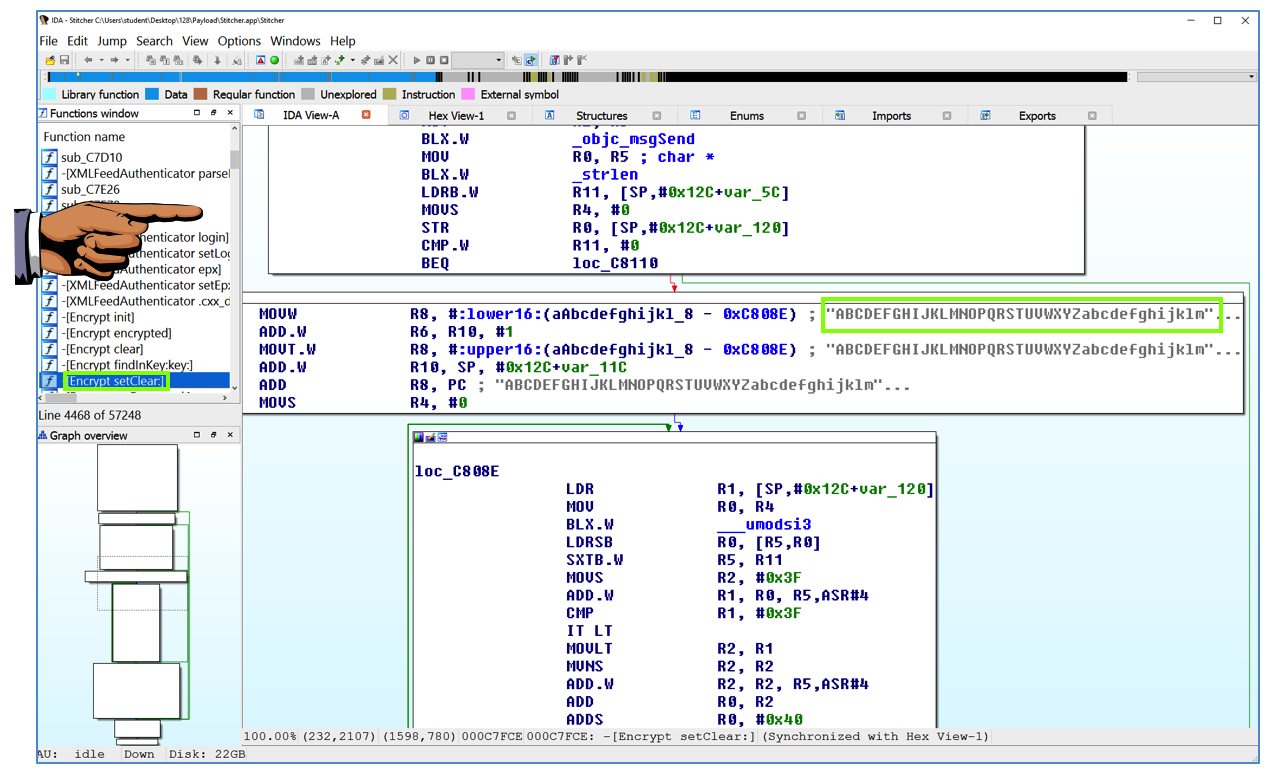
Find the long strings beginning with ABCDEFG, as shown below. These are used as look-up tables for the Caesar cipher obfuscation.
Capture a full-screen image.
YOU MUST SUBMIT A FULL-SCREEN IMAGE FOR FULL CREDIT!
Save the image with the filename "YOUR NAME Proj 9a", replacing "YOUR NAME" with your real name.
Whirlwind Tour of ARM Assembly
Posted 4-5-17