Click the "Intercept is on" button so it changes to "Intercept is off".
Click the "Open Browser" button.
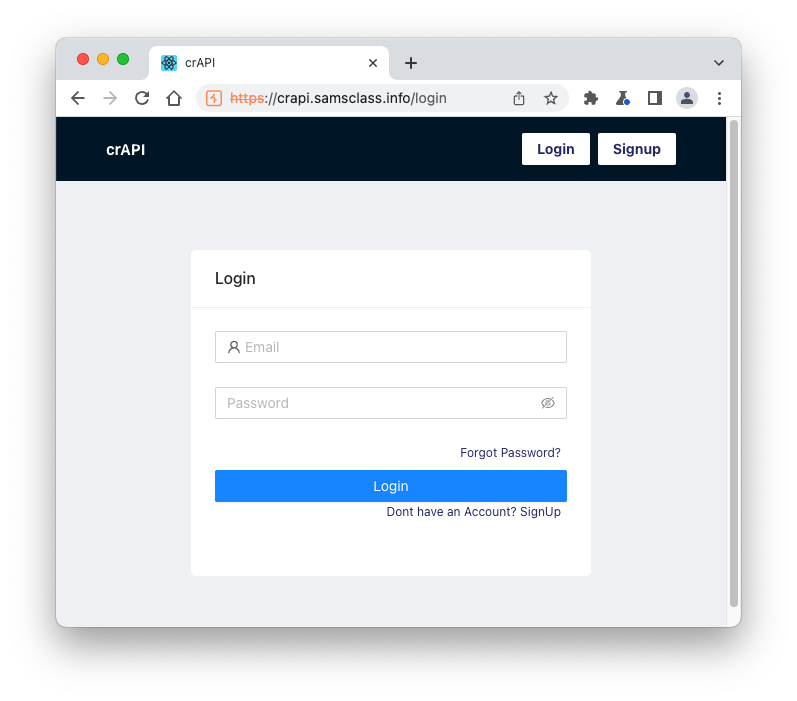
In Burp's browser, go to
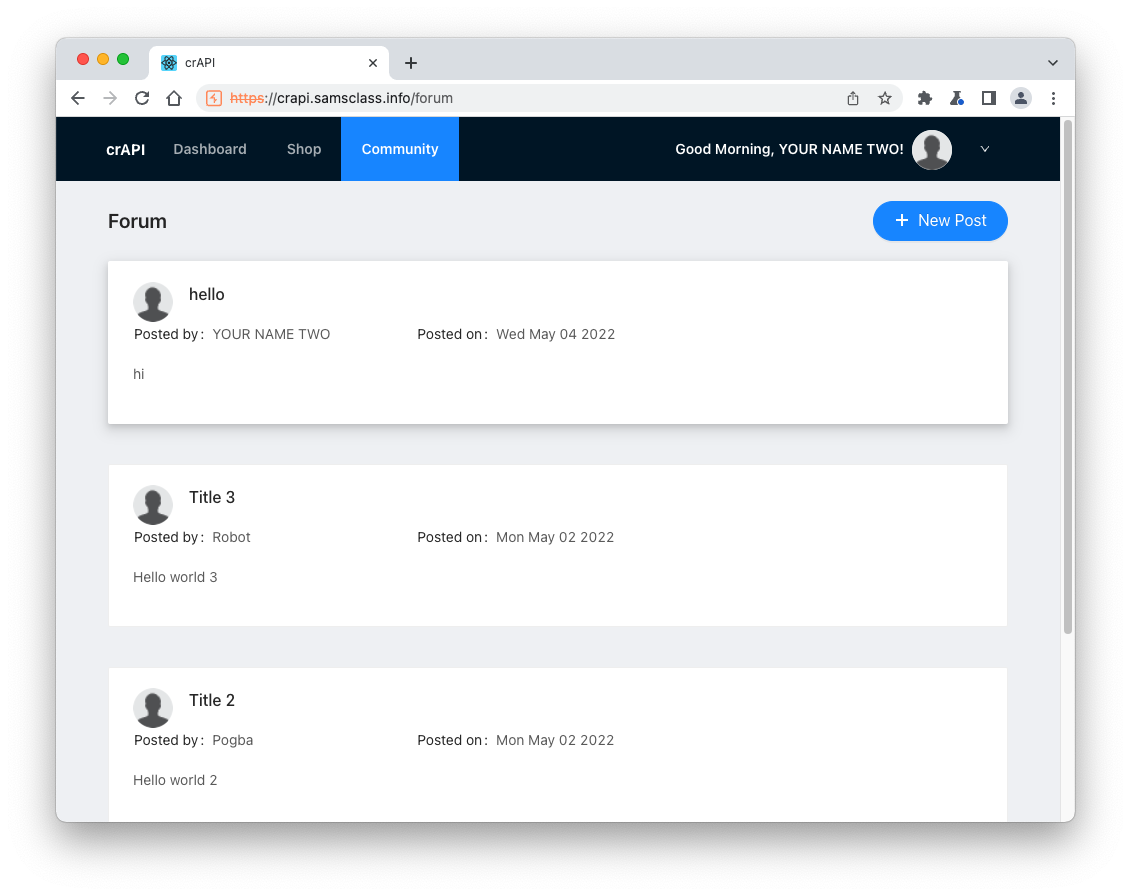
https://crAPI.samsclass.info The crAPI login page opens, as shown below.
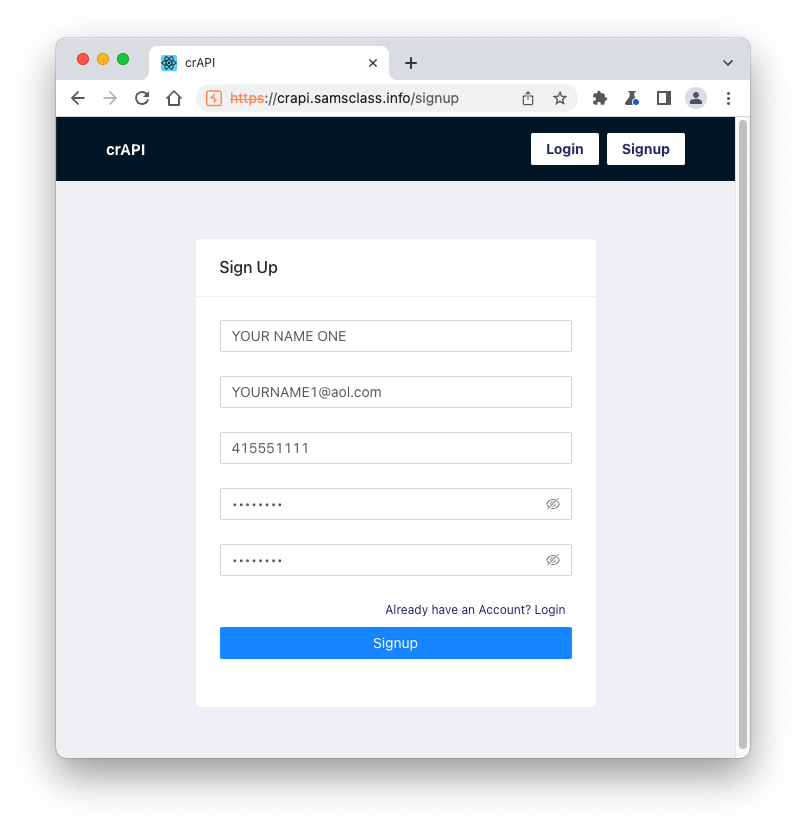
Fill in the form with test data of your choice, as shown below. Then click the Signup button.
You should see a message saying "User Registered Successfully!".
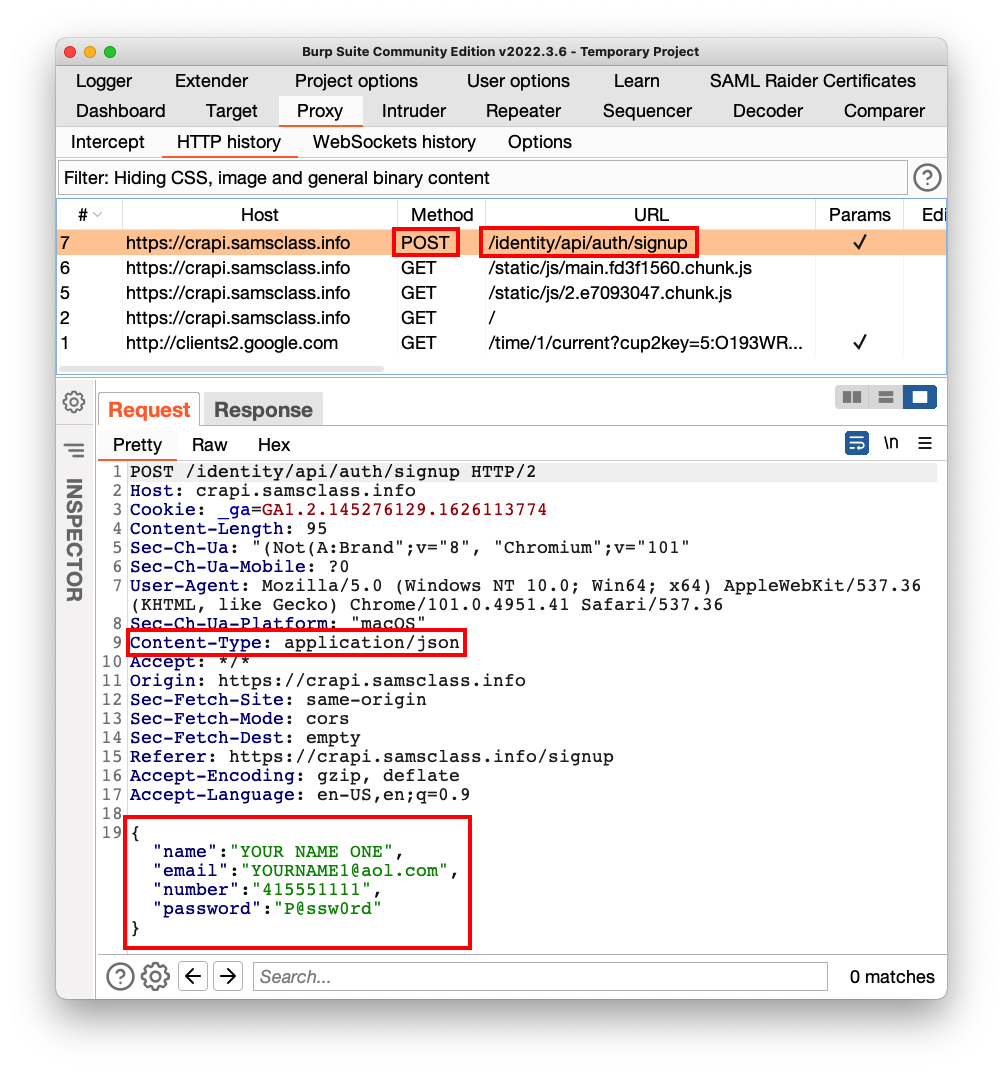
In the lower pane, on the Request tab, you can see the request used to sign up.
Notice these features:
https://www.postman.com/downloads/
From the main Postman page, in the top center, click the + sign, outlined in green in the image below, to open a new tab.
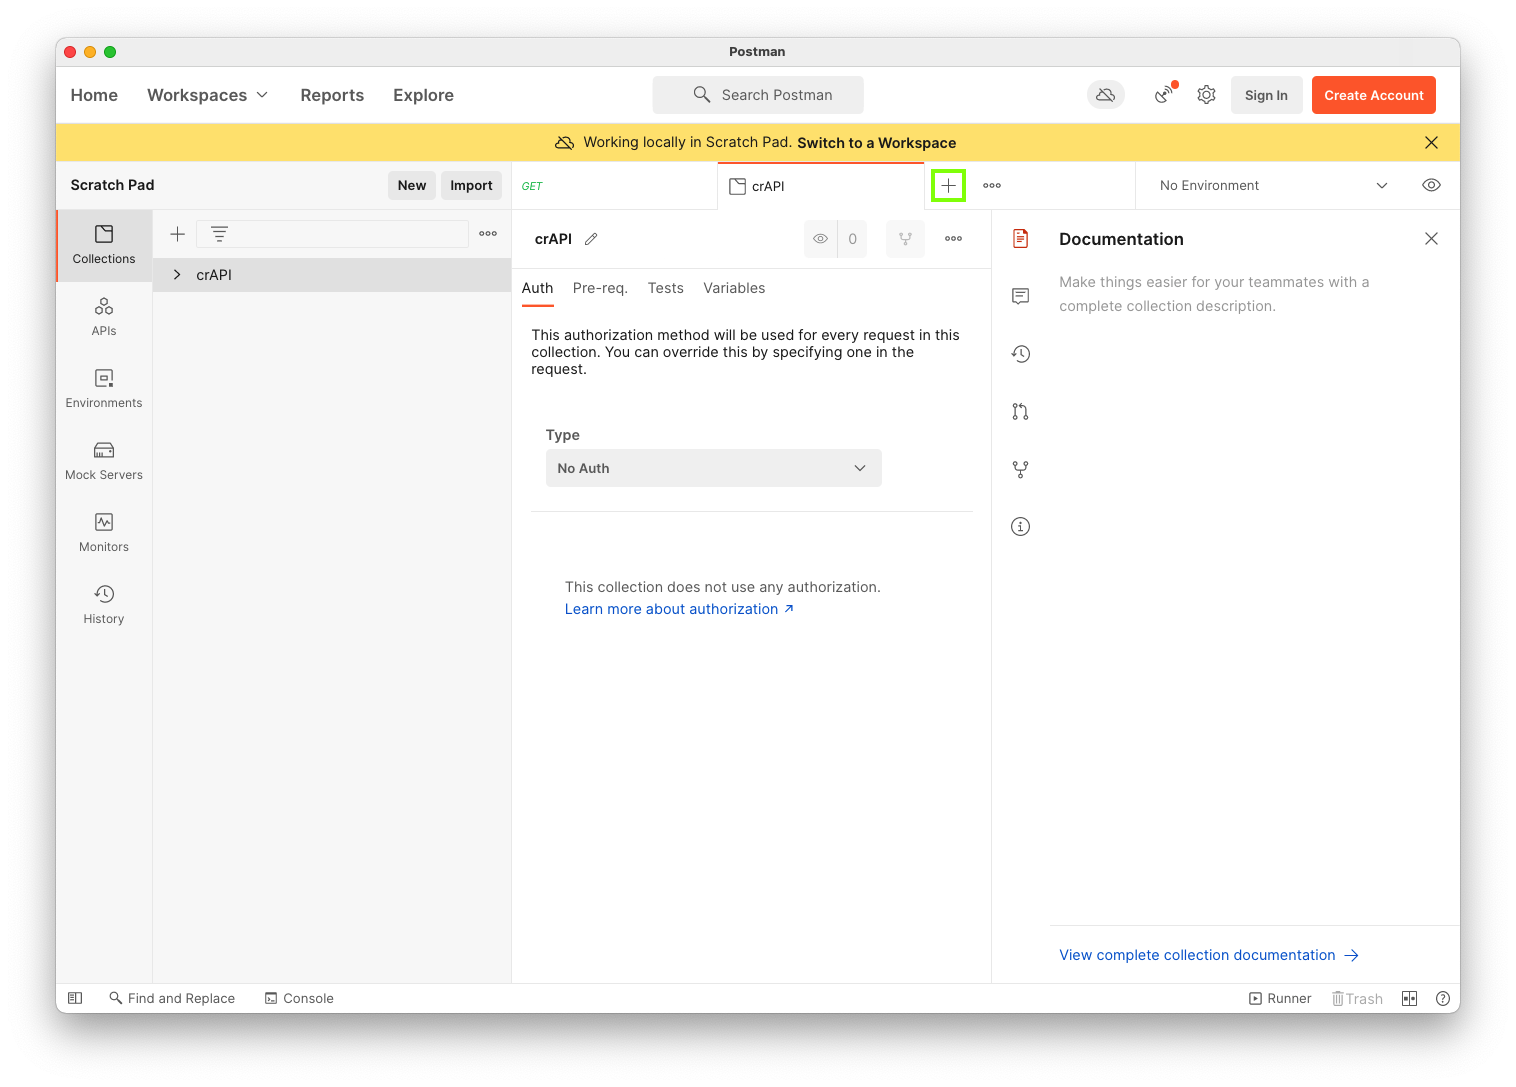
Here you can build an HTTP request.
Make these selections, to match the request you see in Burp:
{"name":"YOUR NAME TWO","email":"YOURNAME2@aol.com","number":"415551112","password":"P@ssw0rd"}
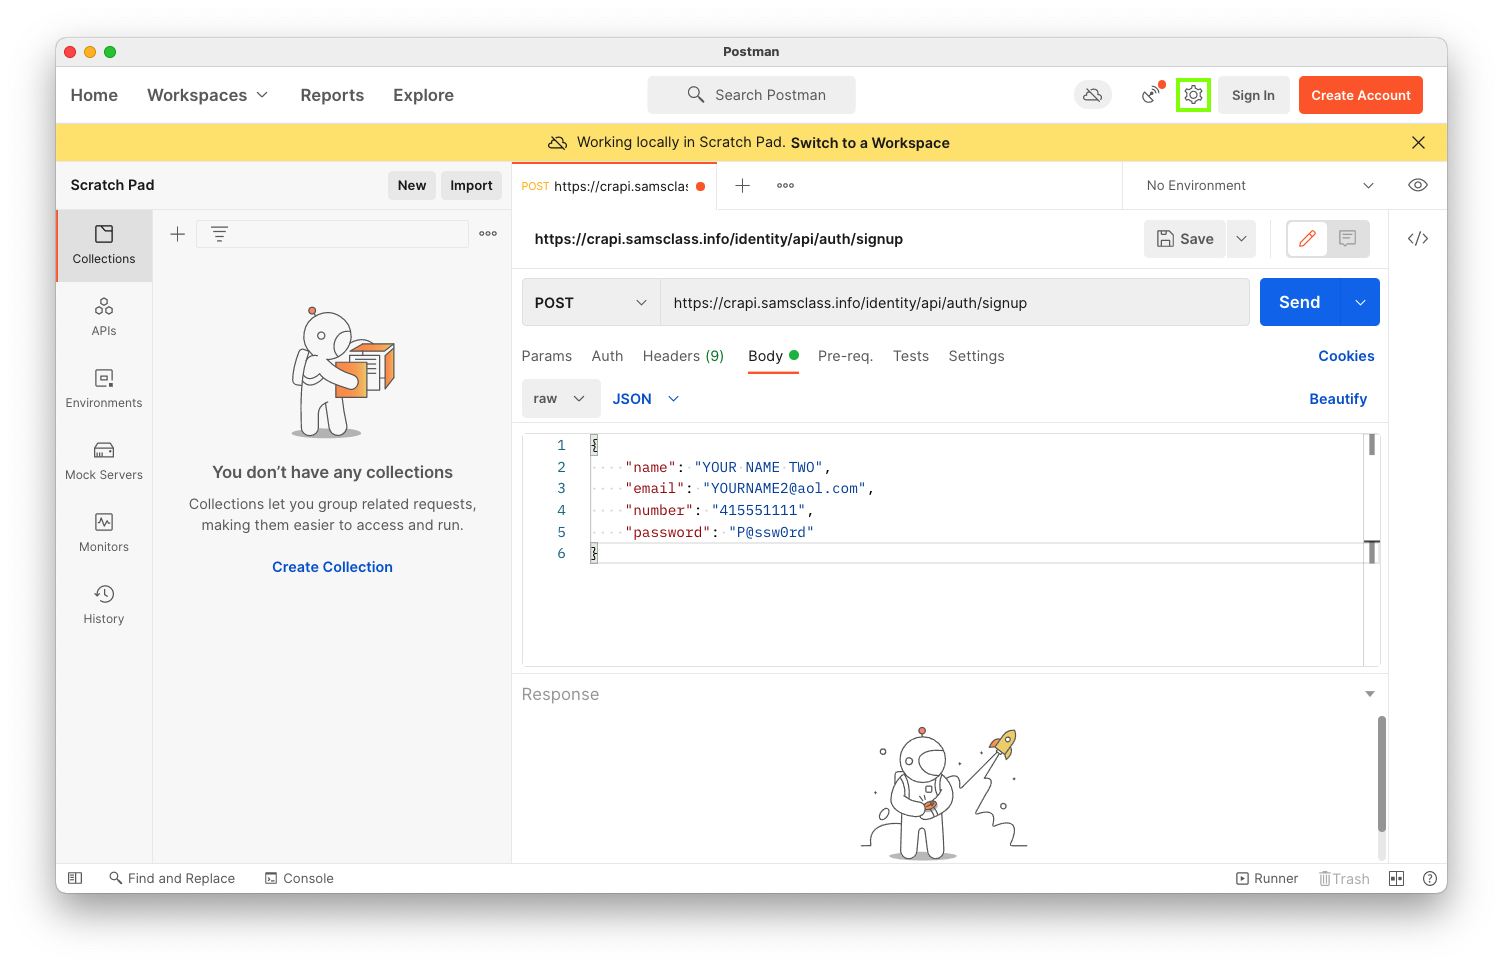
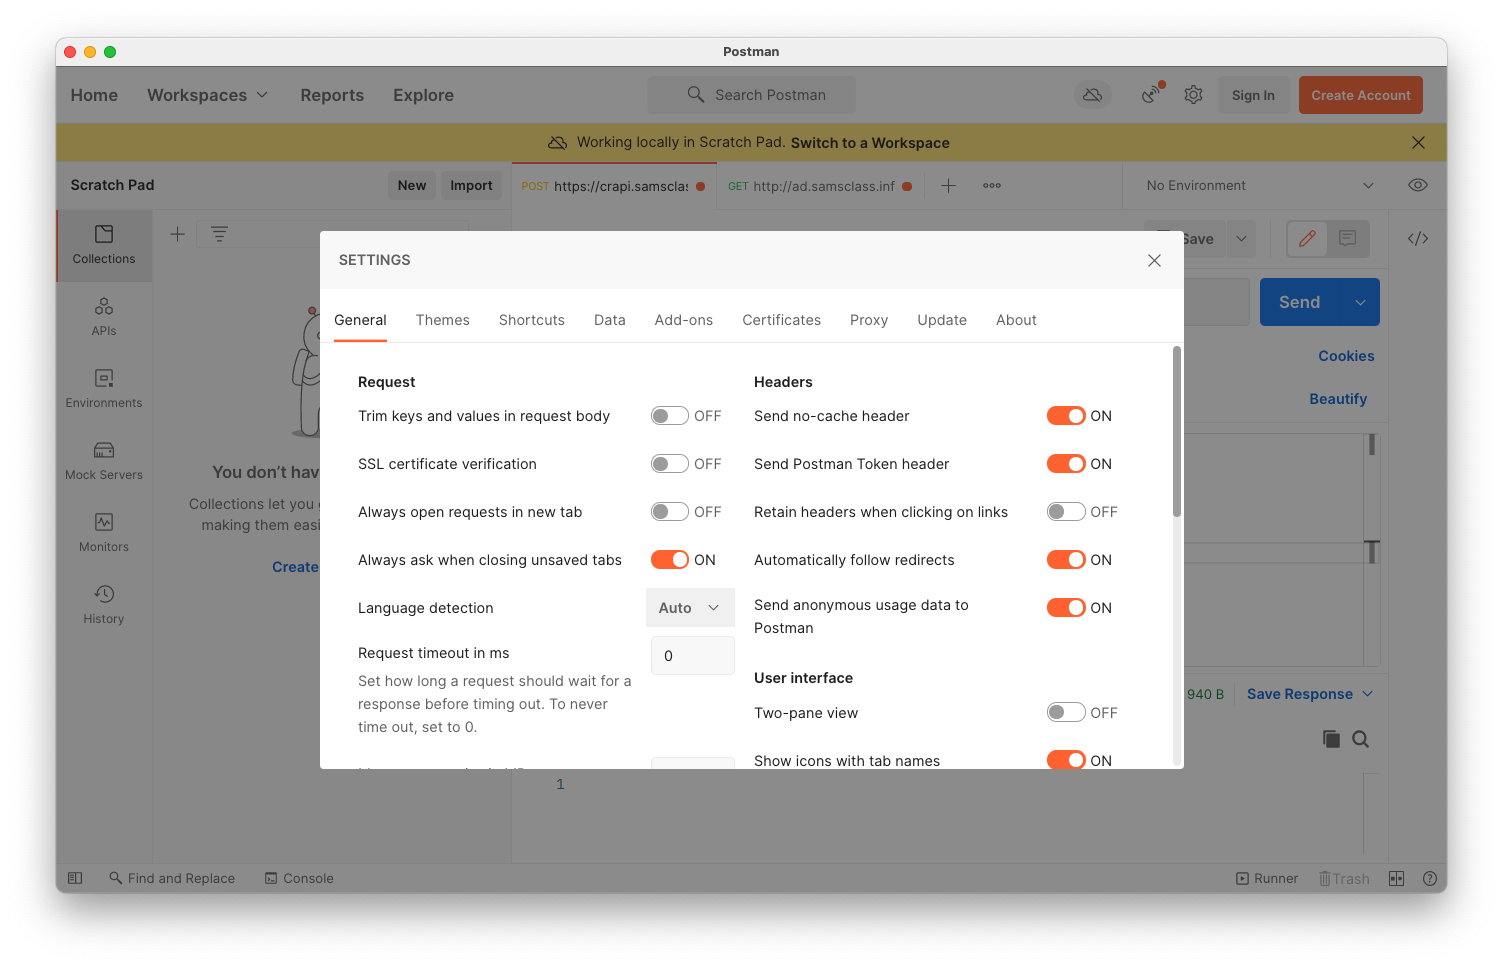
Click Settings.
In SETTINGS, on the General tab, click the "SSL certificate verification" slider to turn it OFF, as shown below.
If you don't do this, it will refuse the Burp certificates.
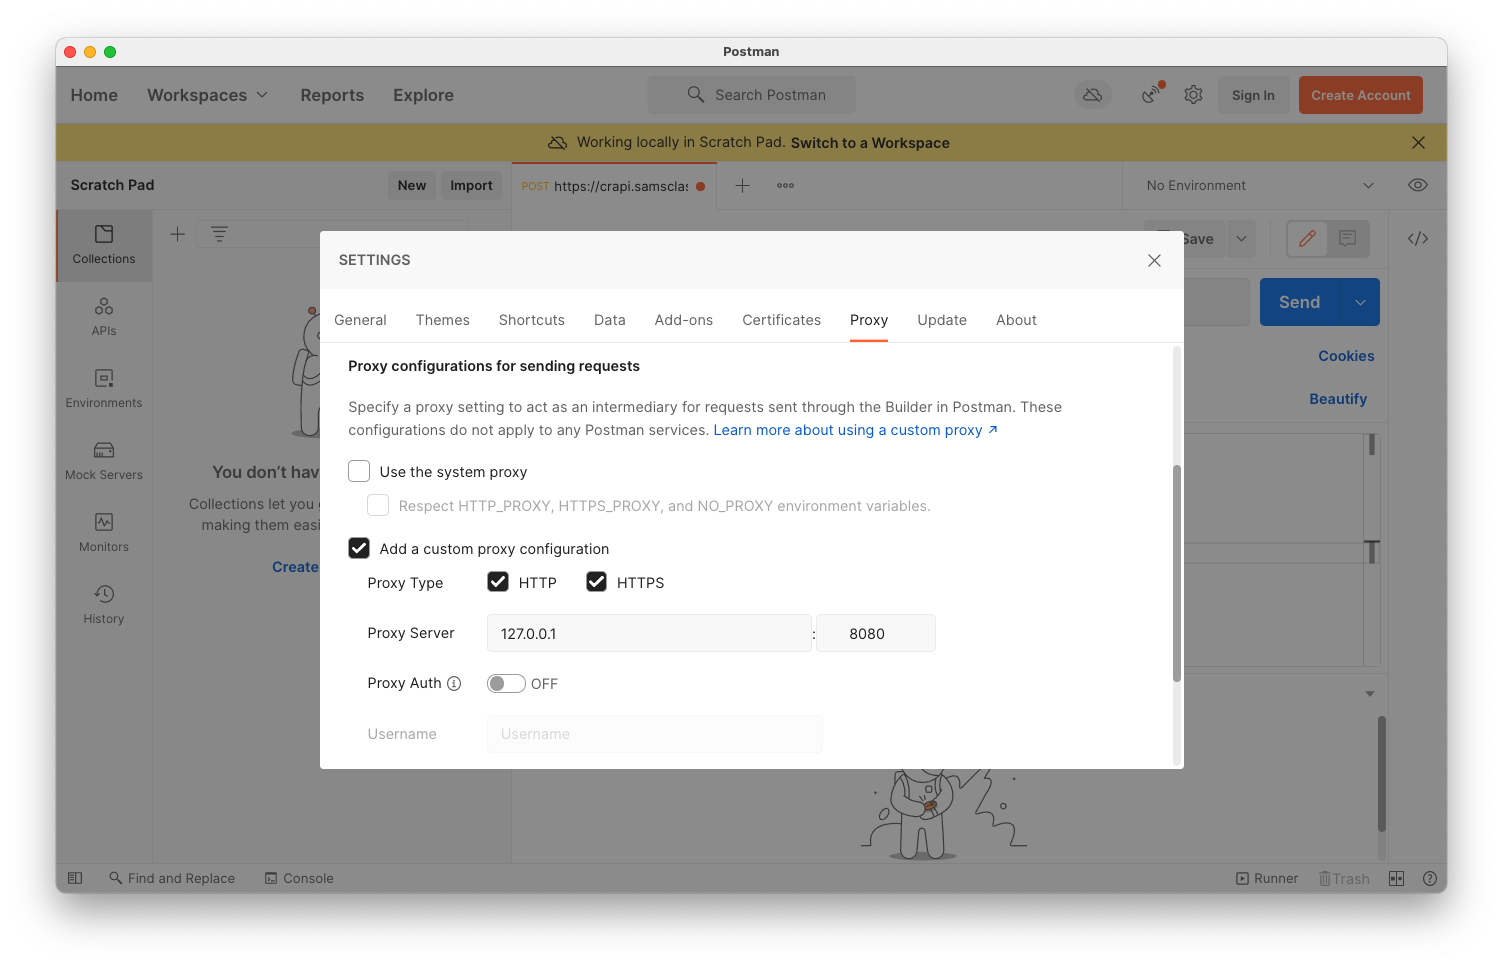
In SETTINGS, click the Proxy tab.
Check the "Add a custom proxy configuration" box, and set the server to 127.0.0.1 on port 8080, as shown below.
Then close the SETTINGS box.
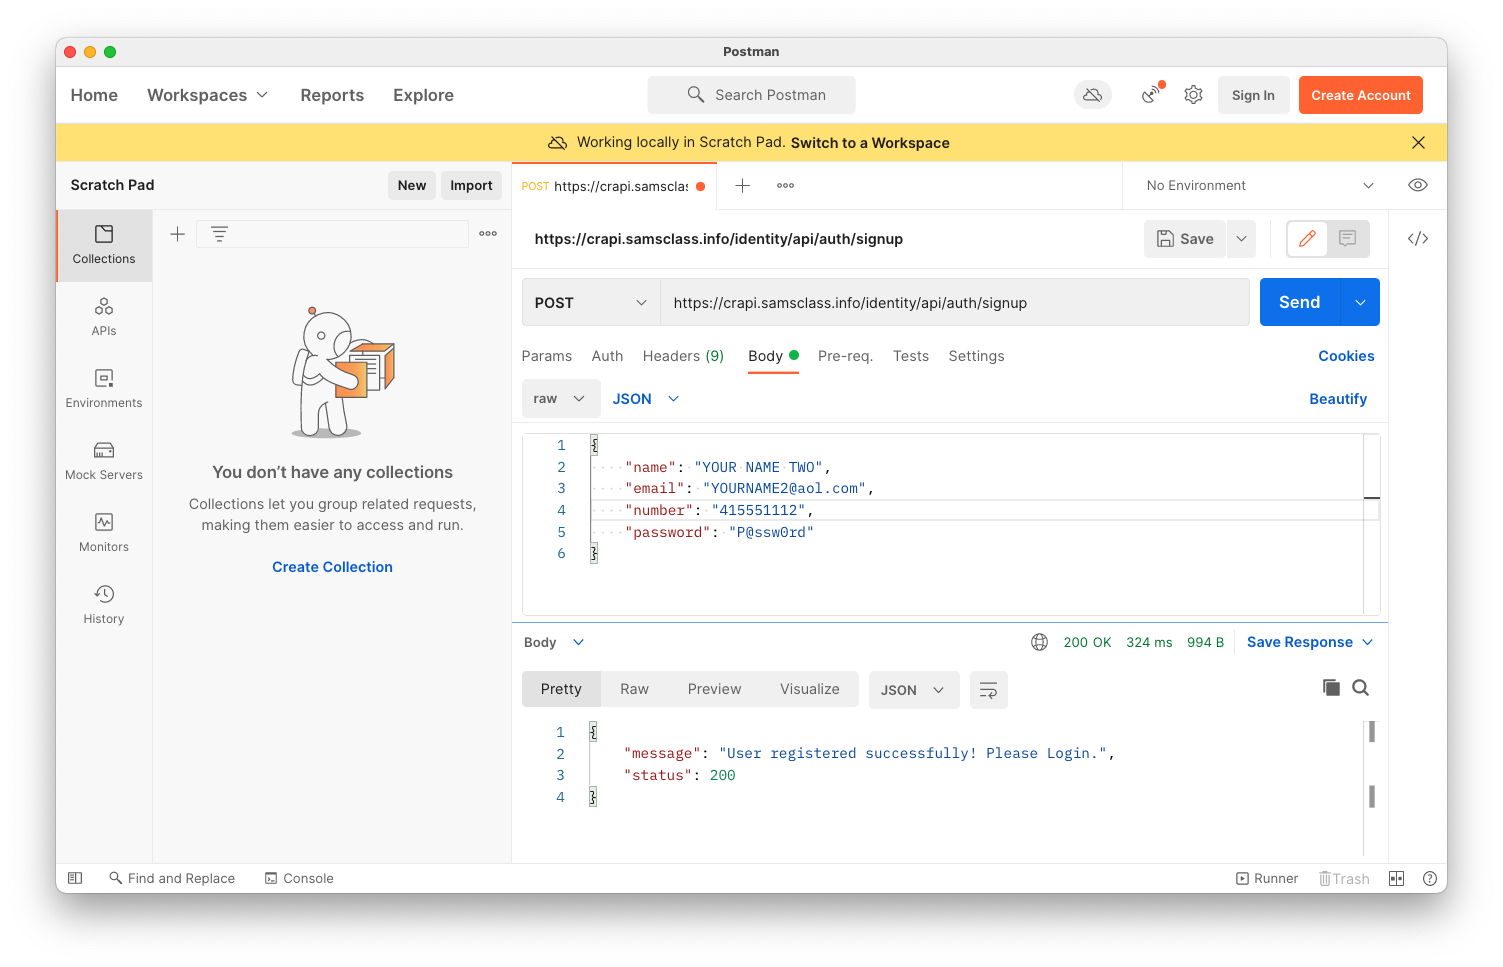
The lower pane should show "User registered successfully! Please Login.", as shown below.
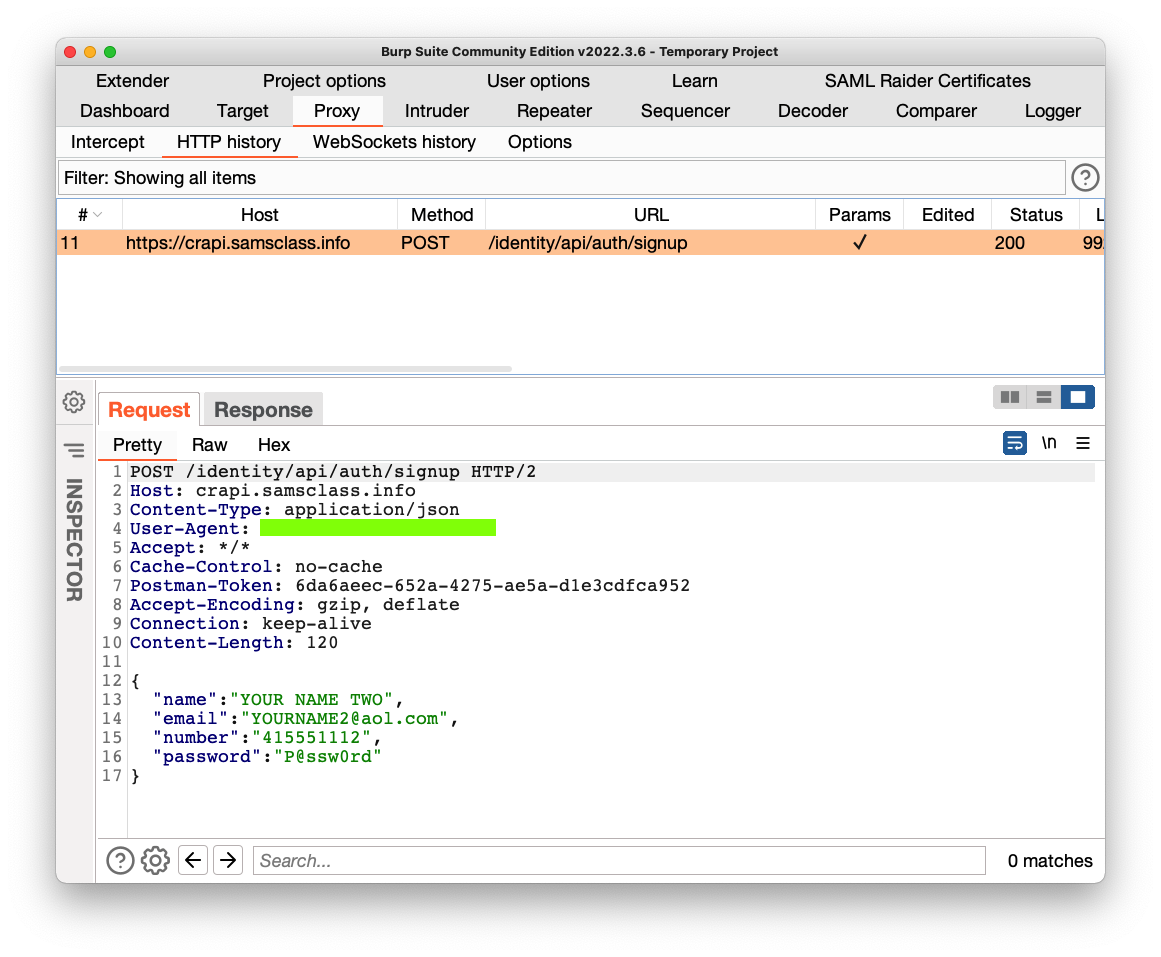
Flag AP 101.1: User-Agent (10 pts)
In Burp, on the Proxy tab, on the "HTTP history" sub-tab, click the most recent "POST /identity/api/auth/signup" line.In the lower pane, on the Request tab, you see the request sent by Postman.
The flag is covered by a green rectangle in the image below.
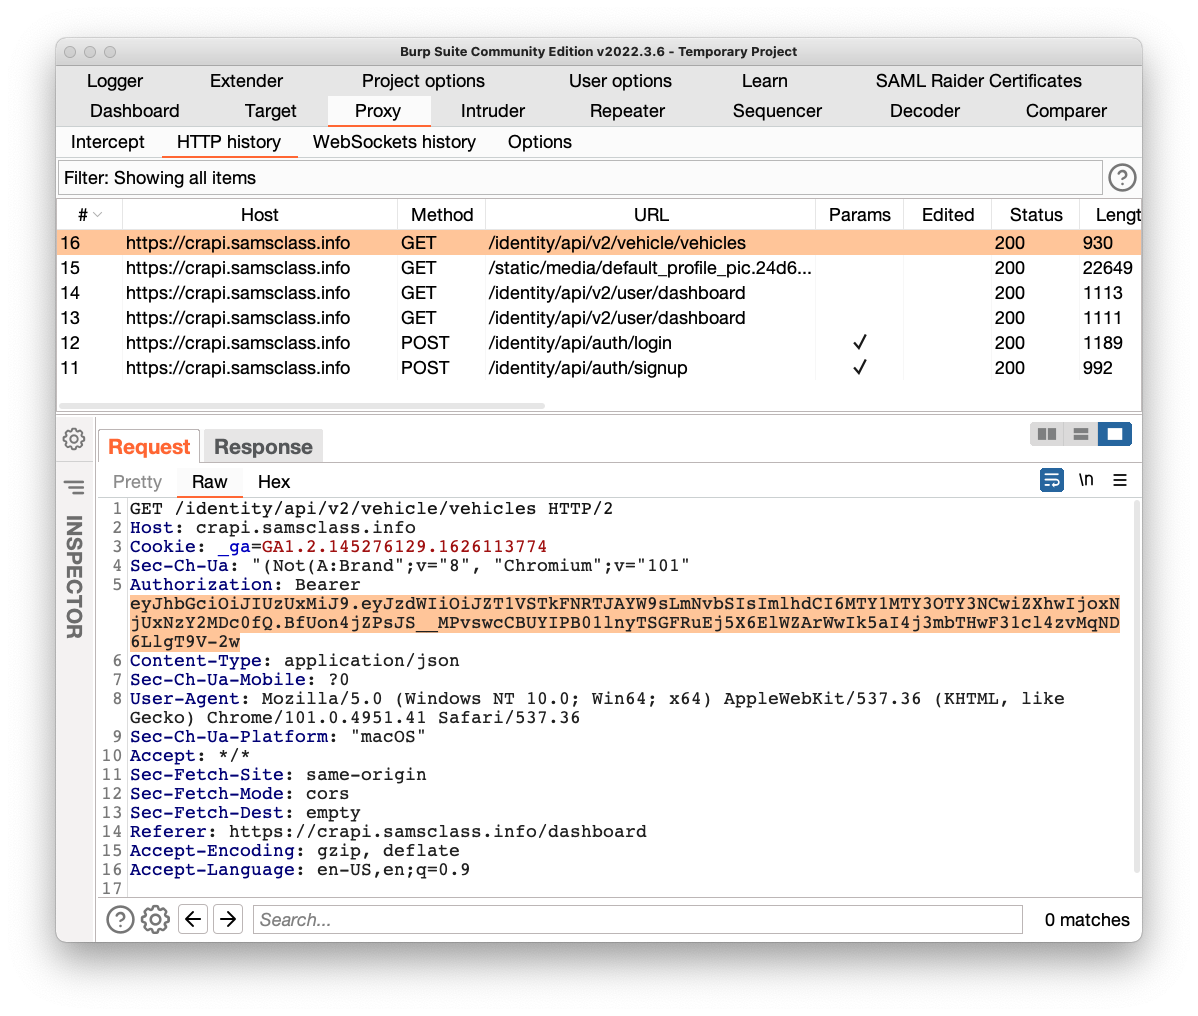
Click the GET requests to /identity/api/v2/vehicle/vehicles.
As shown below, the Request tab shows an Authorization header with a long blob of Base64-encoded data. This is a Bearer Token.
Highlight the blob of Base64-encoded data and copy it, as shown below.
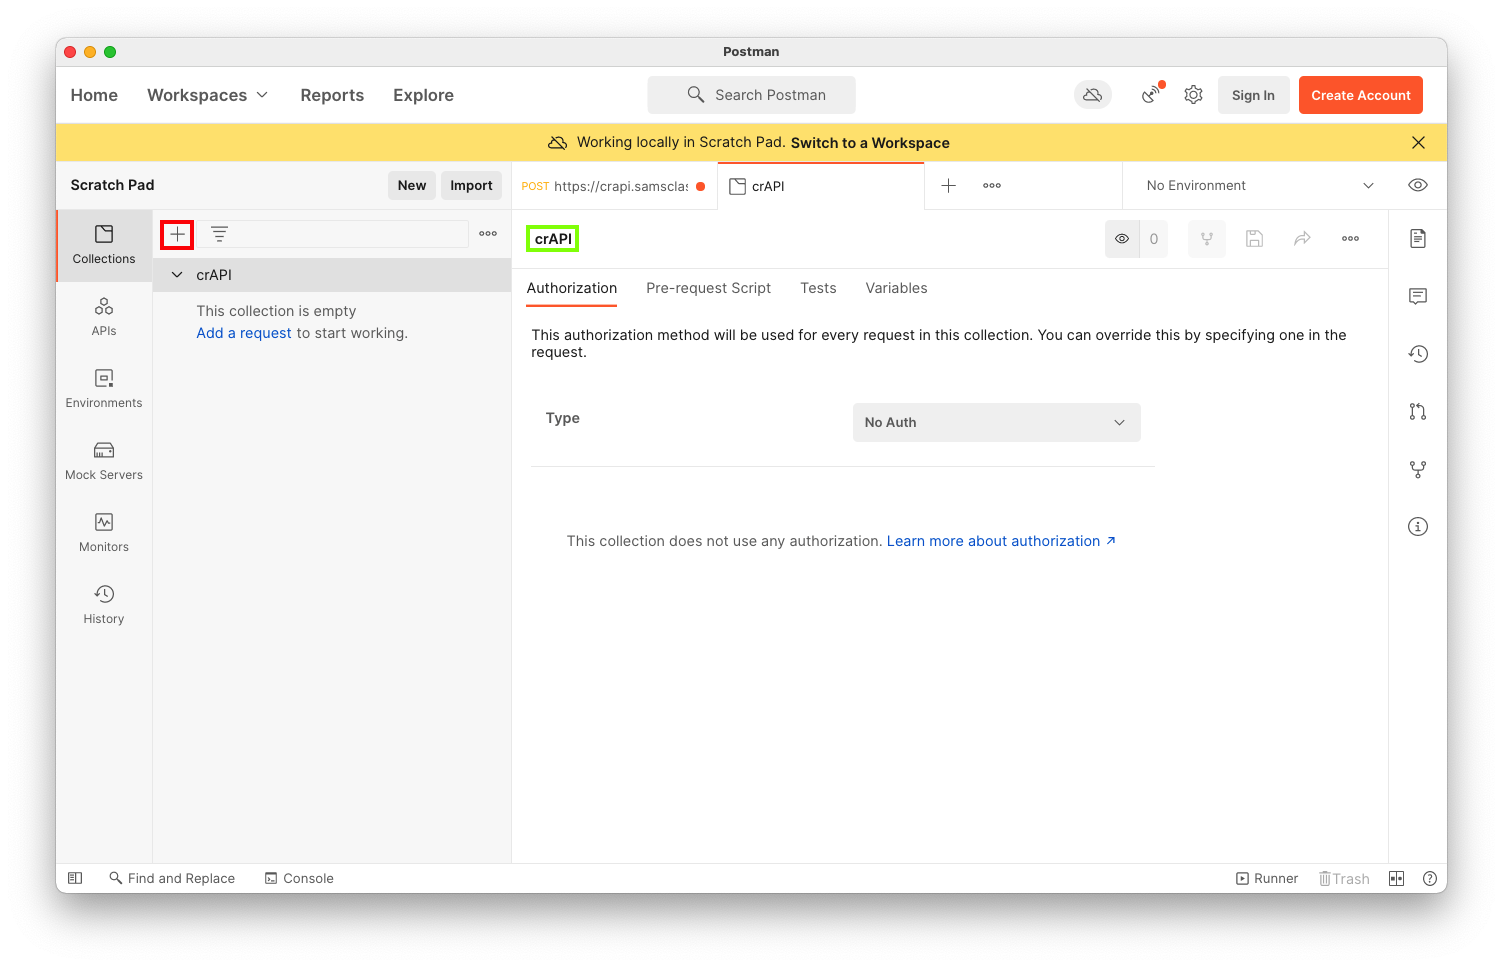
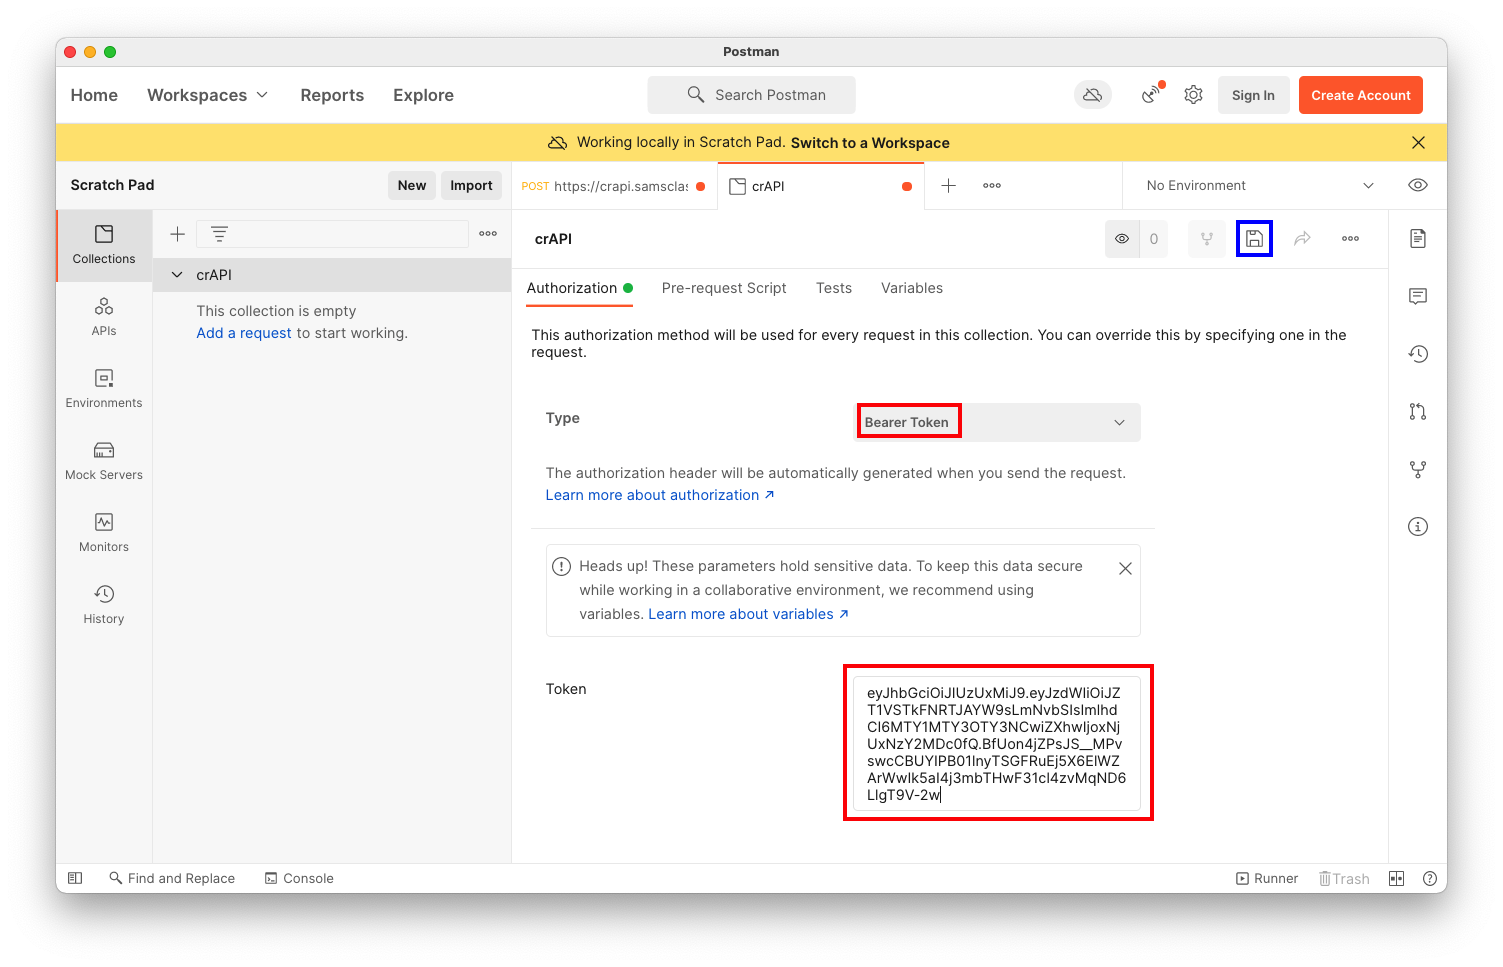
In Postman, on the left side, verify that Collections is selected. Then click the + sign next to "Collections", outlined in red in the image below, to create a new Collection.
Name your Collection crAPI, as outlined in green in the image below.
Select a Type of "Bearer Token". Paste in your Token value, as shown below.
Now the requests in the crAPI container will be authorized by your account.
A box pops up saying "Post Created". Click OK.
GET /community/api/v2/community/posts/recent
This is a GET request, as shown below.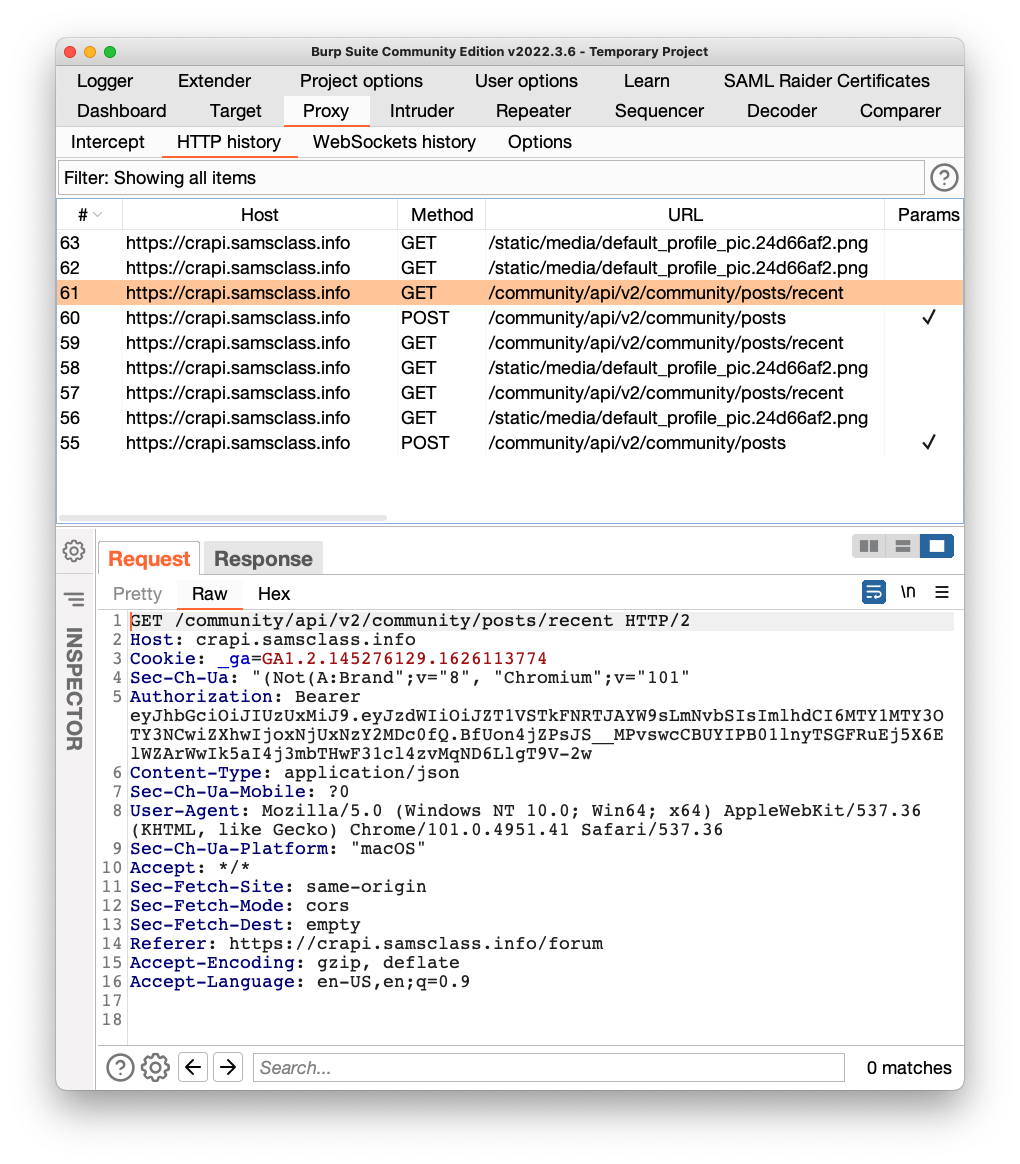
In Burp, right-click the request and click "Copy URL".
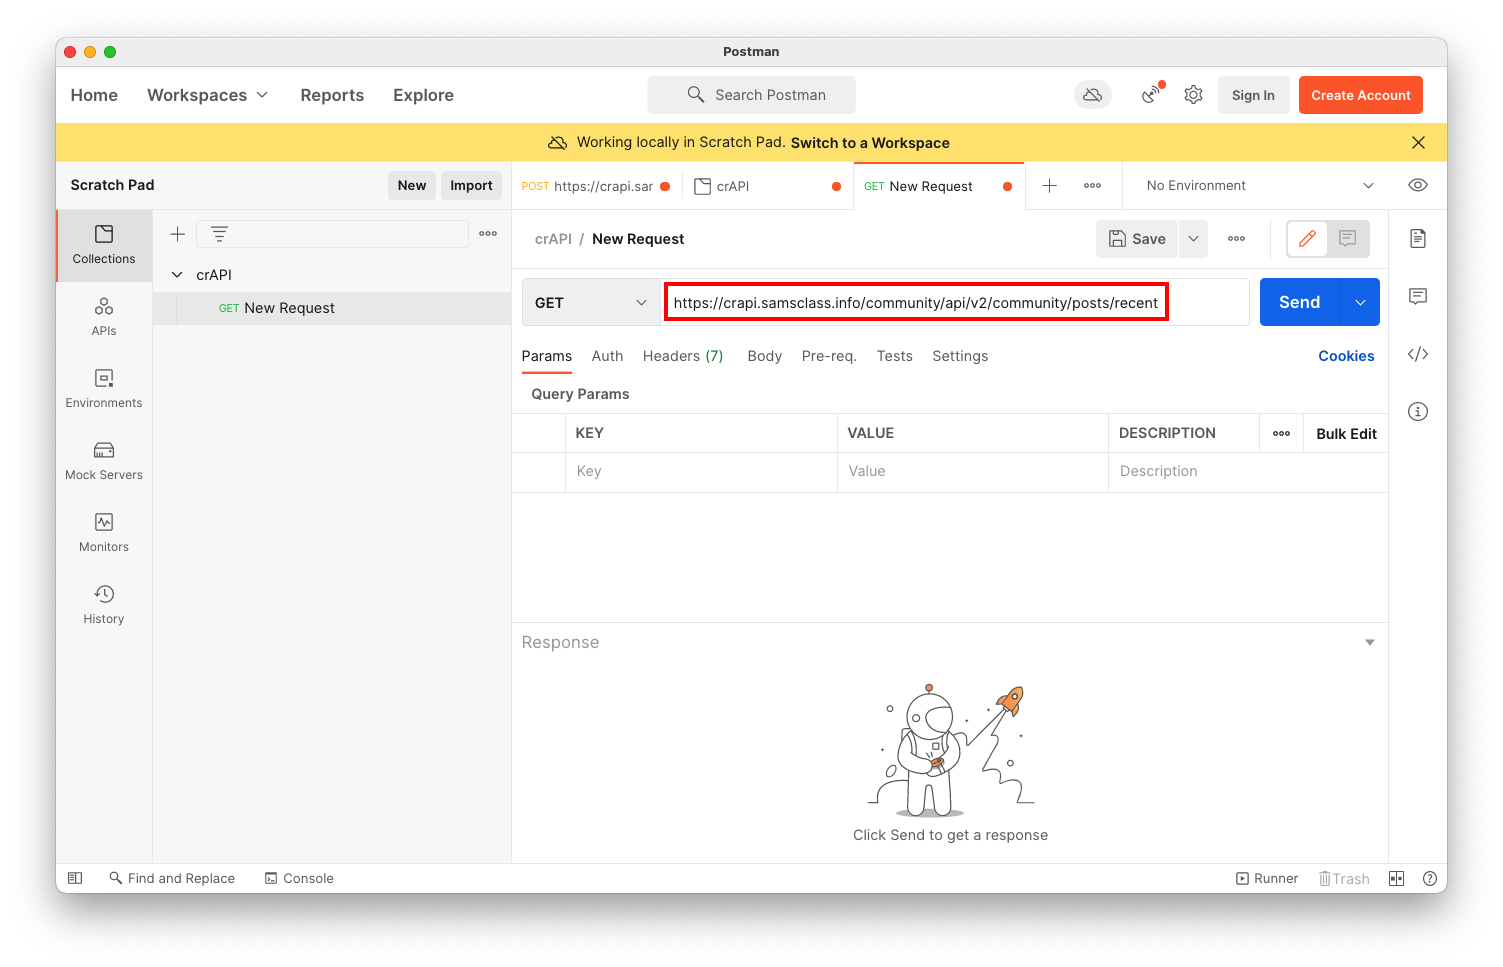
Paste the URL into Postman, as shown below.
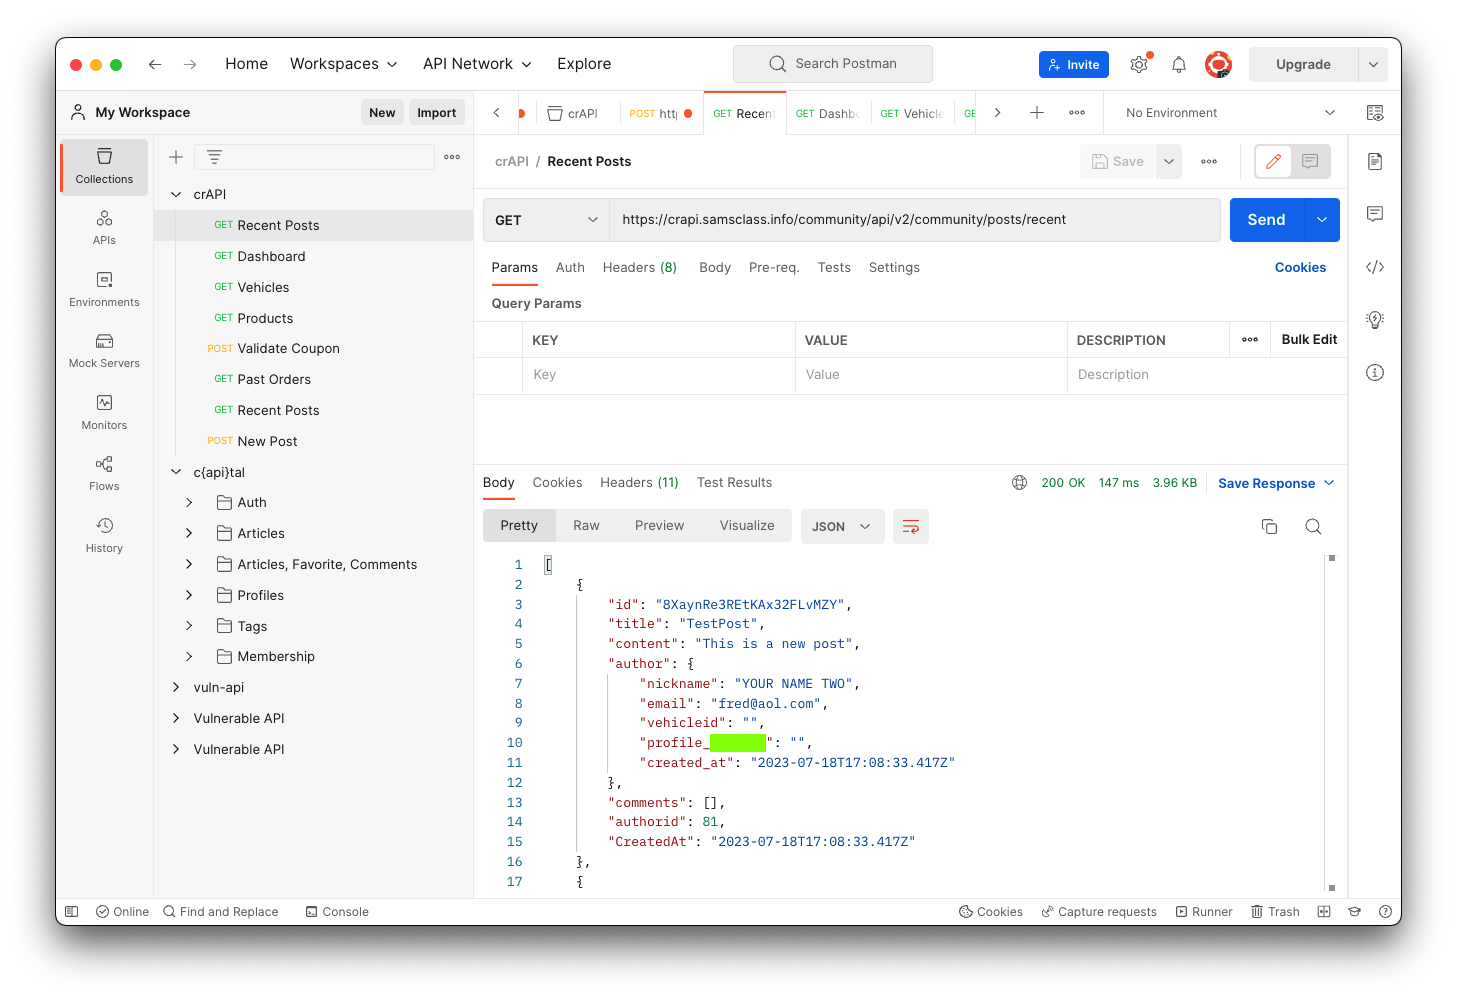
Flag AP 101.2: External API Endpoint (10 pts)
In Postman, click the blue Send button.The response appears in the lower pane.
The flag is covered by a green rectangle in the image below.
Posted 5-4-22
Video added 5-11-23
Flag 2 changed 7-18-23
Flag 2 description updated 9-19-24
"Save button" description removed, video updated 11-6-25