cd
git clone https://github.com/jorritfolmer/vulnerable-api.git
sudo apt update
sudo apt install virtualenv
virtualenv venv
source venv/bin/activate
cd vulnerable-api
pip install -r requirements.txt
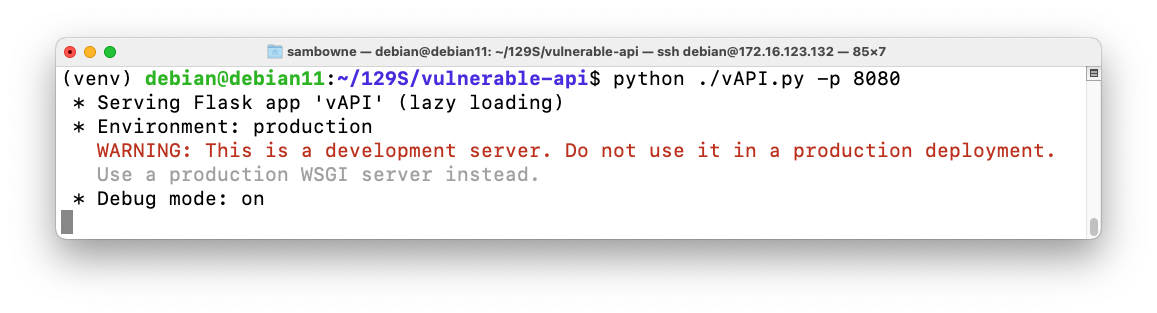
python ./vAPI.py -p 8080
Open a Web browser and open the IP address of your Deban machine, with port 8080.
Restarting Vulnerable API
If you shut down the server, you can restart it with these commands:
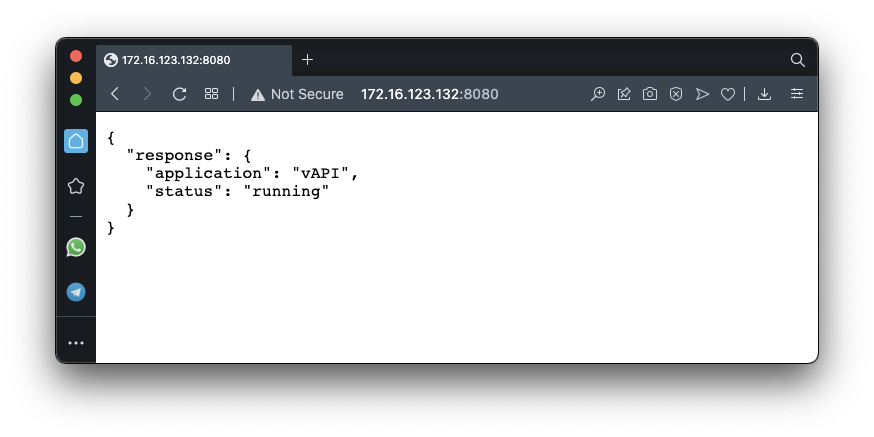
You see a message showing that vAPI is running, as shown below.
A Postman web page opens. Create an account, or link to an existing Google account.
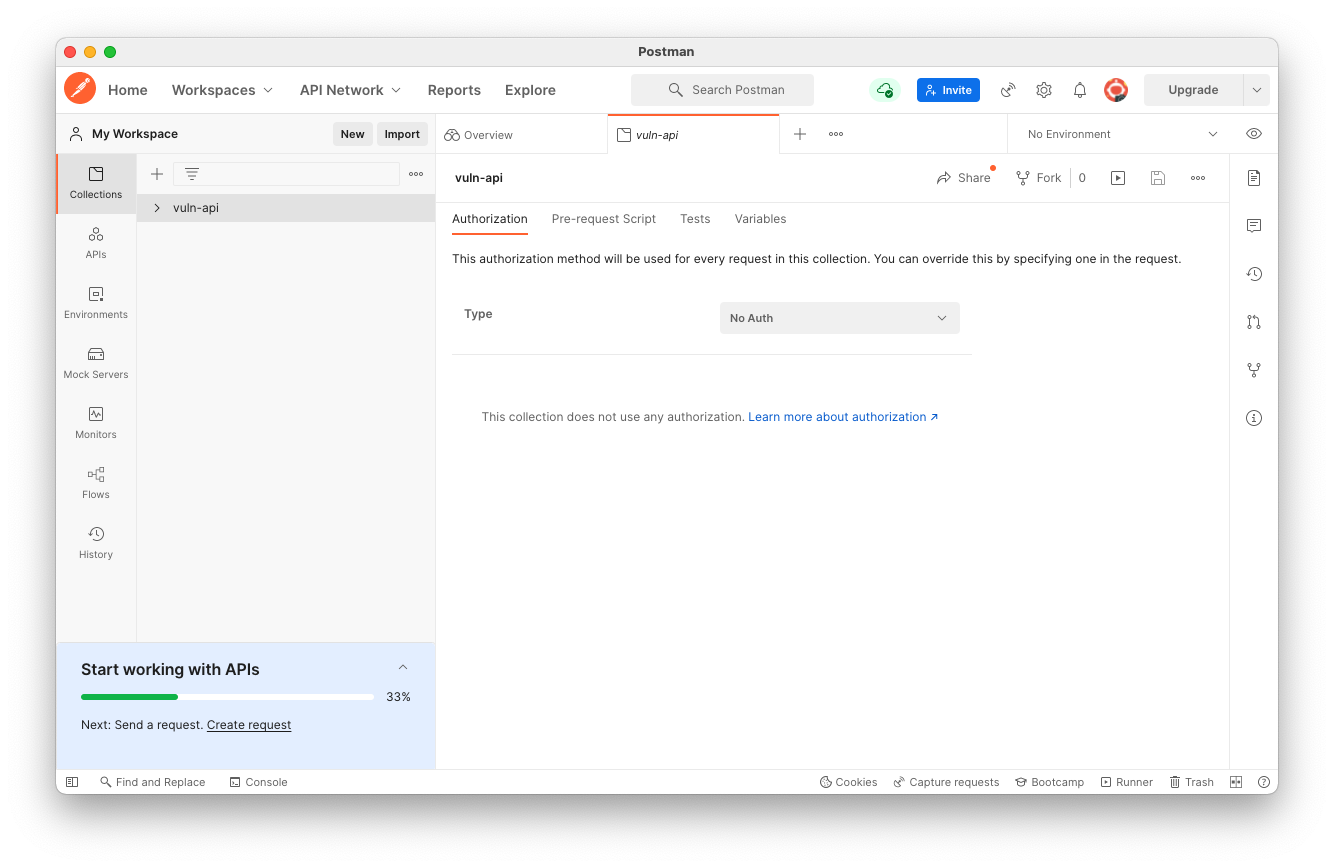
Return to the main Postman window, as shown below.
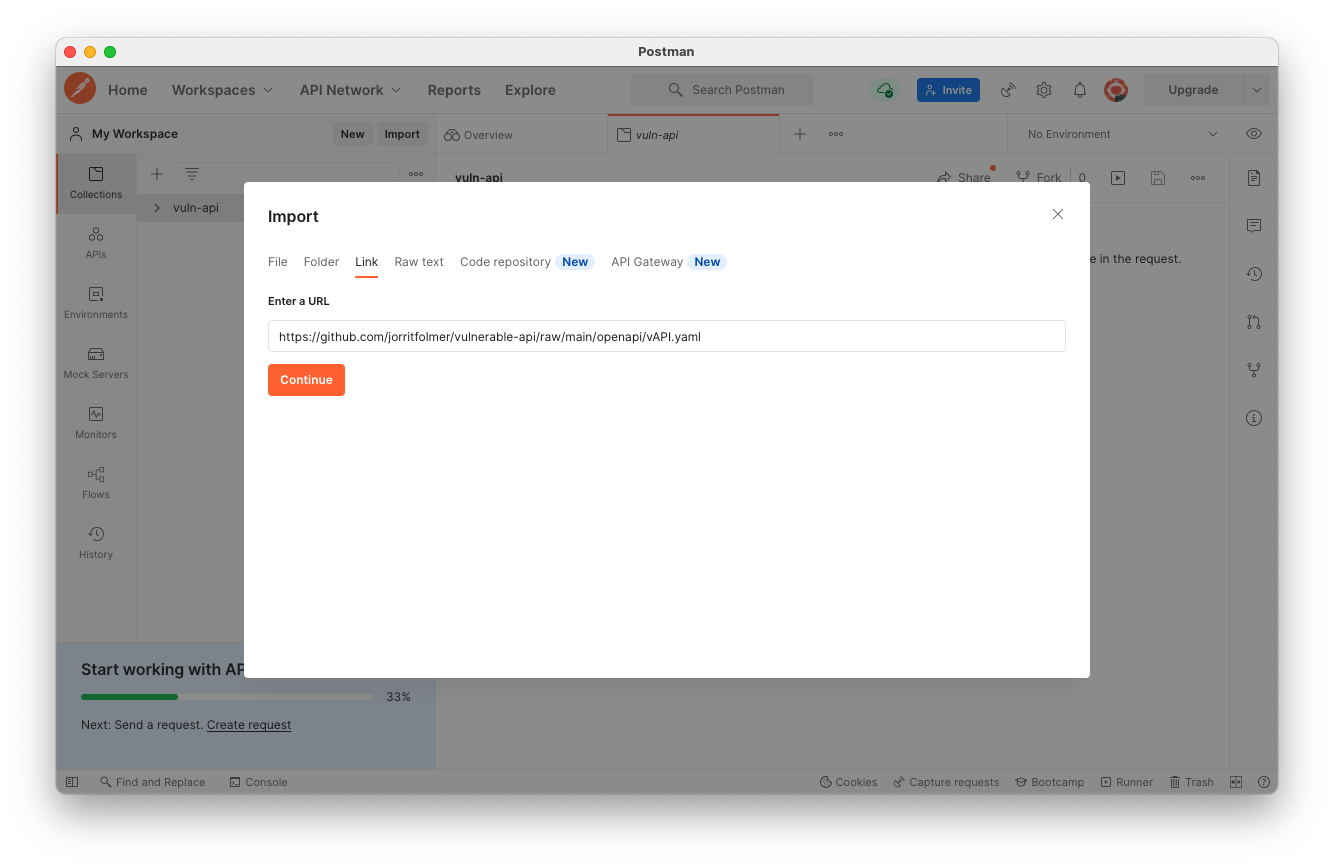
In the Import box, click the Link tab.
Enter this URL, as shown below.
https://github.com/jorritfolmer/vulnerable-api/raw/main/openapi/vAPI.yaml
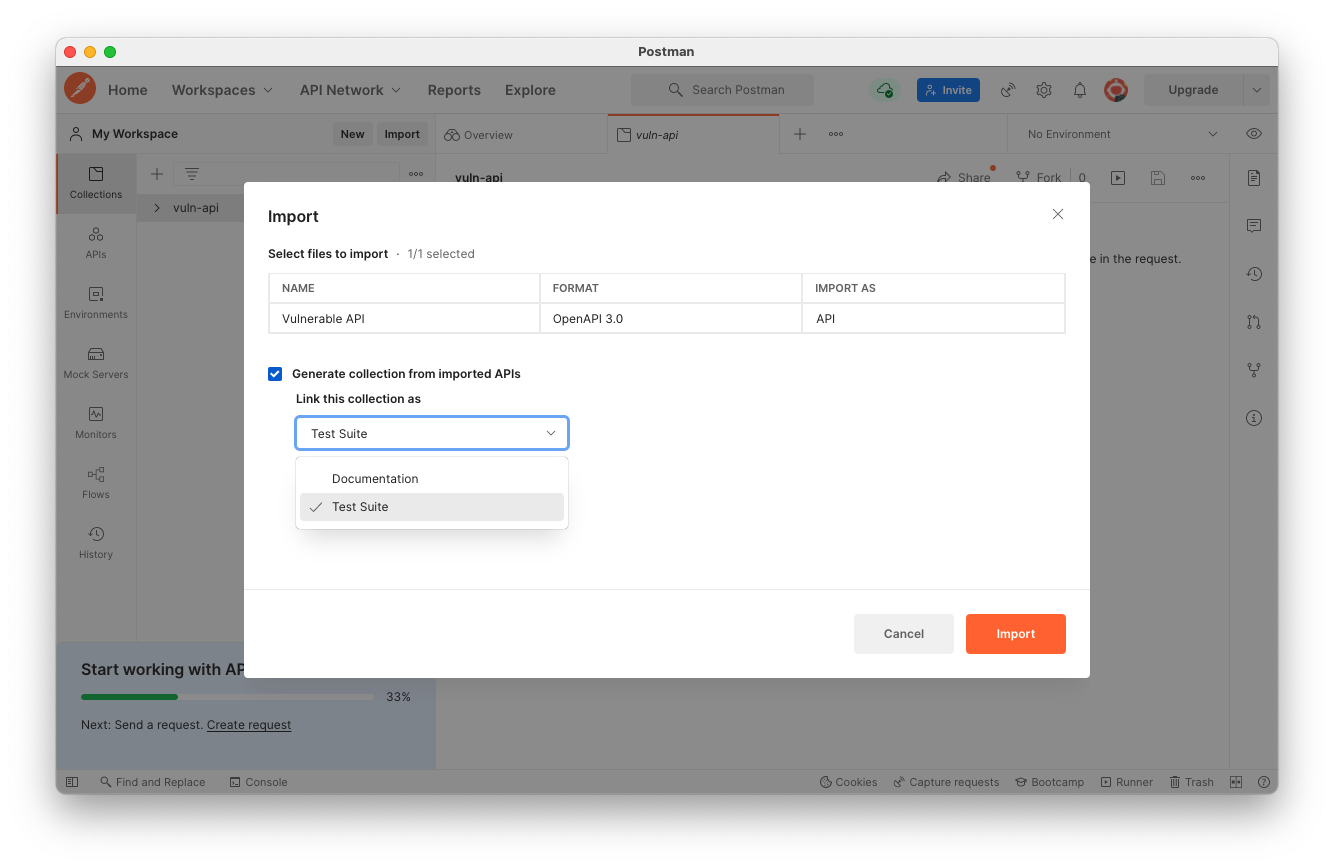
In the next box, in the "Link this collection as", select "Test Suite", as shown below, and click the orange Import button.
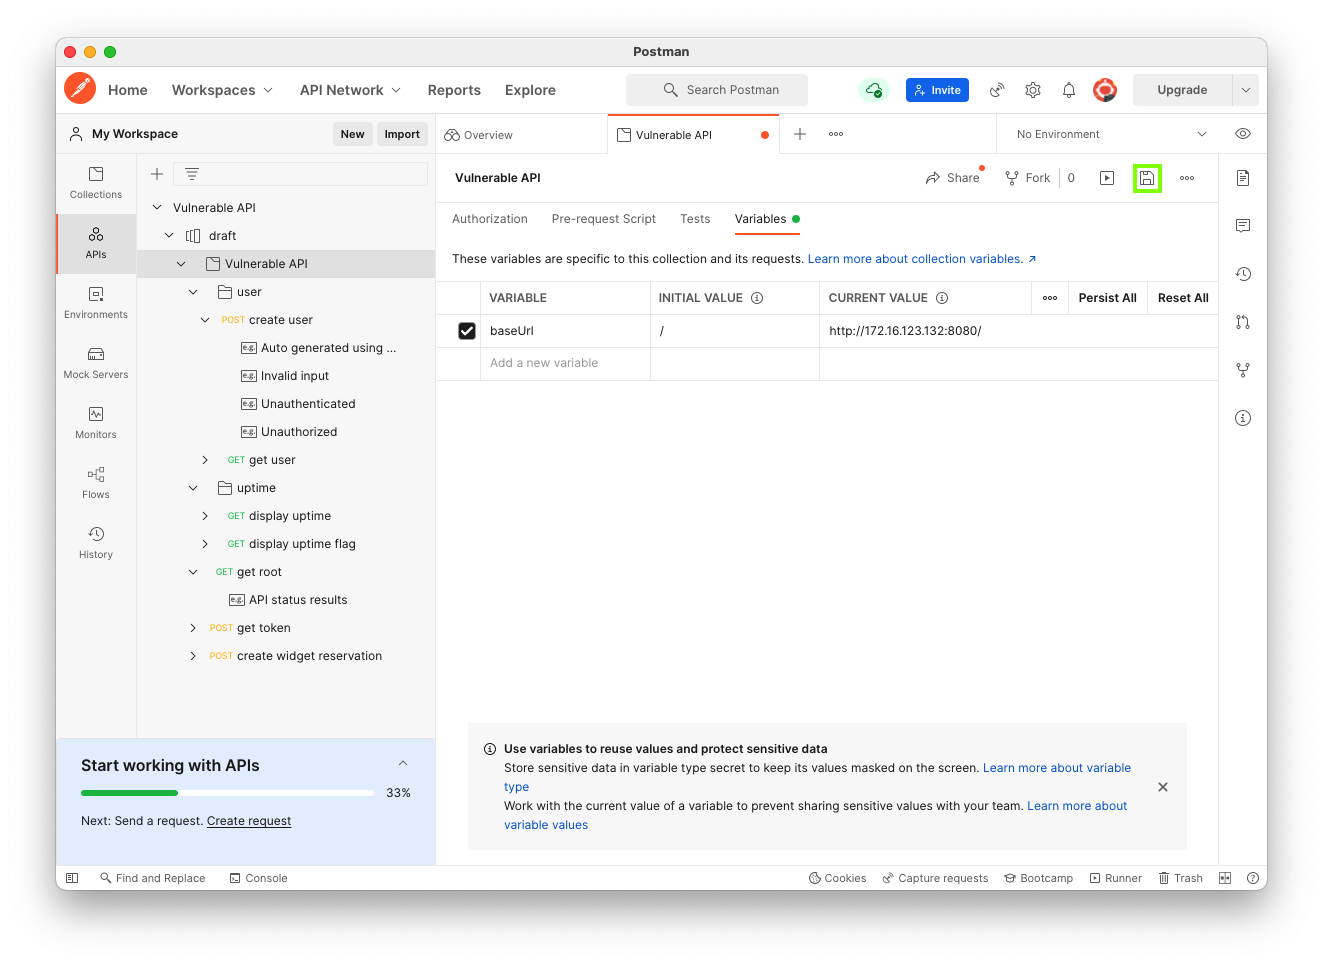
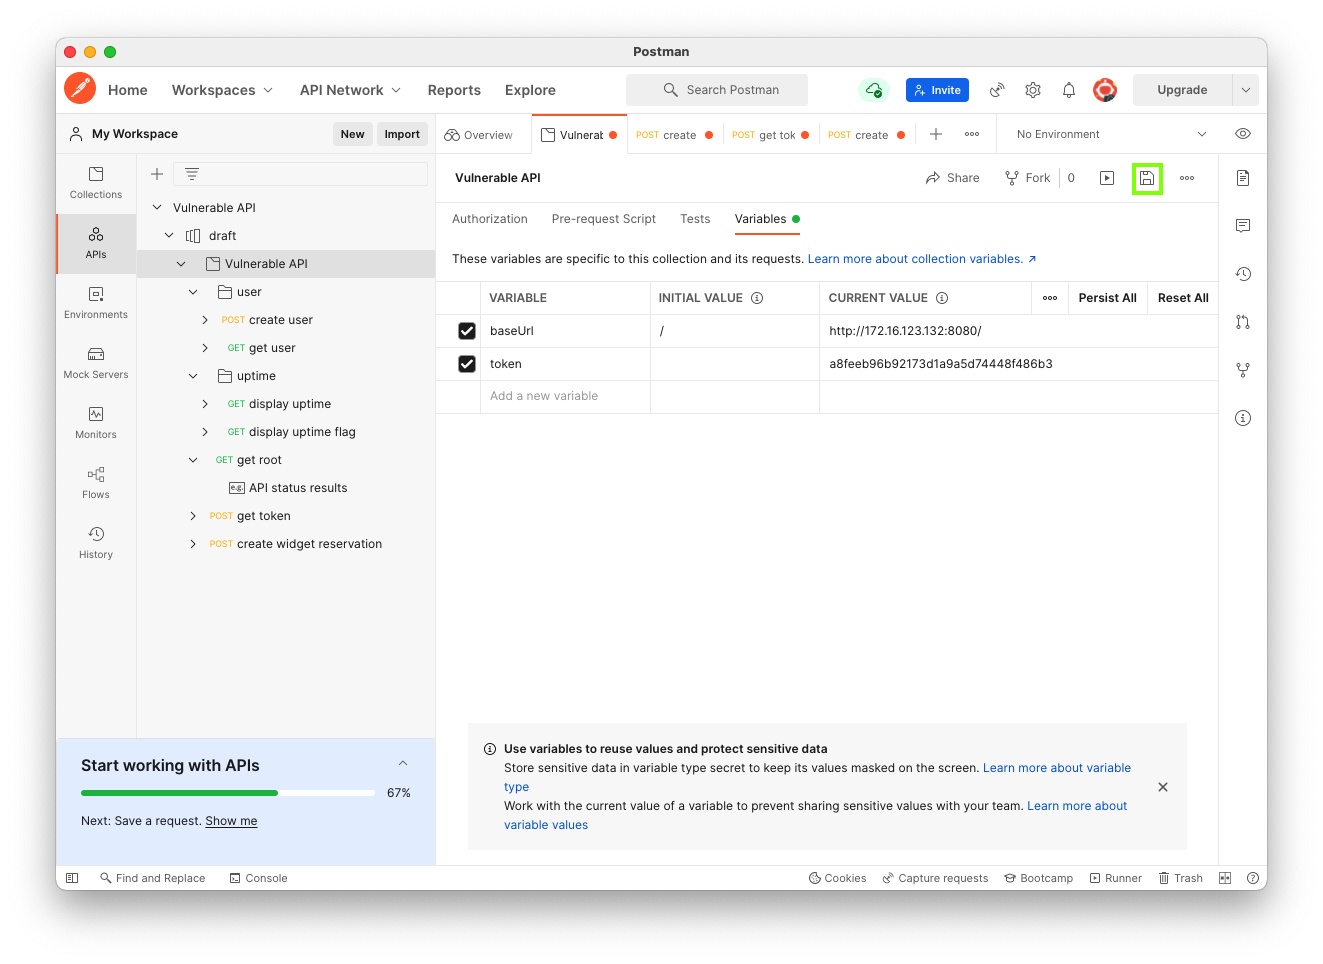
On the right side, click the Variables tab.
Enter the URL to your instance of vulnerable-api into the "CURRENT VALUE" field, as shown below.
Then click the Save icon, outlined in green in the image below.
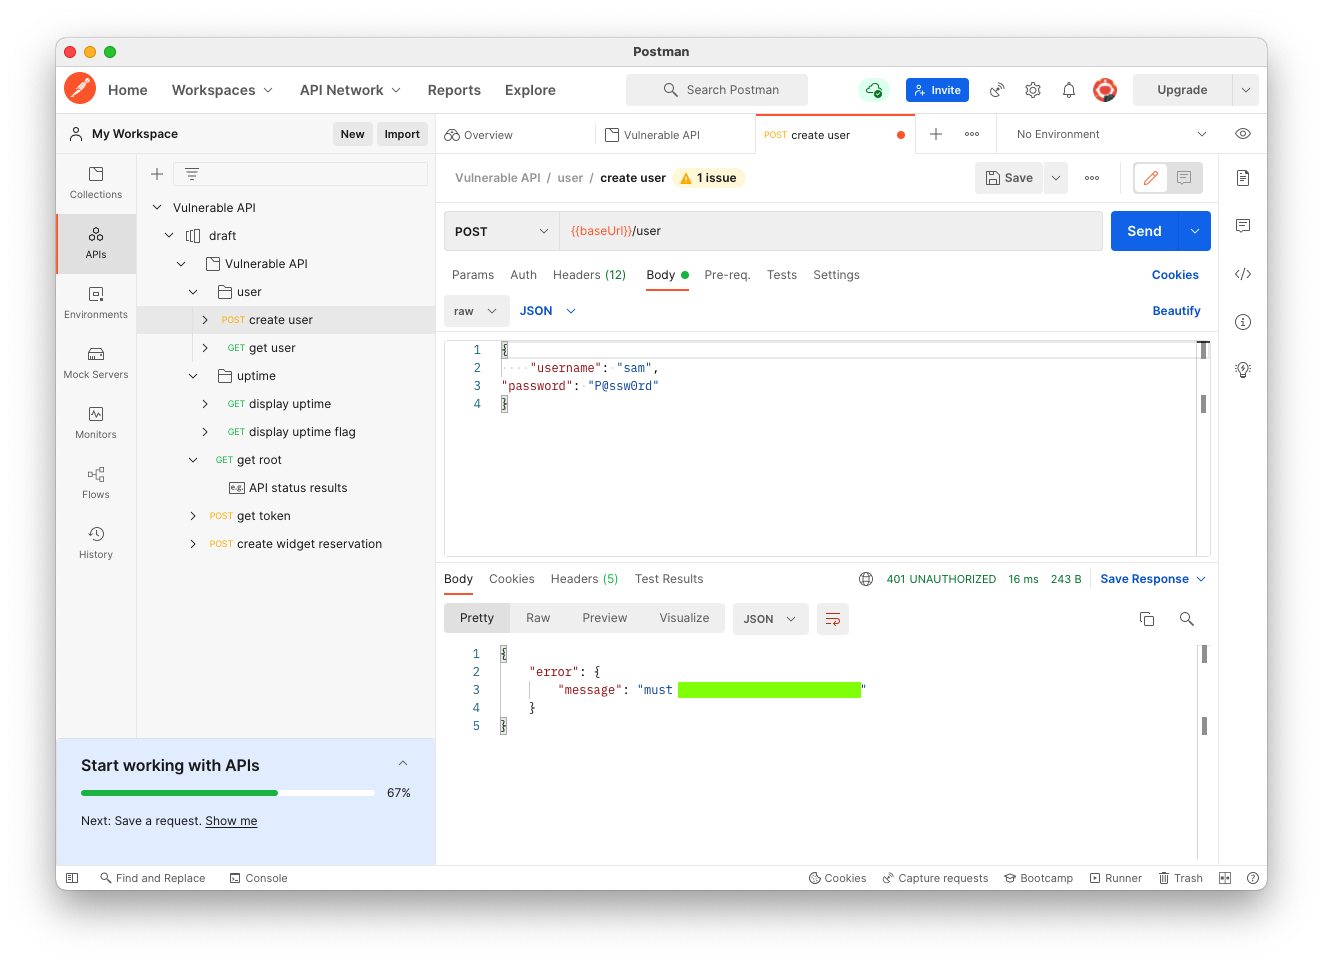
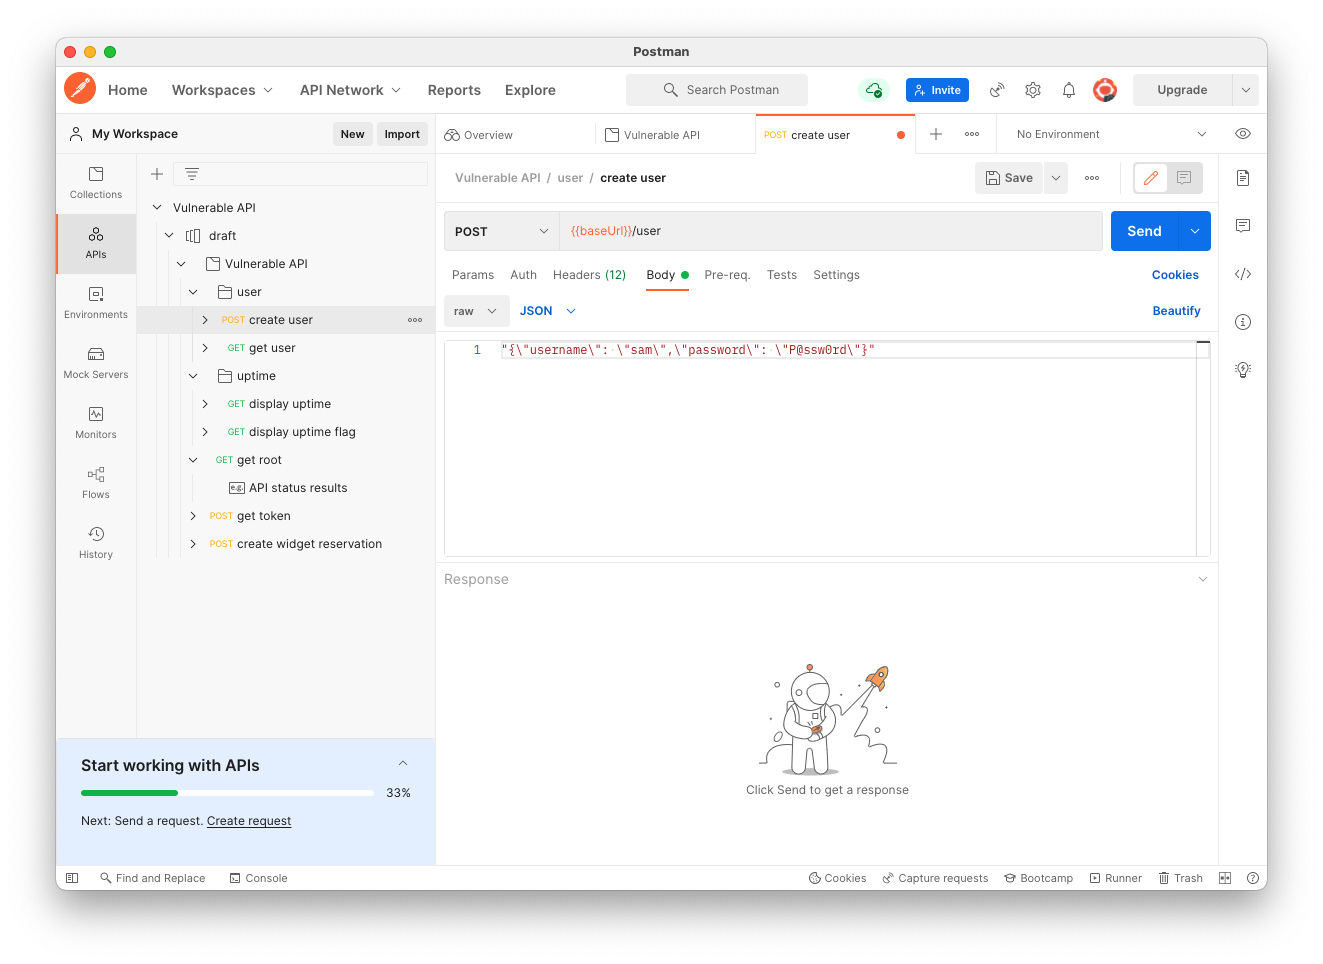
On the Body tab, enter a username and password of your choice.
Delete the outermost quotation marks and the backslashes, and click Beautify, so the JSON spreads out into several lines, as shown below.
If you get a status 400 response, saying "Request body is not valid JSON", check to make sure the extra quotation marks and backslashes are correctly removed.
Flag AP 120.1: Message (10 pts)
When the JSON is correct, you get a different error.The flag is covered by a green rectangle in the image below.
On the Body tab, default values are already set. Don't change the username or password, but remove the outer quotation marks and backslashes, so you can Beautify the JSON, as shown below.
There's an extraneous "\n" you need to remove too.
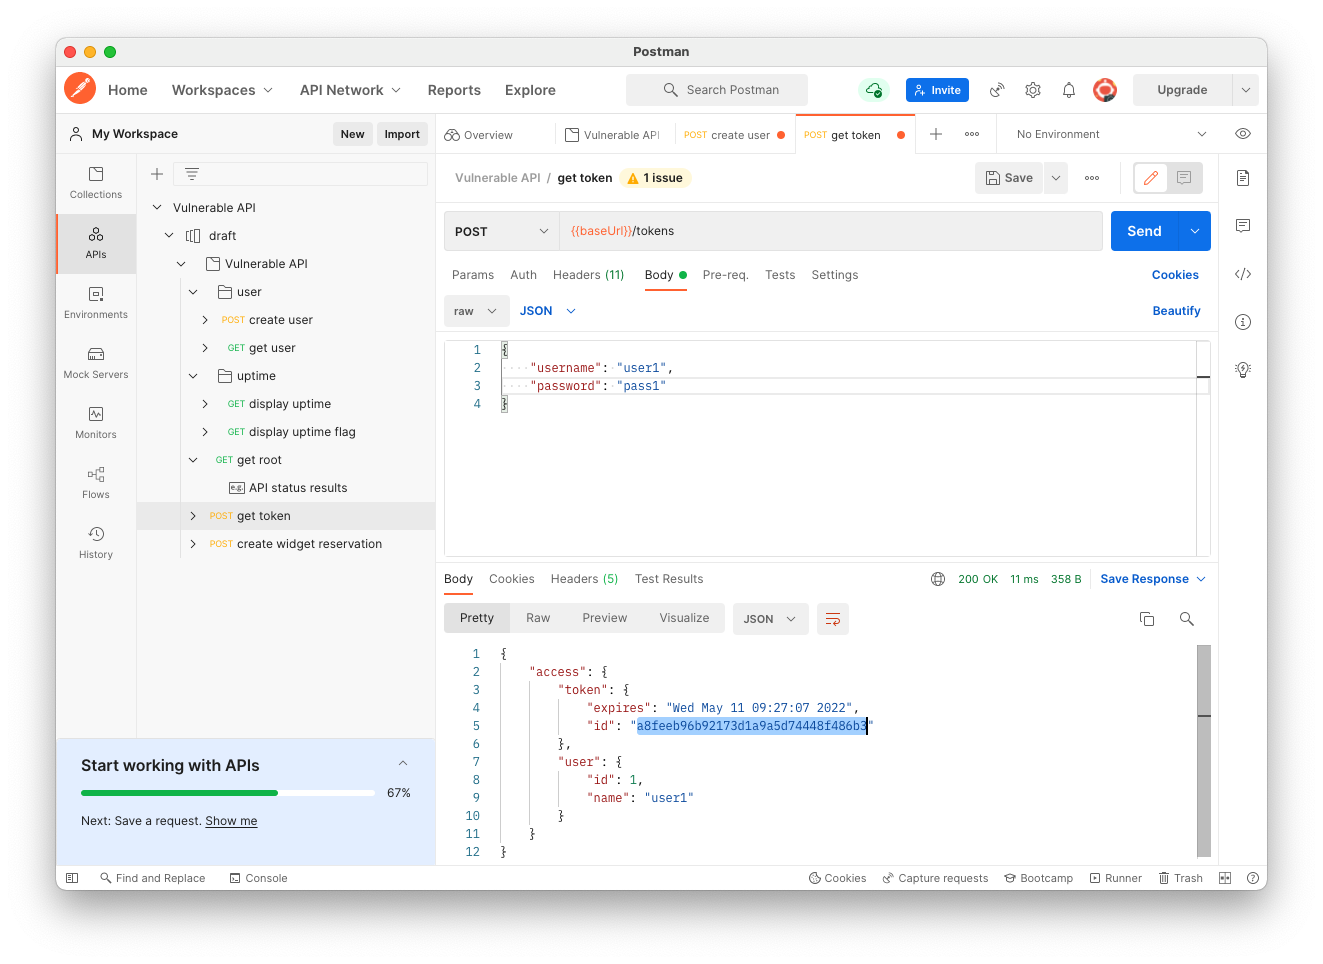
Click the blue Send button.
You get a token, highlighted in the image below.
Copy the token to the Clipboard.
In the "Vulnerable API" collection, in the "draft" container, click the "Vulnerable API" object.
In the center pane, click the Variables tab.
Add a variable named token with a CURRENT VALUE of your token, as shown below.
Then click the Save icon, outlined in green in the image below.
On the Headers tab, in the "X-Auth-Token" line, change the VALUE to
{{token}}
as shown below.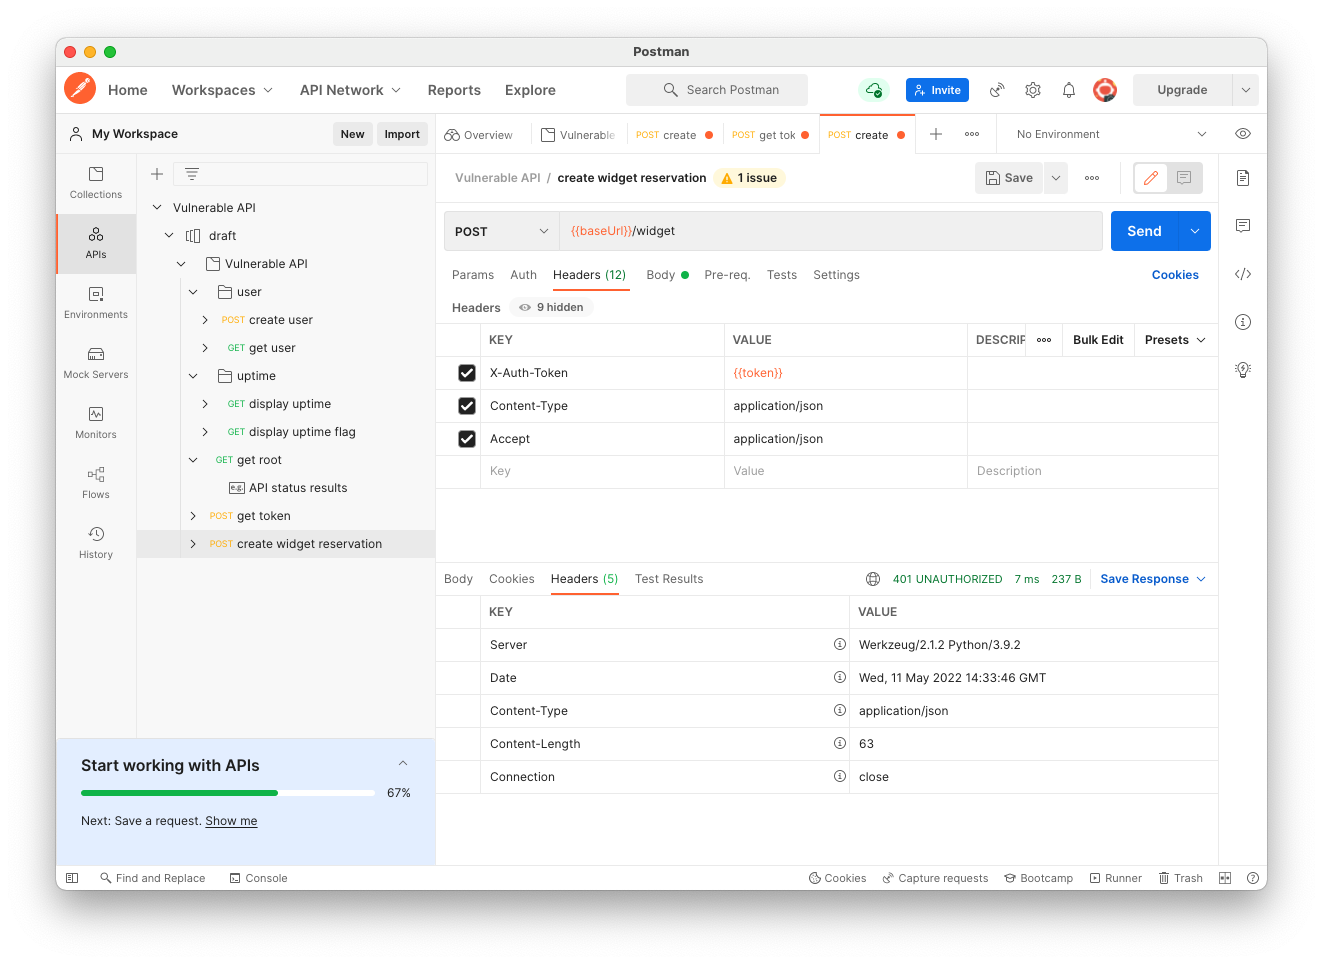
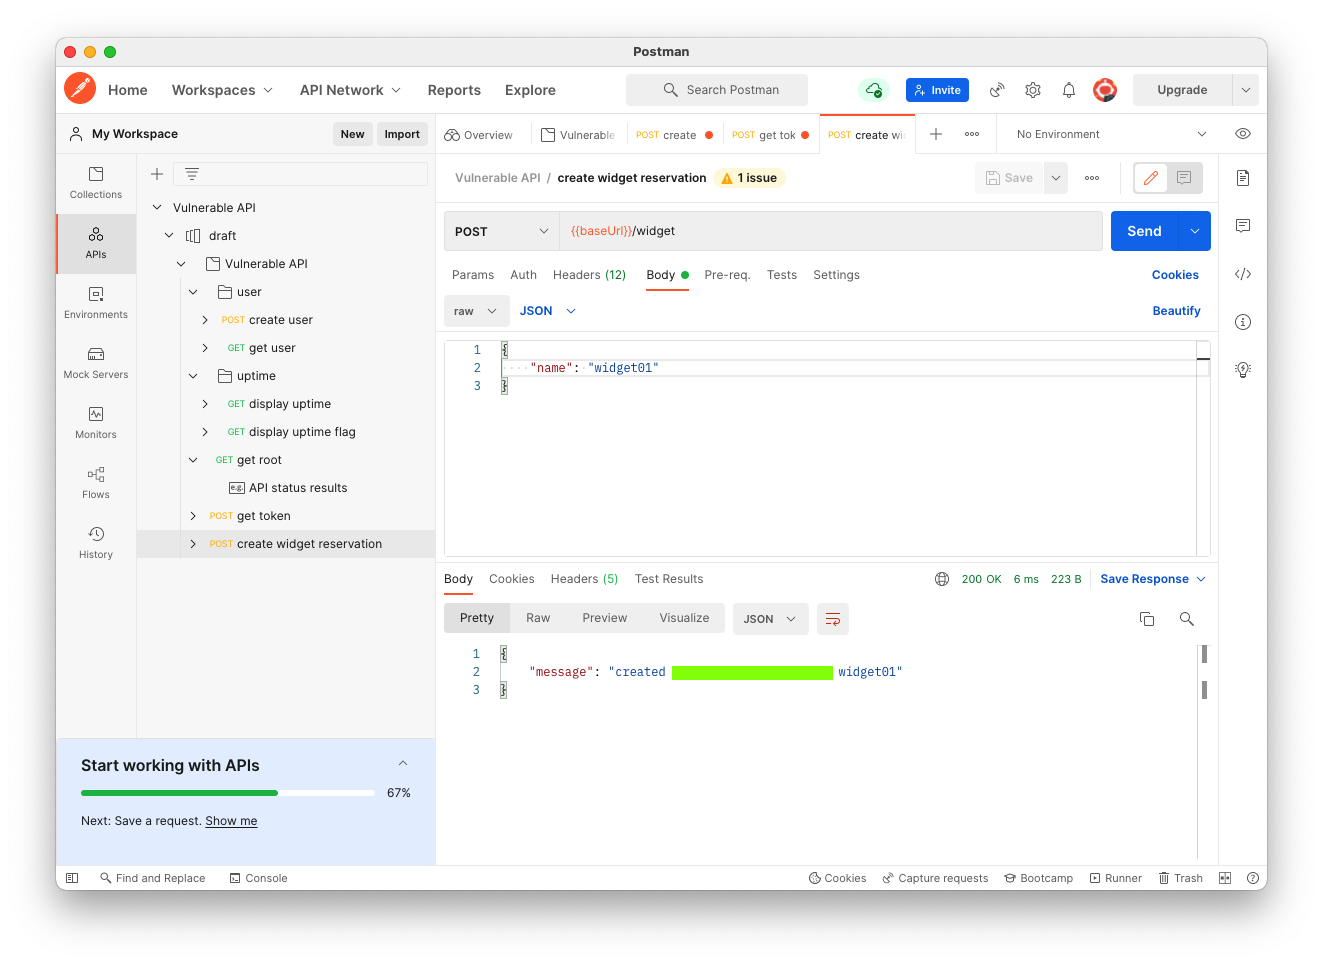
Change the "widgetname" to "widget01", as shown below.
Click the blue Send button.
The request succeeds, as shown below.
Flag AP 120.2: Message (5 pts)
The flag is covered by a green rectangle in the image below.
On the Headers tab, in the "X-Auth-Token" line, change the VALUE to
{{token}}
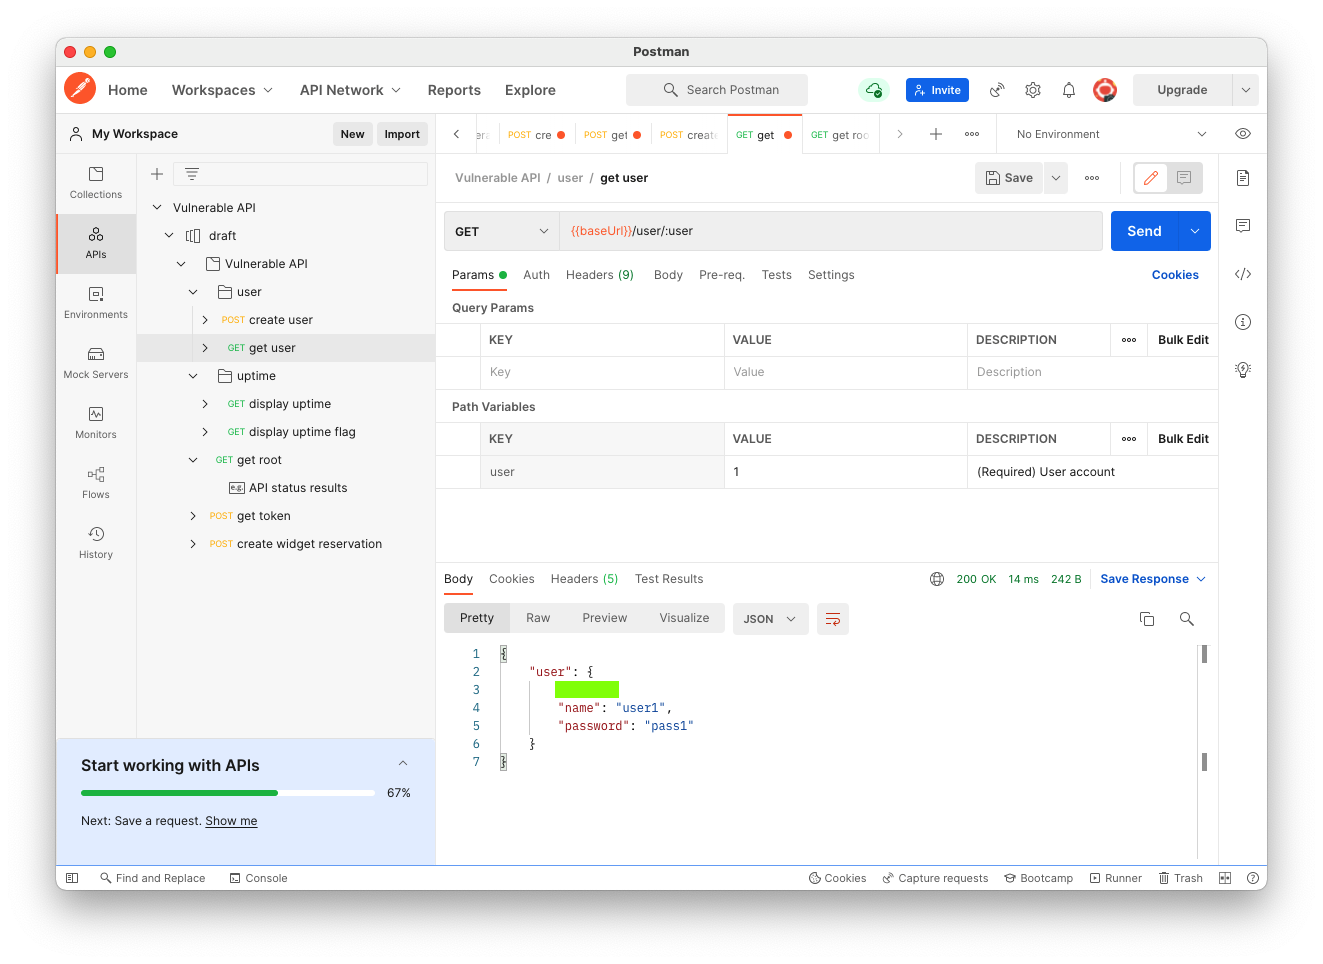
On the Params tab, change the "user" to "1", as shown below.Click the blue Send button.
The request succeeds, as shown below.
Flag AP 120.2: Message (5 pts)
The flag is covered by a green rectangle in the image below.
Posted 5-11-22