If you are working in the S214 lab, or using a virtual machine you don't care about, that's OK, but if you want to protect your machine you should change your login password before starting SSH.
In a Terminal window, execute this command:
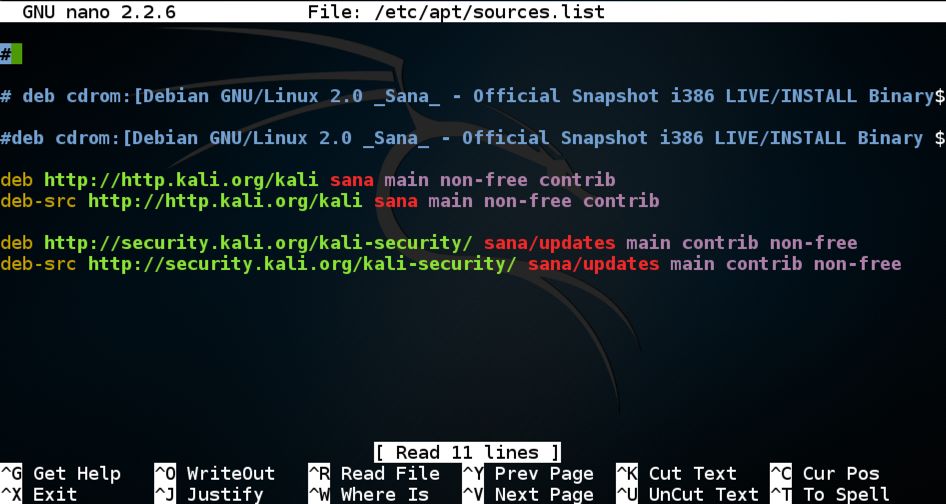
nano /etc/apt/sources.list
Press Ctrl+K repeatedly to delete all the lines in the file.
Then paste in the lines below:
deb http://http.kali.org/kali kali-rolling main contrib non-free

deb-src http://http.kali.org/kali kali-rolling main contrib non-free
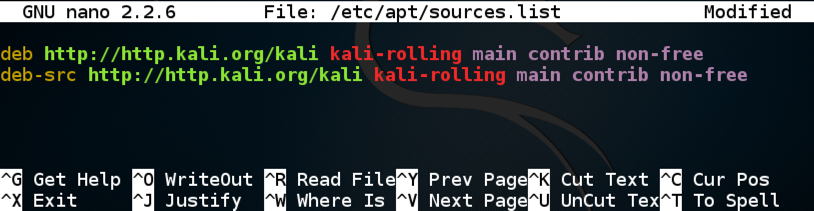
Press Ctrl+X, Y, Enter to save the file.
sudo apt-get update
In a Terminal window, execute this command:
sudo apt-get install openssh-server -y
In a Terminal window, execute these commands:
sudo service ssh start

sudo netstat -pant

Note: This SSH server won't automatically start when the server reboots. That's OK for this project, but for a real server you need to configure automatic starting. To do that, see the "Sources" at the bottom of this project.
ifconfig
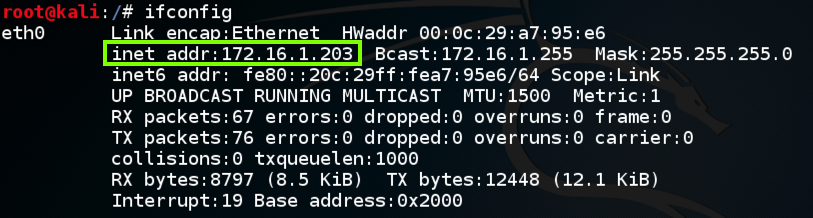
The next step is different for Windows than for Mac or Linux clients. Use the appropriate instructions.
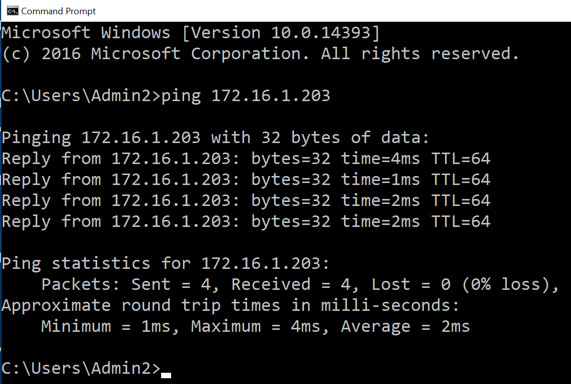
ping 172.16.1.203
If you don't, you need to troubleshoot your networking before proceeding.

Press Ctrl+C to stop the pings.
In a Terminal window, execute this command, replacing the IP address with the IP address of your Linux SSH server.
ssh root@172.16.1.203
When it asks for a password, enter A.
It rejects the password. Enter B.
It rejects the password. Enter C.
It disconnects you. Execute this command again:
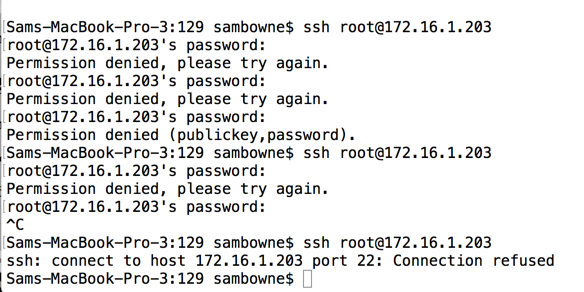
ssh root@172.16.1.203
It rejects the password. Enter E.
It rejects the password. Enter F.
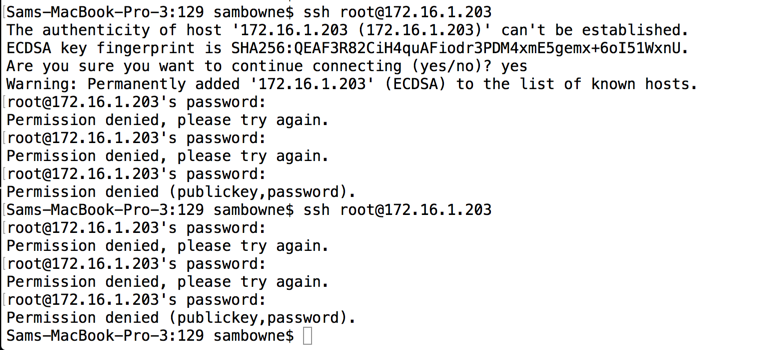
As you can see, there is nothing stopping you from entering as many password guesses as you like.
ping 172.16.1.203
If you don't, you need to troubleshoot your networking before proceeding.
On your Windows machine, in a Web browser, go to
http://www.chiark.greenend.org.uk/~sgtatham/putty/download.html
Download the MSI installer, as shown below.
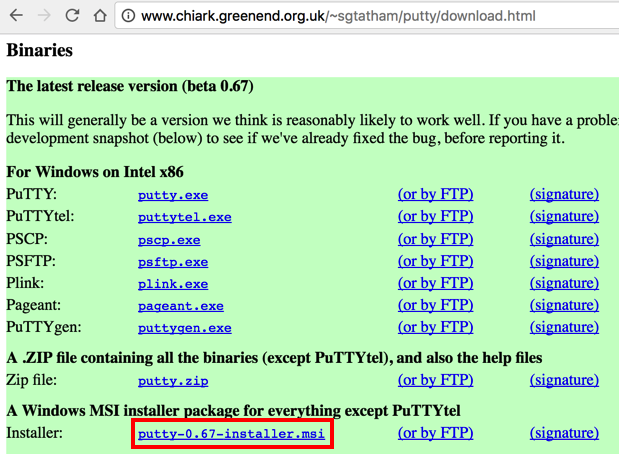
Double-click the installer file and install the software.
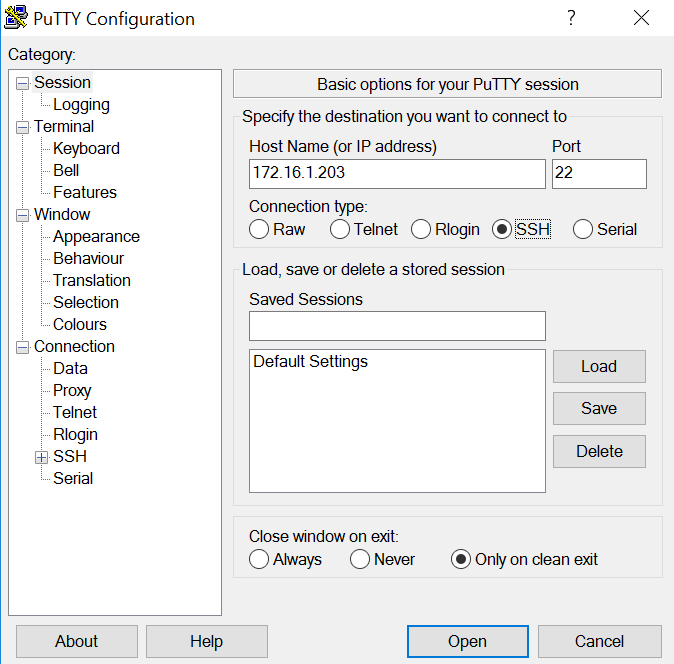
On your Windows desktop, double-click the PuTTY icon.
In the Host Name field, enter your SSH Server's IP address, as shown below.
Click the Open button.
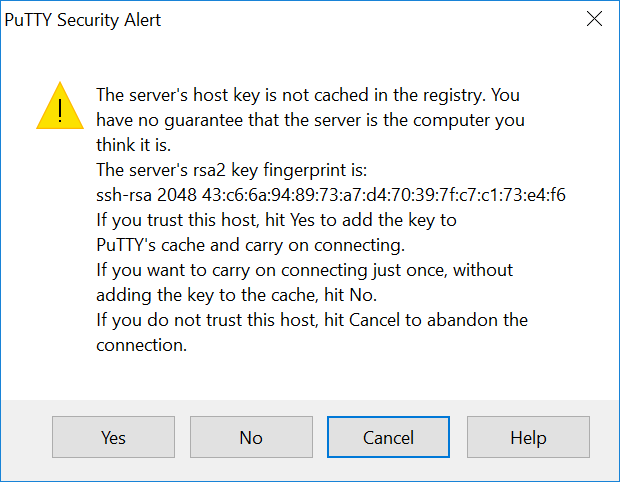
A "PuTTY Security Alert" box pops up, as shown below. Click Yes.
A PuTTY window appears. At the "login as:" prompt, enter
root
When it asks for a password, enter these guesses:
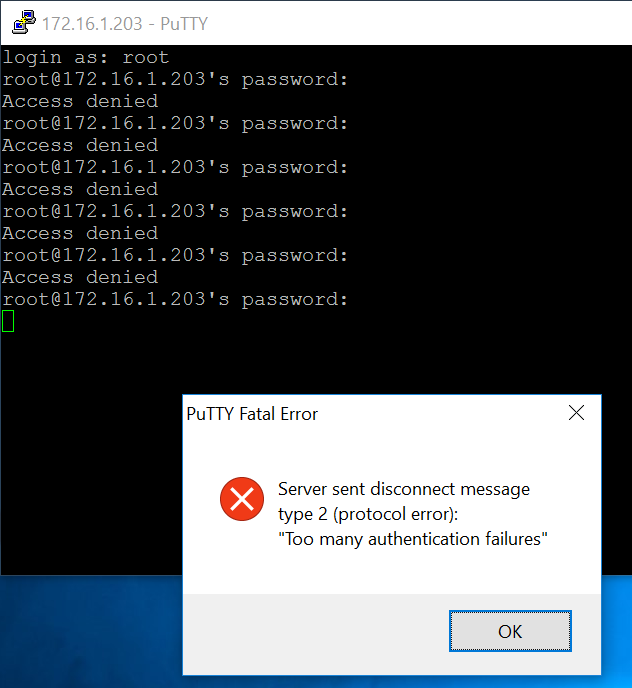
There is nothing stopping you from entering as many password guesses as you like. When that box pops up, you can just connect again for another six guesses.
sudp apt update
sudo apt install fail2ban -y
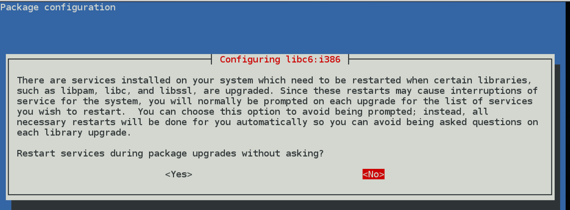
If a "Package configuration" box appears, as shown below. Press the Tab key to highlight Yes and then press the SPACEBAR.
sudo service fail2ban start
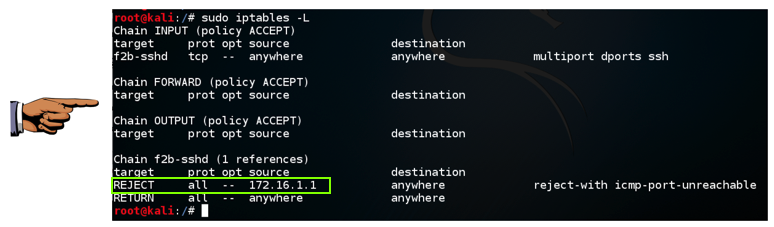
After a few incorrect guesses, it refuses to connect, as shown below.
sudo iptables -L
Click the host computer's desktop. Press Shift+PrntScrn key to capture the entire desktop. If you are using a Mac, press Shift+Cmd+3
YOU MUST SUBMIT A WHOLE-DESKTOP IMAGE FOR FULL CREDIT
Save this image with the filename "Proj 6x from YOUR NAME"
Posted 10-20-16
Updated for dynamically-created iptables rules 5-3-2020
Sam Bowne