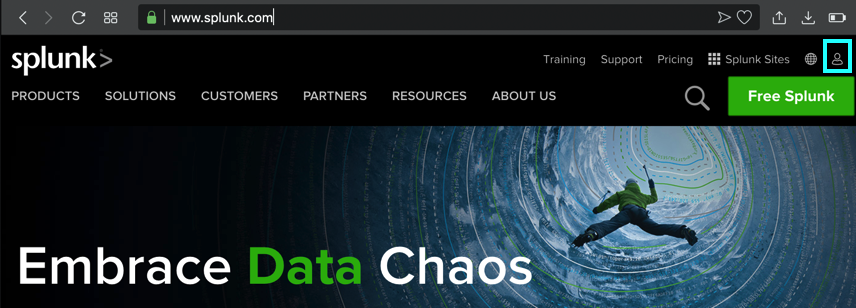
At the top right, click the tiny head-and-shoulders icon, outlined in aqua in the image below.
If you have a Splunk account, log in. Otherwise create one now.
At the top right, click the "Free Splunk" button.
Troubleshooting
If you have difficulty creating a Splunk account, you can get the "wget" command you need here:Get Splunk software and install on Ubuntu
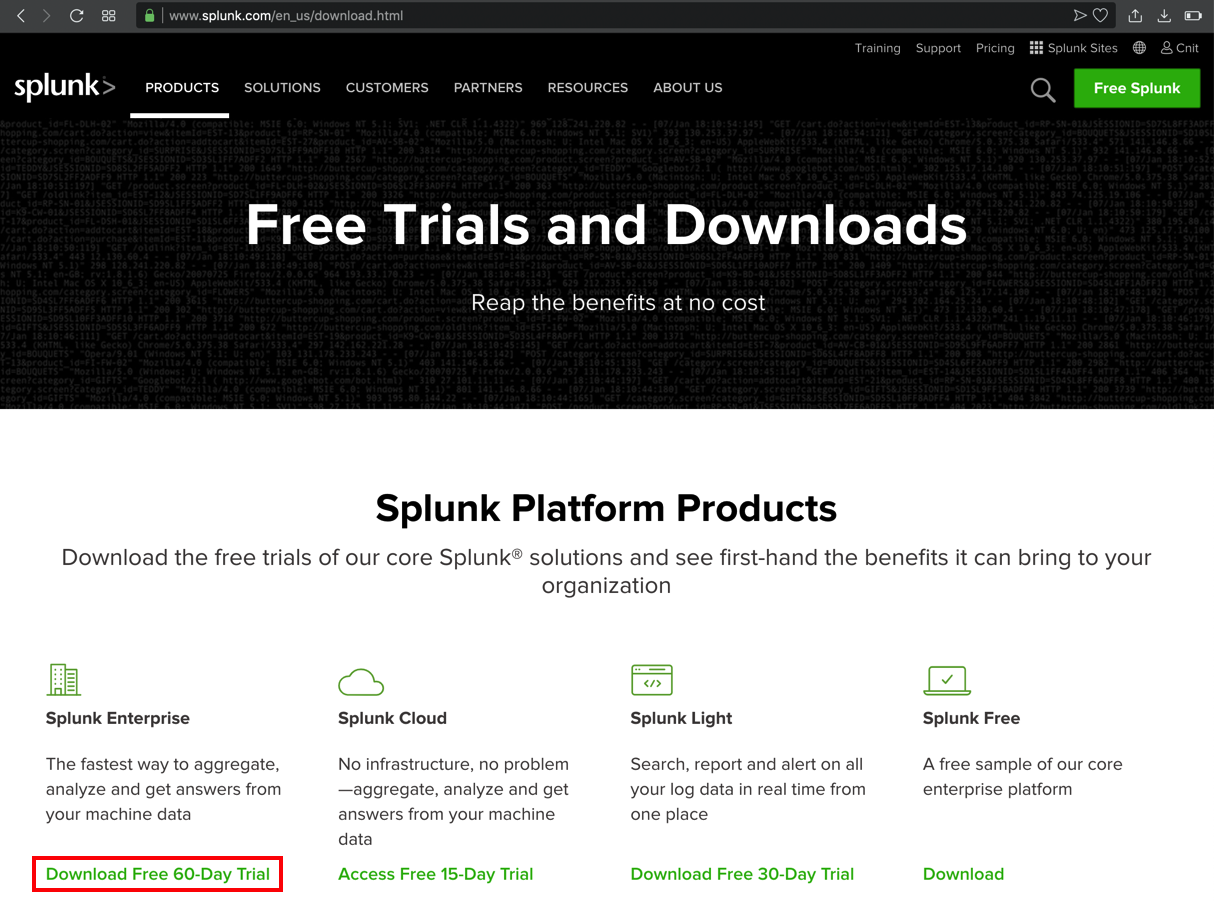
At the lower left of the next page, in the "Splunk Enterprise" section, click "Download Free 60-Day Trial", as shown below.
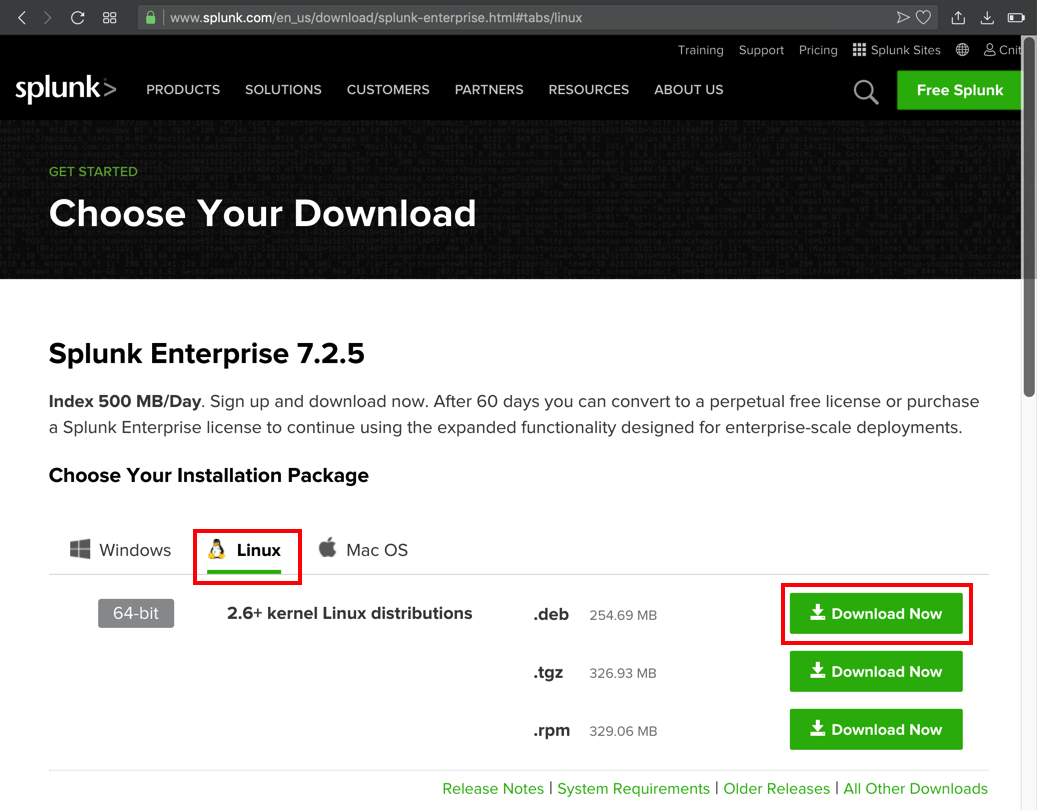
On the next page, click the Linux tab, and, in the ".deb" line, click the "Download Now" button, as shown below.
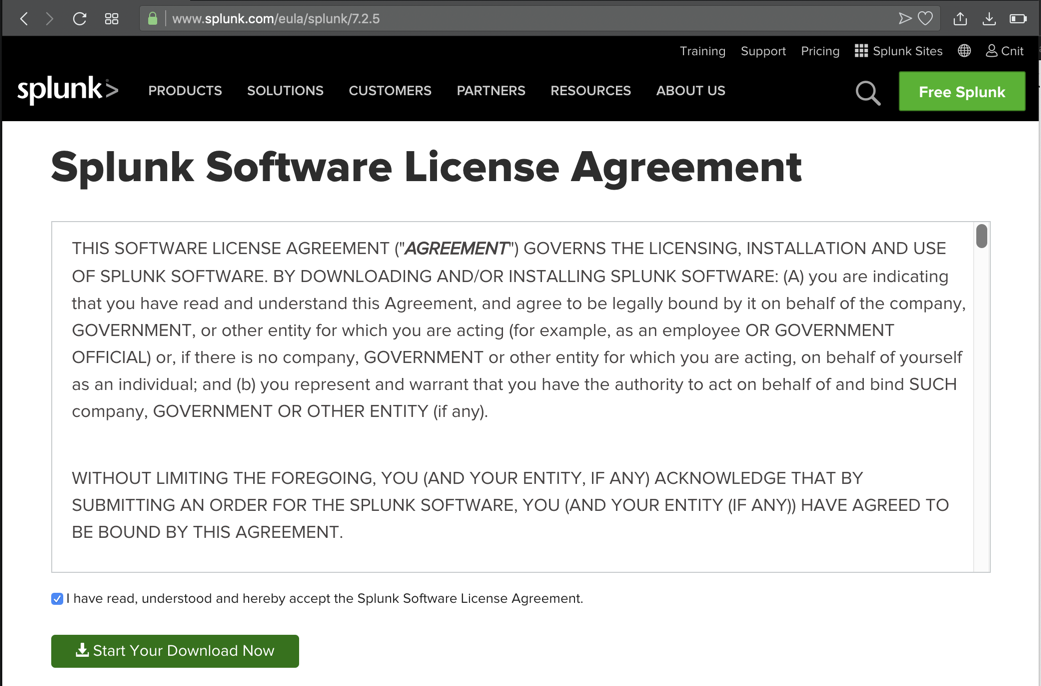
On the next page, accept the agreement and click the "Start Your Download Now" button, as shown below.
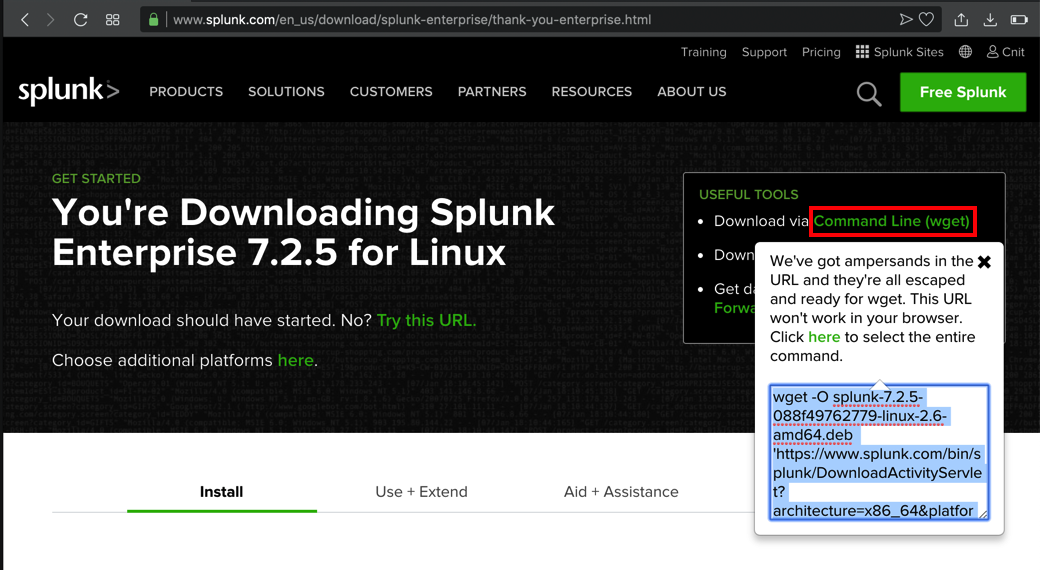
When the download starts, cancel it. At the top right of the next page, click "Command Line (wget)".
Highlight the command in the pop-up box and copy it, as shown below.
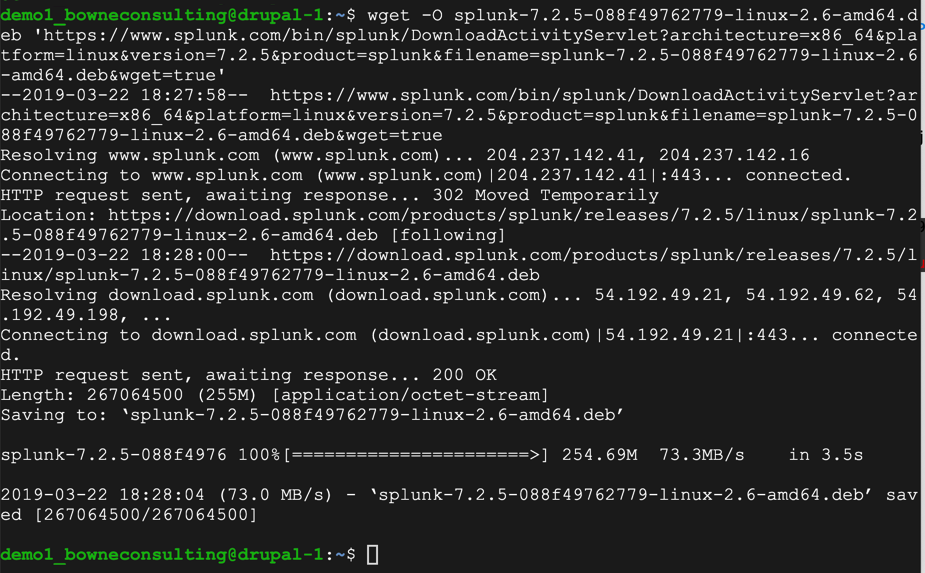
On the Ubuntu server, execute these commands, one at a time.
You will be prompted to agree to a license agreement.
sudo dpkg -i splunk*.deb
cd /opt/splunk/bin
sudo ./splunk set web-port 443
Enter y to agree to the license. Enter a username and password for Splunk, such as admin and P@ssw0rd. On the Ubuntu server, execute this command:
sudo ./splunk start
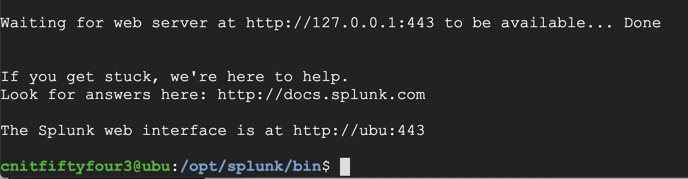
http://34.73.73.12:443
Note: this page is on port 443, but it does not use https.
The CCSF network blocks this
traffic.
You need to use another network, or the DangerZone network in S37, or a VPN.
Log in with the administrator credentials you specified when installing Splunk, such as admin and P@ssw0rd, as shown below.

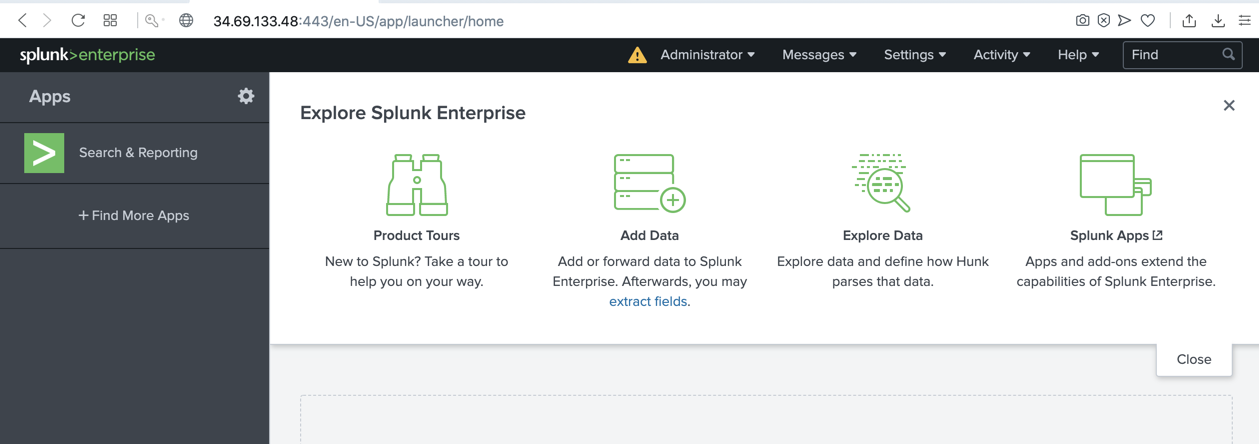
Splunk will pop up some introductory messages. Read them and close them to see the Splunk management page, as shown below.
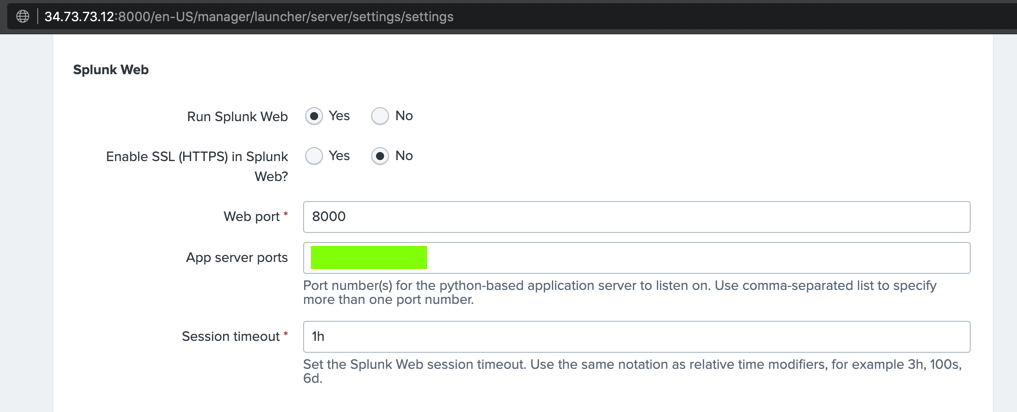
Flag S 101.1: App server ports (10 pts)
In the Splunk management page, at the top, click Settings, "Server settings".On the next page, click "General settings".
Find the "Splunk Web" section. The text covered by the green box in the image below is the flag.
Capturing a Screen Image
Capture a WHOLE-DESKTOP image showing the flag.Save the image as "Proj W 201.2 from YOUR NAME".
Ported to CNIT 50 on 3-15-2020