C 333: Making a Private Ethereum Blockchain
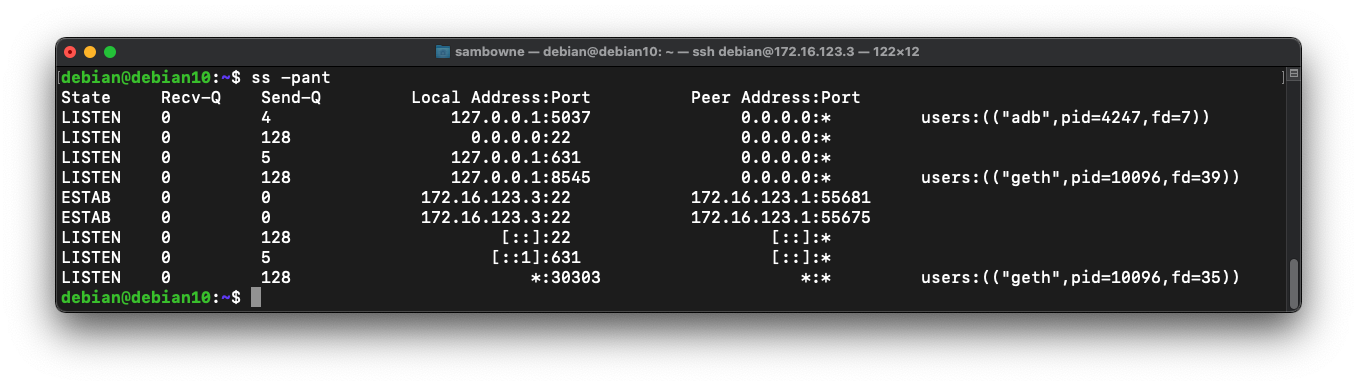
ss -pant
If you do not see geth listening, refer to project C 333 to see how to start it.
On your Linux machine, with geth running, execute these commands:
sudo apt update
sudo apt install socat -y
socat TCP-LISTEN:18545,fork TCP:127.0.0.1:8545 &
ss -pant
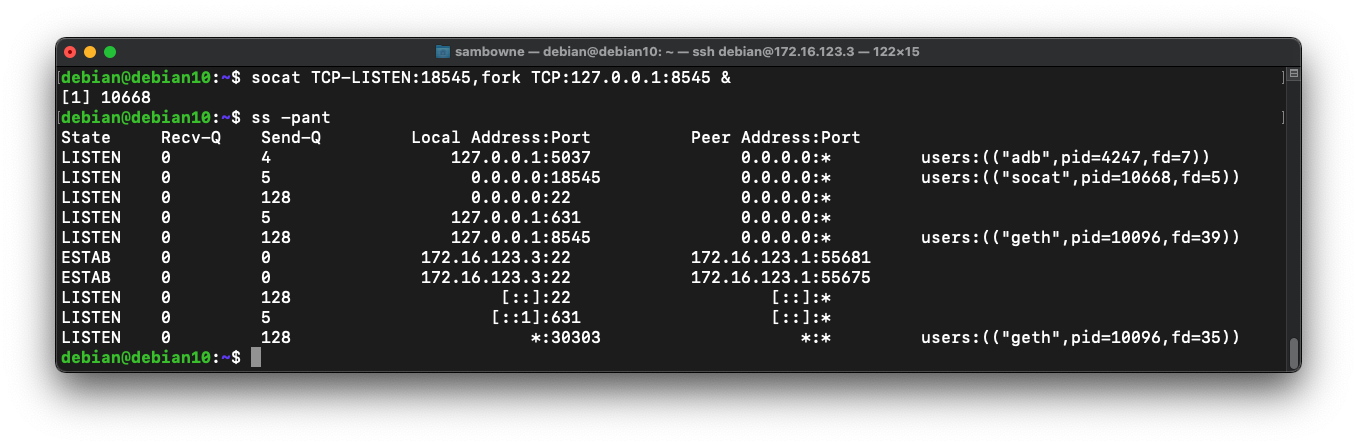
ip a
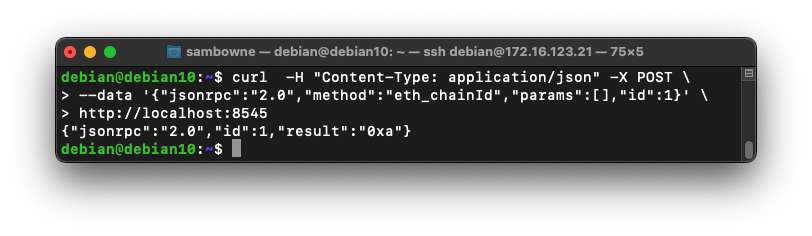
curl  -H "Content-Type: application/json" -X POST \
--data '{"jsonrpc":"2.0","method":"eth_chainId","params":[],"id":1}' \
http://localhost:8545
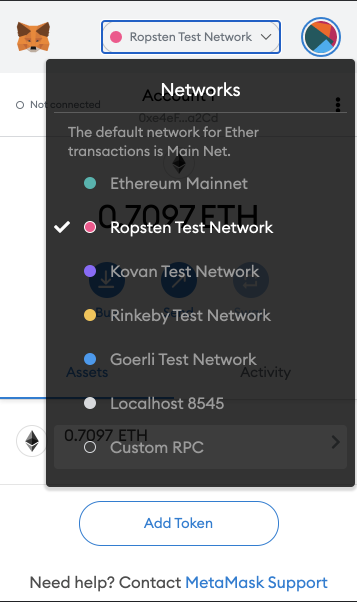
At the top center, click "Ropsten Test Network" and click "Custom RPC", as shown below.
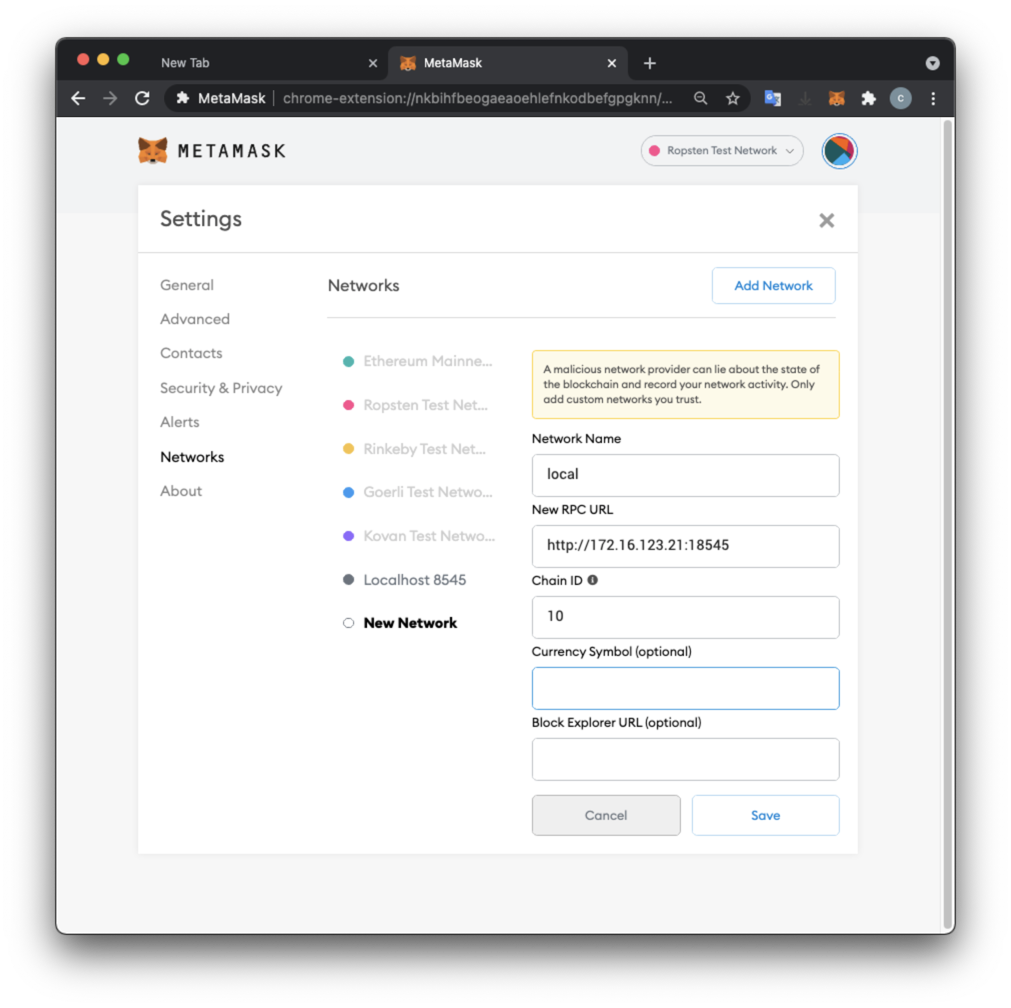
Enter these values, as shown below, replacing the IP address with the address of your Linux server:
Close the Settings box.
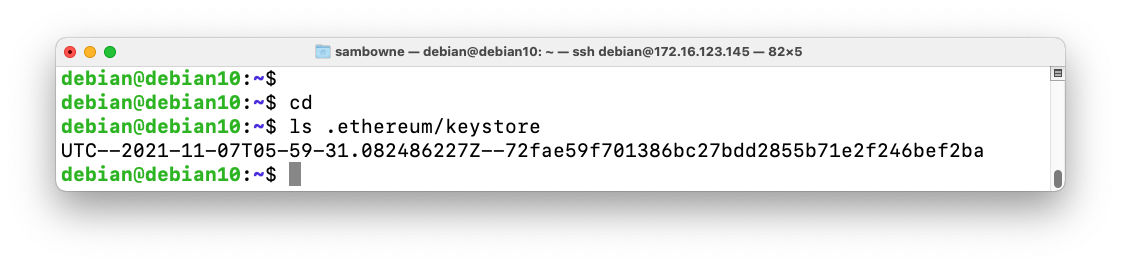
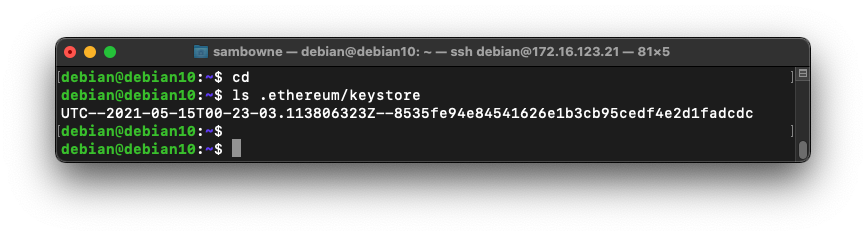
cd
ls .ethereum/keystore
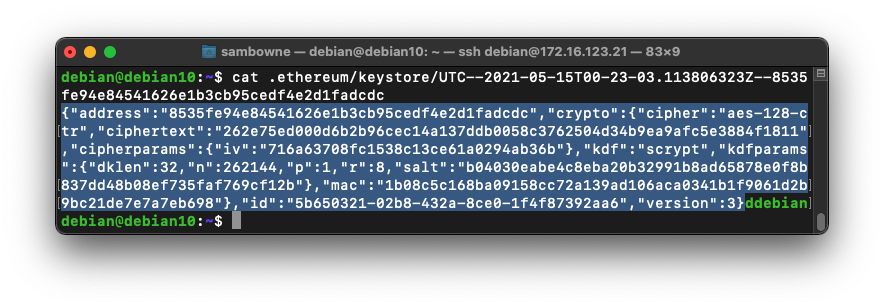
On your Linux server, use cat to print out that file, as shown below.
Higlight the JSON code, as shown below, and copy it.
On your host machine, create a text file, paste the JSON into it, and save it.
A the top right of the MetaMask page, the network name is now local, and your balance is 0 ETH, because the account in your wallet is not the account you used to mine on your local testnet blockchain.
At the top right. click the circular icon and click "Import Account".
Select a Type of "JSON File". Click the "Choose File" button and open the file you created.
Enter the password you specified when creating the account in project C 333, as shown below.
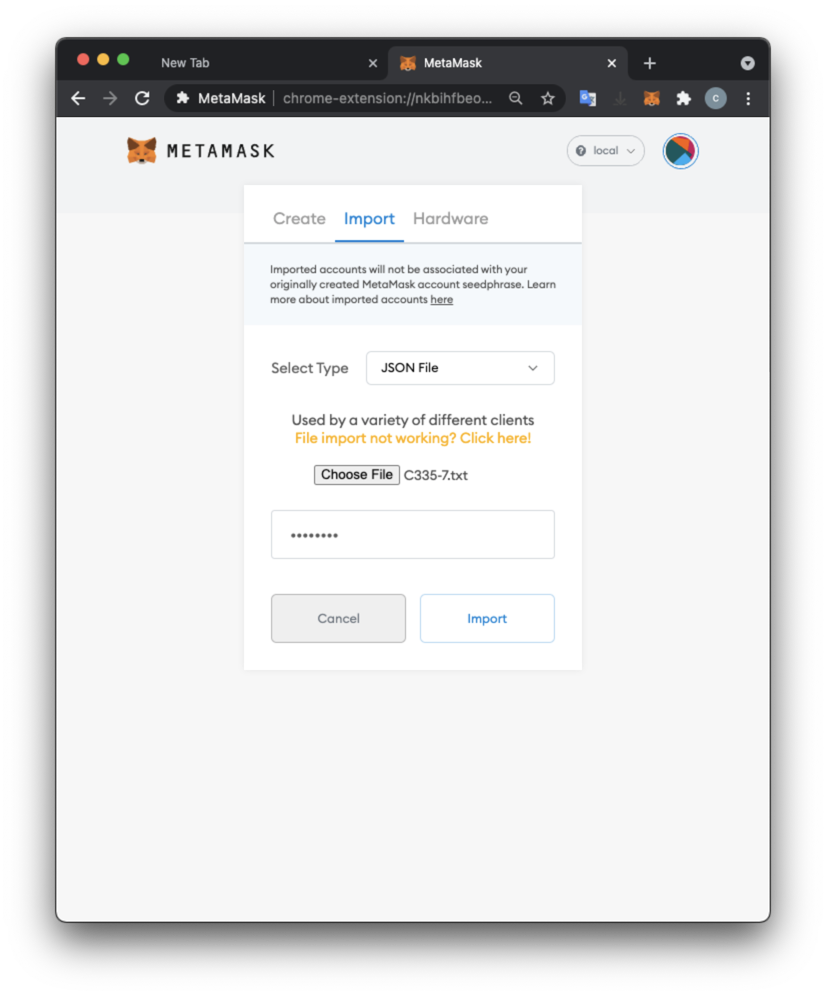
Click the Import button.
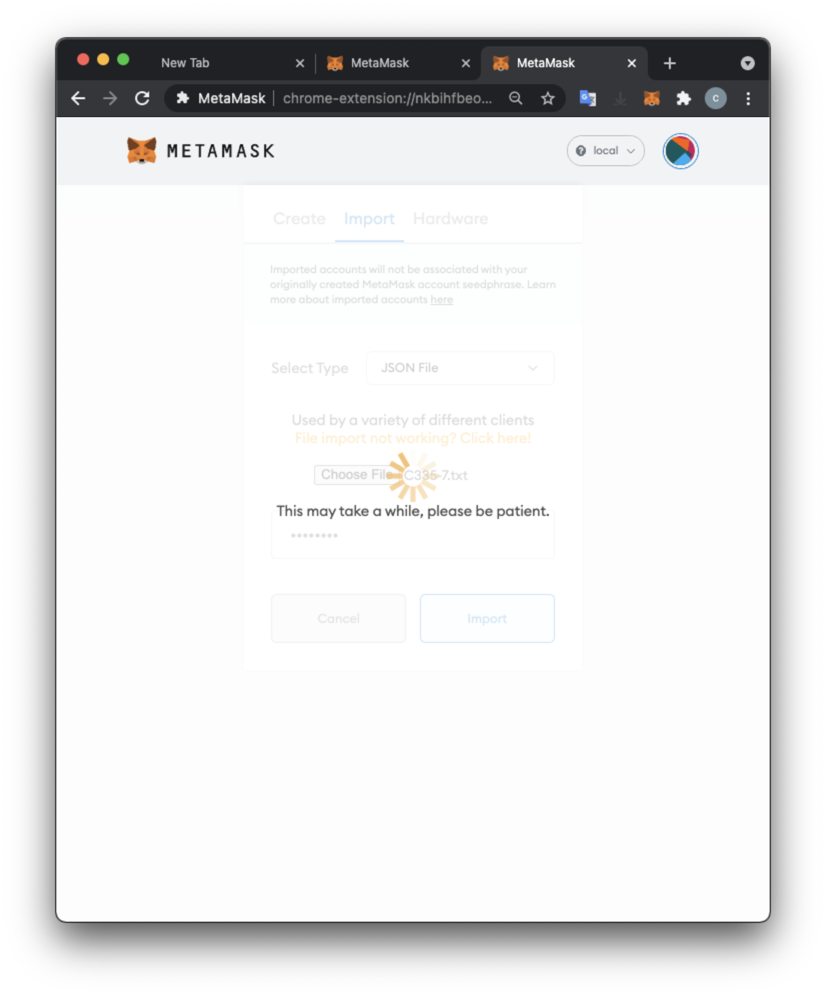
You see a frozen page, as shown below.
The import is working, but it is incredibly slow, due to a known bug in MetaMask.
Wait for it to finish. It may take up to 20 minutes.
When it finishes, your account will connect, and you will have a very large amount of ETH, as shown below.

Using your Private Key String
On your Linux machine, execute these commands:You see the name of your keystore, which begins with "UTC", as shown below.Copy this name and save it.
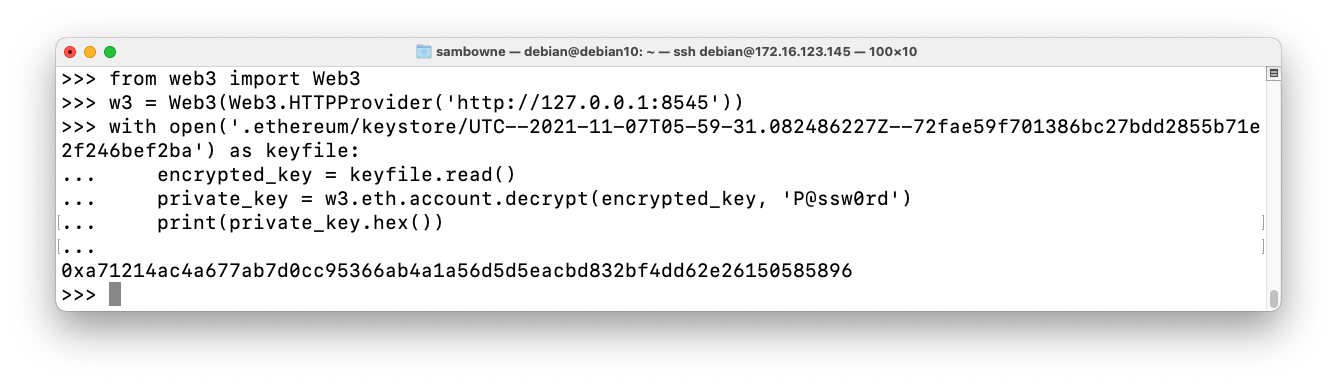
On your Linux machine, execute these commands, replacing the filename with your correct keystore name, and replacing the password with the correct password for your account. After the last line, press Enter twice.
Your private key appears, as shown below.python3 from web3 import Web3 w3 = Web3(Web3.HTTPProvider('http://127.0.0.1:8545')) with open('.ethereum/keystore/UTC--2021-11-07T05-59-31.082486227Z--72fae59f701386bc27bdd2855b71e2f246bef2ba') as keyfile: encrypted_key = keyfile.read() private_key = w3.eth.account.decrypt(encrypted_key, 'P@ssw0rd') print(private_key.hex())
Copy that private key, excluding the prefix "0x". Paste it in to Metamask, as shown below, to import your account.
A context box pops up saying Copied.
In the center of your screen, click the blue Send button.
Paste in the address, and enter an Amount of "1000 ETH", as shown below.
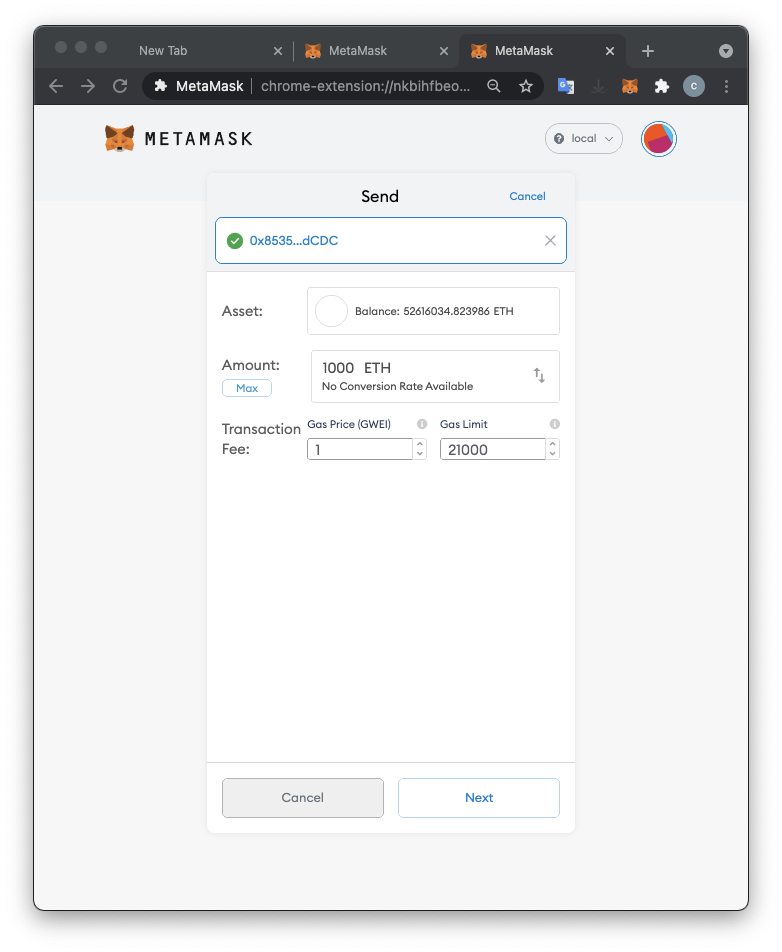
Click Next. Click Confirm.
Wait a few seconds, while the transaction finishes.
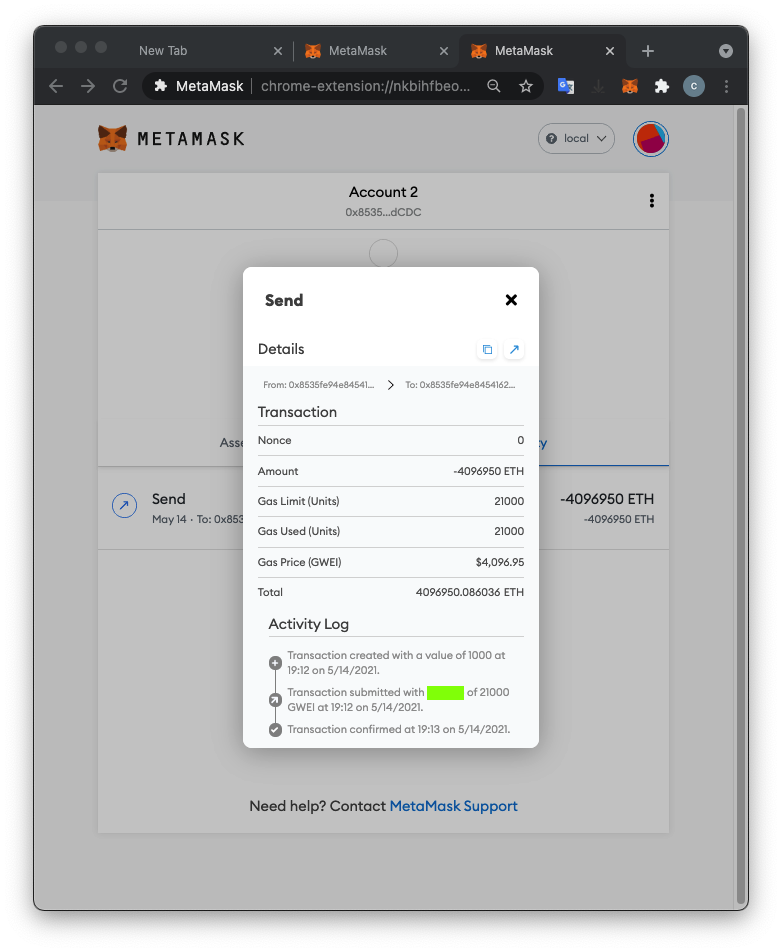
In the lower portion of the window, click the Activity tab, as shown below.
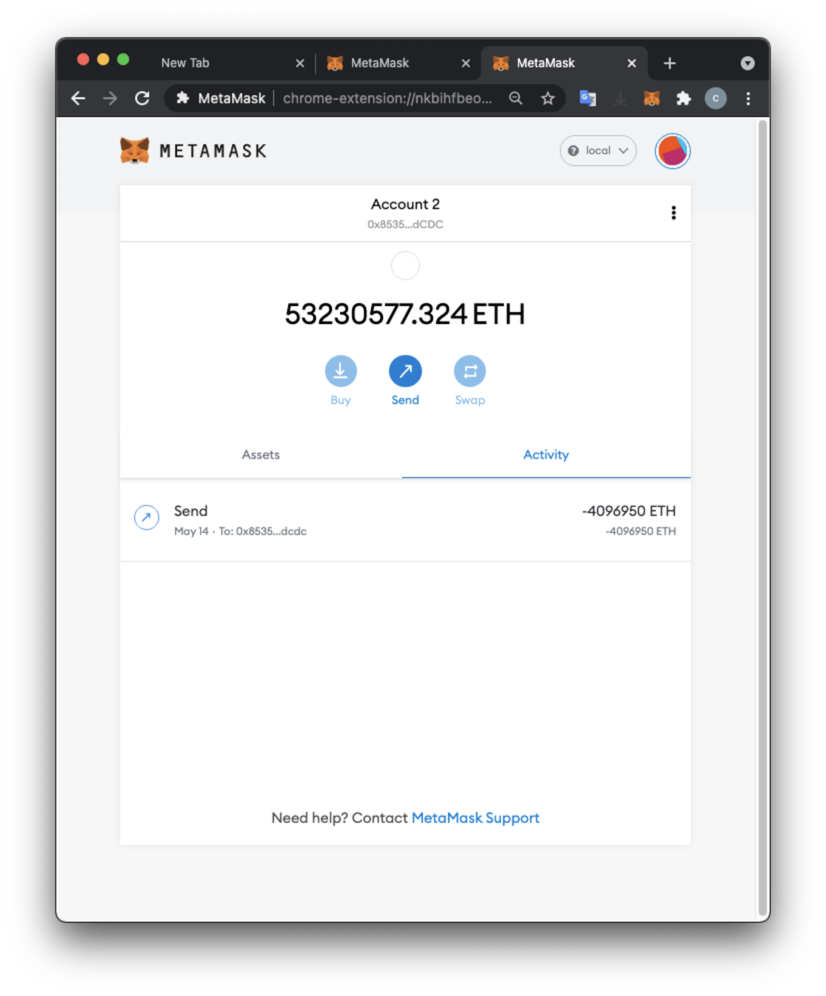
C 342.1: Activity Log (10 pts)
In the lower left of the window, click Send.The flag is covered by a green rectangle in the image below.
Posted 5-14-2021
Private key import method added 11-11-21