C 502: Existential Forgery Attack on RSA Signatures (10 pts + 20 extra)

What You Need

Any machine with Python 3 and openssl. I used a Mac. The easiest machine to set up is probably Debian Linux.

If you are using Google Colab, follow the instructions below to downgrade openssl.

Downgrading OpenSSL in Colab

Google Colab has openssl 3 which does not work.

Execute these commands to downgrade to version 1.

!openssl version

!wget http://security.ubuntu.com/ubuntu/pool/main/o/openssl/openssl_1.1.1f-1ubuntu2.20_amd64.deb
!wget http://security.ubuntu.com/ubuntu/pool/main/o/openssl/libssl-dev_1.1.1f-1ubuntu2.20_amd64.deb
!wget http://security.ubuntu.com/ubuntu/pool/main/o/openssl/libssl1.1_1.1.1f-1ubuntu2_amd64.deb

!sudo dpkg -i libssl1.1_1.1.1f-1ubuntu2_amd64.deb
!sudo dpkg -i libssl-dev_1.1.1f-1ubuntu2.20_amd64.deb
!sudo dpkg -i openssl_1.1.1f-1ubuntu2.20_amd64.deb

!openssl version
Now you can do the project below in Google Colab, by adding an exclamation mark before each command.

Purpose

To learn how the Existential Forgery attack works against RSA signatures.

Generating RSA Keys

In a Terminal window, execute these commands to generate a private key, save it in a "YOURNAMEpkey.pem" file, view it, and parse it.

Replace "YOURNAME" with your own name.

openssl genrsa -out YOURNAMEpkey.pem 512
cat YOURNAMEpkey.pem
openssl asn1parse -in YOURNAMEpkey.pem
This reveals the RSA parameters, as labelled below in red.

Working with the Public Key

Execute these commands to generate the public key from your "YOURNAMEpkey.pem" file, put it in a "YOURNAMEpublic.pem", file, and parse it.
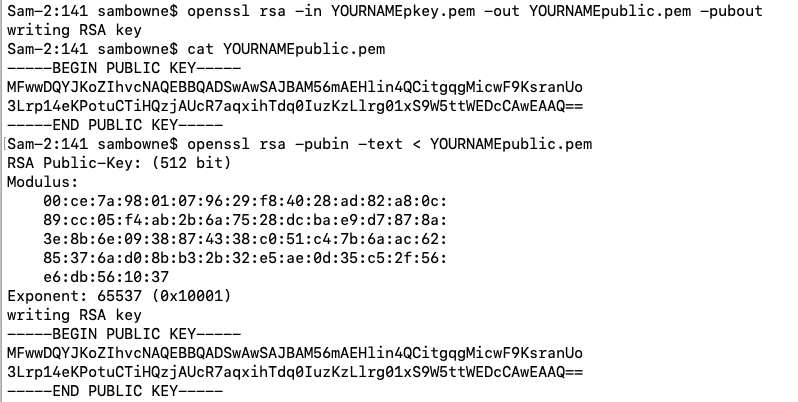
openssl rsa -in YOURNAMEpkey.pem -out YOURNAMEpublic.pem -pubout
cat YOURNAMEpublic.pem
openssl rsa -pubin -text < YOURNAMEpublic.pem 
As shown below, the modulus (n) and exponent (e) are revealed.

Copying the Parameters

Copy the RSA parameters n, e, and d you generated into a text file so you can retrieve them later in the project.

Understanding RSA Signatures

If Bob wants to sign a message, he first generates an RSA key pair, including these values: Bob then writes a message x and calculates the signature s as shown below.

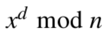
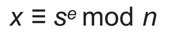
Anyone who receives the message can verify it using Bob's public key, as shown below.

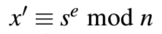
If the result x' matches the original message x, the signature is valid.

Creating and Encoding a Message

In a Terminal window, execute these commands to create a message and display it in hexadecimal encoded form.

Replace "YOURNAME" with your own name.

python3
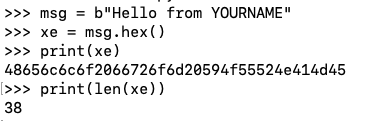
msg = b"Hello from YOURNAME"
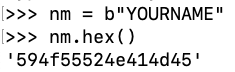
xe = msg.hex()
print(xe)
print(len(xe))
Your encoded message appears, as highlighted in the image below, followed by its length.

Since we are using 512-bit RSA, the message must be 64 bytes or less. If it's too long, use a shorter version of your name.

In my example below, the length is 38 bytes, so this message is OK.

Signing the Message

In the Terminal running Python, execute these commands, replacing the hexadecimal values of n, d, and e with the values you generated above using openssl.

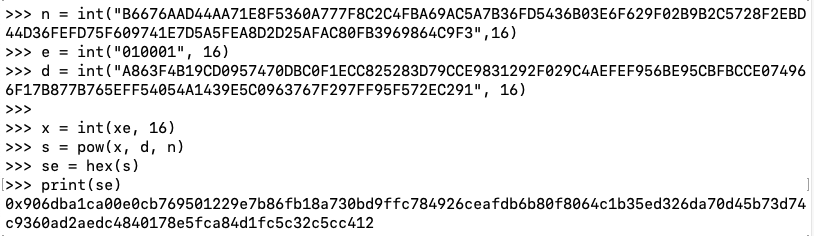
Notice the use of the "int" function to convert the hexadecimal strings to integers.

n = int("B6676AAD44AA71E8F5360A777F8C2C4FBA69AC5A7B36FD5436B03E6F629F02B9B2C5728F2EBD44D36FEFD75F609741E7D5A5FEA8D2D25AFAC80FB3969864C9F3",16)
e = int("010001", 16)
d = int("A863F4B19CD0957470DBC0F1ECC825283D79CCE9831292F029C4AEFEF956BE95CBFBCCE074966F17B877B765EFF54054A1439E5C0963767F297FF95F572EC291", 16)

x = int(xe, 16)
s = pow(x, d, n)
se = hex(s)
print(se)
Your signature appears as a long hexadecimal number, as shown below.

Verifying the Signature

In the Terminal running Python, execute these commands to verify the signature and print out the value of n you used.

Notice the stages of converting a numerical x' value back to readable text.

xpn = pow(s, e, n)
print("Numerical x':", xpn)
xph = hex(xpn)
print("x':", xph)
print("msg from x'", bytearray.fromhex(xph[2:]))
The original message is recovered, as shown below.

Performing the Existential Forgery Attack

In this attack, you choose a signature s and calculate the corresponding message x as shown below.

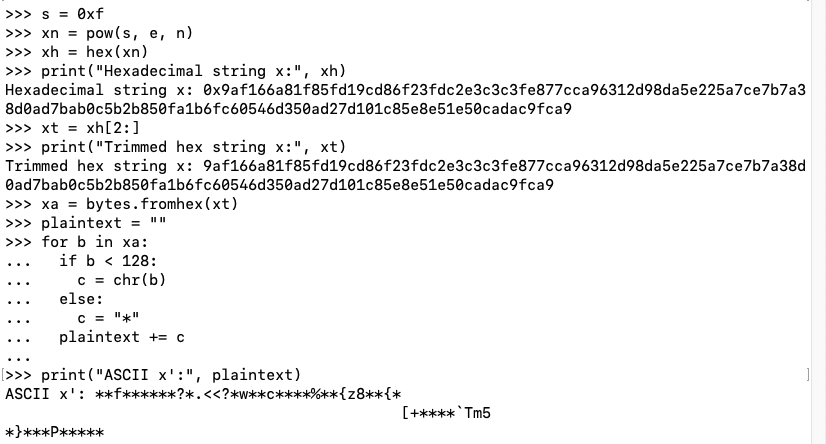
We'll use a signature of 0xf -- an unusual value starting with a lot of zeroes.

In the Terminal running Python, execute these commands to calculate x.

s = 0xf
xn = pow(s, e, n)
xh = hex(xn)
print("Hexadecimal string x:", xh)
xt = xh[2:]
print("Trimmed hex string x:", xt)
xa = bytes.fromhex(xt)
plaintext = ""
for b in xa:
  if b < 128:
    c = chr(b)
  else:
    c = "*"
  plaintext += c

print("ASCII x':", plaintext)
The ASCII message is garbled nonsense, as shown below.

This attack won't fool a human who tries to read the message, but it might fool an automated system that merely validates the signature.

Verifying the Signature

In the Terminal running Python, execute these commands to verify the signature and print out the value of n you used.
xpn = pow(0xf, e, n)
xph = hex(xpn)
print("x':", xph)
print("x :", xh)
x and x' match, as shown below.

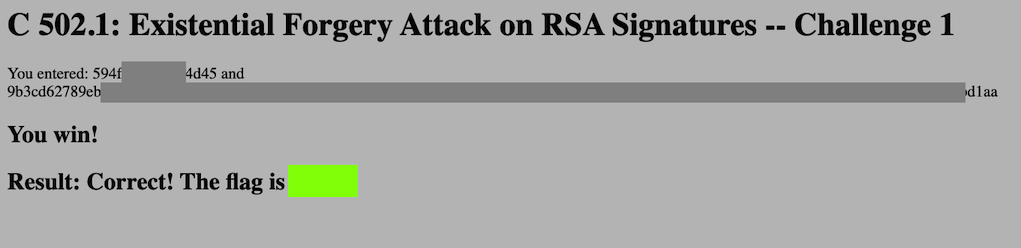
C 502.1: Sign with Your Name (10 pts)

My public key is below.
-----BEGIN PUBLIC KEY-----
MFwwDQYJKoZIhvcNAQEBBQADSwAwSAJBAK2u1N6ZR6RiW1VXo+QynnveXCmCG7az
AhlXqCfBhcpNNDVBMjvm8cCjFrUdQUobbulGk/L6fImba1cHNF4zEKcCAwEAAQ==
-----END PUBLIC KEY-----
Convert your name to a number, as shown below.

Create a message that is correctly signed with your name as its signature.

Use the form below to get the flag.

Your name like this:

594f55524e414d45

Message like this:

3ceafc6720f418f86b937a14fa0703df352b04f7d1e6a1e3bdd2e6f36e3da543800a6b07b3db36b372e934dfeeb2d920

When you submit correct values, the flag will appear, covered by a green rectangle in the image below.

C 502.2: Sign a Message Starting With "ABC" (20 pts extra)

Use the same key as in the previous challenge.

Create a correctly signed message starting with "ABC" (3 characters) in the plaintext.

Use the form below to get the flag.

Signature like this:

4dfeeb2d92

Message like this:

594d01114e414d456b937a14fa0703df352b04f7d1e6a1e3bdd2e6f36e3da543800a6b07b3db36b372e934dfeeb2d920


Sources

The Padding Oracle Attack - why crypto is terrifying
Block cipher mode of operation - Wikipedia
PKCS #7: Cryptographic Message Syntax (section 10.3)


Posted 11-20-17 by Sam Bowne
Added to Crypto Hero 4-16-18 6:32 am
Ported to new scoring engine 7-8-19
Extra credit points specified 9-10-20
Updated to python 3 and winners board removed 11-5-20
Flag image added 11-15-20
Minor update 11-3-21
Colab instructions added 11-13-23