https://git-scm.com/download/win
Click on "Click here to download manually".
Save the file. Double-click it and install Git with the default options.
Click Start, scroll to V, click "Visual Studio Installer".
Approve the privilege escalation.
In the Visual Studio Installer, on the Available tab, in the Visual Studio Community 2019 section, click the Install button.
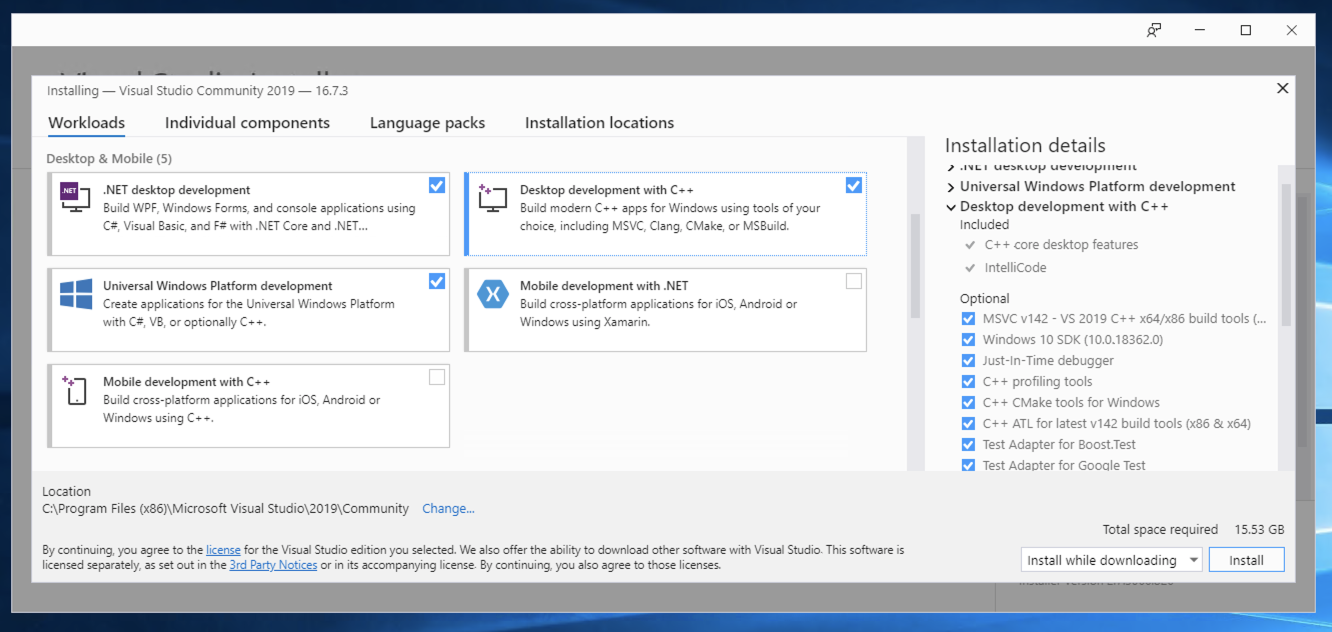
On the Workloads tab, check ".NET desktop development", "Desktop development with C++", and "Universal Windows Platform development", as shown below.
At the lower right, click the Install button.
It took 40 minutes to install when I did it.
WHen it's done, a "Visual Studio" box pops up asking you to connect to your developer services.
At the bottom, click "Not now, maybe later.". as shown below.

In the "Start with a familiar environment" page, at the lower right, click the "Start Visual Studio" button.
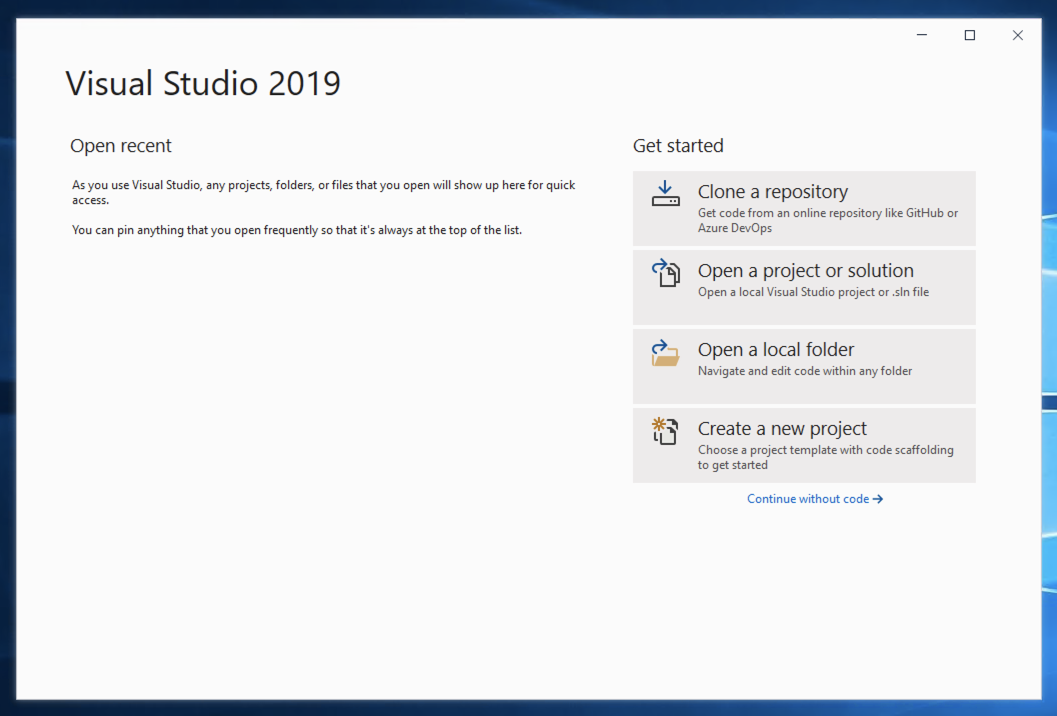
Visual Studio 2019 opens, as shown below.
At the lower left of the desktop, click the Start button.
Scroll down to the "V" section.
Right-click "Visual Studion 2019", point to More, and click "Run as Administrator".
Approve the privilege escalation.
In the Clone a repository page, enter this Repository Location, as shown below:
https://github.com/microsoft/SEAL.git
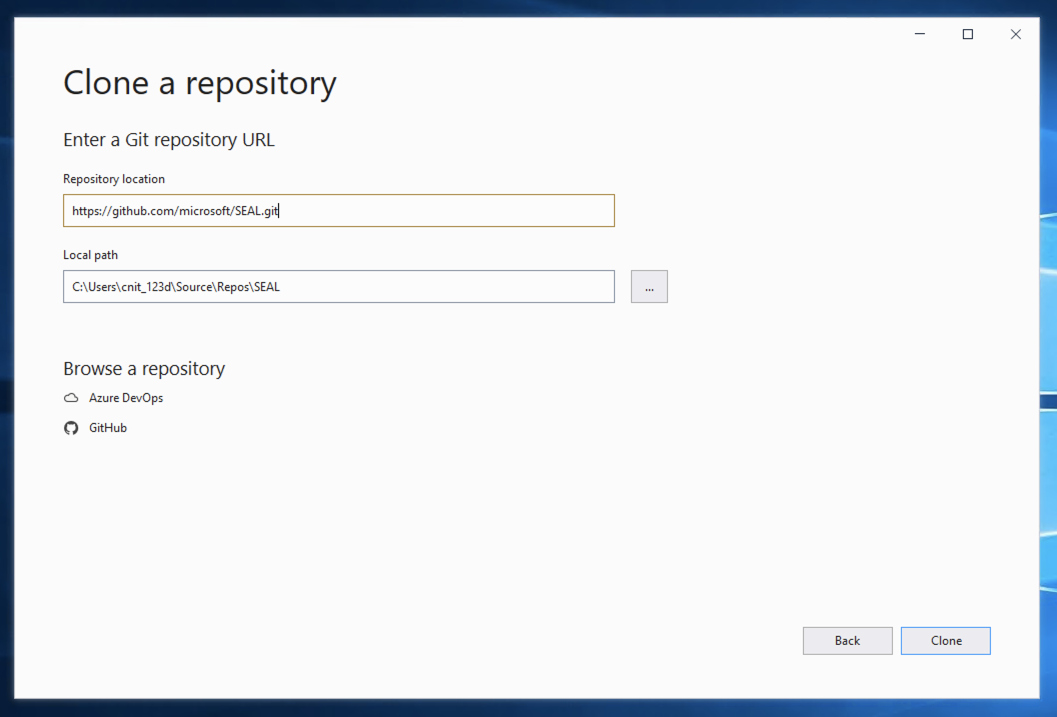
At the lower right, click the Clone button.
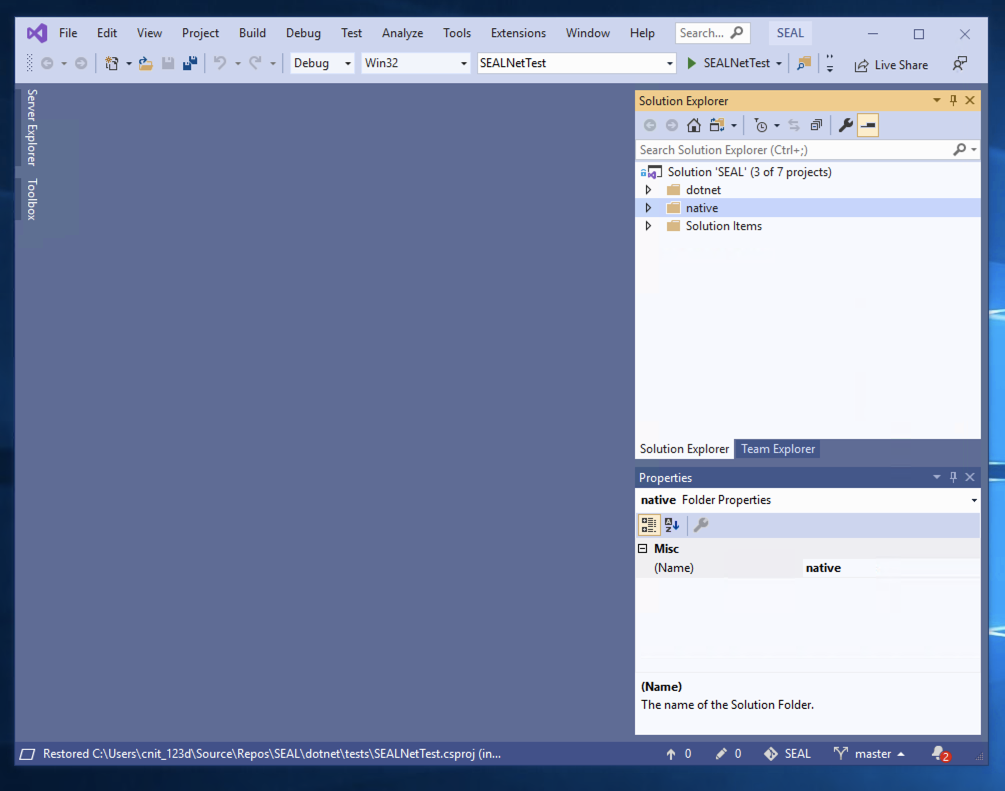
The SEAL code appears on the right side, in the Solution Explorer, as shown below:
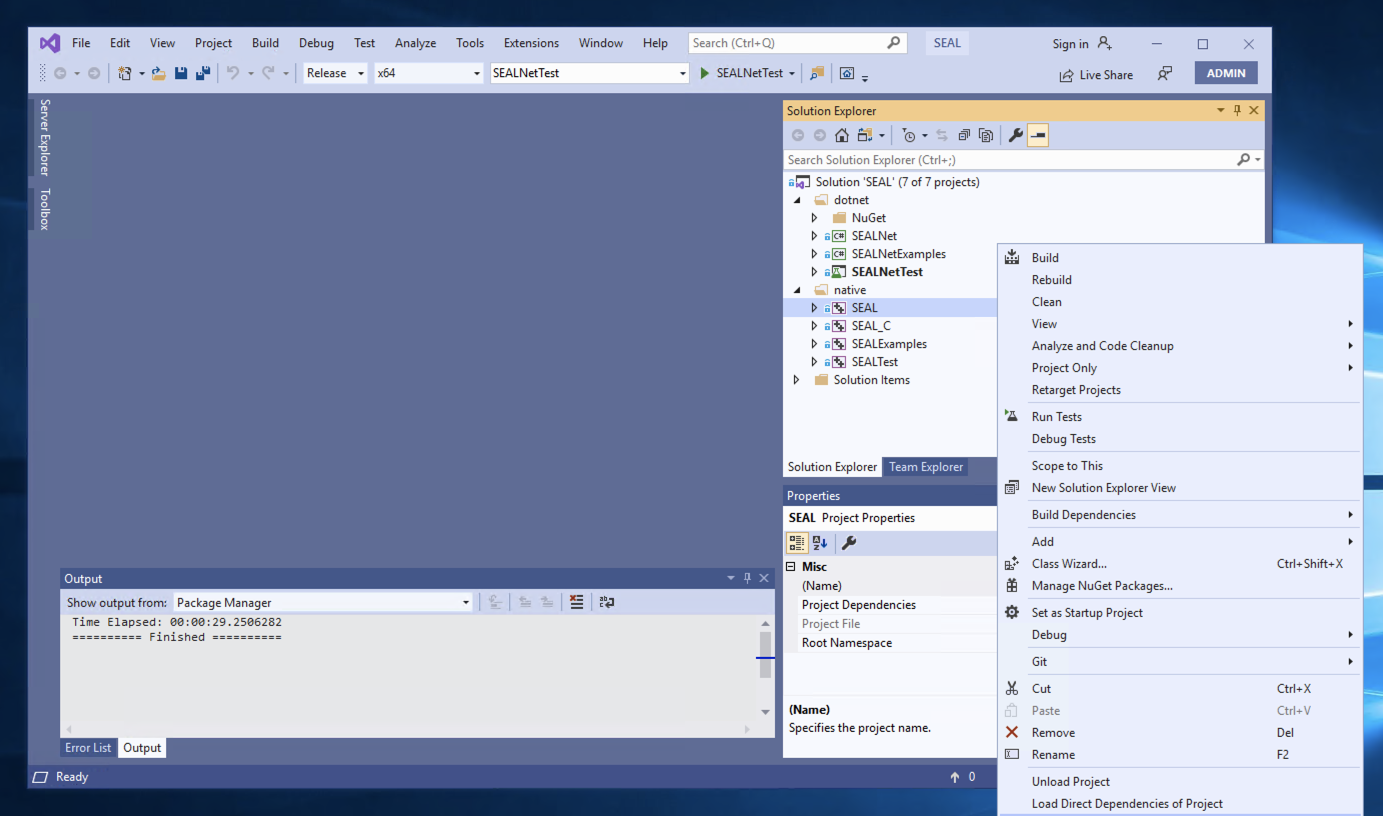
At the top center, click the leftmost white drop-down list box containing the word "Debug" and change it to Release.
Change the second box to x64.
Then right-click SEAL and click Build, as shown below.
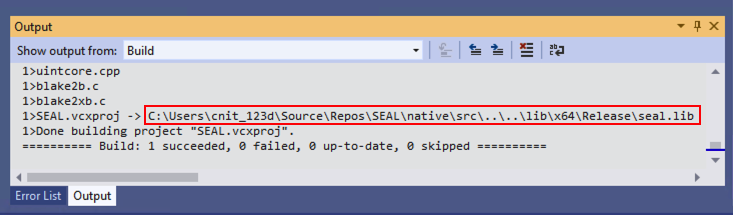
At the bottom, the Output pane shows the build progress. When it's done, it shows "Build: 1 succeeded" as shown below.
Note the path to the "seal.lib" file, outlined in red in the image below.
On my machine, the path was:
C:\Users\cnit_123d\source\repos\SEAL\lib\x64\Release
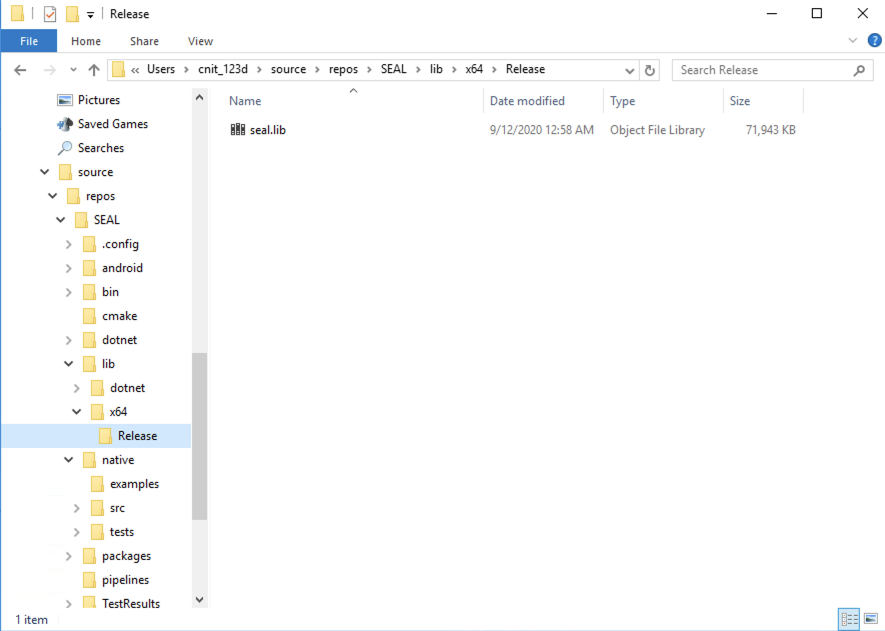
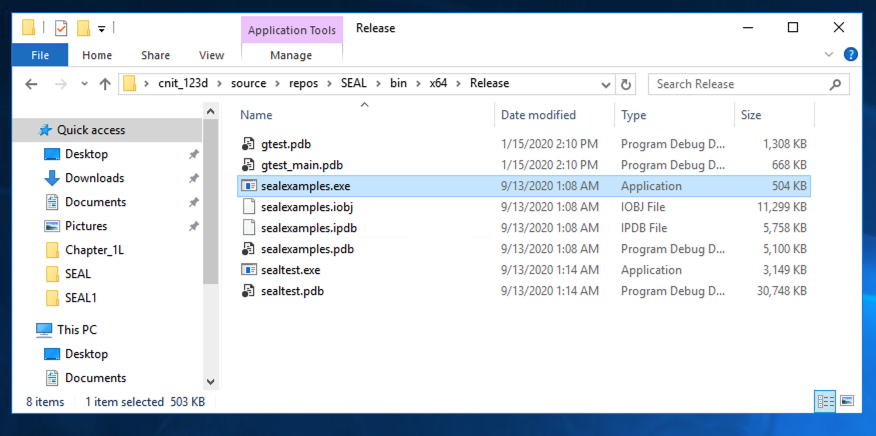
Open Windows Explorer and browse to that location. Notice the path to the "src" folder, inside the "native" folder, as shown below.
You'll need that path later.
At the top left, click File, New, Project.
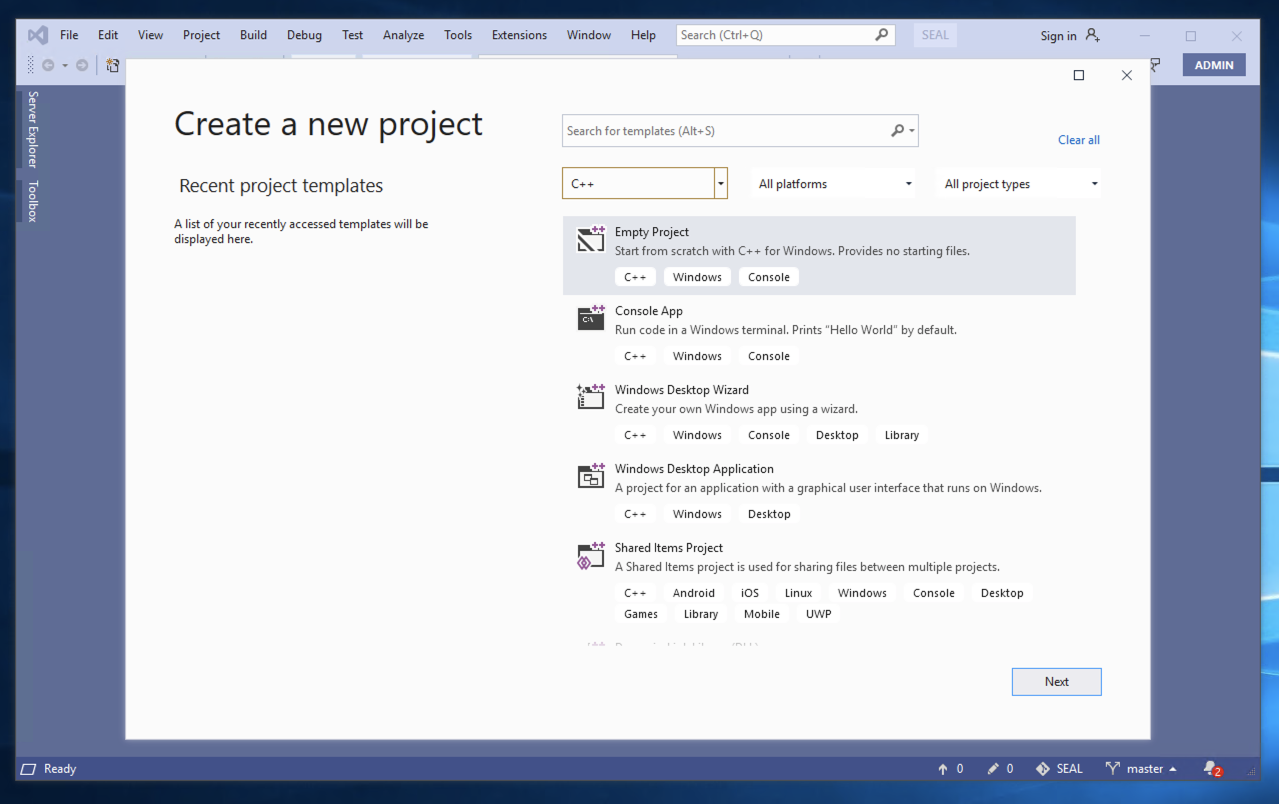
In the "Create a new project" box, in the top center, select a Language of C++.
Click "Empty Project", as shown below, and click Next.
In the "Configure your new project" box, name your project SEAL1 and click Create.
On the right side, in Solution Explorer, right-click SEAL1 and click Add..., "New Item".
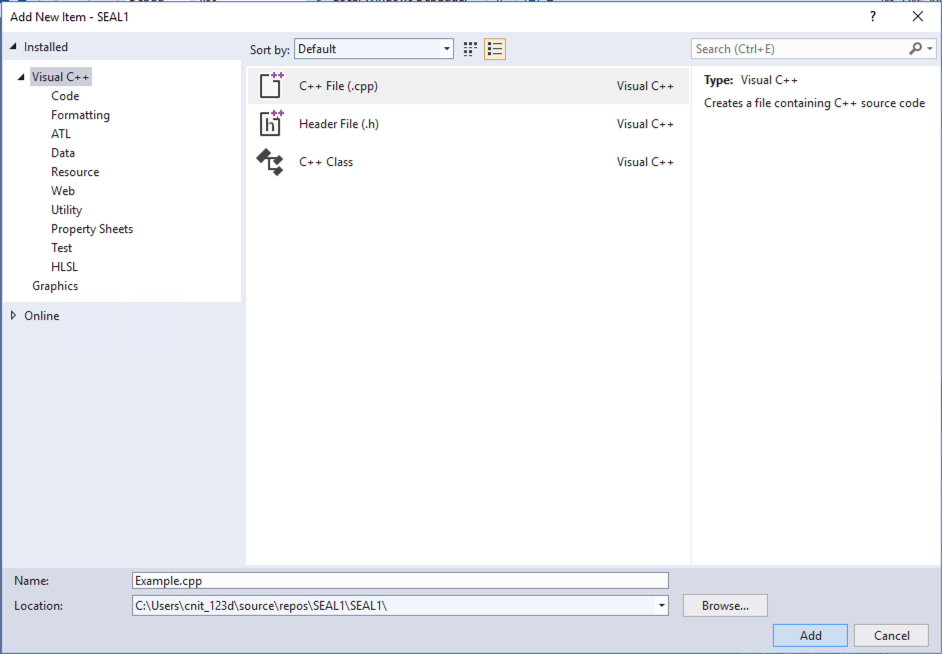
In the Add New Item box, click "C++ File (.cpp)".
At the bottom, enter a name of Example.cpp, as shown below, and click the Add button.
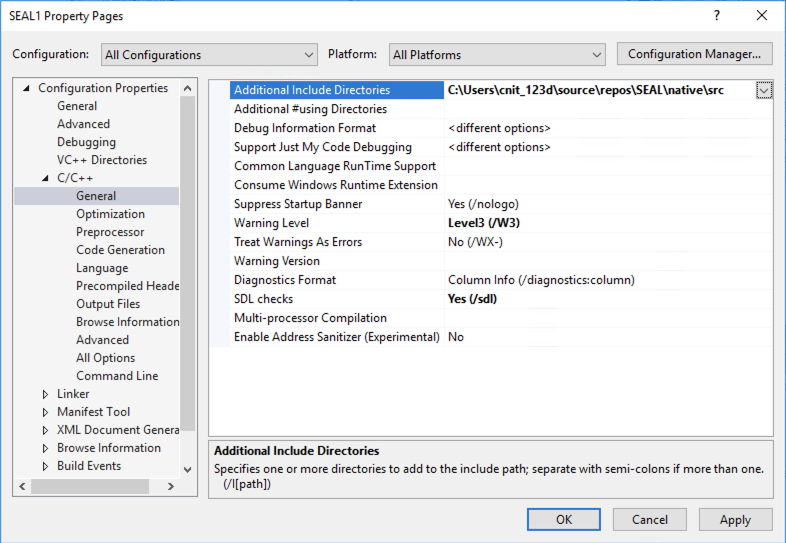
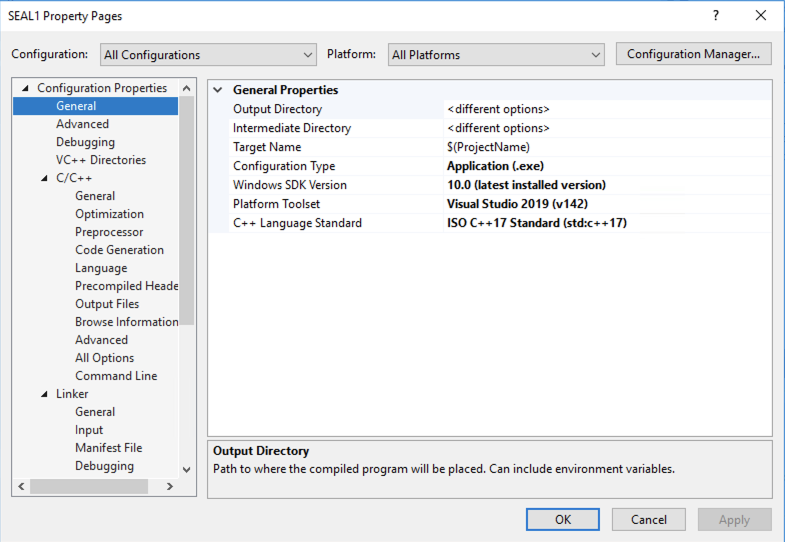
In the SEAL1 Property Pages box, at the top, select "All Configurations" and "All Platforms", as shown below.
In the left pane, expand C/C++ and click General on the first line that appears.
In the "Additional Include Directories", enter the path to the "src" folder you noted earlier. On my machine, the path was:
C:\Users\cnit_123d\source\repos\SEAL\native\srcas shown below.
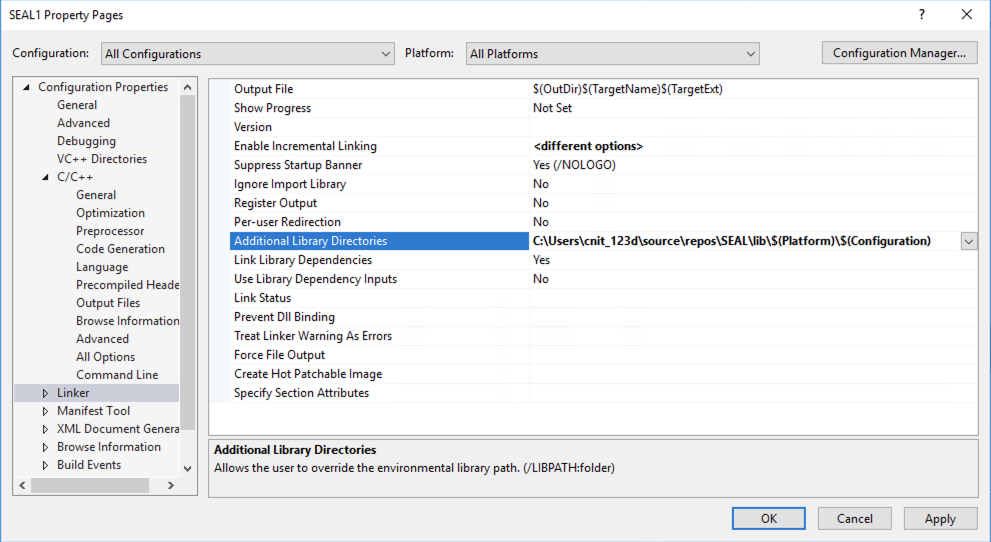
In the left pane, click Linker.
In the "Additional Library Directories", enter the path to your "lin" folder, followed by \$(Platform)\$(Configuration)
On my machine, the path was:
C:\Users\cnit_123d\source\repos\SEAL\lib\$(Platform)\$(Configuration)as shown below.
In the left pane, expand Linker and click Input on the second line that appears.
In the "Additional Dependencies", add seal.lib; to the start of the list, as shown below.

Set the "C++ Language Standard", to "ISO C++17 Standard (std:c++17)", as shown below.
At the bottom right, click the OK button.
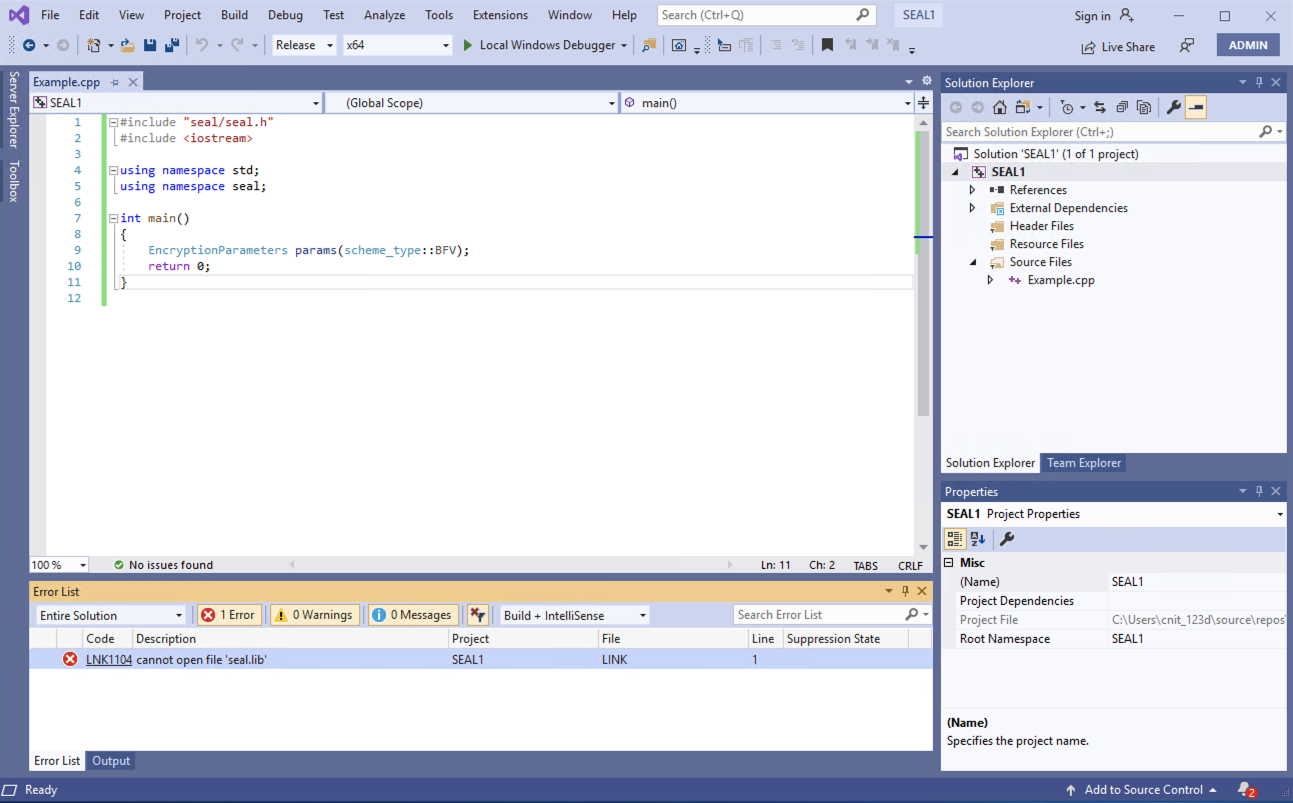
#include "seal/seal.h"
#include <iostream>

using namespace std;
using namespace seal;

int main()
{
	EncryptionParameters params(scheme_type::BFV);
	return 0;
}
At the bottom, the Output pane shows the build progress. When it's done, it shows "Build: 1 succeeded".
C 521.1: Running the Example (15 pts)
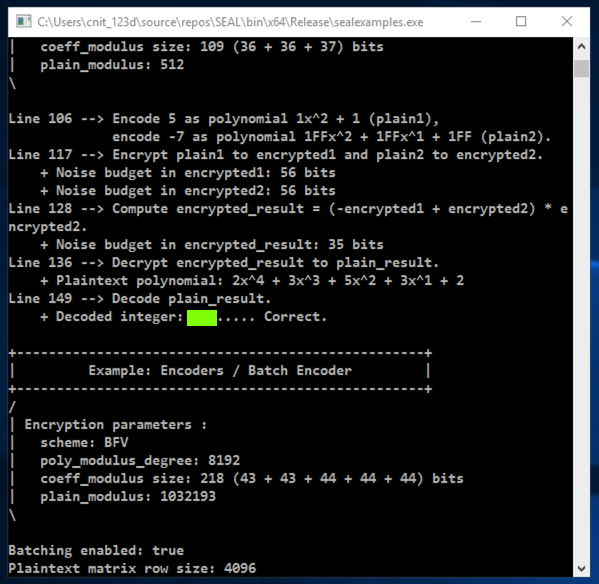
From the meny bar, click Debug, "Start Without Debugging".A Command Prompt window opens, as shown below.
The flag is covered by a green rectangle in the image below.
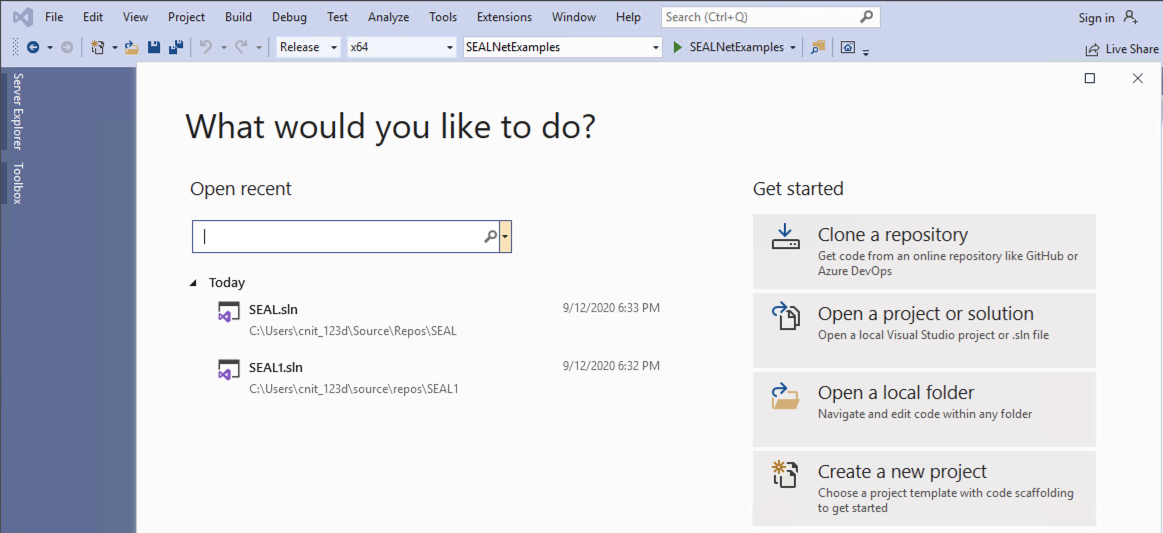
In the "What would you like to do?" page, under the "Open recent" header, click SEAL.sln, as shown below.
When you see the "Build: 1 succeeded" message, the build is done.
Right-click 1_bfv_basics.cpp, point to "Open with", and click Notepad.
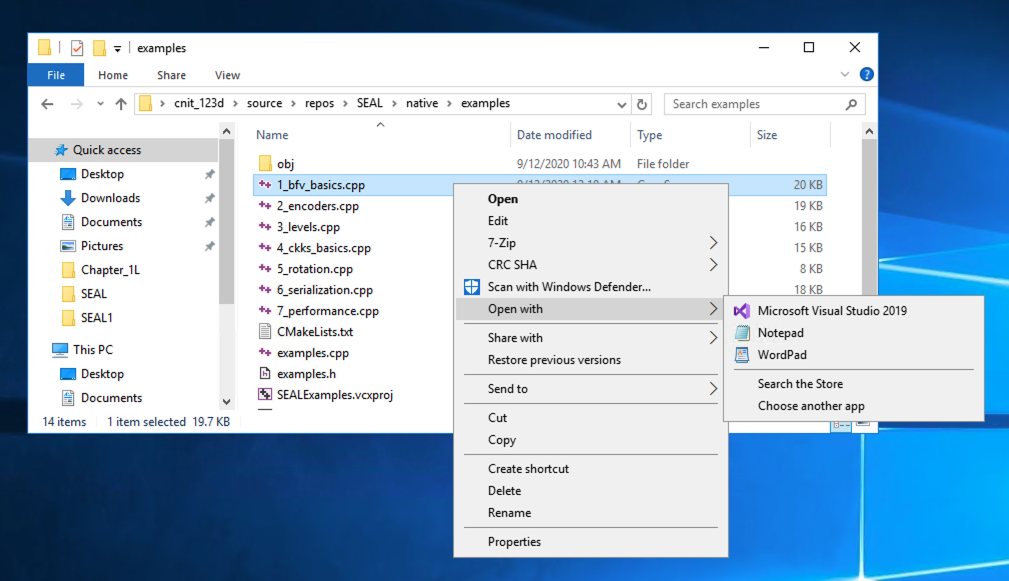
Now you can run the examples while reading the source code, as shown below.
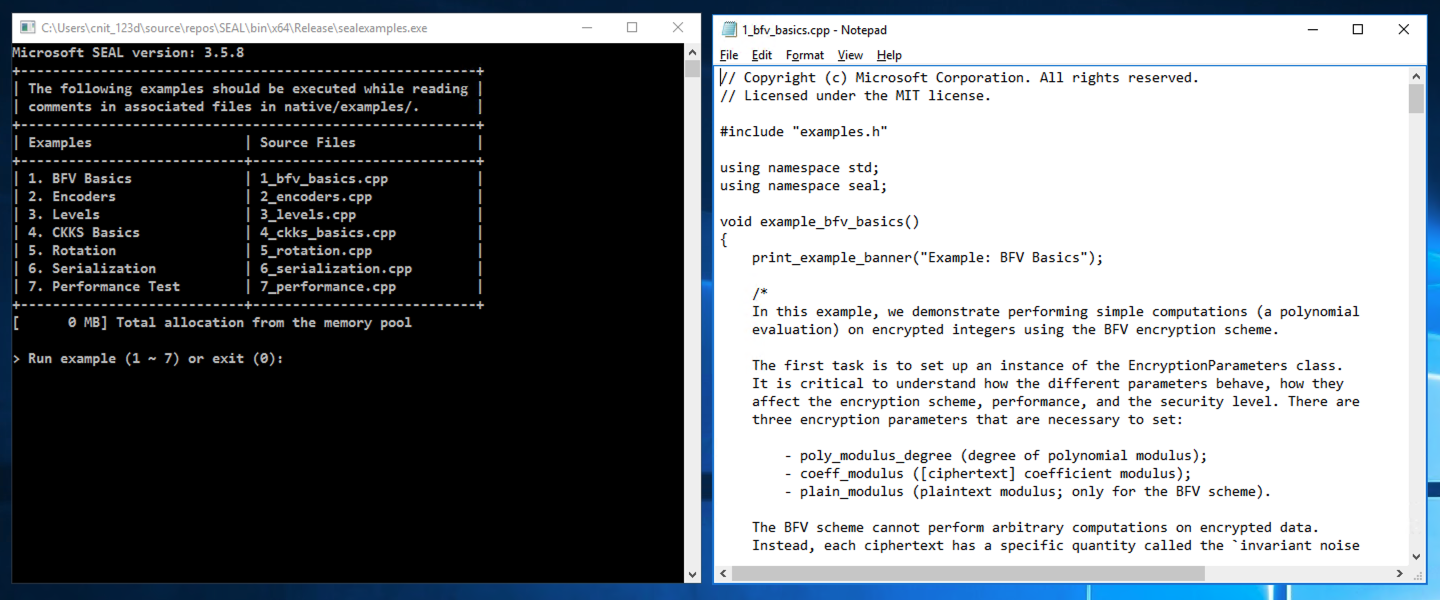
Run the first example and read the comments and the output. Find the flags below as you go.
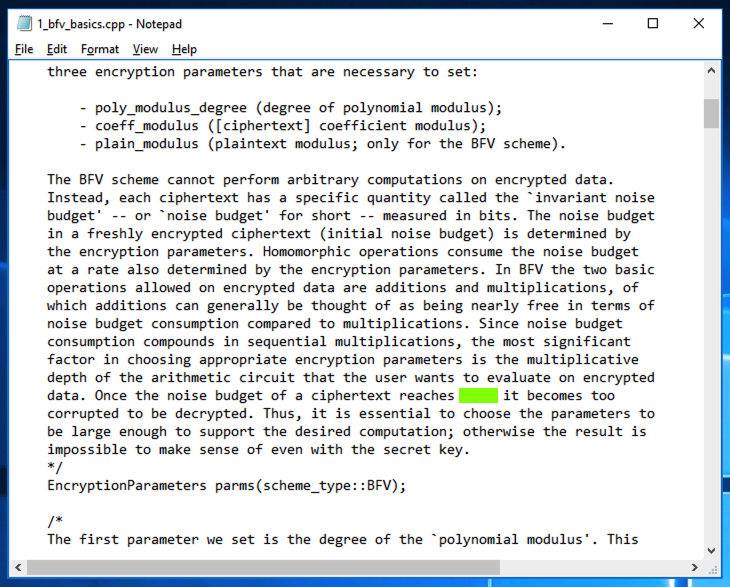
C 521.2: Noise Budget (3 pts)
The flag is covered by a green rectangle in the image below.
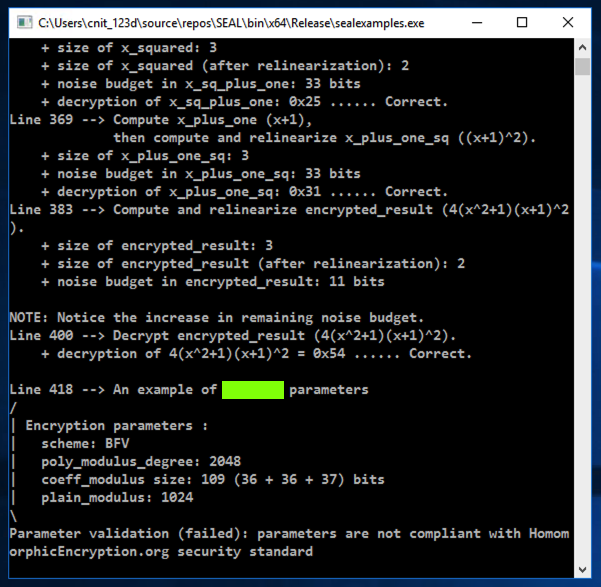
C 521.3: Line 418 (3 pts)
The flag is covered by a green rectangle in the image below.
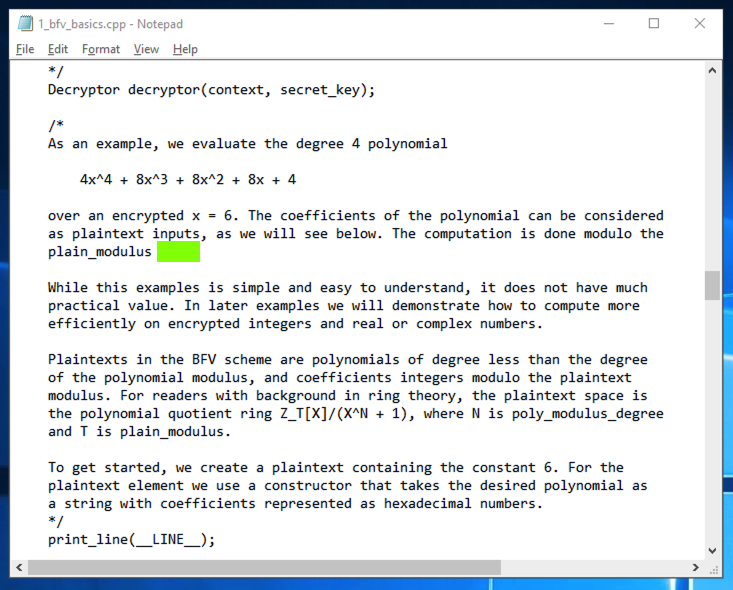
C 521.4: Plain_Modulus (3 pts)
The flag is covered by a green rectangle in the image below.
C 521.5: Decoded integer (3 pts)
Run example #2 and view the corresponding source file.The flag is covered by a green rectangle in the image below.
C 521.6: Vector (3 pts)
The flag is covered by a green rectangle in the image below.
Posted 9-10-20 by Sam Bowne
Color updated 6-19-24