Read through the introduction here:
http://truffleframework.com/tutorials/ethereum-overview
http://truffleframework.com/ganache/
Download the version for your OS, as shown below. Install it.
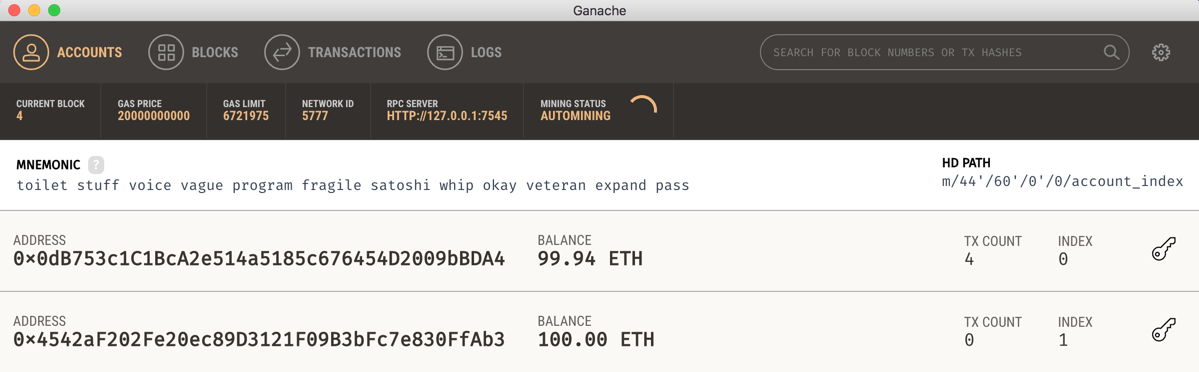
Ganache launches, as shown below. This is a local Ethereum testnet, with ten accounts preloaded with Ether and an automatic miner running.
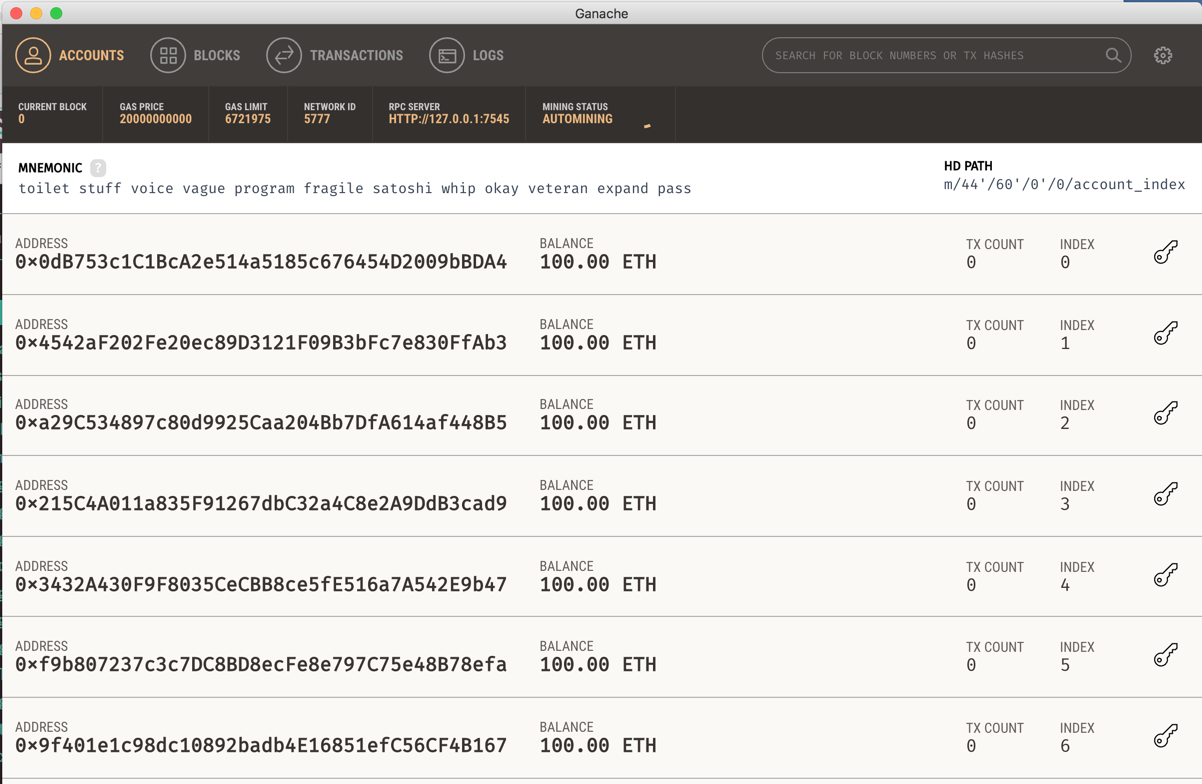
The top bar lets you select the various pages: Accounts, Blocks, Transactions, Logs, and Settings (the gear on the top right).
Examine each page. To close the Settings page, click Cancel.
For a detailed explanation of each page, see
http://truffleframework.com/docs/ganache/using
Download and install the LTS version, as shown below.
https://gist.github.com/derhuerst/1b15ff4652a867391f03
npm install -g truffle
truffle version

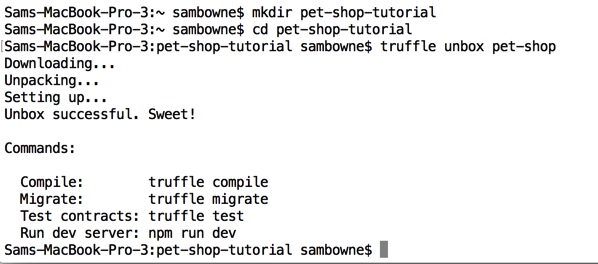
mkdir pet-shop-tutorial
cd pet-shop-tutorial
truffle unbox pet-shop
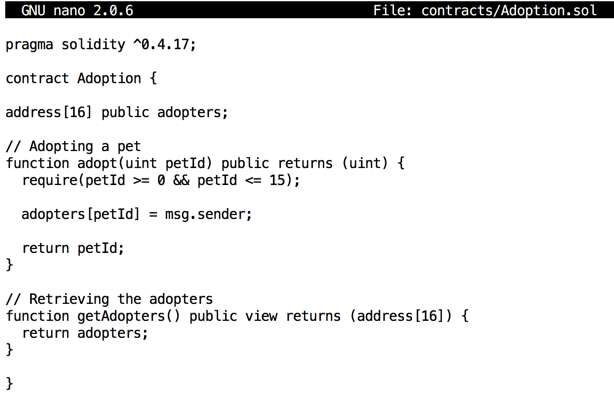
nano contracts/Adoption.sol
pragma solidity ^0.4.17;

contract Adoption {

address[16] public adopters;

// Adopting a pet
function adopt(uint petId) public returns (uint) {
  require(petId >= 0 && petId <= 15);

  adopters[petId] = msg.sender;

  return petId;
}

// Retrieving the adopters
function getAdopters() public view returns (address[16]) {
  return adopters;
}

}
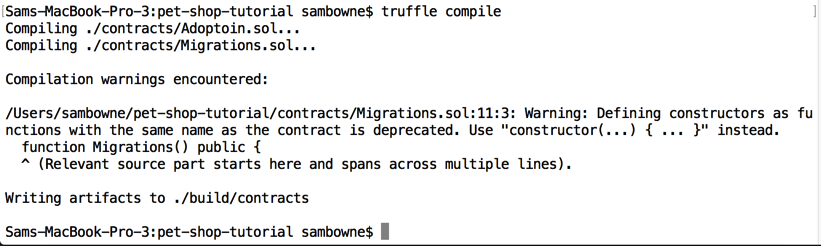
Save the file with Ctrl+X, Y, Enter. Execute this command to compile the contract:
truffle compile
If you are using Windows, you may need to resolve naming conflicts.
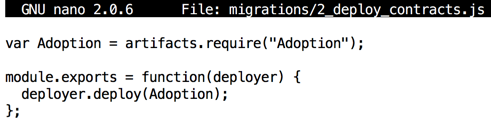
Execute this command to create a contract. (If you are using Windows, replace "nano" with "notepad".)
nano migrations/2_deploy_contracts.js
var Adoption = artifacts.require("Adoption");

module.exports = function(deployer) {
  deployer.deploy(Adoption);
};
Save the file with Ctrl+X, Y, Enter. Execute this command to migrate the contract:
truffle migrate
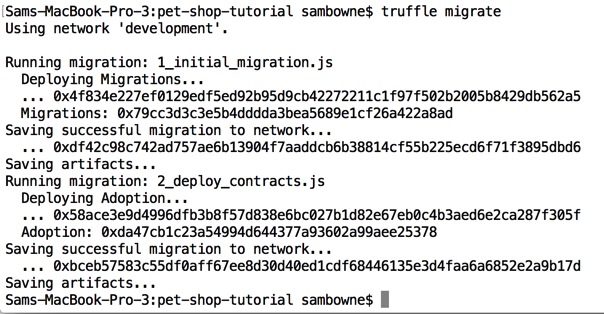
Look at the Ganache window. Now there are 4 blocks on the blockchain, and some of your Ether has been consumed, as shown below.
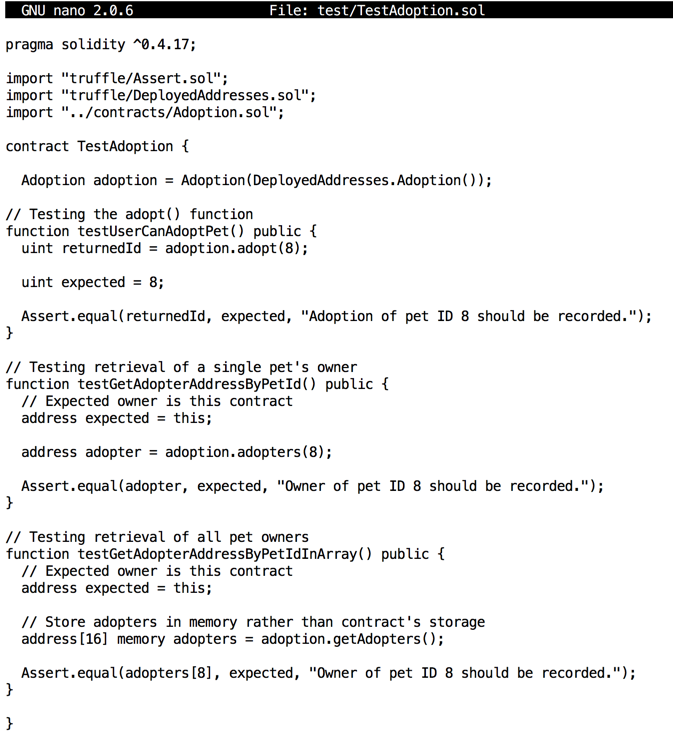
nano test/TestAdoption.sol
pragma solidity ^0.4.17;

import "truffle/Assert.sol";
import "truffle/DeployedAddresses.sol";
import "../contracts/Adoption.sol";

contract TestAdoption {

  Adoption adoption = Adoption(DeployedAddresses.Adoption());

// Testing the adopt() function
function testUserCanAdoptPet() public {
  uint returnedId = adoption.adopt(8);

  uint expected = 8;

  Assert.equal(returnedId, expected, "Adoption of pet ID 8 should be recorded.");
}

// Testing retrieval of a single pet's owner
function testGetAdopterAddressByPetId() public {
  // Expected owner is this contract
  address expected = this;

  address adopter = adoption.adopters(8);

  Assert.equal(adopter, expected, "Owner of pet ID 8 should be recorded.");
}

// Testing retrieval of all pet owners
function testGetAdopterAddressByPetIdInArray() public {
  // Expected owner is this contract
  address expected = this;

  // Store adopters in memory rather than contract's storage
  address[16] memory adopters = adoption.getAdopters();

  Assert.equal(adopters[8], expected, "Owner of pet ID 8 should be recorded.");
}

}
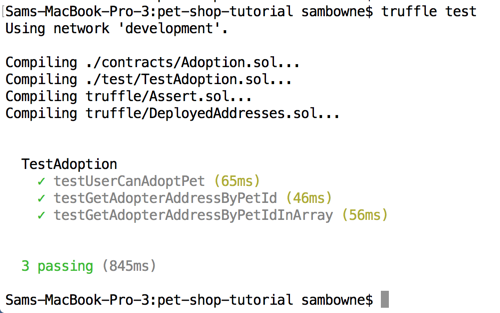
Save the file with Ctrl+X, Y, Enter. Execute this command to run the tests:
truffle test
nano src/js/app.js
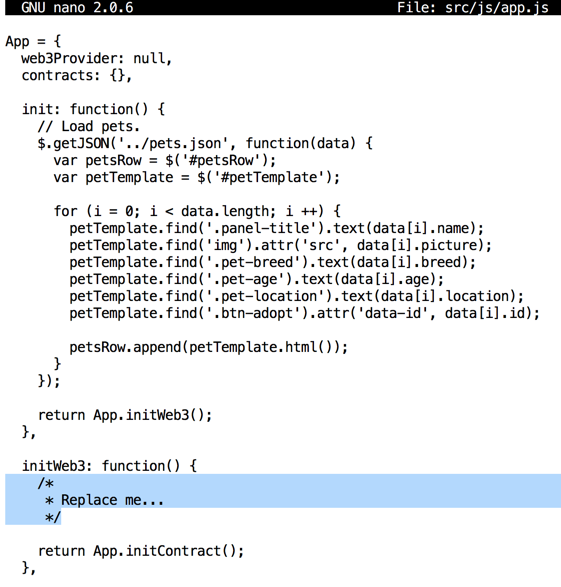
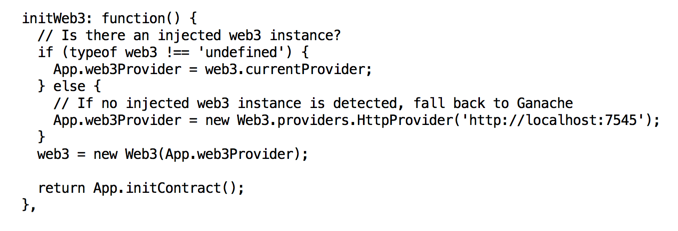
In the "initWeb3" function, replace the "Replace me..." section with this code, as shown below.
    // Is there an injected web3 instance?
    if (typeof web3 !== 'undefined') {
      App.web3Provider = web3.currentProvider;
    } else {
      // If no injected web3 instance is detected, fall back to Ganache
      App.web3Provider = new Web3.providers.HttpProvider('http://localhost:7545');
    }
    web3 = new Web3(App.web3Provider);
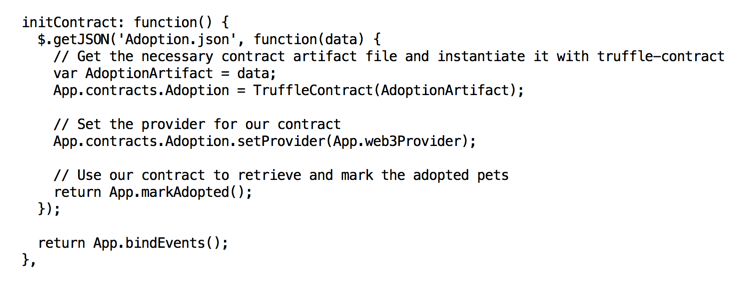
In the "initContract" function, replace the "Replace me..." section with this code, as shown below.
    $.getJSON('Adoption.json', function(data) {
      // Get the necessary contract artifact file and instantiate it with truffle-contract
      var AdoptionArtifact = data;
      App.contracts.Adoption = TruffleContract(AdoptionArtifact);

      // Set the provider for our contract
      App.contracts.Adoption.setProvider(App.web3Provider);

      // Use our contract to retrieve and mark the adopted pets
      return App.markAdopted();
    });
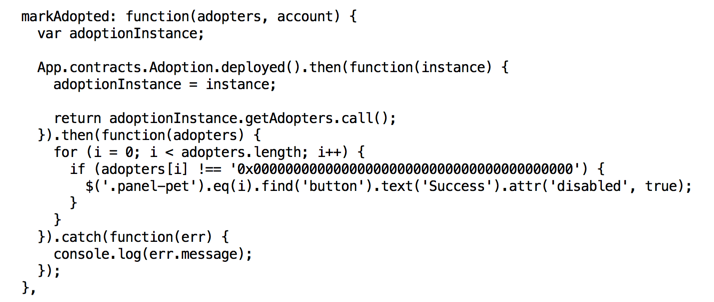
In the "markAdopted" function, replace the "Replace me..." section with this code, as shown below.
    var adoptionInstance;

    App.contracts.Adoption.deployed().then(function(instance) {
      adoptionInstance = instance;

      return adoptionInstance.getAdopters.call();
    }).then(function(adopters) {
      for (i = 0; i < adopters.length; i++) {
        if (adopters[i] !== '0x0000000000000000000000000000000000000000') {
          $('.panel-pet').eq(i).find('button').text('Success').attr('disabled', true);
        }
      }
    }).catch(function(err) {
      console.log(err.message);
    });
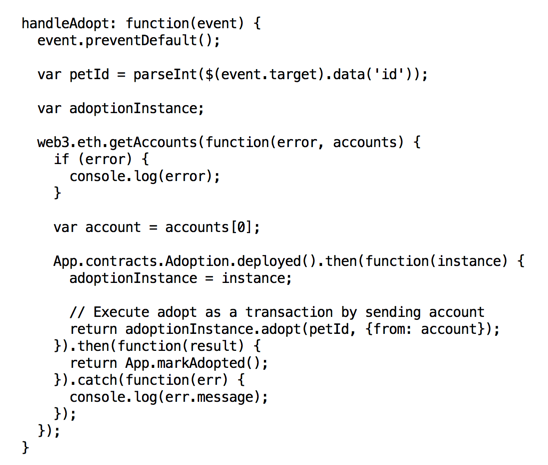
In the "handleAdopt" function, replace the "Replace me..." section with this code, as shown below.
    var adoptionInstance;

    web3.eth.getAccounts(function(error, accounts) {
      if (error) {
        console.log(error);
      }

      var account = accounts[0];

      App.contracts.Adoption.deployed().then(function(instance) {
        adoptionInstance = instance;

        // Execute adopt as a transaction by sending account
        return adoptionInstance.adopt(petId, {from: account});
      }).then(function(result) {
        return App.markAdopted();
      }).catch(function(err) {
        console.log(err.message);
      });
    });
Save the file with Ctrl+X, Y, Enter.
In Chrome or Firefox, go to
https://metamask.io/
Install the extension.
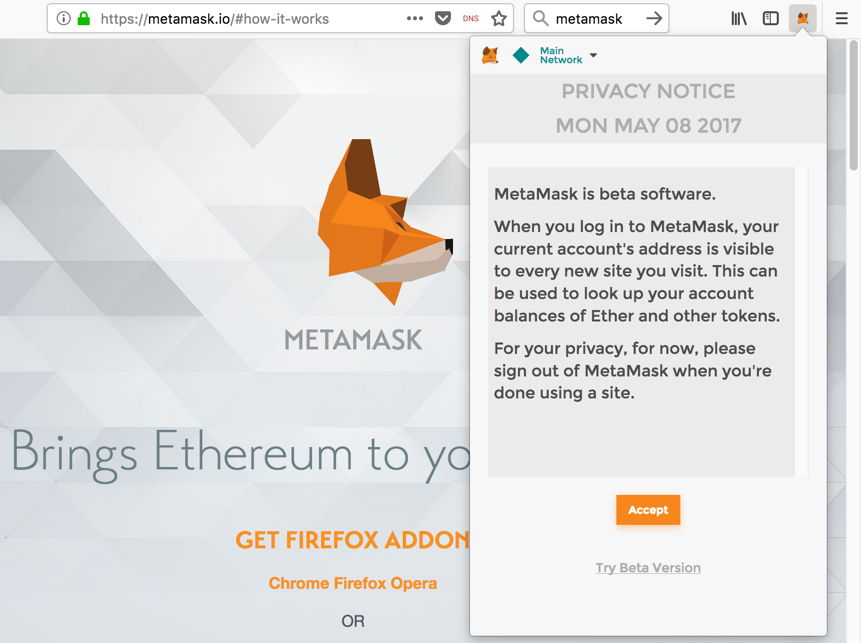
In your browser's address bar, click the little
orange fox head.
A Privacy Notice appears, as shown below.
Click Accept, "Try beta version",
and OK.
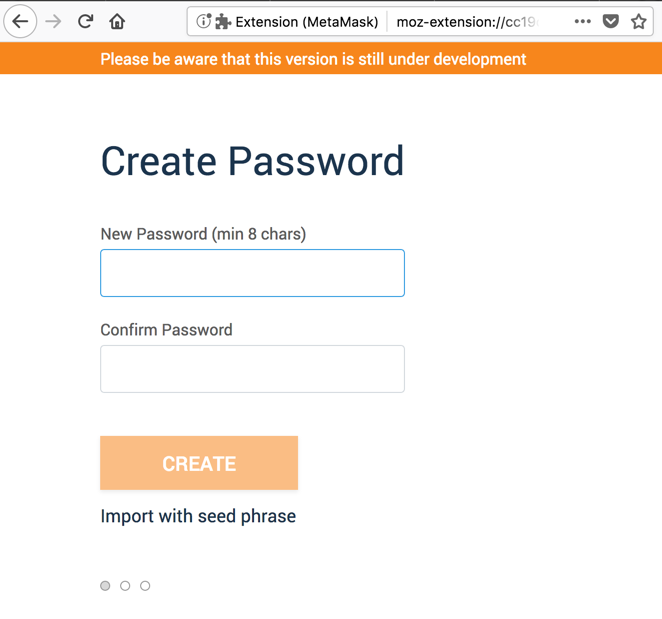
Click Continue. On the next page,
click "Import with seed phrase",
as shown below.
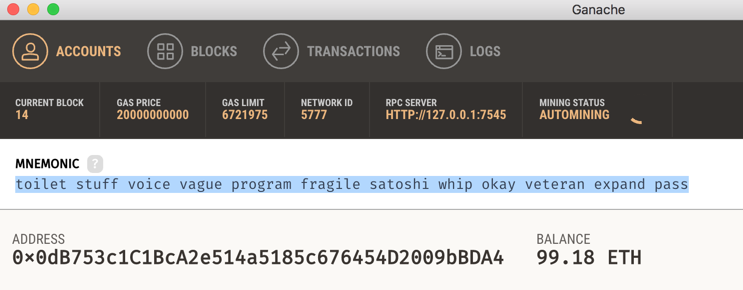
Look in your Ganache window. Copy the "Mnemonic" words,
as highlighted in the image below.
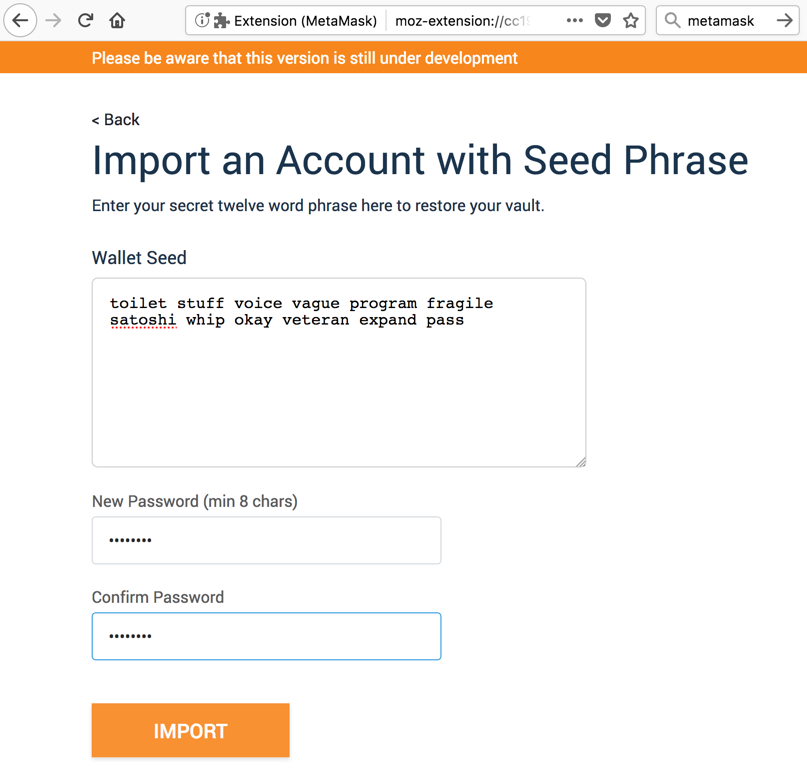
In your Web browser, enter the words, and enter a
password, such as P@ssw0rd, in both boxes,
as shown below.
Click IMPORT.
Scroll to the bottom of the "Terms of Use" and click
ACCEPT.
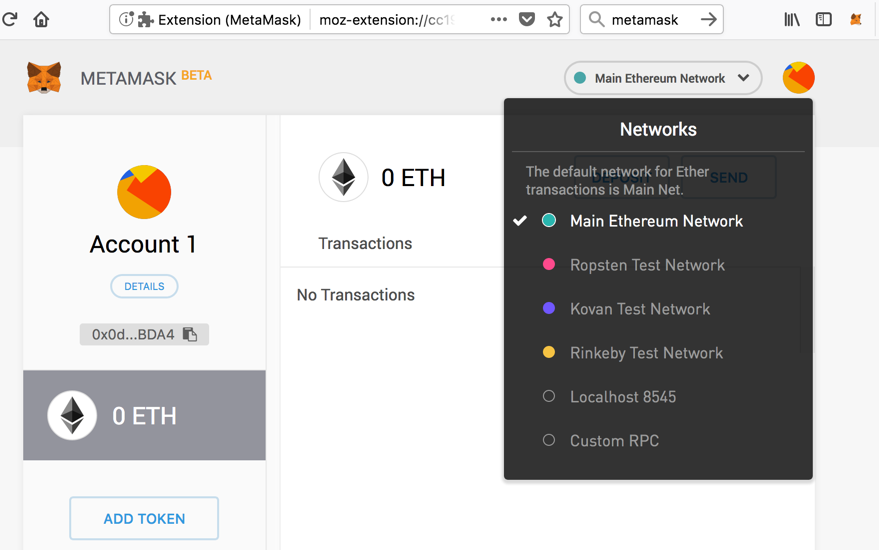
On the next page, at the top right,
in the field displaying
"Main Ethereum Network", click the
down-arrow and click "Custom RPC",
as shown below.
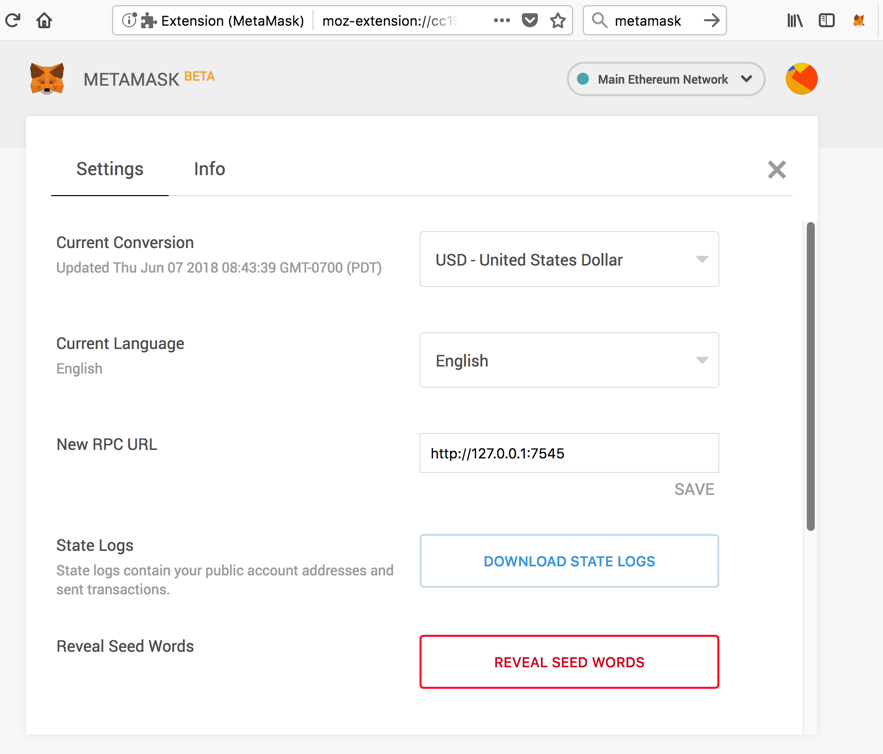
On the next page, in the "New RPC URL" field,
enter:
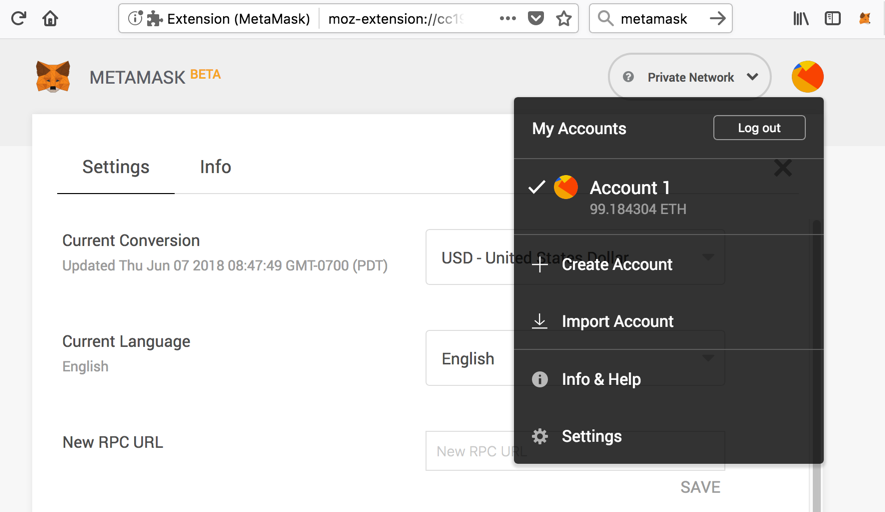
The rounded box at the top right now shows
"Private Network", as shown below.
Click the down-arrow in that box. The "Account"
shown contains slightly less than 100 Ether,
as shown below.
Execute this command to start the server.
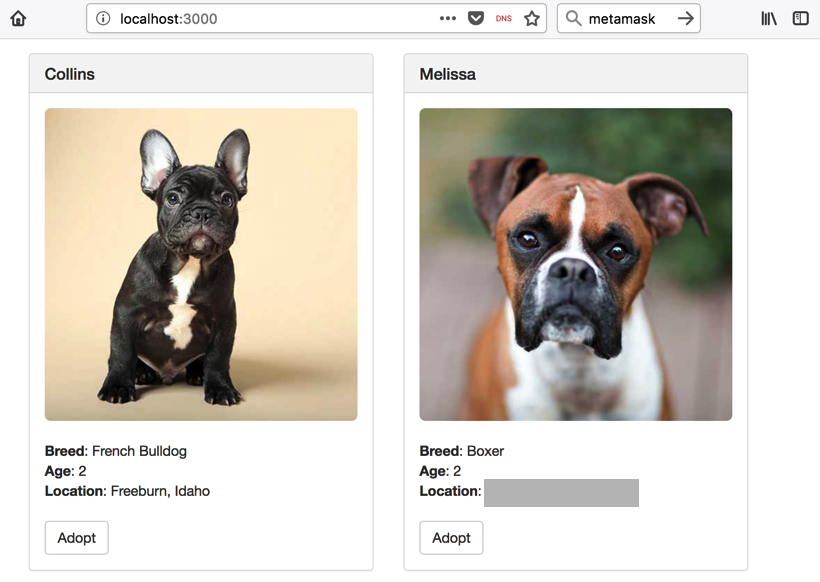
Find the dog named Melissa,
as shown below, and click her
Adopt button.
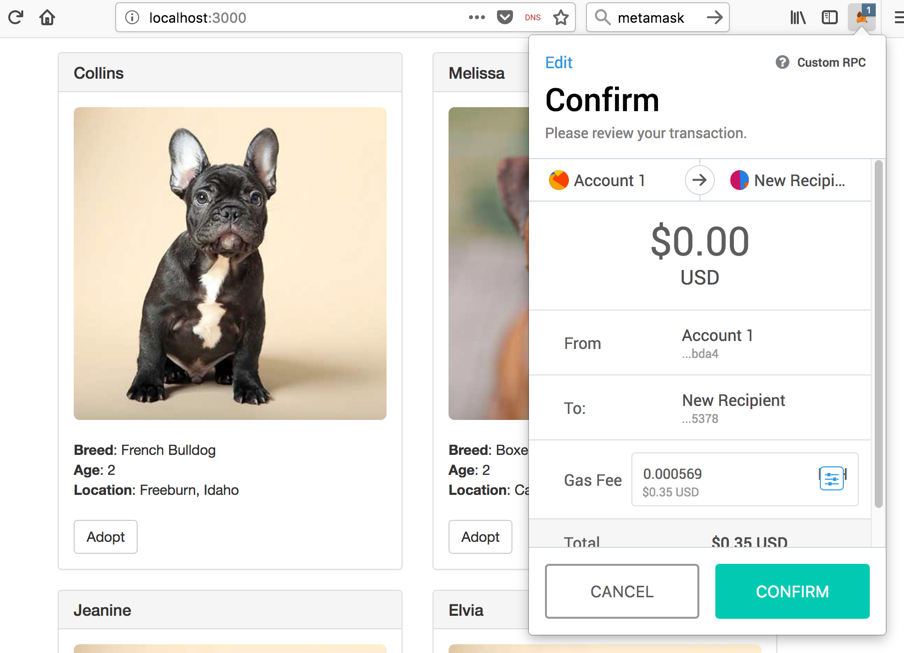
At the top right of your browser, click the
little orange fox-head icon to see MetaMask.
A transaction is asking for comfirmation,
as shown below. Click CONFIRM.
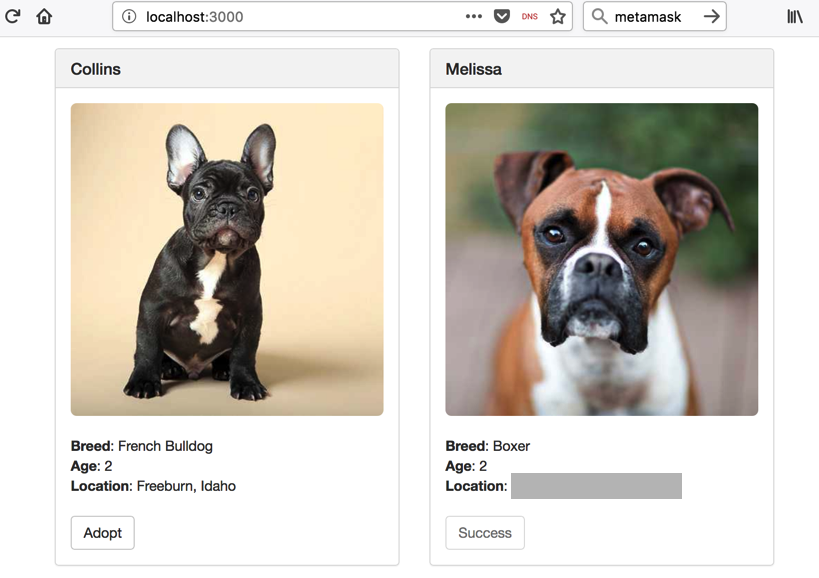
Refresh the Pet Shop web page. Melissa's
button now says Success,
as shown below, since she has been
adopted.
Enter the location
into the form
below to put your name on the
WINNERS PAGE.
Click SAVE, as shown below.
http://127.0.0.1:7545
Launching lite-server
We'll start a local Web server to use the
dapp.
The pet shop page opens,
as shown below.
npm run dev
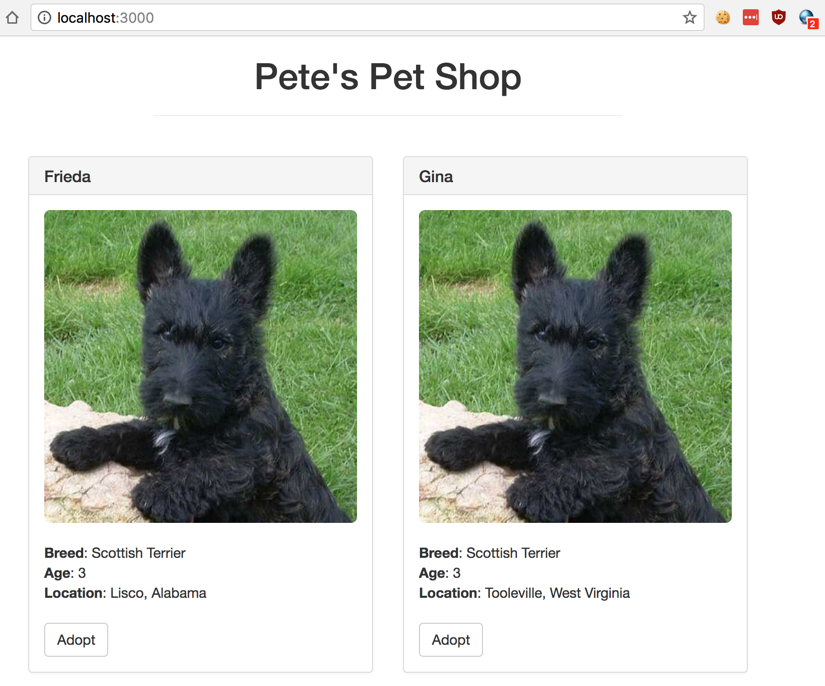
Recording your Success (20 pts.)
Find Melissa's location, which is covered by a gray
box in the image above.
Sources
ETHEREUM PET SHOP
Posted 6-7-18 by Sam Bowne