
Install Ivanti on your Member Server, not on the Domain Controller.
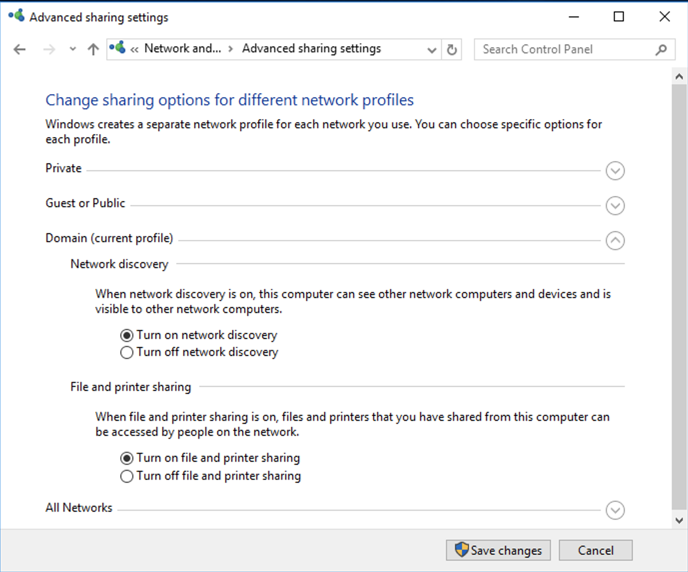
In Network and Sharing Center, on the left side, click "Change advanced sharing settings".
In the Domain section, click "Turn on network discovery", as shown below.
Click the "Save changes" button.
Troubleshooting
If you cannot turn on network discovery, see this page:You cannot turn on Network Discovery
Click "Control Panel".
In Control Panel, at the top right, enter a Search string of FIREWALL.
Click "Windows Firewall".
On the left side, click "Turn Windows Firewall on or off".
In the "Domain network settings" section. click "Turm off Windows Firewall (not recommended)", as shown below.
Click OK.

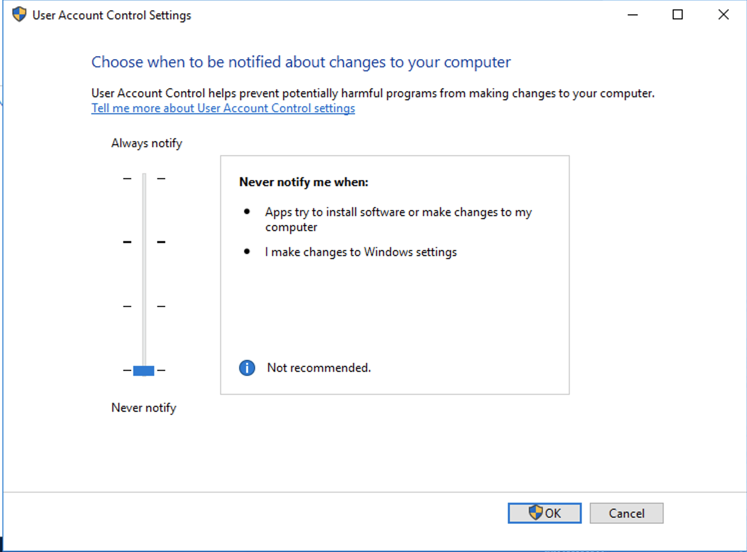
In Control Panel, search for
USER ACCOUNT CONTROL
Click "Change User Account Control settings".
In the "User Account Control Settings" box, drag the slider to the bottom, as shown below.
Click OK.
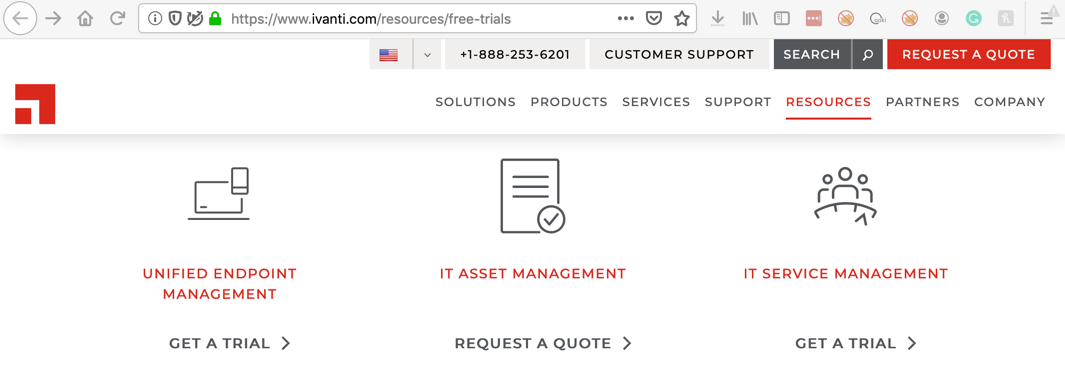
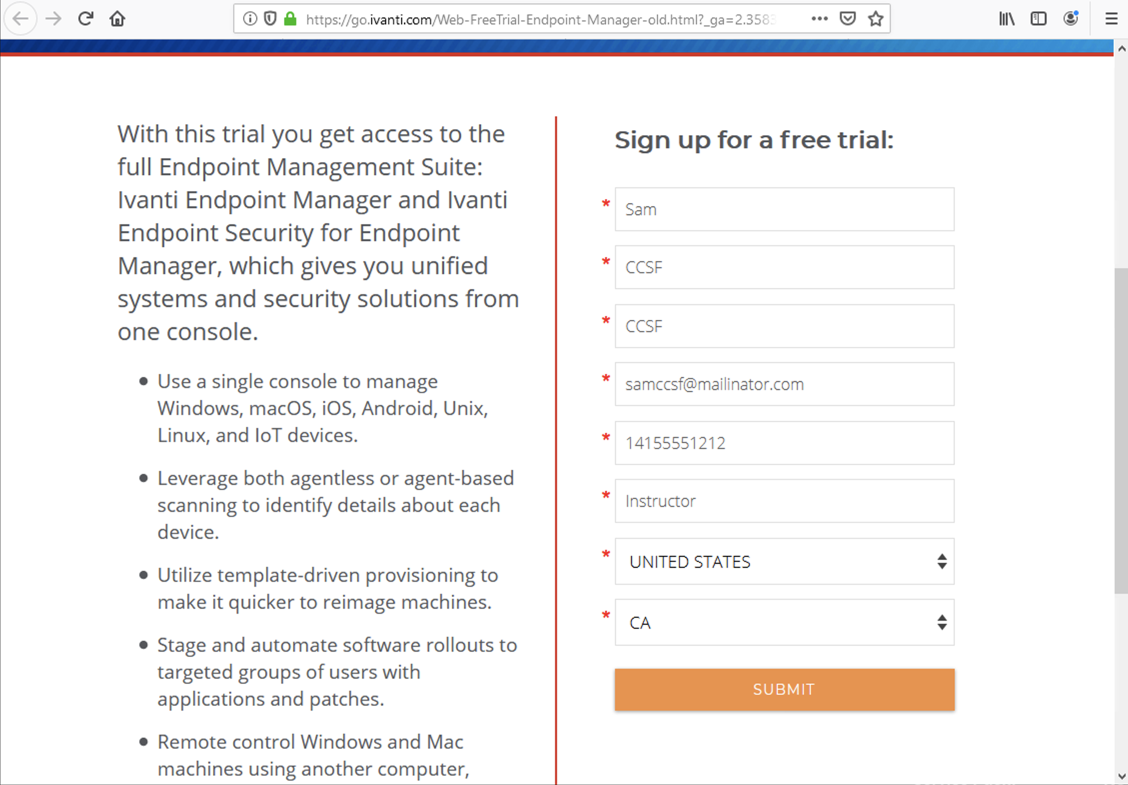
https://www.ivanti.com/resources/free-trials
In the "UNIFIED ENDPOINT MANAGEMENT" section, click "GET A TRIAL". as shown below.
Fill in the form, as shown below, and click SUBMIT.
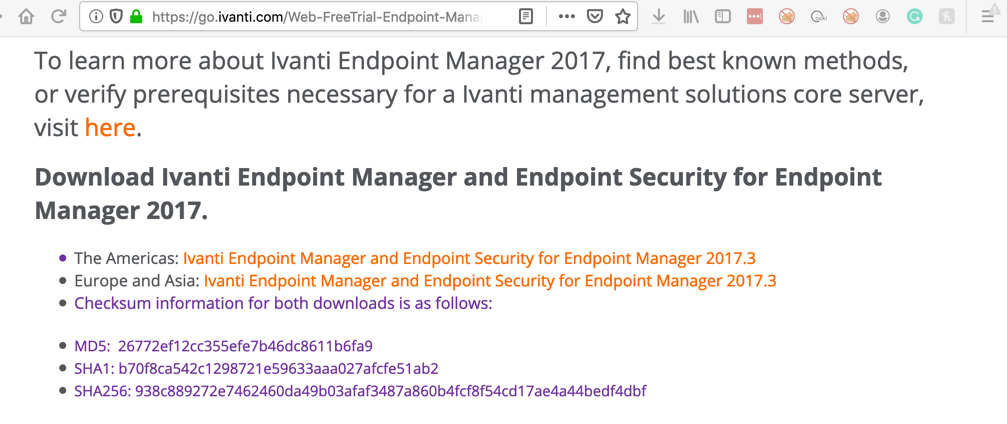
On the next page, click the yellow text after "The Americas", as shown below, to download the software. It is 3.5 GB in size. It should only take about 5 minutes to download on the Google cloud.
When it's done downloading, double-click the downloaded file to unzip it, as shown below.

When the unzipping is done, the "Welcome" page appears. Click Continue.
Accept the terms and click Continue again.
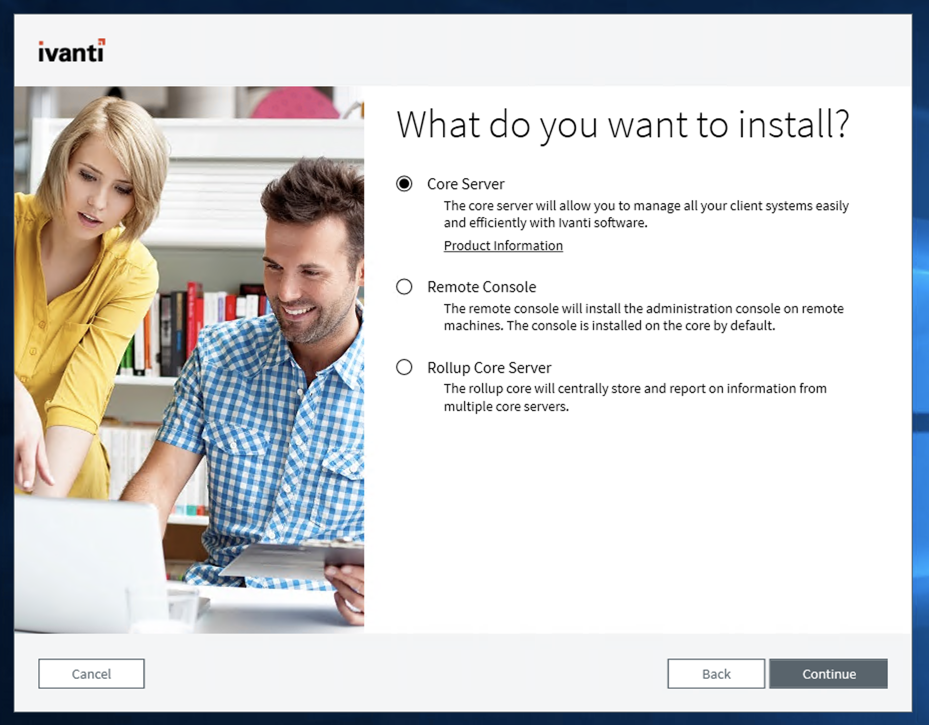
When you see the "What do you want to install?"
box, click "
Complete the installation
with the default options.
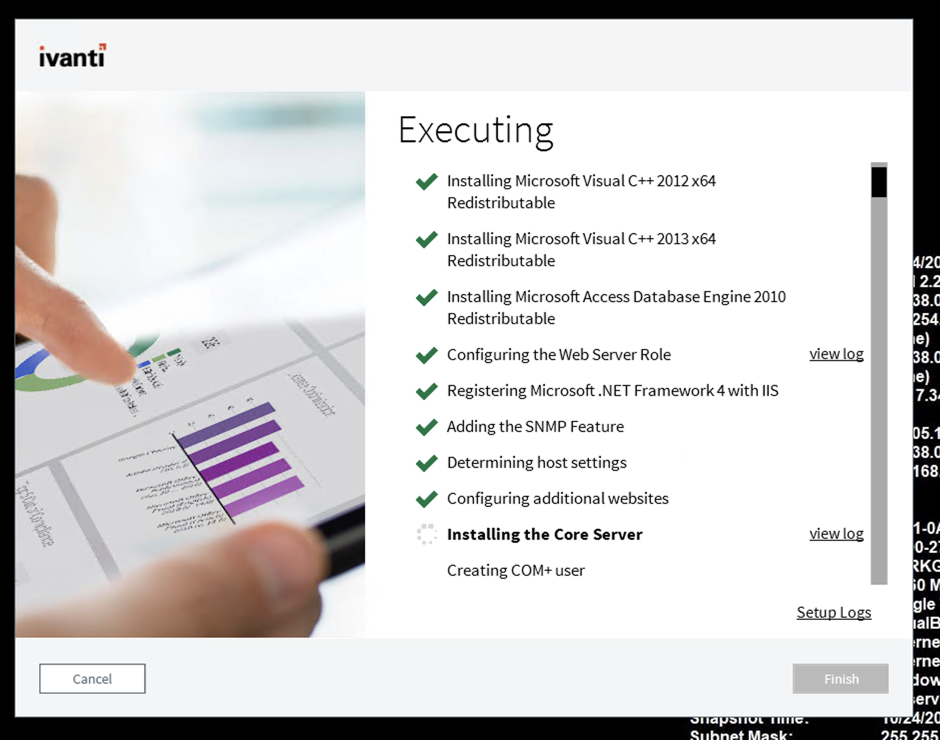
It will install IIS, SQL Express, and
other components,
as shown below. The process
will take about 20 minute.
When setup finishes, click "Reboot now".
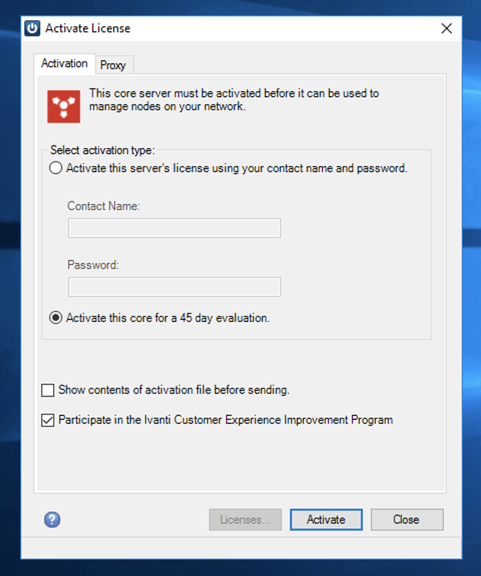
Activate it for a 45-day evaluation,
as shown below.
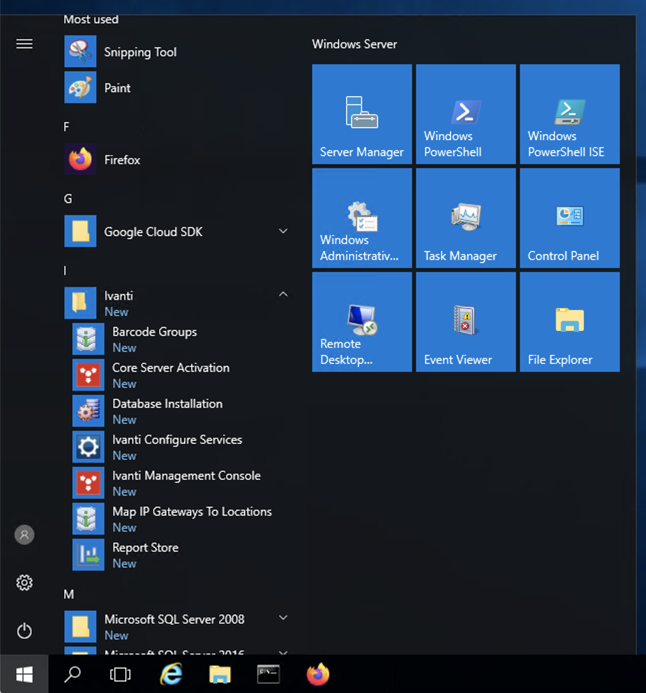
Click
"Ivanti Management Console",
as shown below.
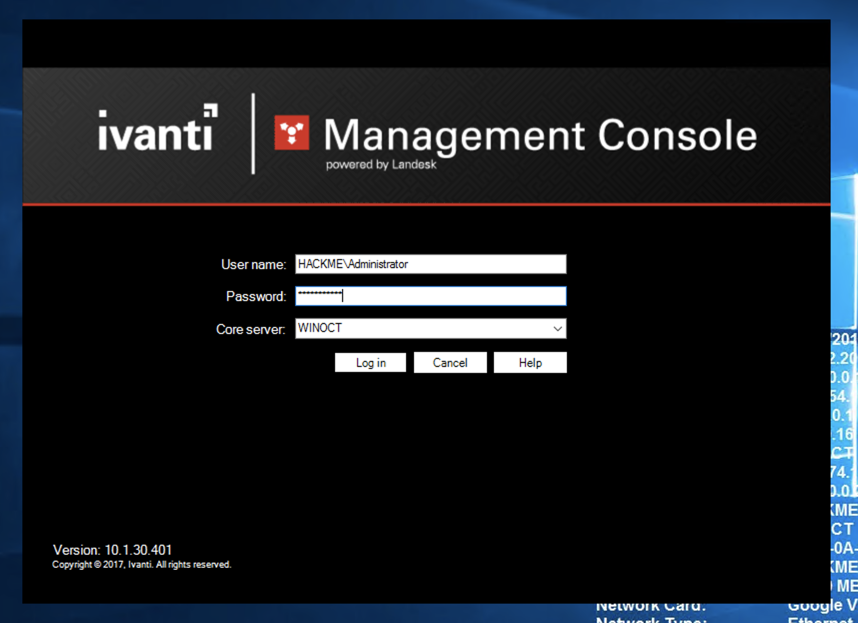
Log in with your
domain administrator credentials,
as shown below.
The
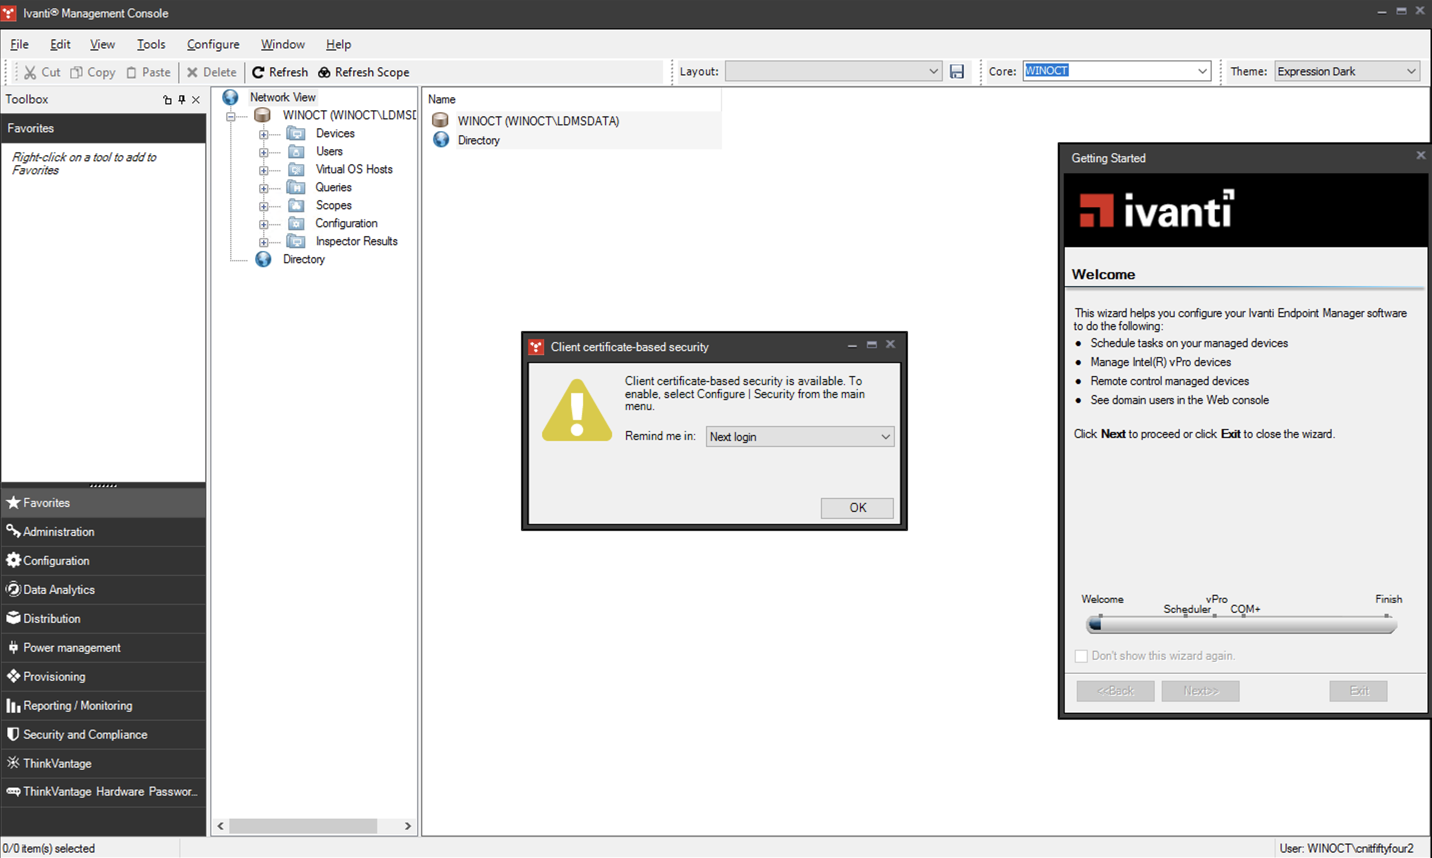
Ivanti Management Console opens,
as shown below.
In the "Client certificate-based
security" box, choose
"One month"
and click OK.
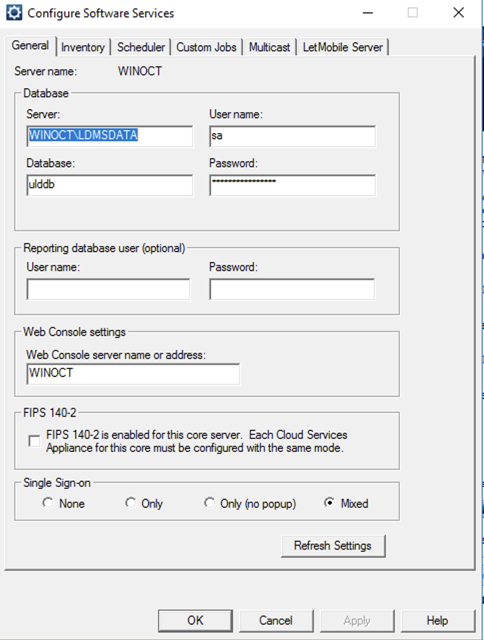
The "Launch Configure Services"
page appears. Follow the instructions to
launch Configure Services,
as shown below.
In the "Getting Started" box,
click Next.
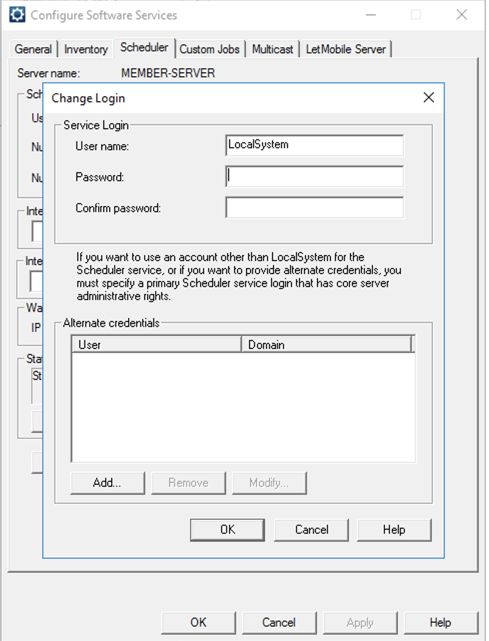
The "Configure Scheduler Credentials"
page appears. Follow the instructions to
open the "Change Login" box,
as shown below.
Accept the default user name of
"LocalSystem" and click OK.
In the "Getting Started" box,
at the "Configure Scheduler Credentials" page,
click Next.
In the "Getting Started" box,
at the "Configure Intel(R) vPro Credentials" page,
click Next.
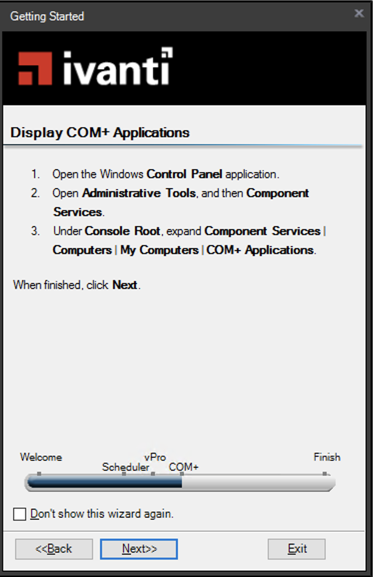
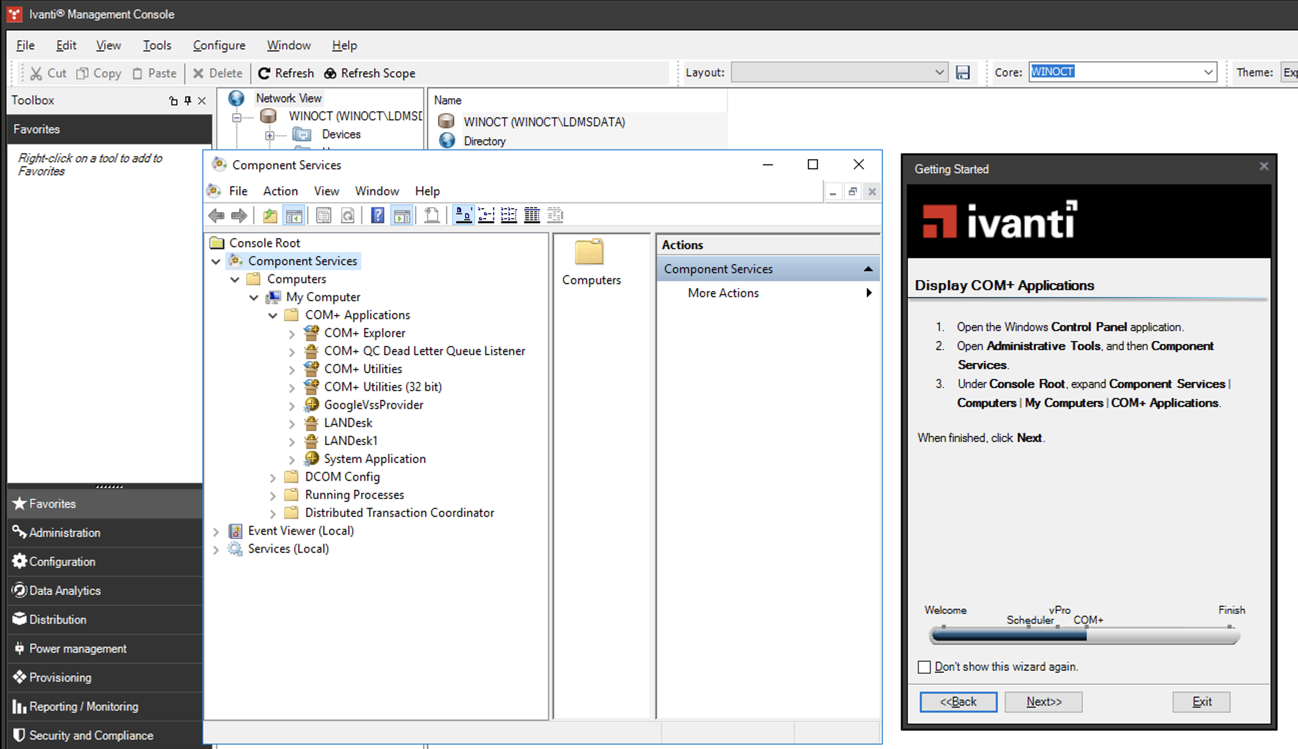
In the "Getting Started" box,
at the "Display COM+ Applications" page,
instructions appear,
as shown below.
Unfortunately, these instructions don't
work.
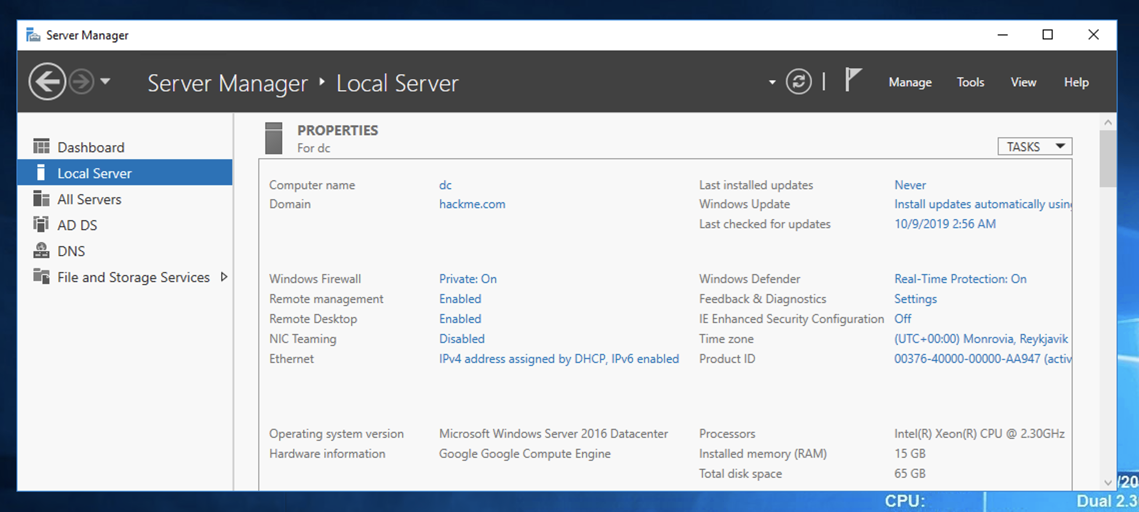
Click Start. Click
"Server Manager".
In Server Manager,
at the top right,
click Tools.
Click "Component Services".
Expand these items,
as shown below.
In the "Getting Started" box,
at the "Display COM+ Applications" page,
click Next.
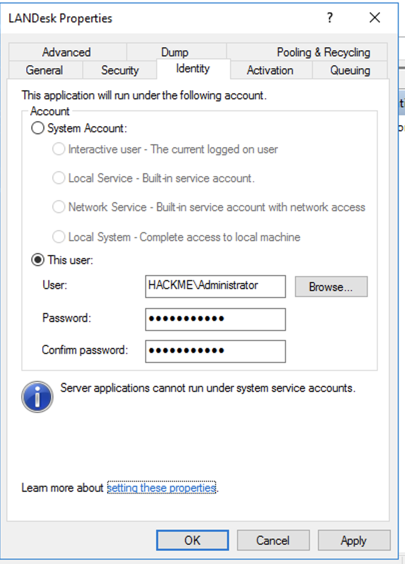
In the "Getting Started" box,
at the "Configure the LANDesk COM+ Application" page,
follow the instructions to enter your
Domain Administrator credentials,
as shown below.
In the "Getting Started" box,
at the "Restart the LANDesk COM+ Application" page,
follow the instructions
and click Next.
In the "Getting Started" box,
at the "Configure the LANDesk1 COM+ Application" page,
follow the instructions to enter your
Domain Administrator credentials.
In the "Getting Started" box,
at the "Restart the LANDesk COM+ Application" page,
follow the instructions
and click Next.
Click Finish.
Click Next.
In the "Discovering and Installing Agents"
wizard,
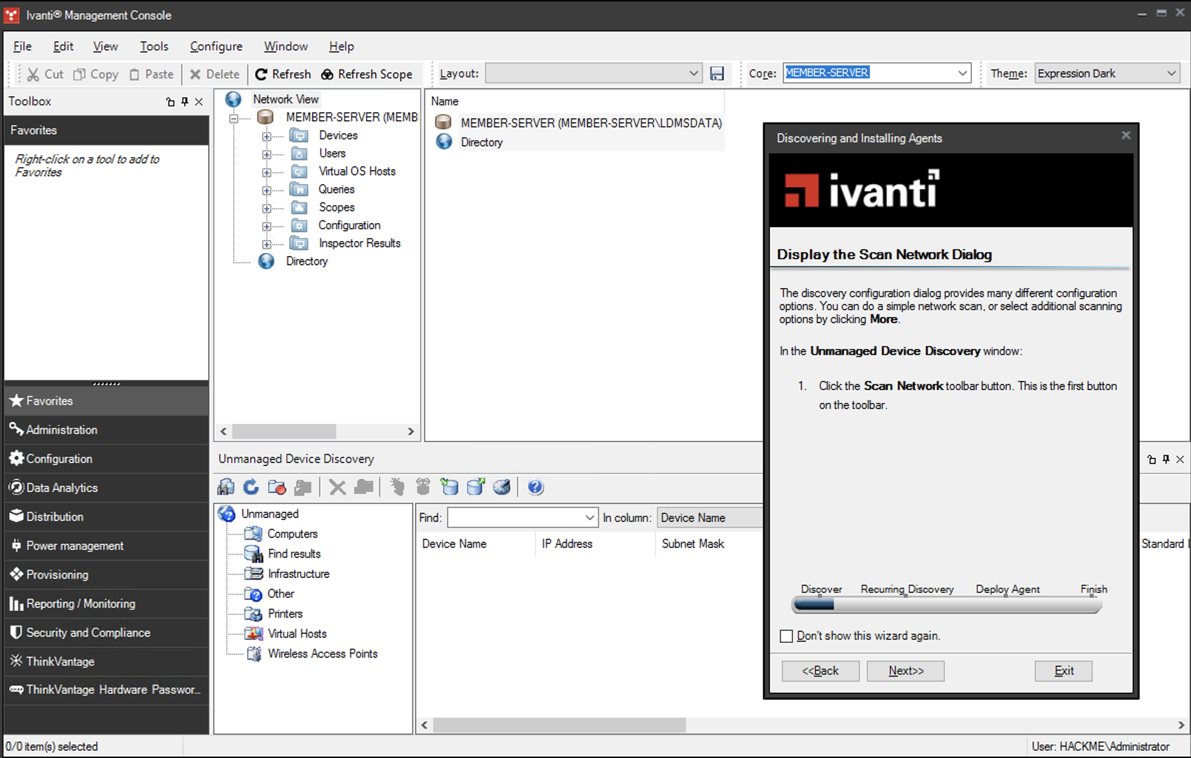
at the "Display the Discovery Window"
wizard,
follow the steps.
At the bottom of the window, the
"Unmanaged Device Discovery" pane
appears.
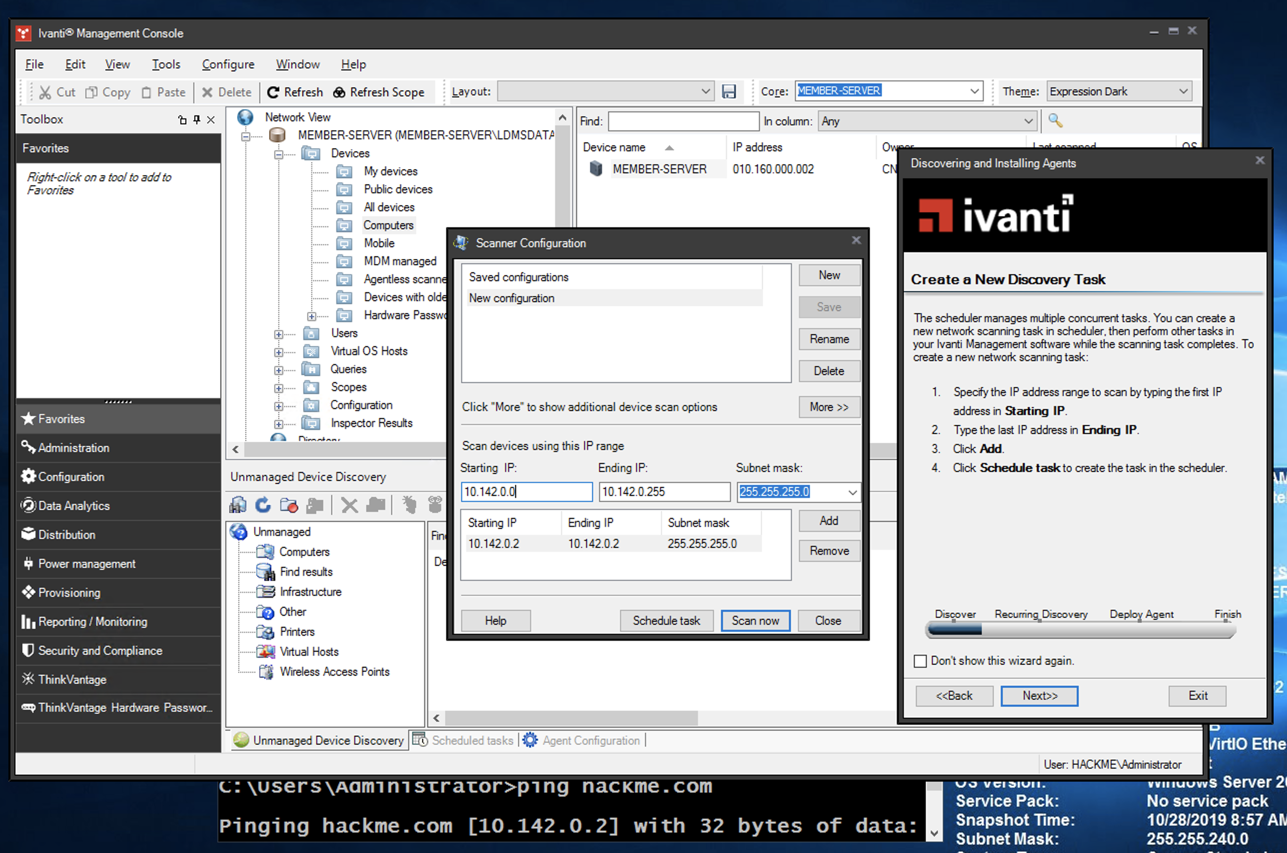
As the instructions tell you, click
the first button on its toolbar,
as shown below.
In the "Scanner Configuration" box,
enter the first and last
IP address in your domain
controller's subnet
into the "Starting IP" and "Ending IP"
boxes,
as shown below.
If you don't know that address
range, open
a Command Prompt and ping hackme.com
to find it.
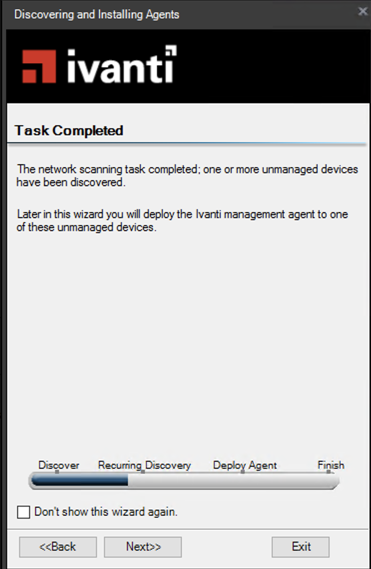
In the "Discovering and Installing Agents"
wizard,
the "Task Completed" box appears,
saying "one or more unmanaged devices
have been discovered",
as shown below.
Click Next.
Click Next.
In the "Discovering and Installing Agents"
wizard, at the
"Check for New Devices Regularly"
page,
follow the instructions
click Next.
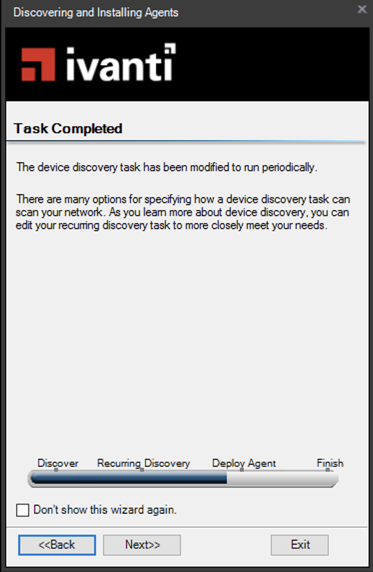
In the "Discovering and Installing Agents"
wizard, at the
"Modify a Discovery Task to Repeat Regularly"
page,
follow the instructions on this page and the next one
to modify the task
you just created. Make it repeat daily,
starting in a few days.
The "Task Completed" page
appears,
as shown below.
Click Next.
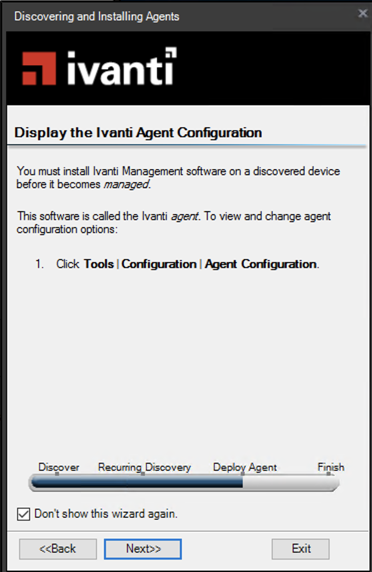
Click Tools, Configuration,
"Agent Configuration".
In the "Discovering and Installing Agents"
wizard,
at the "Display Unmanaged Devices"
screen, click Next.
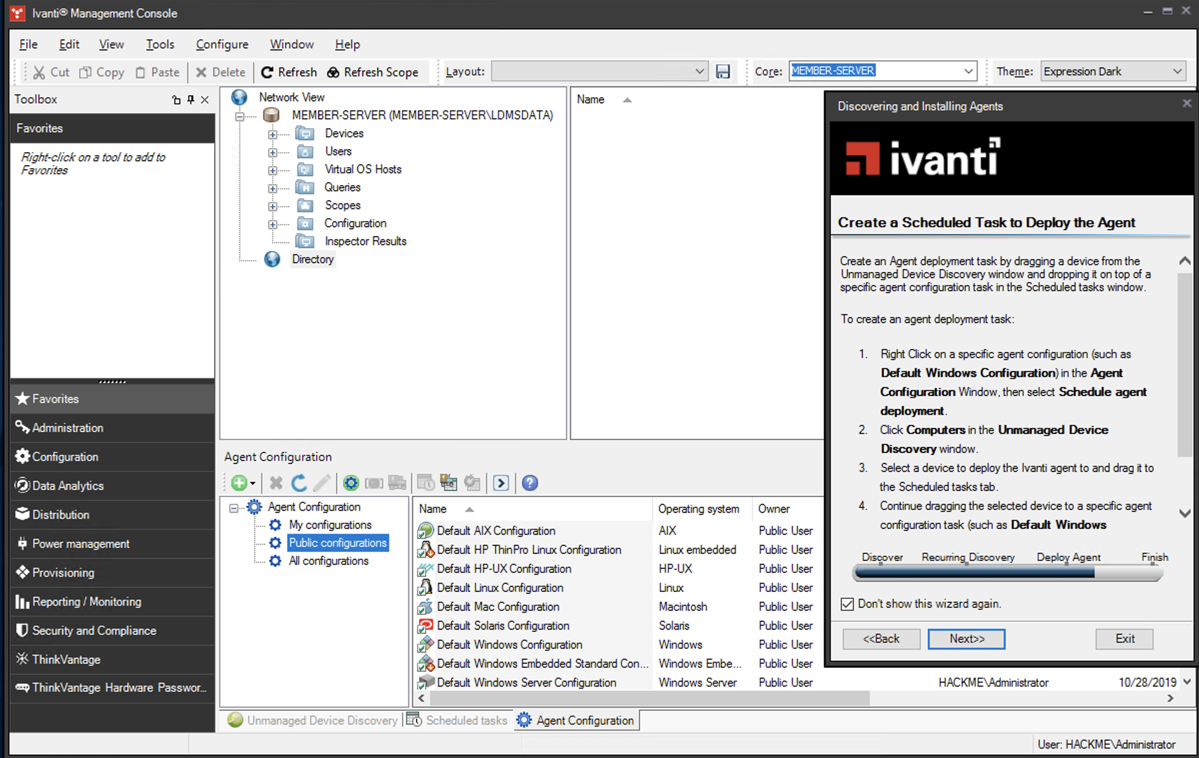
In the "Discovering and Installing Agents"
wizard,
the "Create a Scheduled Task to Deploy the Agent"
screen appears, as shown below.
In the Ivanti Management Console,
at the bottom, in the Agent Configuration
panel, in its left pane, click
"Public Configurations".
In the right pane, right-click
"Default Windows Configuration"
and click "Schedule agent deployment".
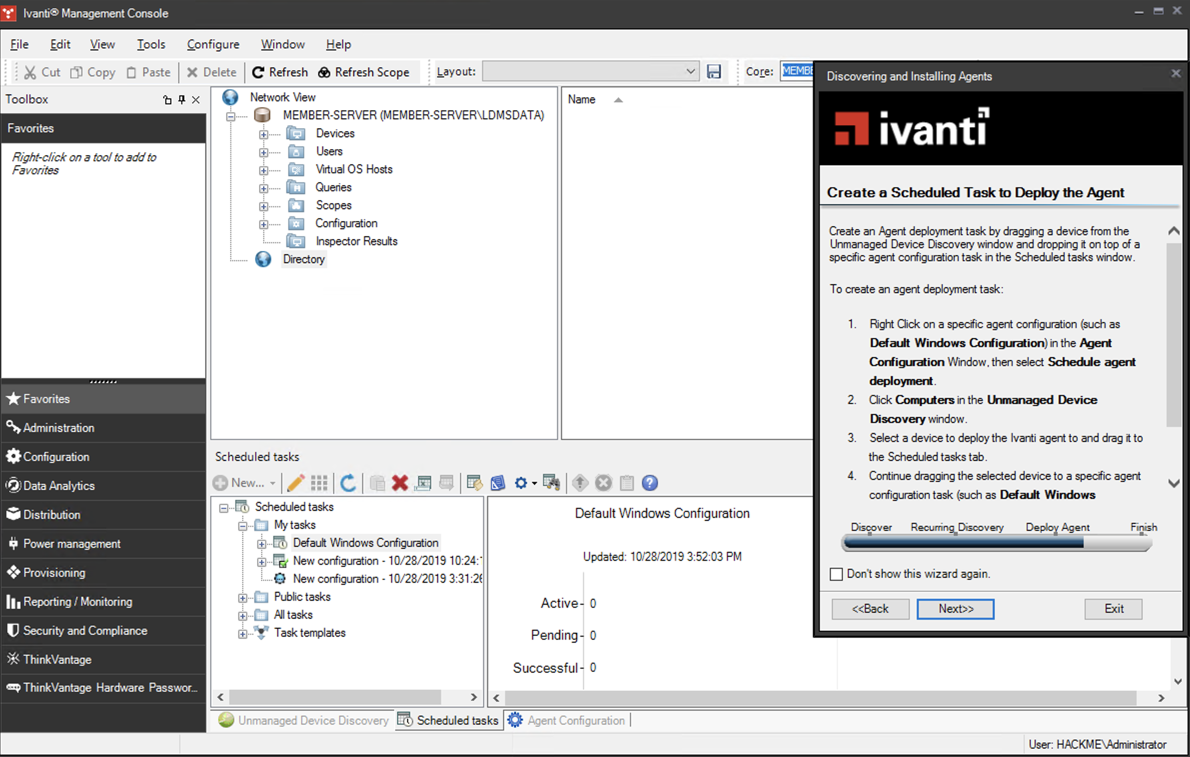
The right pane shows
"Default Windows Configuration"
as shown below.
At the bottom of the screen,
click the
"Unmanaged Device Discovery"
tab,
as shown below.
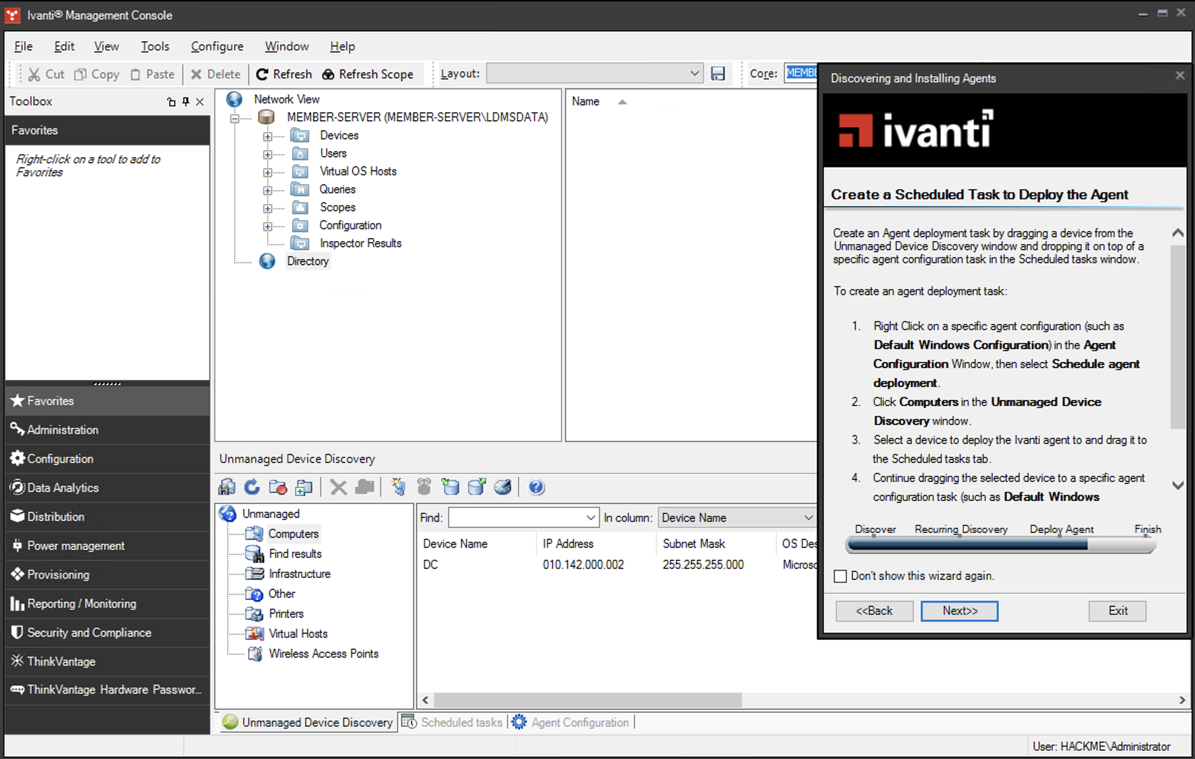
Drag your domain controller's icon
down and drop it on the
"Scheduled Tasks"
tab,
as shown below.
Wait until the "Scheduled Tasks"
pane opens, holding the mouse button
down, and drag the domain controller
icon back up to drop it onto
"Default Windows Configuration".
The right pane now shows one
"Pending" task,
as shown below.
In the "Discovering and Installing Agents"
wizard,
in the "Create a Scheduled Task to Deploy the Agent"
page, click Next.
In the "Discovering and Installing Agents"
wizard,
the "Modify Task to Start Executing"
page appears.
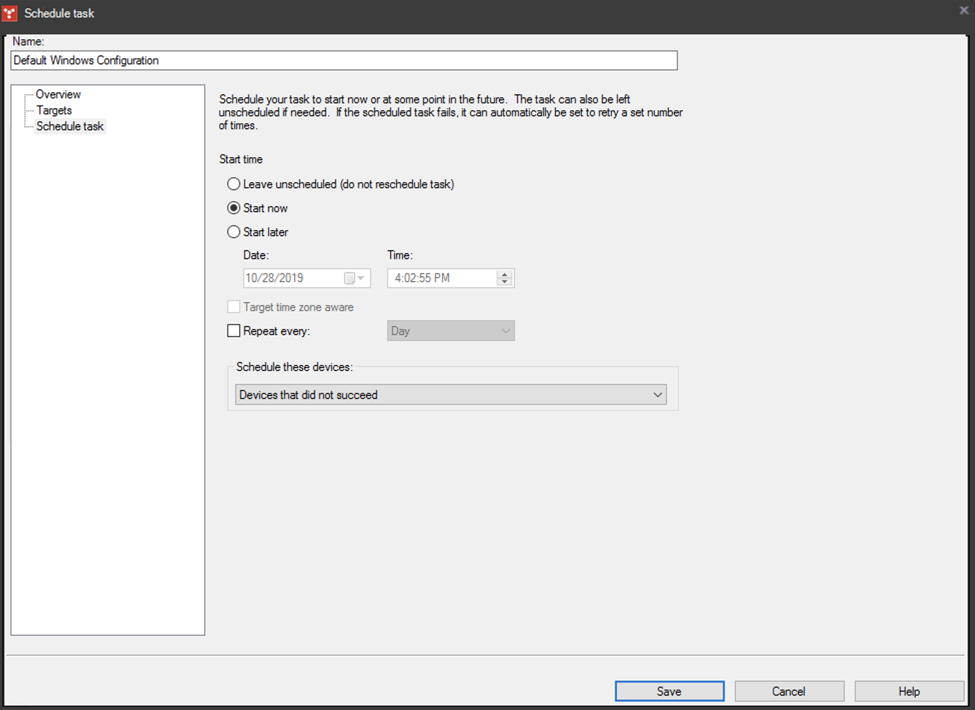
In the Ivanti Management Console,
at the bottom, in the Scheduled Tasks
panel, in its left pane, right-click
"Default Windows Configuration"
and click Properties.
In the Schedule Task window,
on the left side,
click
"Schedule task".
On the right side, click the
"Start now" button,
as shown below.
Click Save.
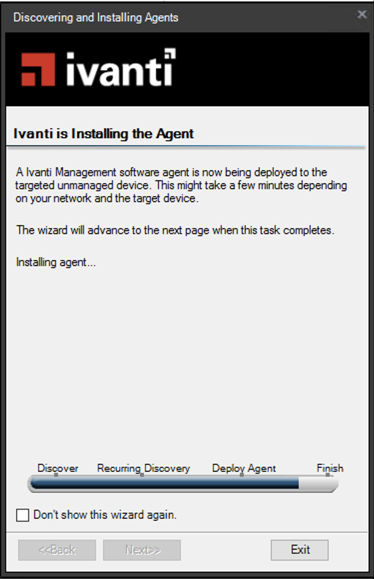
In the "Discovering and Installing Agents"
wizard,
the "Ivinti is Installing the Agent"
page
appears,
as shown below.
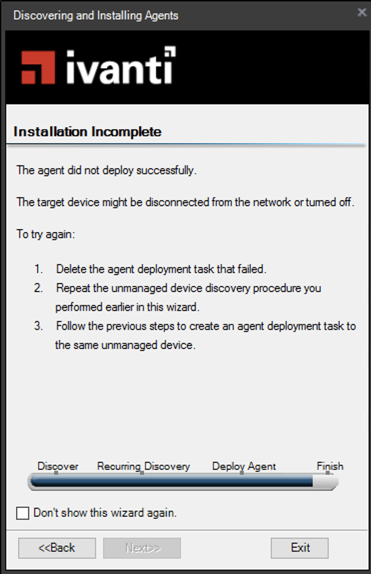
After a minute or two, the
"Installation Incomplete" page
appears,
as shown below.
I was unable to make network deployment
work at all, so I read this page for
alternatives:
How to deploy Ivanti agents to unmanaged and managed devices
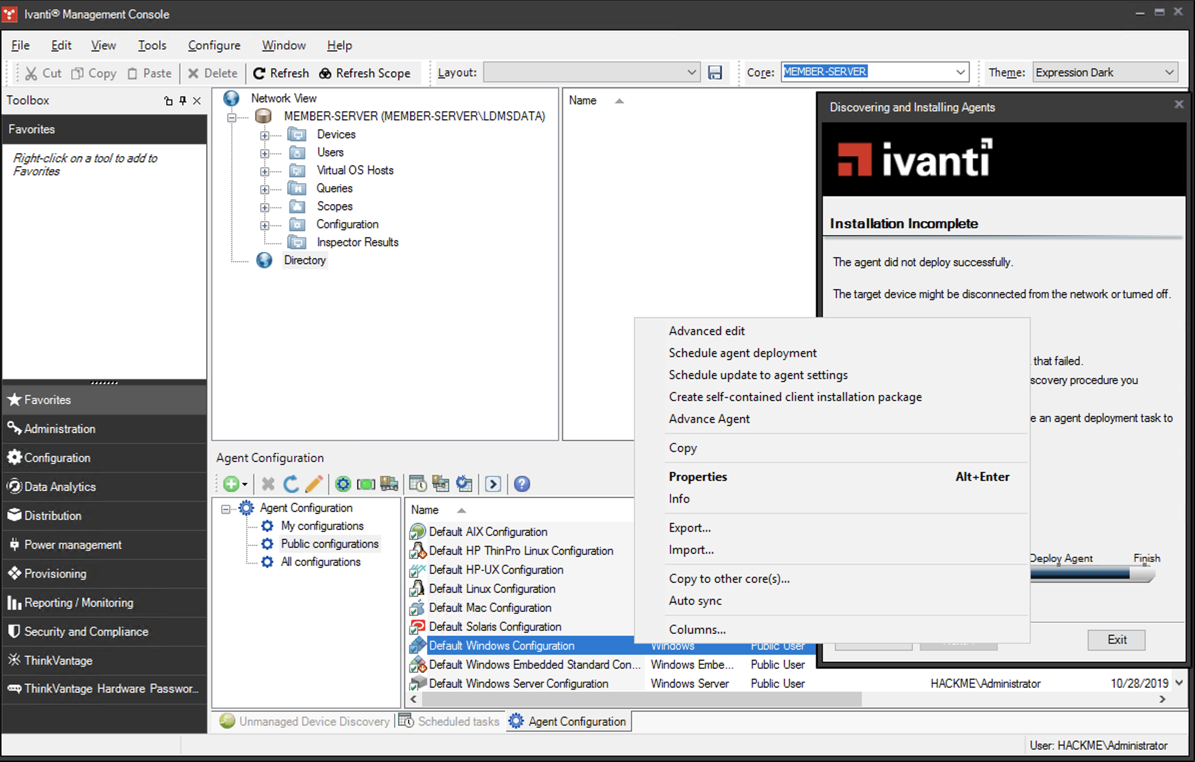
In the lower right pane,
right-click "Default Windows Configuration"
and click "Create self-contained
client installation package",
as shown below.
Click Save to save the agent in your
Member Server's Documents folder.
A "Buliding self-contained
agent installation packages"
box appears.
Wait while filenames scroll by twice.
After a minute or two, open File Explorer
and navigate to the Documents folder.
In
Network and Sharing Center,
on the left side,
click
"Change advanced sharing settings".
In the Domain section,
click
"Turn on network discovery",
as shown below.
Click the
"Save changes" button.
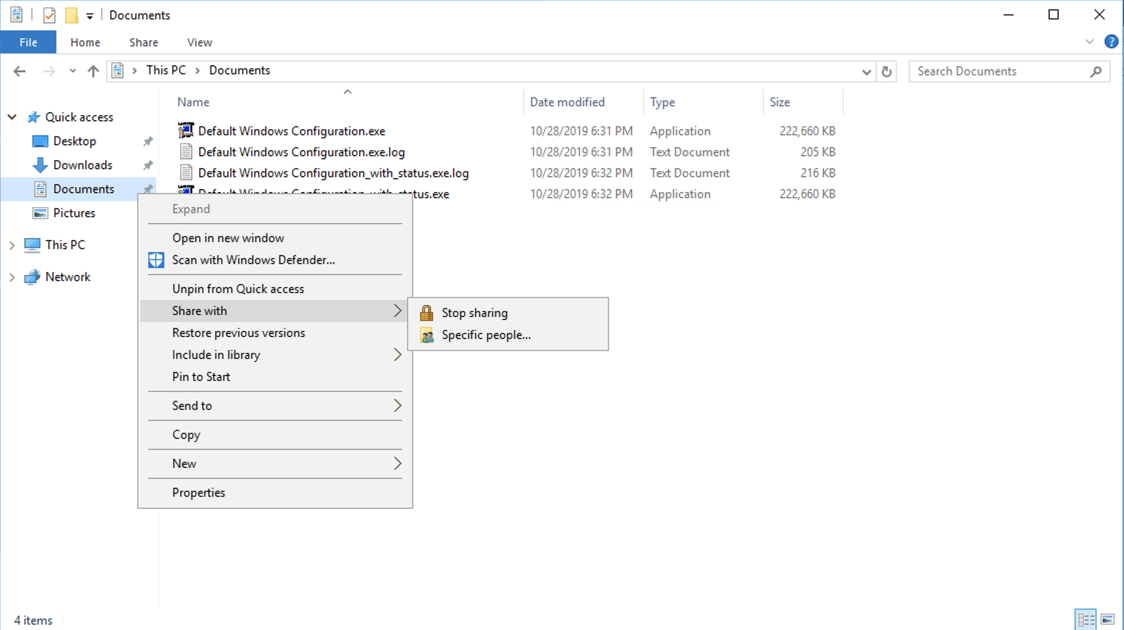
In File Explorer,
right-click Documents and
click
"Share with",
"Specific people...",
as shown below.
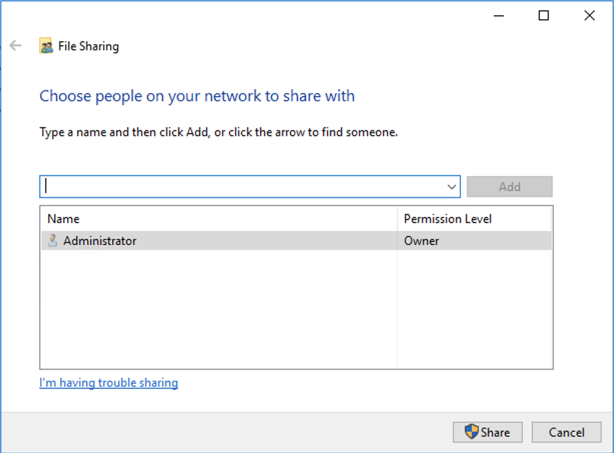
In the File Sharing box,
click the Share button,
as shown below.
Click Done.
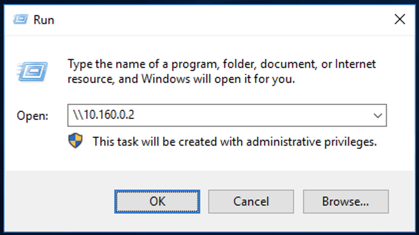
In the Run box, enter two back-slashes followed
by your Member Server's IP address,
as shown below.
Click OK.
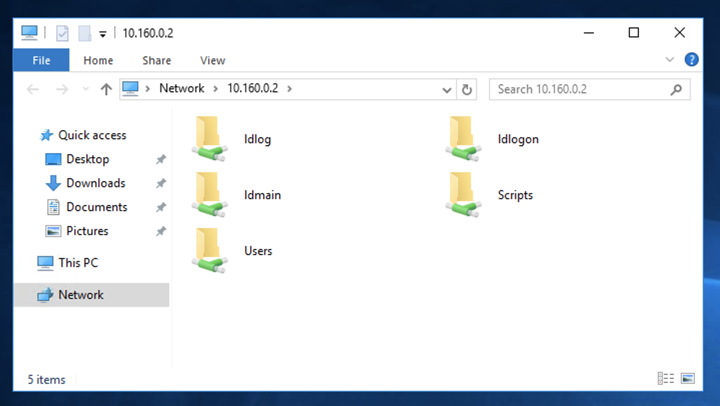
The network share opens,
as shown below.
Double-click Users.
Double-click Administrator.
Double-click Documents.
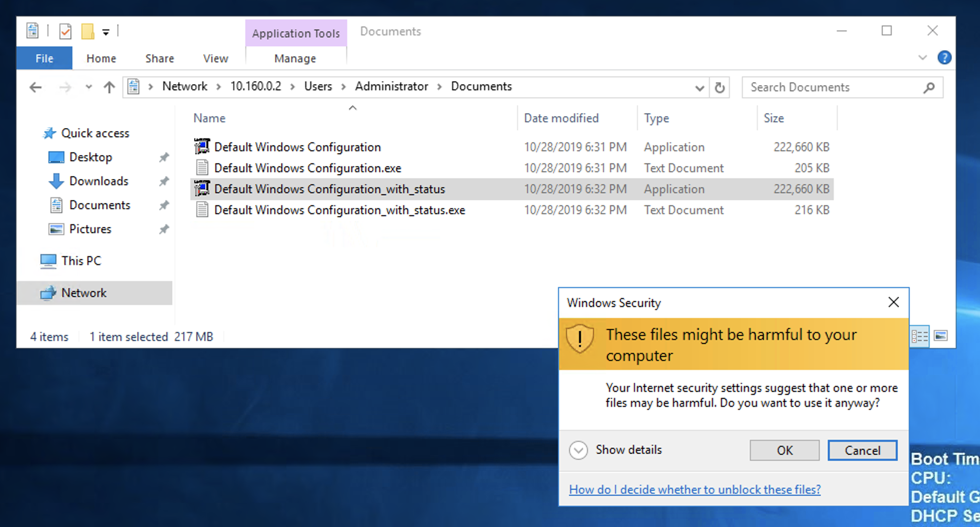
Drag the
Default Windows Configuration_with_status.exe
application
to your desktop.
(Be careful not to copy the "Text Document" by
mistake.)
A Windows Security box pops up.
Click OK,
as shown below.
The file is copied within a few seconds.
After a minute or so, a box will pop up
listing the components being installed,
and close by itself.
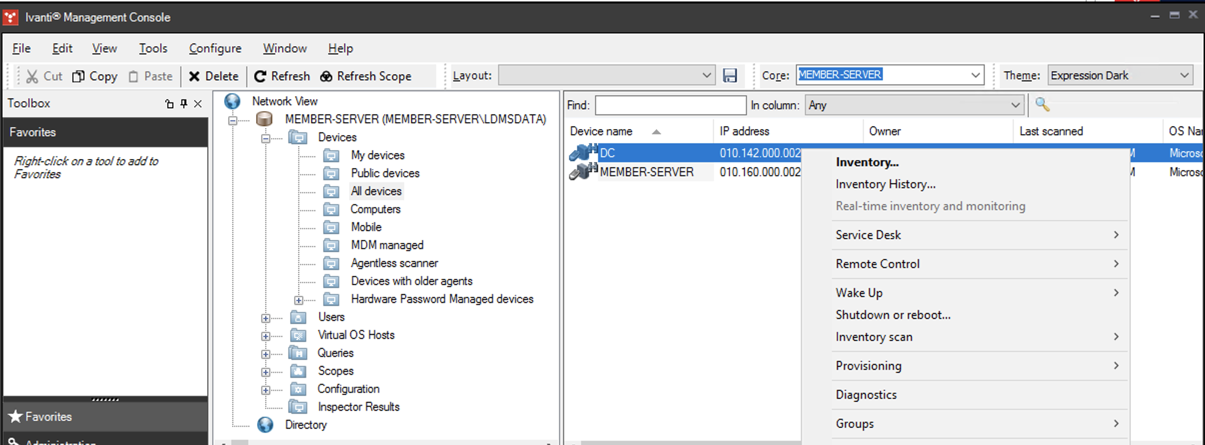
In the top right pane,
your domain controller appears.
Right-click your domain controller's
icon and click Inventory...,
as shown below.
The flag is covered by a green
rectangle in the image below.
The scan will take about five minutes.
Connecting to your Member Server
Connect via RDP to your Member Server and
log in with these credentials:
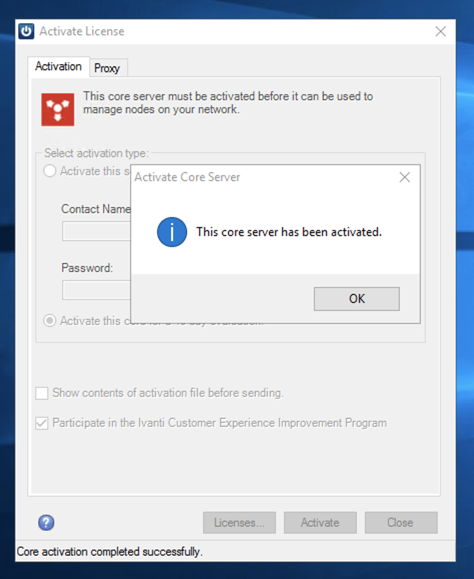
Activate your core
After you reboot, a box will pop up
asking you to activate your Ivanti core.
Launching Ivanti Management Console
Click Start. Expand the Ivanti
section.
Getting Started
In the "Getting Started" box,
at the Welcome page,
click Next.
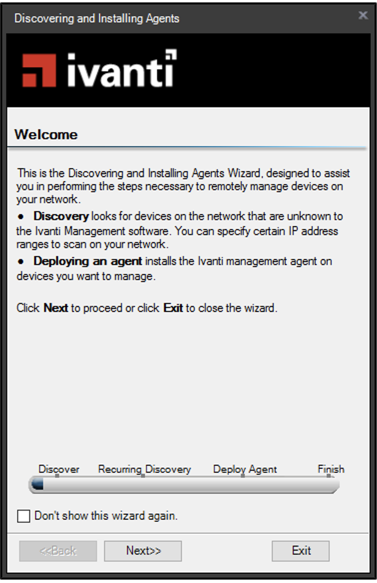
Discovering Devices
The "Discovering and Installing Agents"
wizard opens,
as shown below.
Installing Agents
In the "Discovering and Installing Agents"
wizard, the
"Display the Ivanti Agent Configuration"
page appears,
as shown below.

Creating a Self-Contained Agent Executable
In the
Ivanti Management Console,
click Tools,
Configuration,
"Agent Configuration".
Configuring File Sharing
On your Member Server,
on the lower right of the desktop,
right-click the network icon and click
"Network and Sharing Center",
as shown below.
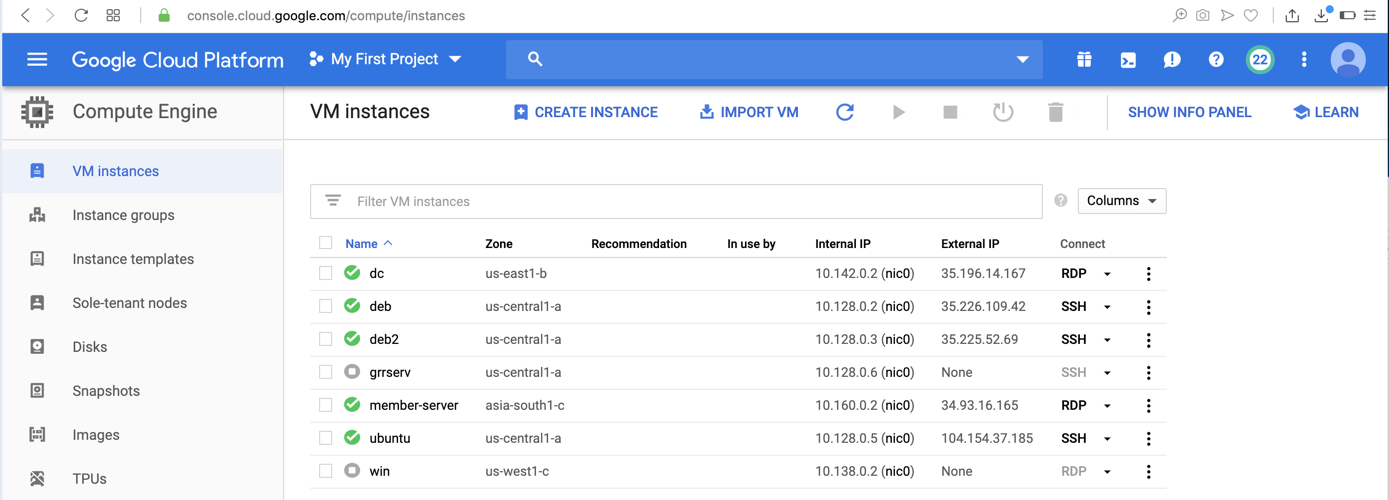
Finding your Member Server's IP Address
Look in the Google Cloud Console
and find the local address of your
Member Server,
as shown below.
Connecting to the Network Share
On your Domain Controller,
right-click the Start button and click
Run.
Running the Agent
On your Domain Controller,
double-click the
Default Windows Configuration_with_status.exe
file.
Gathering Inventory from your Domain Controller
On your Member Server,
in the Ivanti Management Console,
in the center-top pane, expand
Devices and click
"All devices".
Flag IR 320.1: LANDESK Software Name (20 pts.)
In the Inventory box, expand
Software and expand
Product.

Troubleshooting
If the inventory does not show any software,
right click the domain controller's icon and click
"Inventory Scan",
"Hardware and Software scan".
Sources
Welcome to the documentation for Ivanti Endpoint Manager and Endpoint Security for Endpoint Manager version 2019.1
Ivanti Endpoint Manager
Configuring Endpoints for Discovery
Inventory scan and Network Discovery troubleshooting tips added 11-5-19