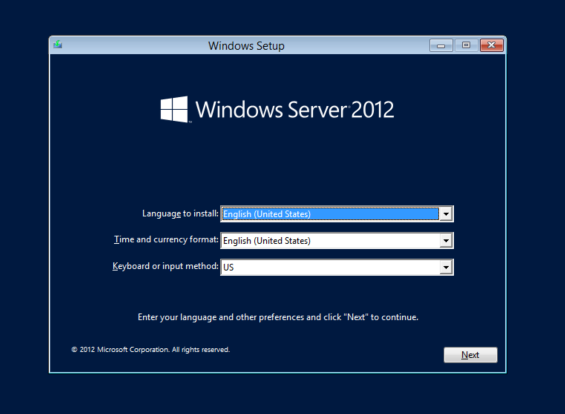
In the first screen, click Next as shown below:
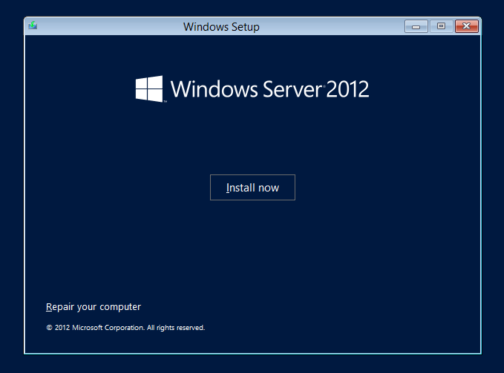
In the next screen, click "Install now", as shown below:
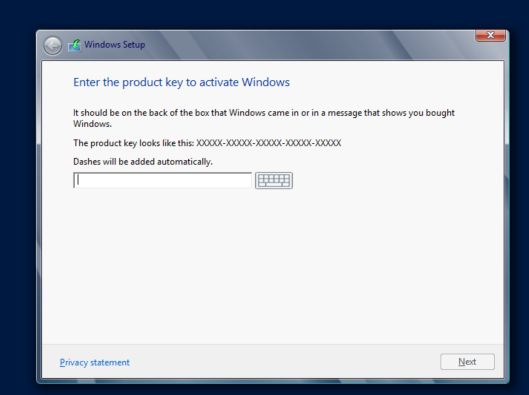
Enter your product key, and click Next, as shown below:
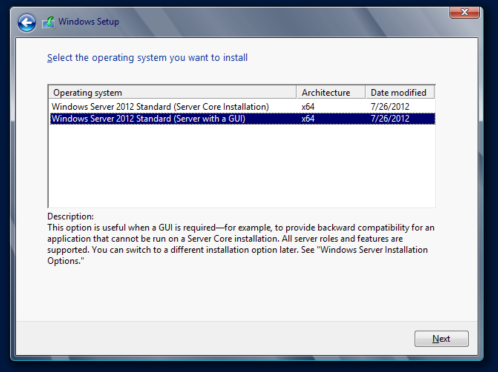
In the "Select the operating system you want to install" screen, select the second option: "Windows Server 2012 Standard Server with a GUI)" and click Next, as shown below:
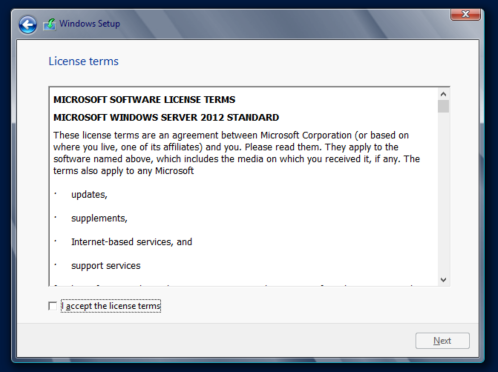
In the "License terms" screen, check the box and click Next, as shown below:
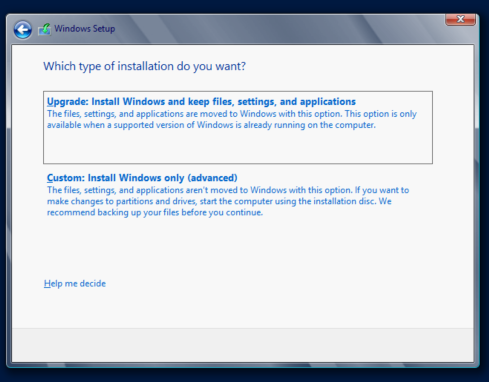
In the "Which type of installation do you want?" screen, click the second choice: "Custom: Install Windows only (Advanced)", as shown below:
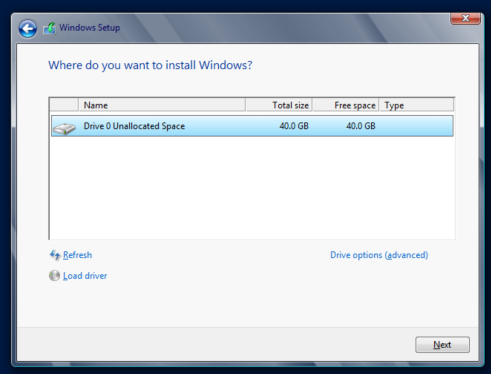
In the "Where do you want to install Windows?" screen, accept the default if you are using VMware, click Next, as shown below:
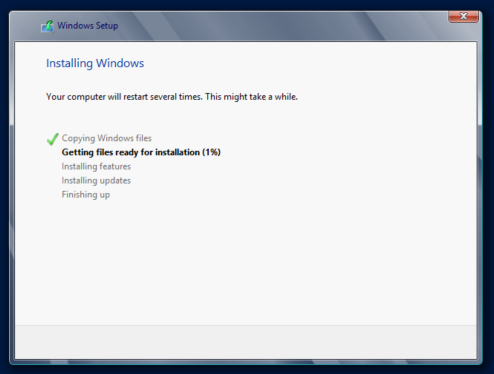
Wait while Windows installs, as shown below:
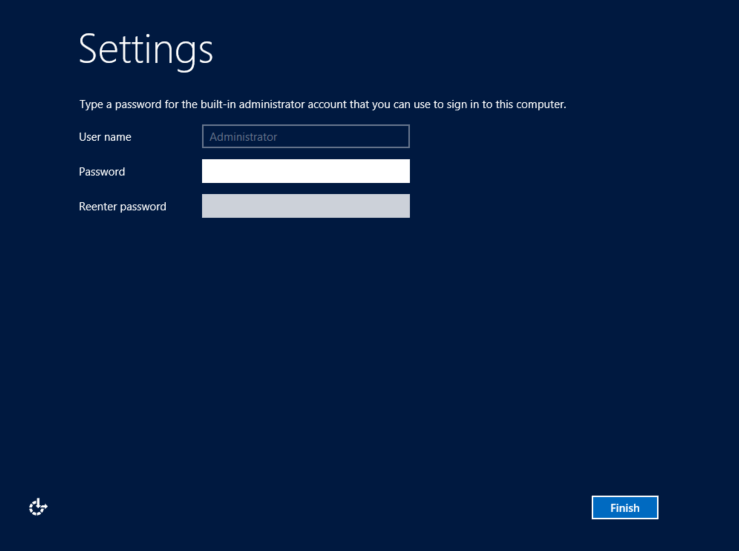
In the "Settings" screen, type a password of
P@ssw0rd
into both boxes and click Finish, as shown below:
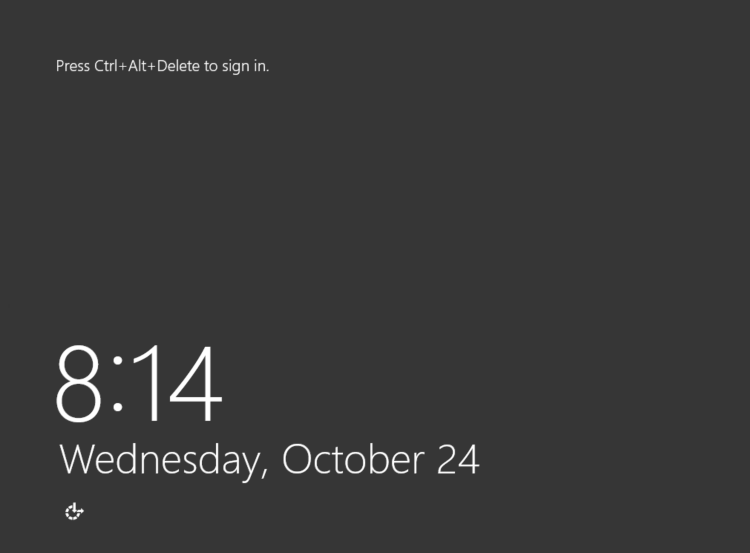
At the next screen, you need to press Ctrl+Alt+Delete. If you are using VMware, from the menu bar, click "Virtual Machine", "Send Ctrl+Alt+Delete". as shown below:
Enter your password and sign in.
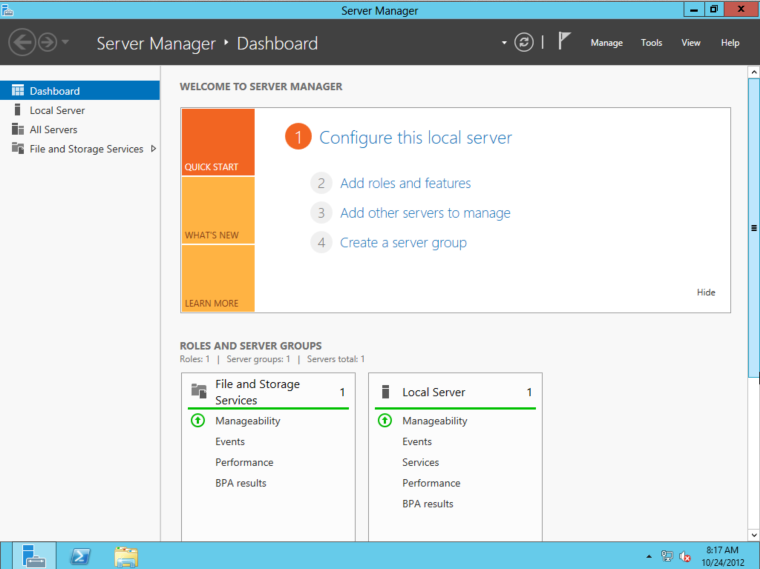
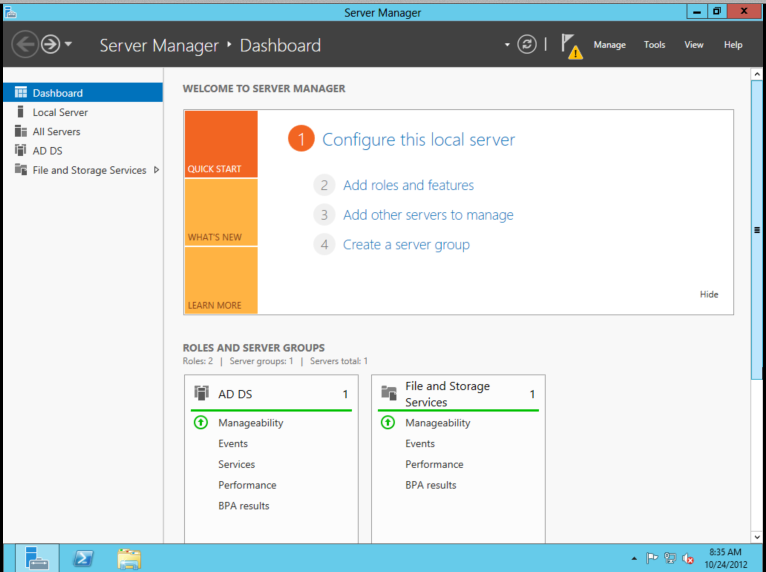
Server manager opens, as shown below.
Click "Add roles and features".
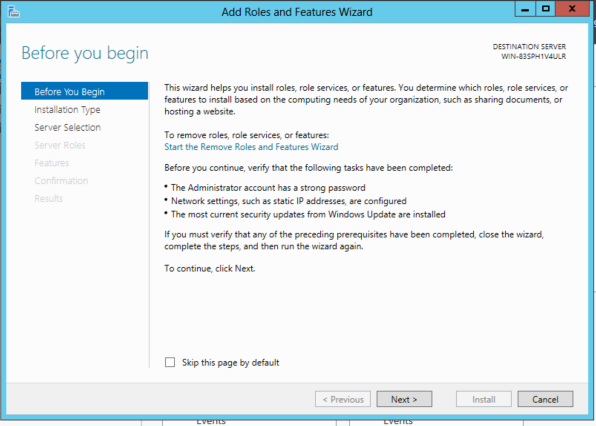
The "Add Roles and Features Wizard" opens, as shown below.
In the "Before you begin" page, click Next.
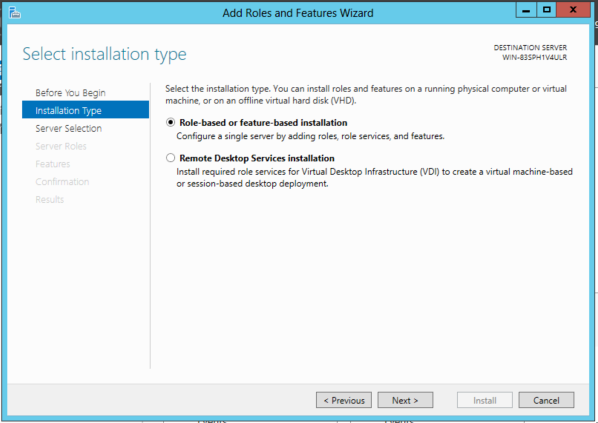
In the "Installation type" page, accept the default selection of "Role-based or feature-based installation", as shown below, and click Next.
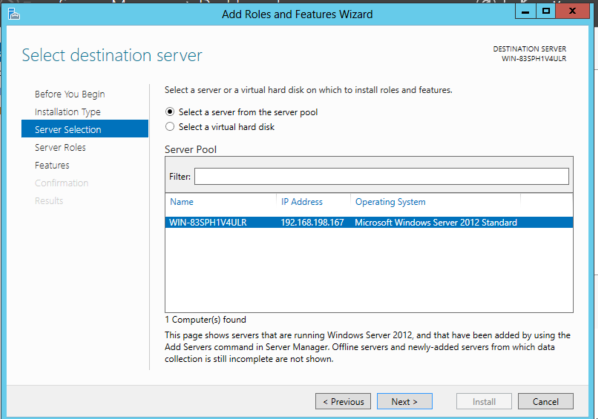
In the "Select destination server" page, accept the default selection , as shown below, and click Next.
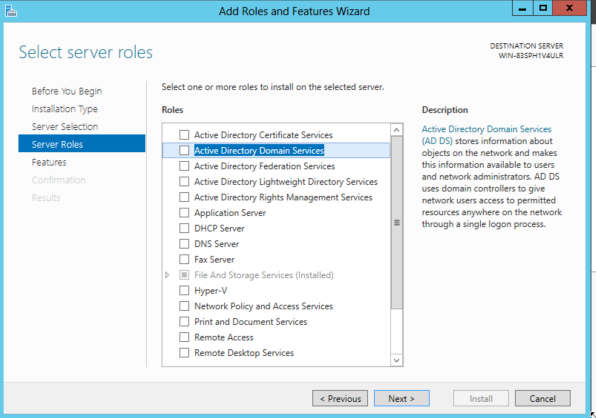
In the "Select server roles" page, click the check box next to "Active Directory Domain Service", as shown below, and click Next.
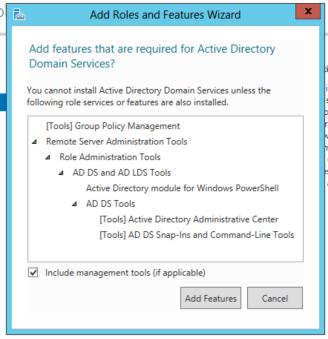
In the "Add features that are required for Active Directory Domain Services?" box, click "Add Features", as shown below:
In the "Select server roles" page, click Next.
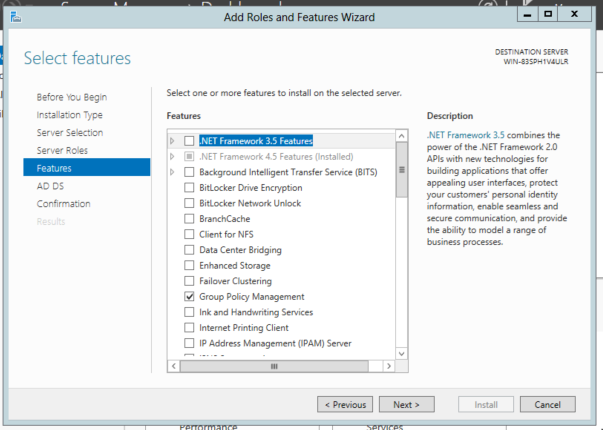
In the "Select features" page, as shown below, click Next.
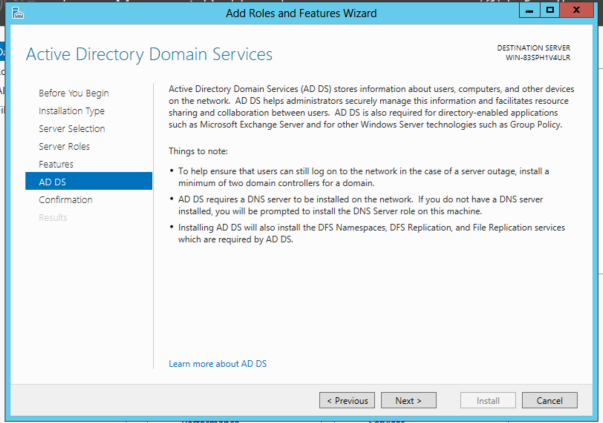
In the "Active Directory Domain Service" page, as shown below, click Next.
In the "Confirm installation selections" page, as shown below, click the "Restart the destination server automatically if required" box. In the pop-up box, click Yes.
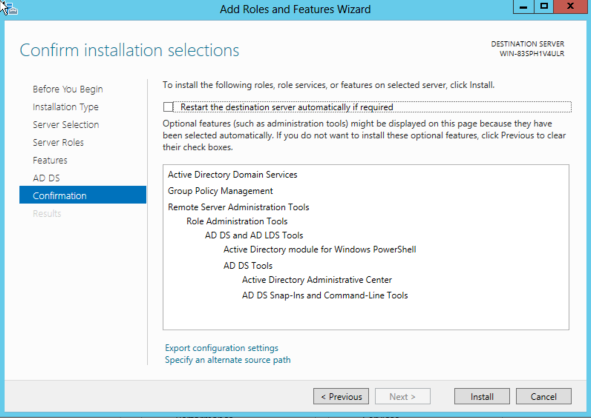
In the "Confirm installation selections" page, click Install. Wait while the install proceeds, as shown below:
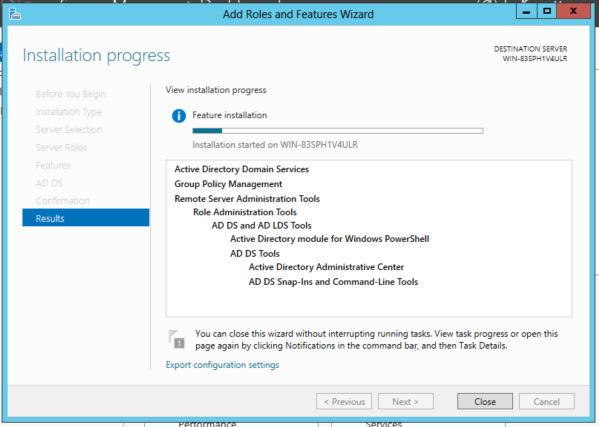
When the installation finishes, click Close.
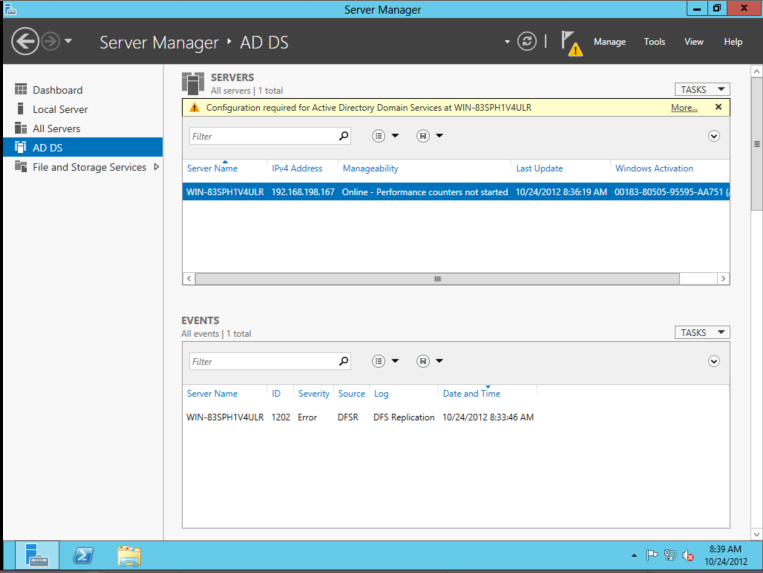
Server Manager now shows an "AD DS" item in the lower left, as shown below. Click "AD DS".
In the "Server Manager . AD DS" page, at the top, there is a yellow bar saying "Configuration required...", as shown below. In the yellow bar, click More..."
In the "All Servers Task Details" box, in the Action column, click "Promote this server to a domain controller", as shown below:
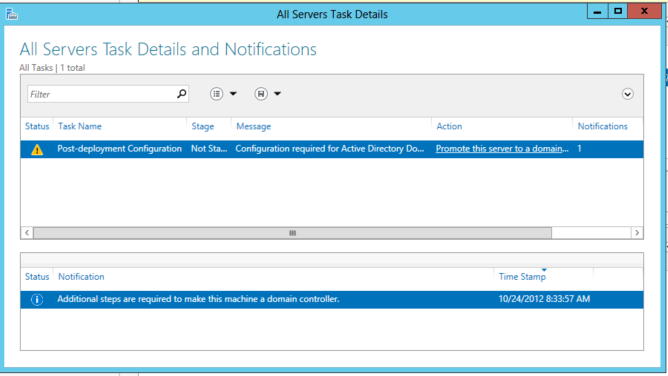
The "Active Directory Domain Services Configuration Wizard" launches.
In the "Deployment Configuration" screen, click the "Add a new forest" button. In the "Root domain name" box, enter YOURNAME-TEST-DOMAIN.com, using your own name (without spaces, as shown below.
NOTE: You will have to abbreviate your name down to 3 letters, so you might just use your initials.
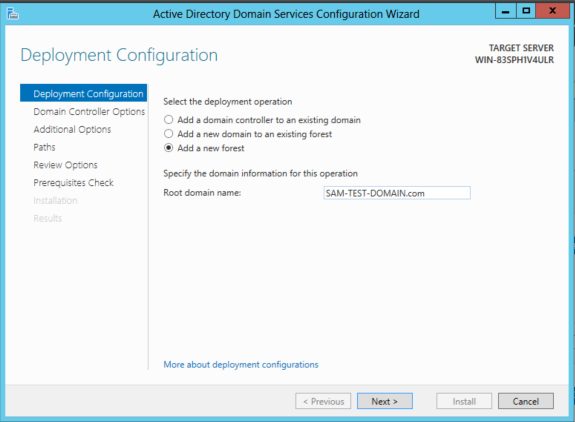
Click Next.
In the "Domain Controller Options" screen, accept the default selections.
Enter P@ssw0rd in both password boxes, as shown below:
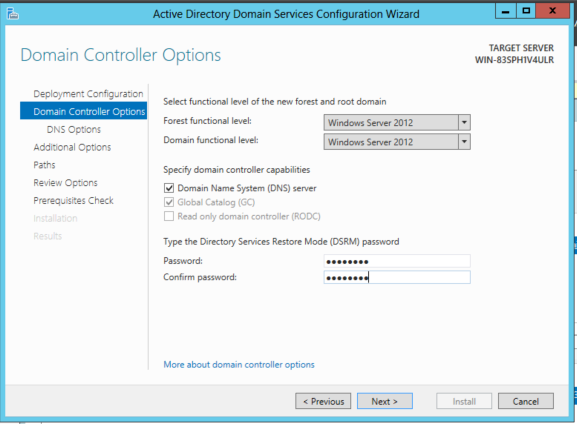
Click Next.
In the "DNS Options" screen, at the top, a yellow bar appears, saying "A delegation for the DNS server cannot be created...".
In the yellow bar, click the "Show more" link. A pop-up box explains the issue--for our purposes we can ignore this warning. Click OK to close the pop-up box, as shown below:
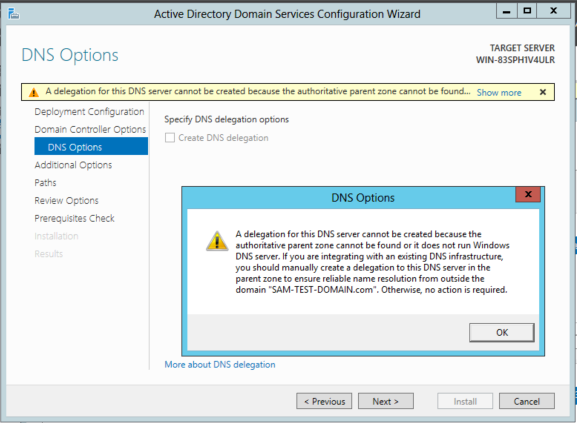
Click Next.
In the "Additional Options" screen, accept the default NetBIOS domain name, as shown below:
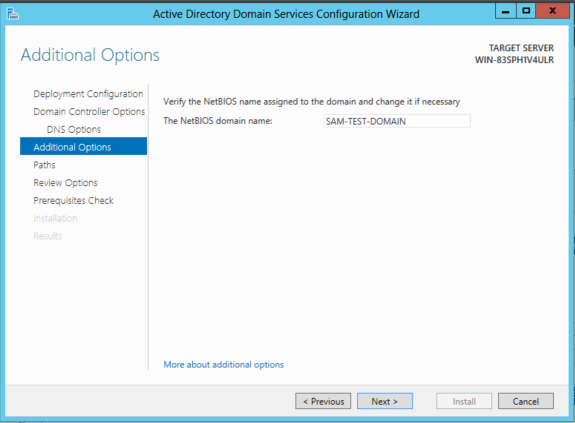
Click Next.
In the "Paths" screen, accept the default folders, as shown below:
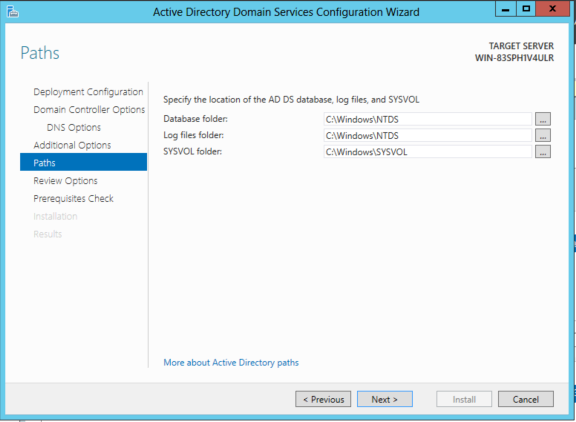
Click Next.
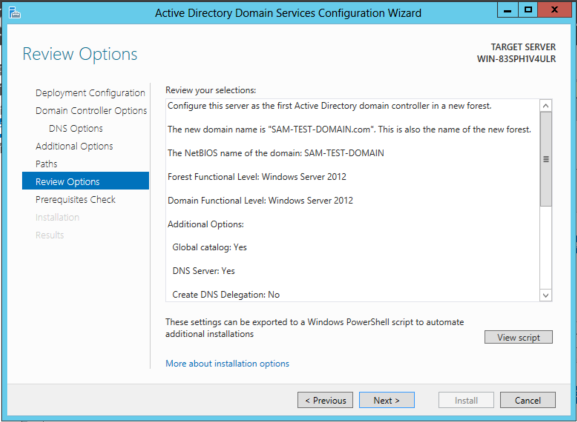
In the "Review Options" screen, as shown below, click Next:
In the "Prerequisites Check" screen, at the top, a green check mark appears, next to the message: "All prerequisite checks passed successfully", as shown below.
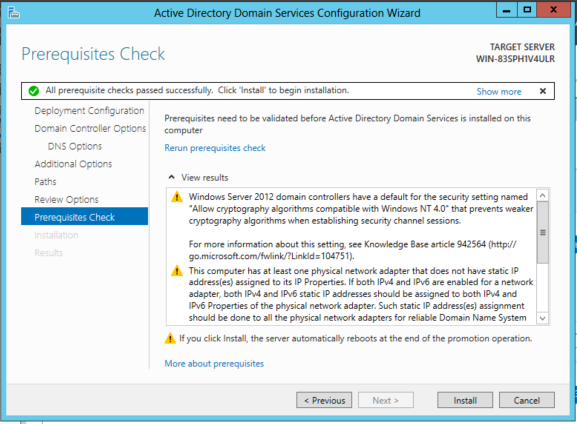
Click Install. The installation proceeds, as shown below:
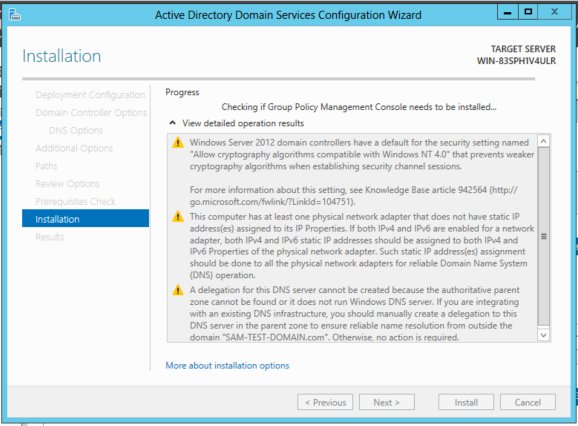
A message warns you that you are about to be signed off, as shown below:

Windows restarts.
After pressing Ctrl+Alt_Delete, the login screen now shows your domain name, as shown below:
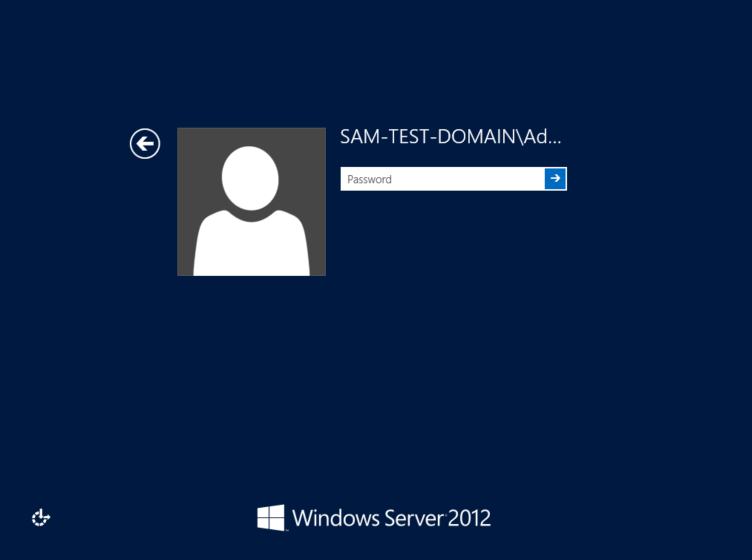
Log in as usual, with the password P@ssw0rd
Log in as usual.
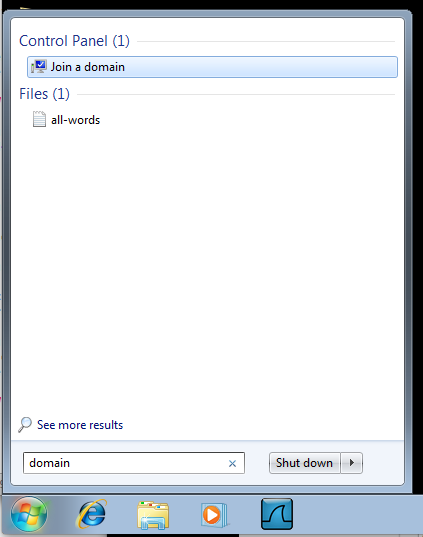
Click the Start button. In the Search box, type domain
In the results, click "Join a domain", as shown below:
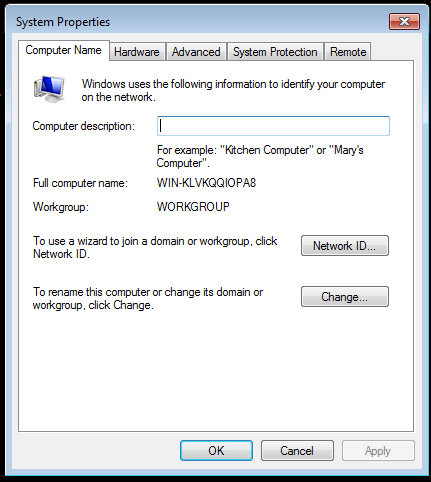
In the "System Properties" box, click the "Network ID..." button, as shown below:
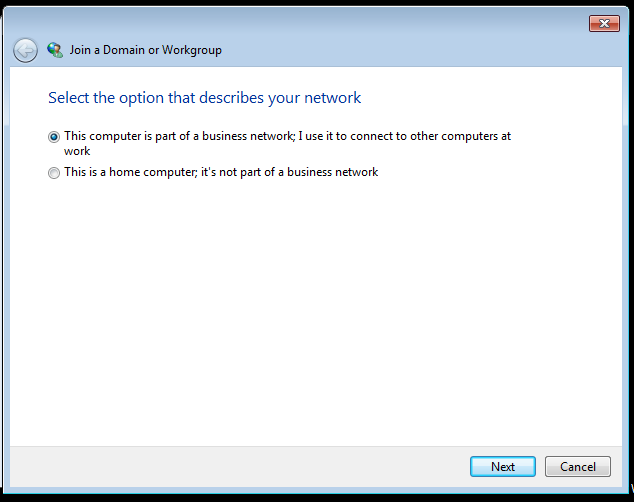
In the "Select the option that describes your network" screen, accept the default selection of "This computer is part of a business network...", as shown below, and click Next.
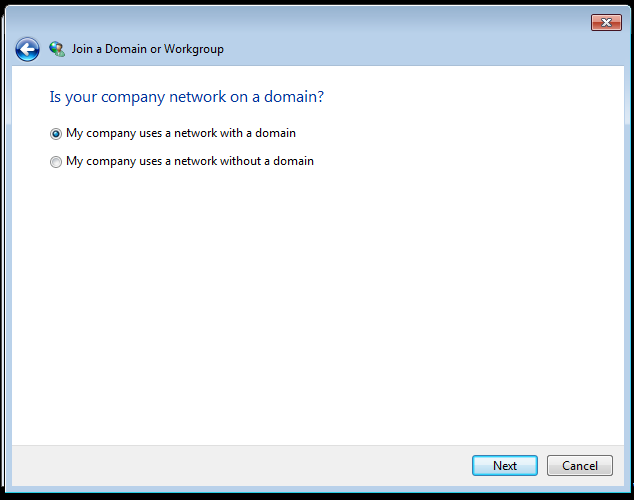
In the "Is your company network on a domain?" screen, accept the default selection of "My company uses a network with a domain", as shown below, and click Next.
In the "You will need the following information" screen, as shown below, and click Next.

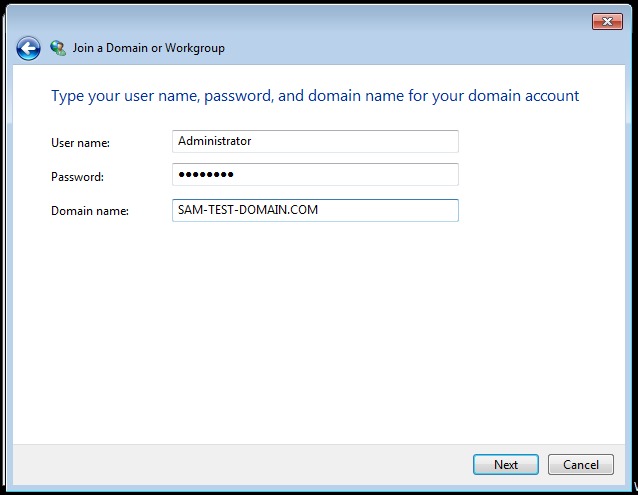
In the "Type your user name, password, and domain name for your domain account" screen, enter these values, as shown below:
In the "Type your computer name and computer domain name" screen, accept the default computer name and enter a domain name of YOURNAME-TEST-DOMAIN.COM as shown below:
Click Next.
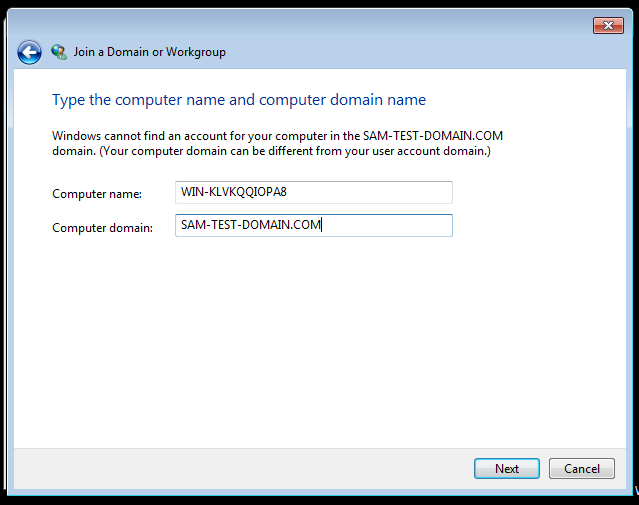
An error message pops up, saying the domain controller could not be contacted, as shown below:

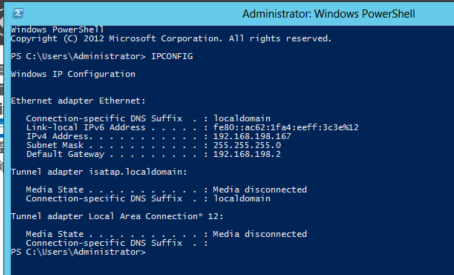
This happened because the domain controller is not one of the DNS servers set on the client machine.
Click the middle icon, with >_ on it.
A Powershell window opens.
Type in this command and then press Enter:
IPCONFIG
In the search box, type
connections
In the results, click "View network connections" as shown below:

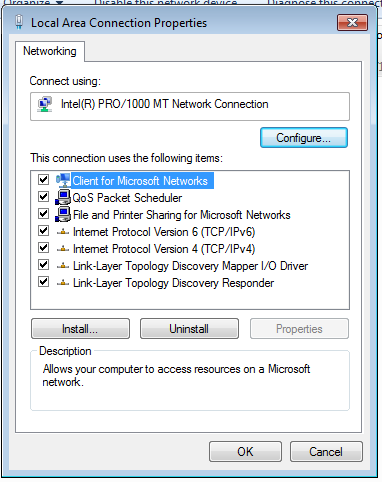
Right-click "Local Area Connection" and click Properties.
In the "Local Area Connection Properties" box, double-click "Internet Protocol Version 4 (TCP/IPv4)", as shown below:
In the lower pane, click "Use the following DNS server addresses" and enter two values:
Your domain controller's IP address
8.8.8.8
as shown below:
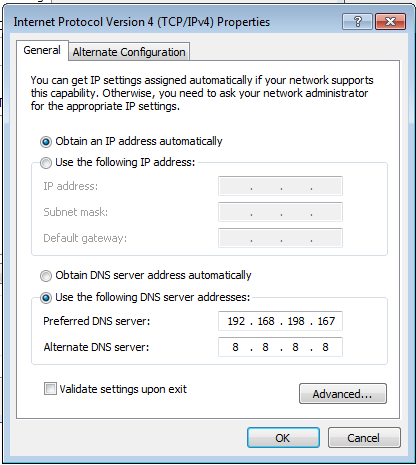
In the "Internet Protocol Version 4 (TCP/IPv4) Properties" box, click OK.
In the "Local Area Connection Properties" box, click OK.
In the "Join a Domain or Workgroup" screen, as shown below, click OK.
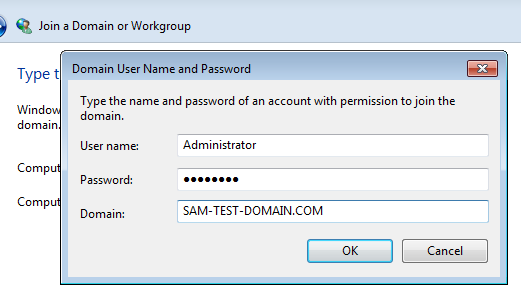
A pop-up box asks for "Domain User Name and Password".
Enter these values, as shown below:
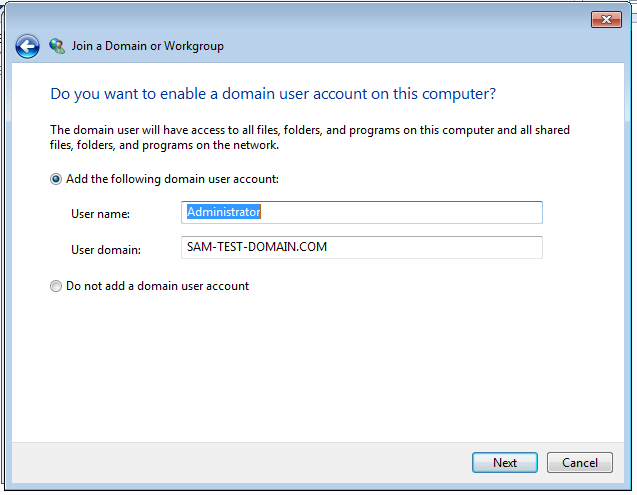
In the "Do you want to enable a domain user account on this computer?" screen, accept the default options, as shown below, and click Next.
Troubleshooting
If you get a message saying "the domain controller could not be contacted", that is, sadly, a very common problem.Here are the steps to resolve the problem.
1. Basic Networking
From the Windows 7 machine, in a Command Prompt, execute this command, replacing the IP address with the server address of your domain controller:If you don't get replies, the problem is your networking. Turn off all firewalls, ping a public address like 8.8.8.8 on both the Windows 7 and Server machines, and if you are using virtual machines make sure they are all in Bridged mode.PING 192.168.1.1772. DNS Settings
From the Windows 7 machine, in a Command Prompt, execute this command, replacing the domain name with your own teat domain:If you don't get replies, the problem is your DNS. Remove all other DNS entries in your IP settings, so the only DNS server available is the domain controller. Then disable and re-enable the network adapter. If that doesn't work, restart the Windows 7 target machine.PING YOURNAME-TEST-DOMAIN.comOnce you can ping the domain controller by DNS name, you should be able to join the domain.
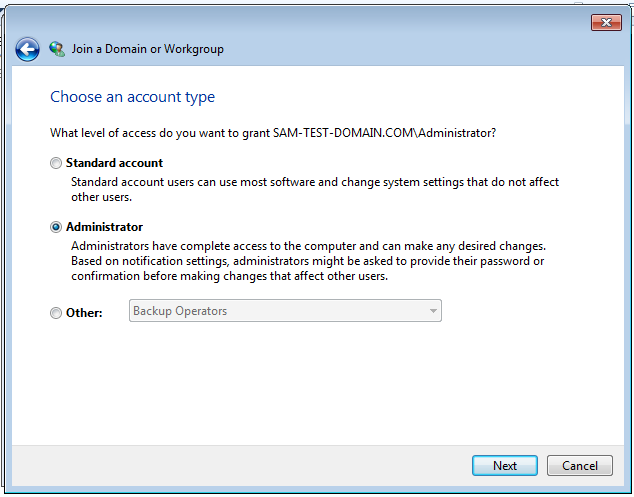
In the "Choose an account type" screen, click Administrator, as shown below, and click Next.
In the "You must restart your computer to apply these changes" box, click the Finish button.
Restart your Windows 7 computer.
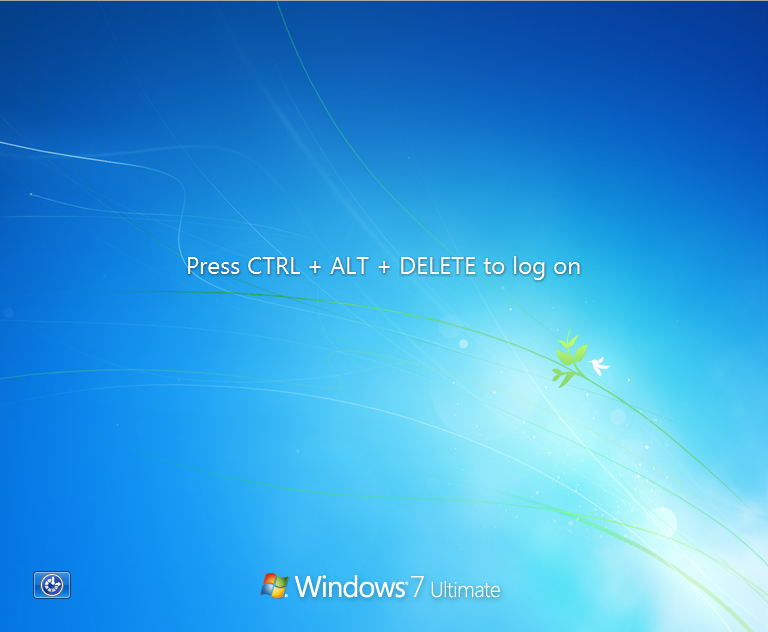
Now the login screen has changed--it asks you to press Ctrl+Alt+Delete, as shown below:
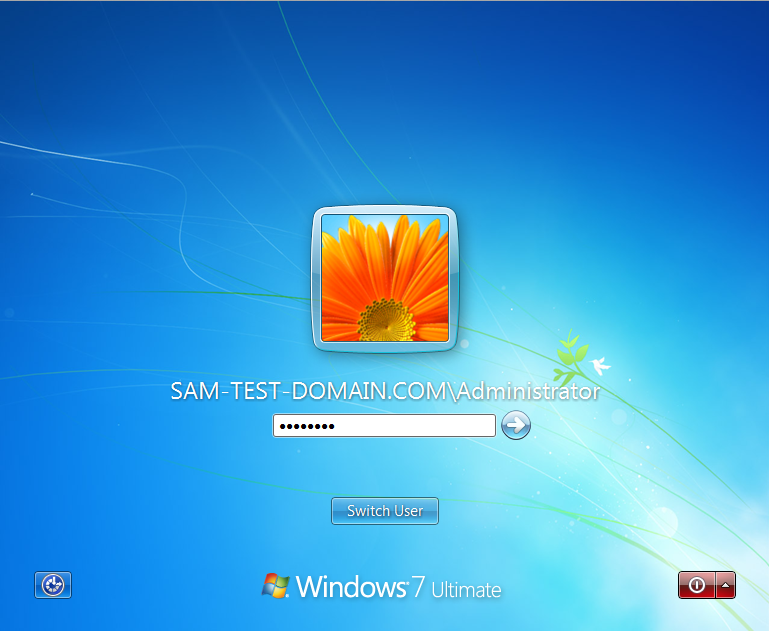
The next screen is also different: it shows your domain name before the user name of "Administrator".
Log in with a password of P@ssw0rd as shown below:
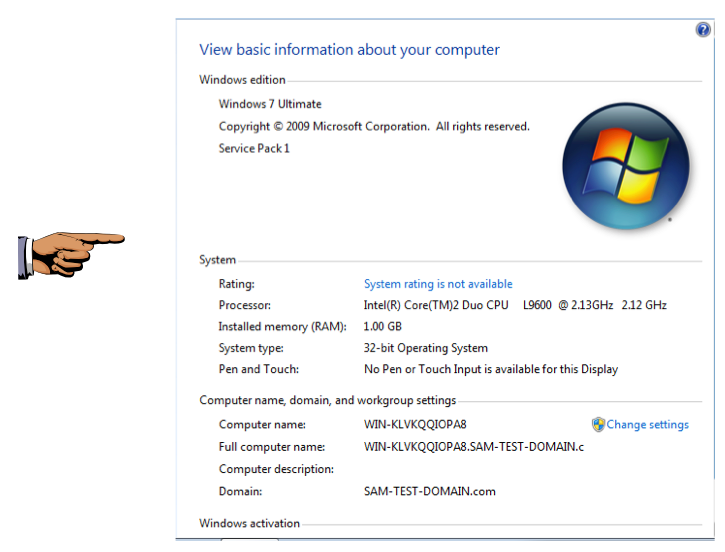
Click Start, right-click Computer, and click Properties.
On the bottom right, you should see a "Domain" of YOURNAME-TEST-DOMAIN.com, as shown below:
Save the image with the filename "Your Name Proj 19".
From the Windows 7 desktop, click Start. Right-click Computer and click Properties.
Click "Advanced System Settings".
Click the "Computer Name" tab.
Click the Change button.
Click the Workgroup radio button and type in a Workgroup name of WORKGROUP.
Click OK.
A pop-up box asks for "Domain User Name and Password".
Enter these values:
Restart the machine.
Set the DNS server back to 8.8.8.8
Verify that the machine can reach the Internet.