Install the software with the default options.
Scroll to the bottom of the license agreement and click Accept.
At the "Provide your full name and initials below" screen, click Next.
At the "Online Update " screen, clear the "Check for updates automatically" box and click Next.
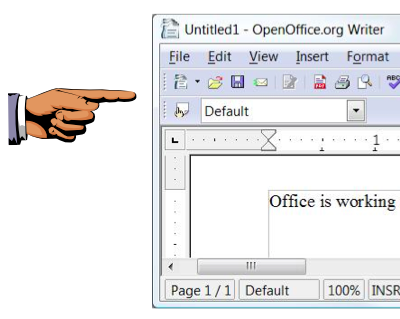
At the " OpenOffice.org Registration" screen, click "I do not want to register" and click Finish. OpenOffice.org Writer opens, as shown below.
Press the PrintScrn key in the upper-right portion of the keyboard. That will copy the whole desktop to the clipboard.
YOU MUST SUBMIT WHOLE-DESKTOP IMAGES FOR FULL CREDIT
Open Paint. In the untitled - Paint window, select Edit, Paste from the menu bar. The desktop image appears in the Paint window.
Save the image with the filename "Your Name Proj 2b".
Send the message to: cnit.345@gmail.com with a subject line of "Proj 2 From Your Name", replacing Your Name with your own first and last name. Send a Cc to yourself.
Last Modified: 8-22-13