Enter your password and sign in.
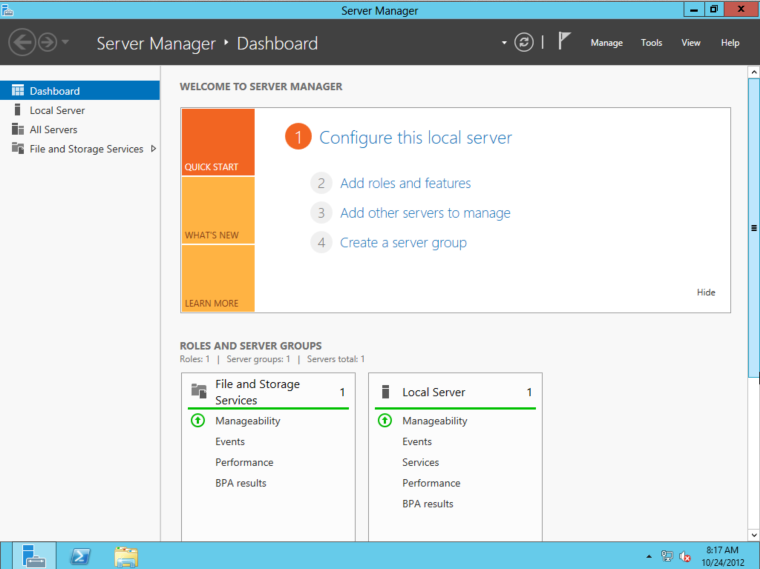
Server manager opens, as shown below. If it does not open automatically, click the blue icon on left side of the taskbar, at the bottom of the desktop to launch it.
Click "Add roles and features".
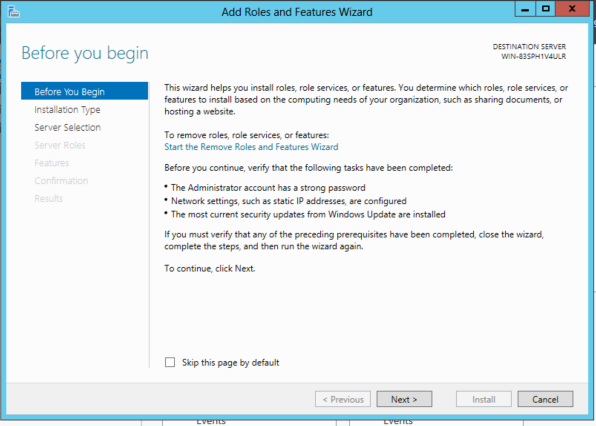
The "Add Roles and Features Wizard" opens, as shown below.
In the "Before you begin" page, click Next.
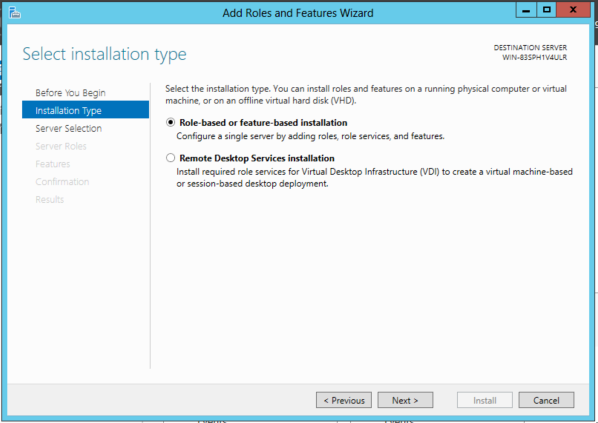
In the "Installation type" page, accept the default selection of "Role-based or feature-based installation", as shown below, and click Next.
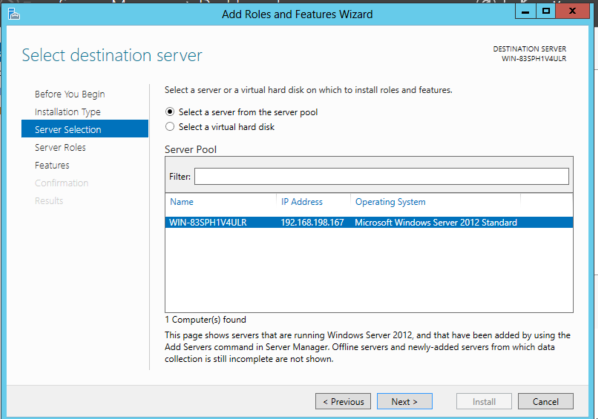
In the "Select destination server" page, accept the default selection , as shown below, and click Next.
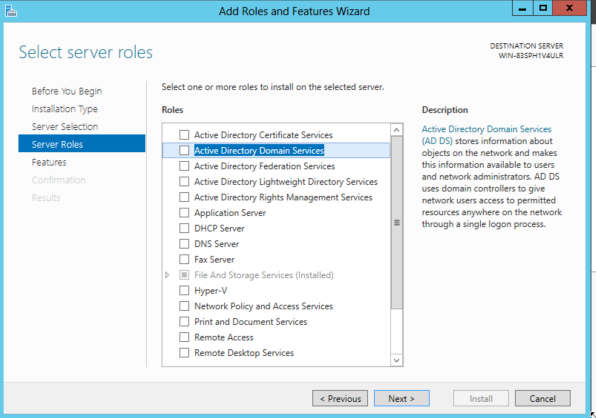
In the "Select server roles" page, click the check box next to "Active Directory Domain Service", as shown below, and click Next.
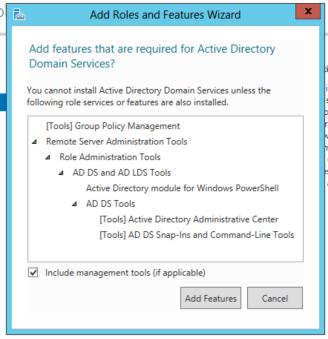
In the "Add features that are required for Active Directory Domain Services?" box, click "Add Features", as shown below:
In the "Select server roles" page, click Next.
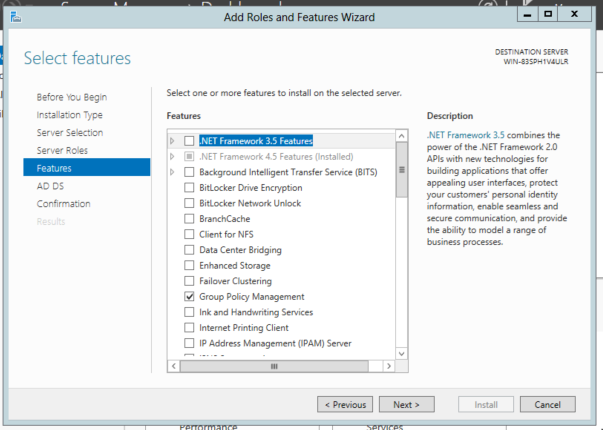
In the "Select features" page, as shown below, click Next.
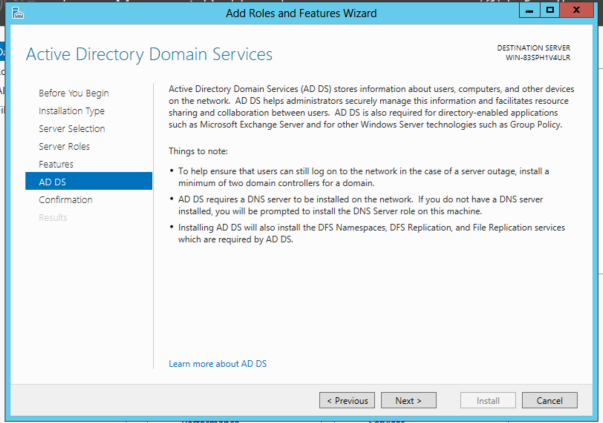
In the "Active Directory Domain Service" page, as shown below, click Next.
In the "Confirm installation selections" page, as shown below, click the "Restart the destination server automatically if required" box. In the pop-up box, click Yes.
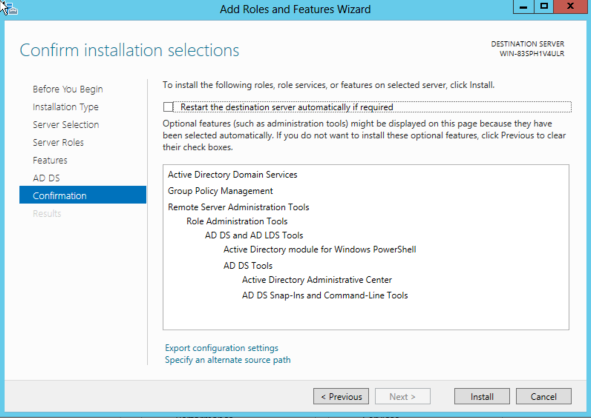
In the "Confirm installation selections" page, click Install. Wait while the install proceeds, as shown below:
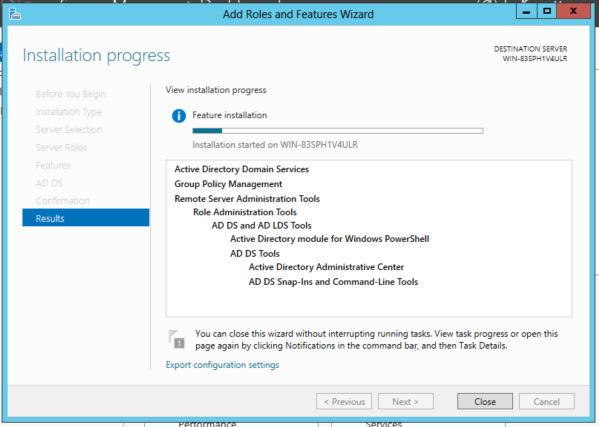
When the installation finishes, click Close.
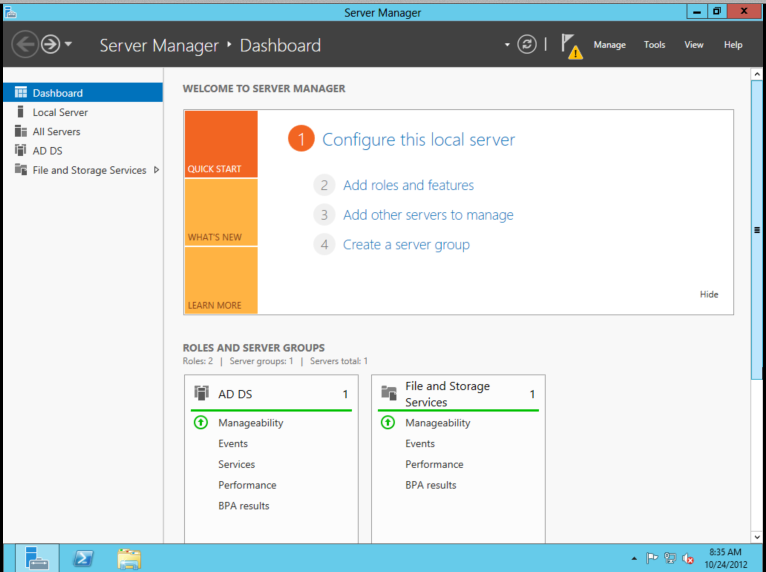
Server Manager now shows an "AD DS" item in the lower left, as shown below. Click "AD DS".
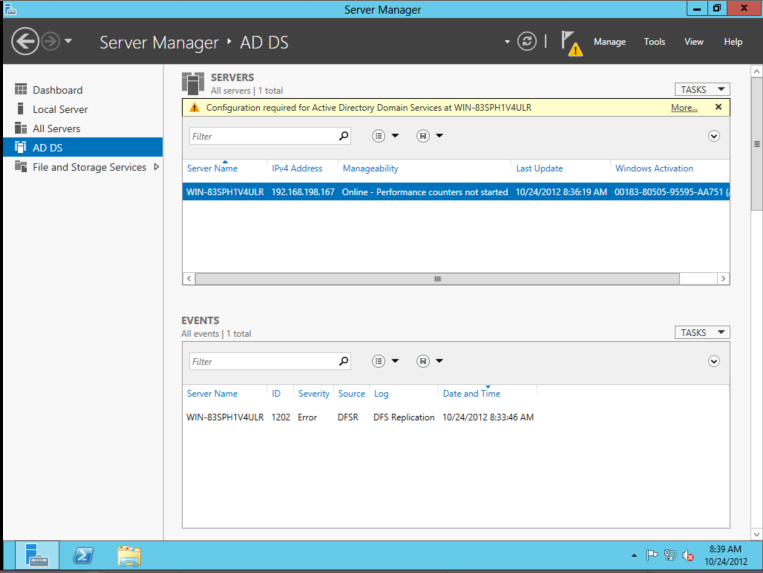
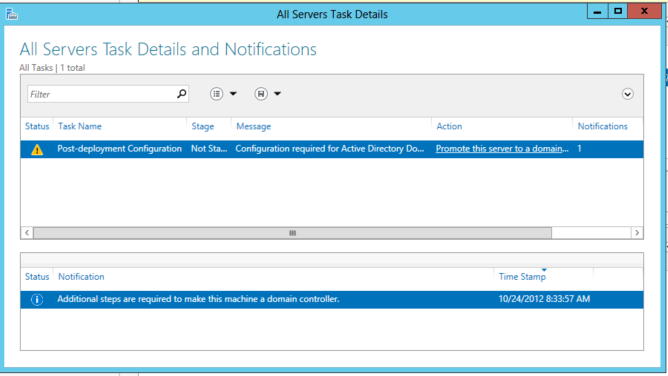
In the "Server Manager . AD DS" page, at the top, there is a yellow bar saying "Configuration required...", as shown below. In the yellow bar, click More..."
In the "All Servers Task Details" box, in the Action column, click "Promote this server to a domain controller", as shown below:
The "Active Directory Domain Services Configuration Wizard" launches.
In the "Deployment Configuration" screen, click the "Add a new forest" button. In the "Root domain name" box, enter YOURNAME-TEST-DOMAIN.com, using your own name (without spaces, as shown below:
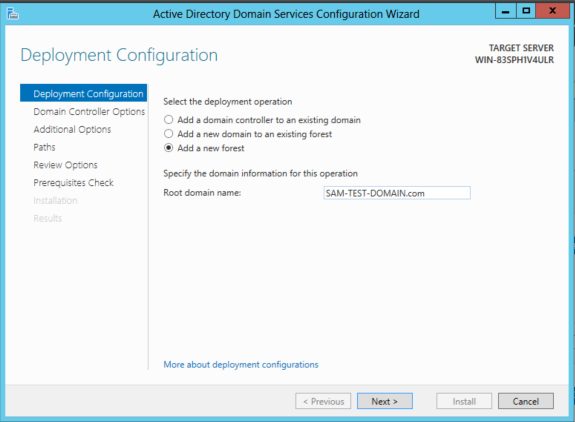
Click Next.
In the "Domain Controller Options" screen, accept the default selections.
Enter P@ssw0rd in both password boxes, as shown below:
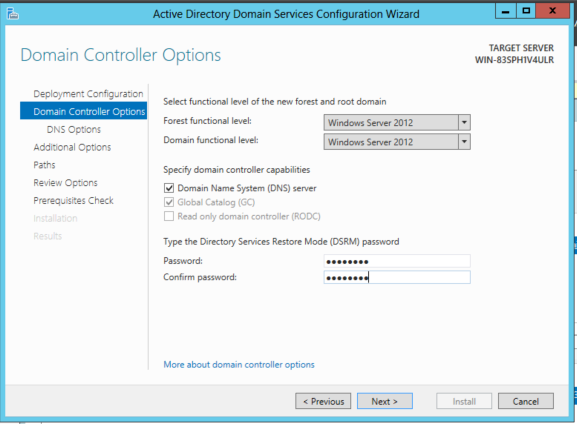
Click Next.
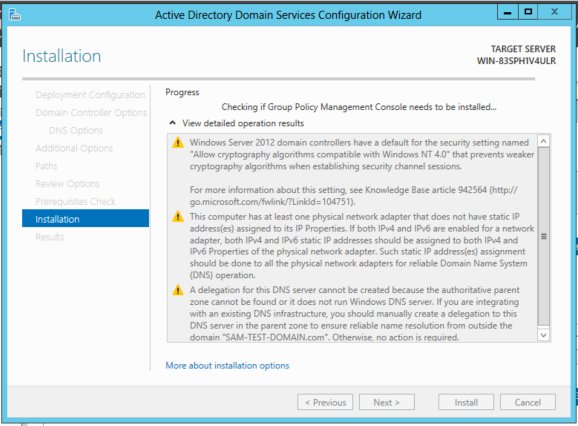
In the "DNS Options" screen, at the top, a yellow bar appears, saying "A delegation for the DNS server cannot be created...".
In the yellow bar, click the "Show more" link. A pop-up box explains the issue--for our purposes we can ignore this warning. Click OK to close the pop-up box, as shown below:
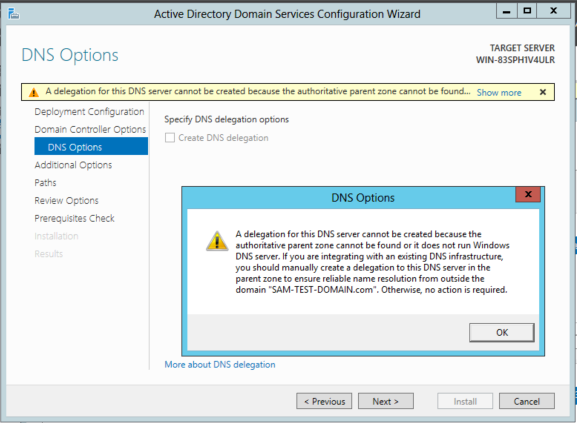
Click Next.
In the "Additional Options" screen, accept the default NetBIOS domain name, as shown below.
(If it's longer than 15 characters, you will be prompted to shorten it.)
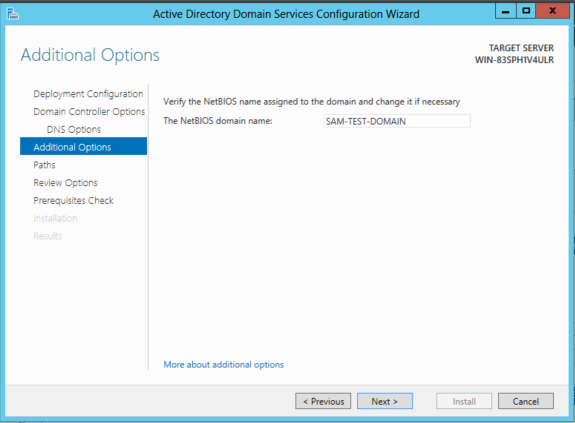
Click Next.
In the "Paths" screen, accept the default folders, as shown below:
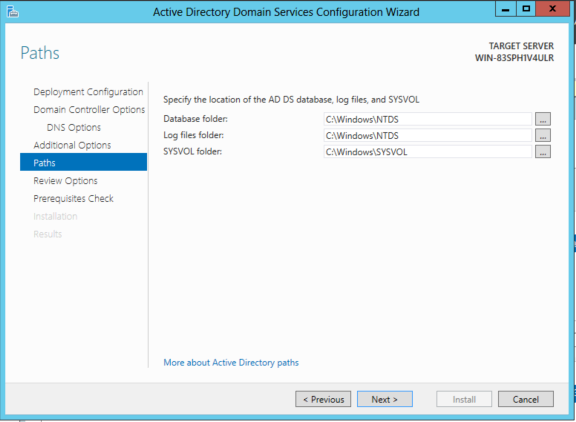
Click Next.
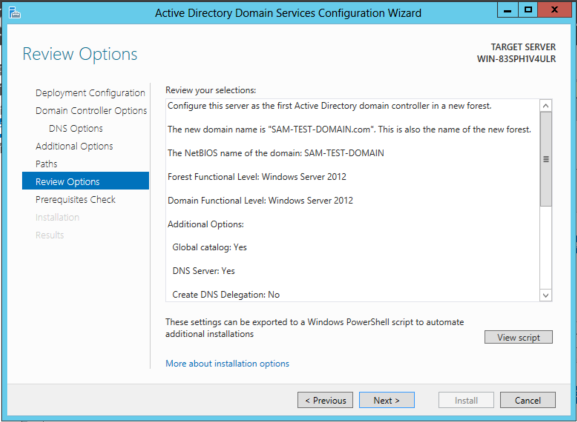
In the "Review Options" screen, as shown below, click Next:
In the "Prerequisites Check" screen, at the top, a green check mark appears, next to the message: "All prerequisite checks passed successfully", as shown below.
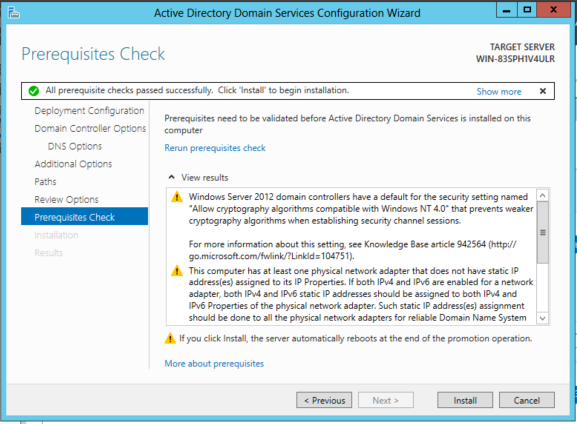
Click Install. The installation proceeds, as shown below:
A message warns you that you are about to be signed off, as shown below:

Windows restarts.
This closes your RDP session.
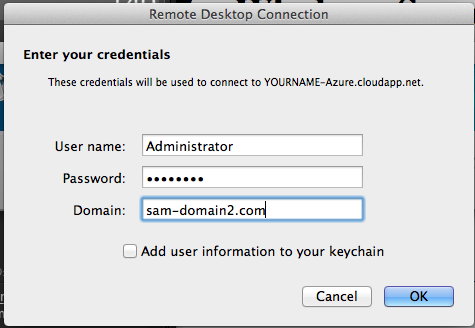
Wait a few minutes, and connect again, with RDP. This time, you need to specify your domain when logging in, as shown below:
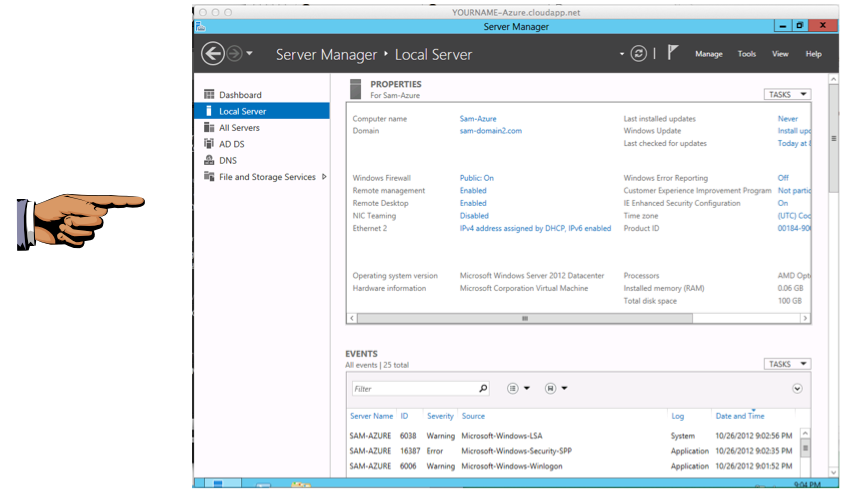
On the left side of "Server Manager", click "Local Server".
The right side now has a 'Domain" entry displaying your domain name, as shown below:
Save the image with the filename "Your Name Proj 7x".