https://my.vmware.com/web/vmware/free#desktop_end_user_computing/vmware_player/7_0
In the VMs-S214 window, right-click the empty space and click New, Folder. Name the folder "YOUR NAME VMs" replacing YOUR NAME with your own name.
https://www.offensive-security.com/kali-linux-vmware-arm-image-download/
DO NOT PUT VIRTUAL MACHINES ON THE C: DRIVE IN S214. They fill the drive and make the machine unusable, and will be deleted.
If you don't see a user named "root", click Other....
Log in to Kali with the username root and a password of toor
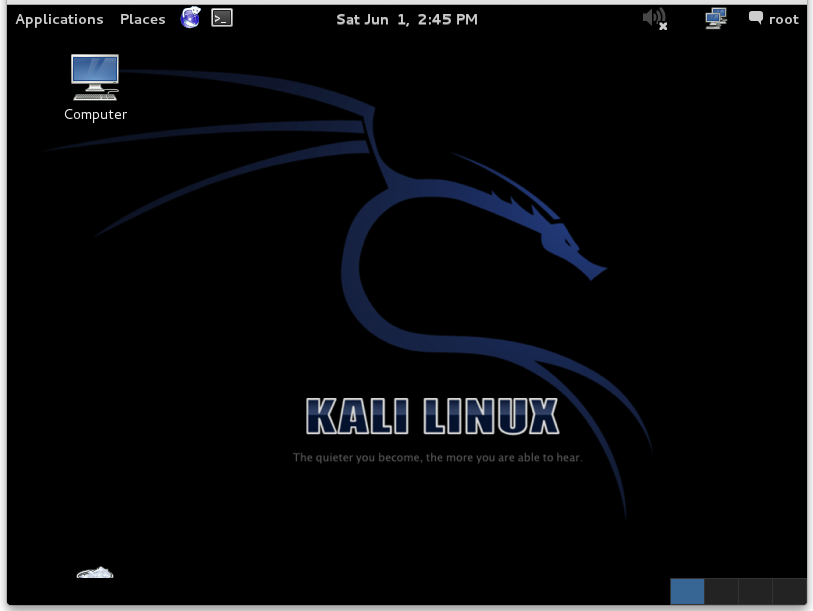
You should see the Kali Linux desktop as shown below:
In the "Virtual Machine Settings" box, on the left side, click "Network Adapter".
On the right side, click "Bridged: Connect directly to the physical network" or "NAT". Click OK.
At the top left of the Kali Linux desktop, find these items:
In the Terminal window, type in this command to get a new IP address, and then press the Enter key:
dhclient -v
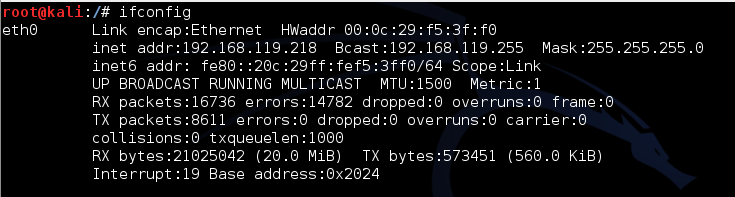
ifconfig
ping google.com

If you don't get replies, you need to fix your networking before proceeding.
Try restarting the Kali machine.
apt-get update

apt-get install bind9 -y

service bind9 start
Troubleshooting
If your Kali gives errors when updating, and bind doesn't install correctly, you may need to edit /etc/apt/sources.list as explained here:http://docs.kali.org/general-use/kali-linux-sources-list-repositories
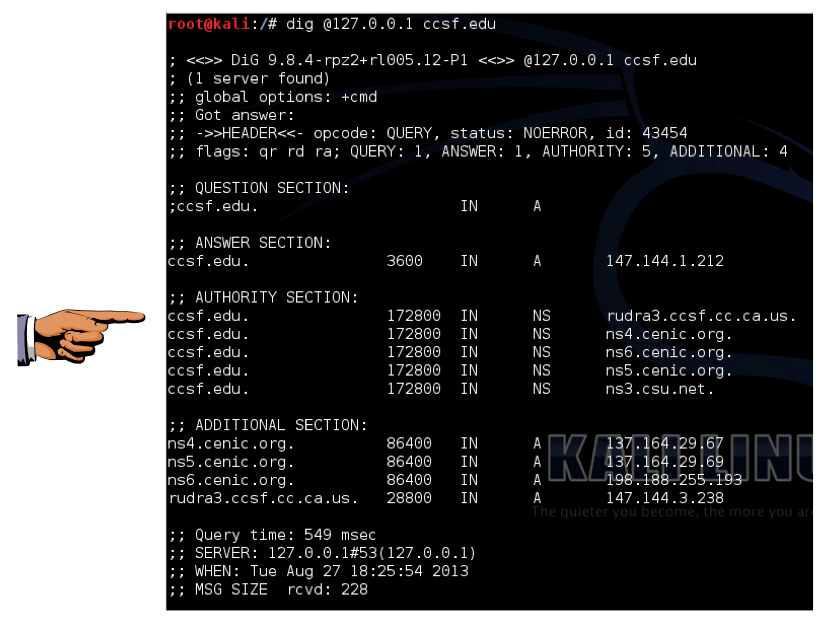
dig @127.0.0.1 ccsf.edu
As shown below, it finds the address 147.144.1.212, and at the bottom, it shows the server that was used as "SERVER: 127.0.0.1#53(127.0.0.1)".
Click the taskbar at the bottom of your host Windows 7 desktop, to make the host machine listen to the keyboard, instead of the virtual machine.
Make sure the terminal window on Kali is visible showing these items:
YOU MUST SUBMIT A FULL-DESKTOP IMAGE FOR FULL CREDIT!
Paste the image into Paint and save it with the filename "YOUR NAME Proj 2a", replacing "YOUR NAME" with your real name.
rndc dumpdb

nano /var/cache/bind/named_dump.db
If you can't find it, press Ctrl+W to search for ccsf.edu
You should see ccsf.edu followed several lines later by 147.144.1.212

Click the taskbar at the bottom of your host Windows 7 desktop, to make the host machine listen to the keyboard, instead of the virtual machine.
Make sure the terminal window on Kali is visible showing these items:
YOU MUST SUBMIT A FULL-DESKTOP IMAGE FOR FULL CREDIT!
Paste the image into Paint and save it with the filename "YOUR NAME Proj 2b", replacing "YOUR NAME" with your real name.
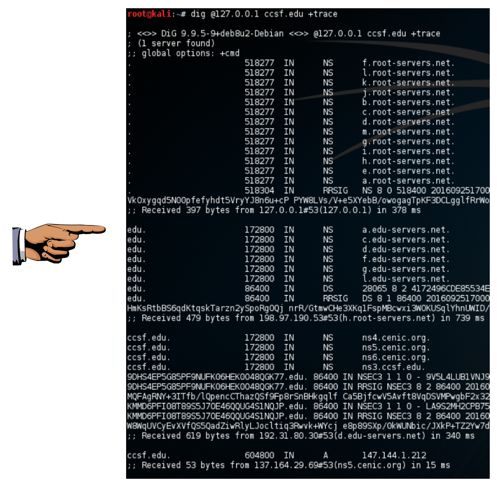
dig @127.0.0.1 ccsf.edu +trace
Click the taskbar at the bottom of your host Windows 7 desktop, to make the host machine listen to the keyboard, instead of the virtual machine.
Make sure the terminal window on Kali is visible showing the four items listed above.
If your screen resolution is small, you may need to capture two images to get it all.
Press the PrintScrn key in the upper-right portion of the keyboard. That will copy the whole desktop to the clipboard.
YOU MUST SUBMIT A FULL-DESKTOP IMAGE FOR FULL CREDIT!
Paste the image into Paint and save it with the filename "YOUR NAME Proj 2c", replacing "YOUR NAME" with your real name.
Send a Cc to yourself.