
Download the file below:
ccdc1.pcap.zip (2,597,864 bytes)
SHA-256: bd81640eb67151cf92e01afcf38f6b71bc34372bb269420f920e881726bf342f
Unzip the file (usually double-clicking it will do that). The unzipped file is:
ccdc1.pcap (16,134,411 bytes)
As shown below, this file contains 30,000 packets, captured over a period of 12.8 seconds in 2012.
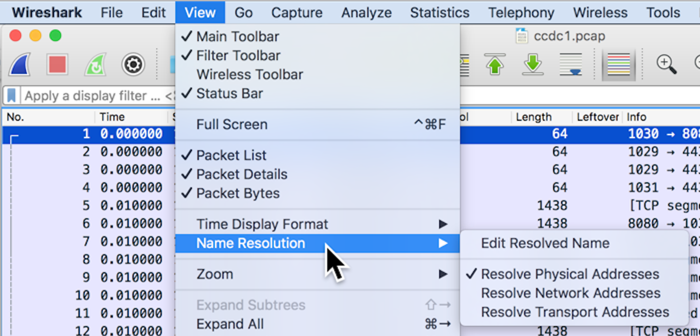
From the Wireshark menu bar, click View, "Name Resolution".
Make sure "Resolve Network Addresses" and "Resolve Transport Addresses" are not checked, as shown below.
It's valuable to add source and destination port numbers to the packet list.
From the Wireshark menu bar, click Wireshark, Preferences.
In the left pane of the "Wireshark - Preferences" window, in the Appearance section, click Columns. In the right pane, click a blank portion of the window.
Then, at the bottom, click the + icon. A new field appears, with a Title of "New Column", as shown below.
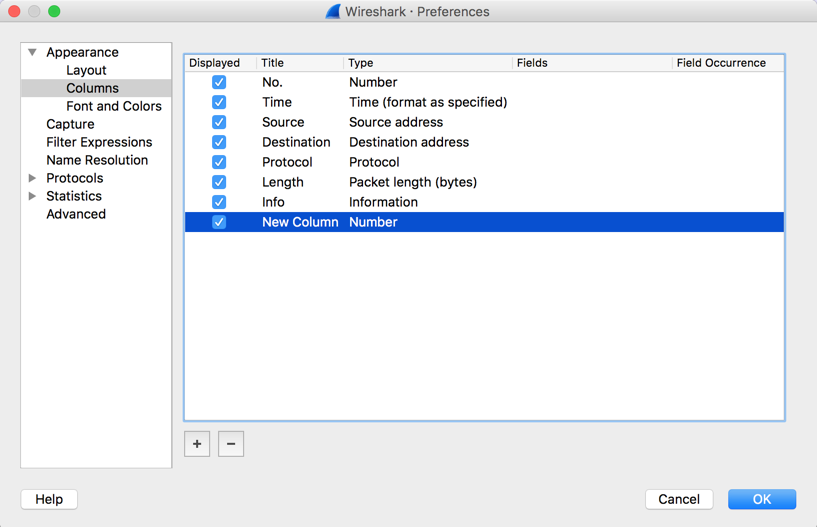
In the "New Column" line, double-click Number.
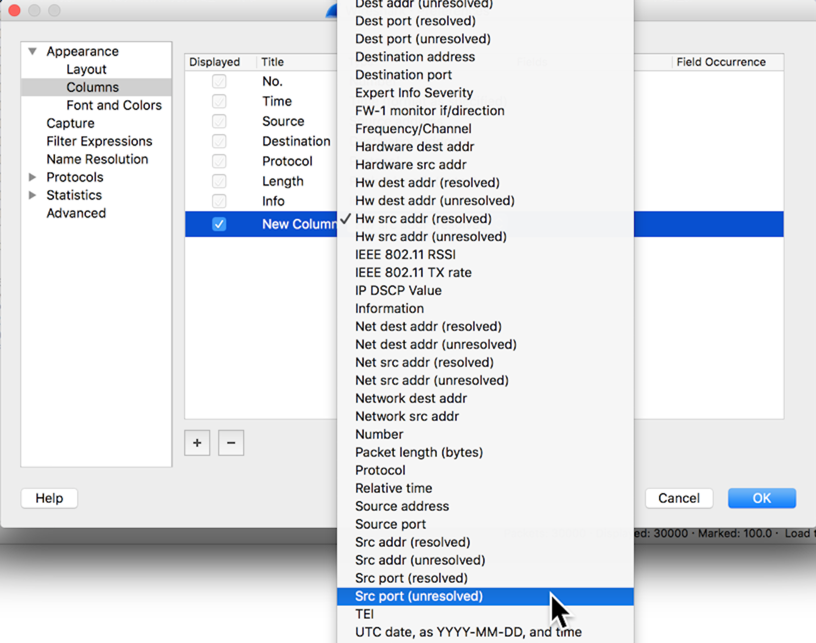
Arrows appear at the right of the field. Click the arrows. A long list of fields appears. Click "Src port (unresolved)", as shown below.
Double-click "New Column" and change it to "SrcPort", as shown below.
Repeat the process to add a DstPort field, as shown below.
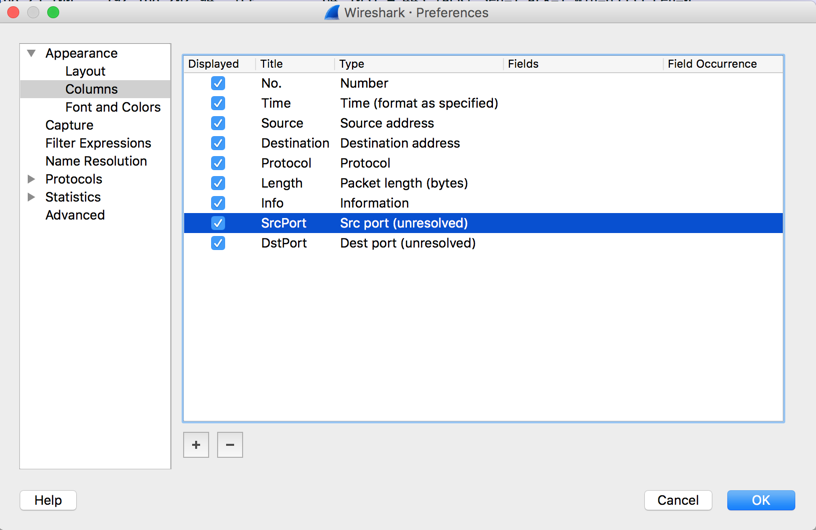
Drag the two new fields to appear just after the corresponding Address fields, as shown below.

Click OK. The Packet List now shows the port numbers, as shown below.

At the top left of the Wireshark window, in the filter bar, type
arp
Press Enter. The display is filtered to include only ARP packets.
In the Packet List, click packet 7652. In the middle pane, expand the "Address Resolution Protocol (reply)" section and click "Target IP address".
The four bytes of the IP address in hexadecimal are highlighted in the bottom pane, as shown below.

At the top left of the Wireshark window, in the filter bar, paste in this filter:
not http and not ntp and not dns and not tcp.port == 443 and not tcp.port == 80 and not icmp and not tcp.port == 5223 and not arp
Press Enter.
Only some of the packets remain, beginning with packets 1, 6, and 7, as shown below.

Scroll down through the packets to see what's there.
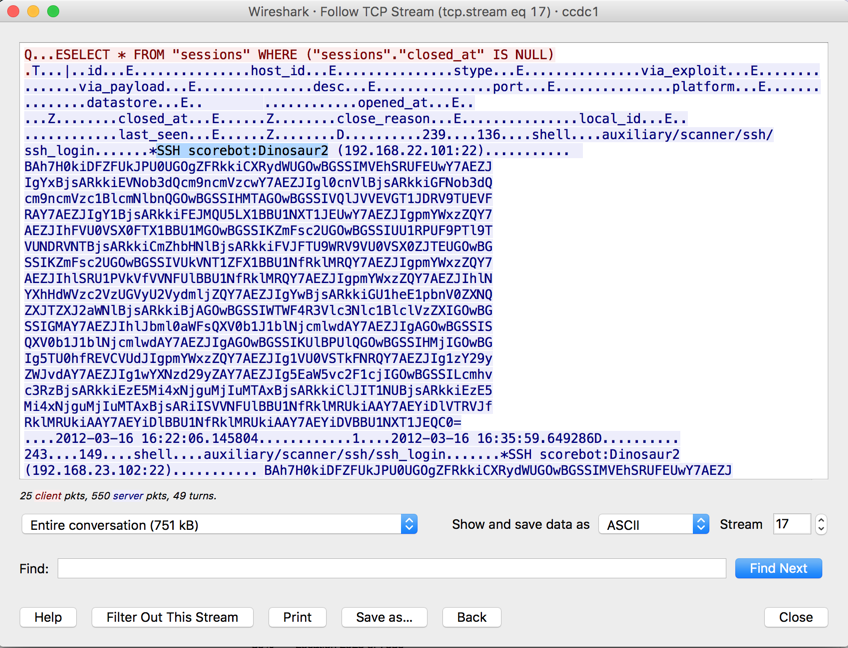
Packets 809 and 816 are interesting--they use PGSQL, a database protocol. To see what that traffic is, right-click packet 809 and click Follow, "TCP Stream", as shown below.

The stream shows repeated messages with the text "SSH scorebot:Dinosaur2", as shown below.
This is apparently part of the CCDC scoring system.
In the "Wireshark - Follow TCP Stream" box, click the Close button.
The filter changes to tcp.stream eq 17 as shown below. Only the PGSQL stream is displayed.
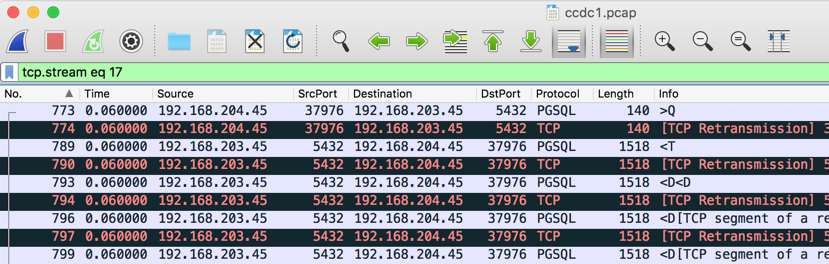
Scroll down and watch the Time column. The first group of packets were sent at Time 0.06 seconds, and there are additional groups at 0.57, 1.08, 1.79, and 2.3 seconds.
This looks like an automated process, which is consistent with the previous conclusion that this is the CCDC scoring system.
All the packets are visible again.
From the Wireshark menu bar, click File, "Export Objects", HTTP....
A list of all the objects transferred via HTTP appears, as shown below.
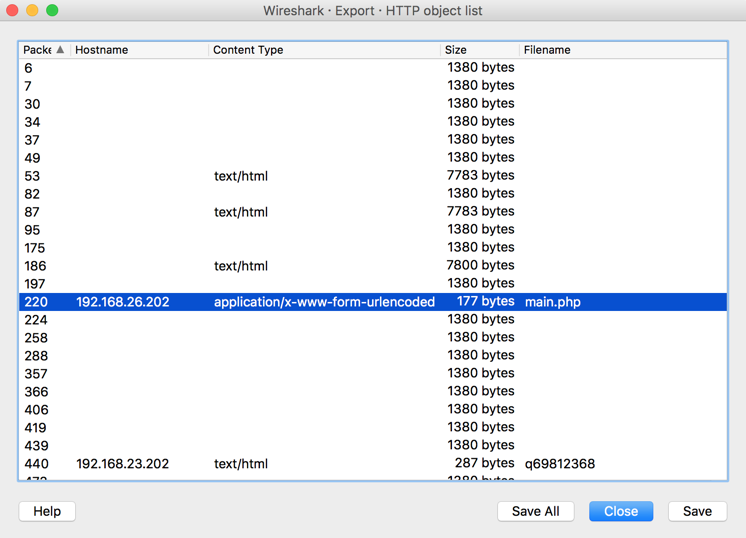
Click the main.php object to select it, as shown above, and click the Save button. Save the file on your desktop.
Open the main.php file in a text editor. As shown below, this is a Web request sending form data starting with frm_daynight:

Capture a whole-desktop image and save it as "Proj 2 from YOURNAME".
YOU MUST SEND IN A WHOLE-DESKTOP IMAGE FOR FULL CREDIT
Use the form below to put your name on the WINNERS PAGE.
Save a whole-screen image of the winners page showing your name with the filename "YOUR NAME Proj 2chal1".
Find the IP address of the computer that performed that scan.
Use the form below to put your name on the WINNERS PAGE.
Save a whole-screen image of the winners page showing your name with the filename "YOUR NAME Proj 2chal2".
Send a Cc to yourself.
Last Modified: 9-9-17 12 pm