Note: This direct connection places your computer at some risk of attack from the Internet. Be aware of that, and don't do this project on a machine with confidential data or important services on it.
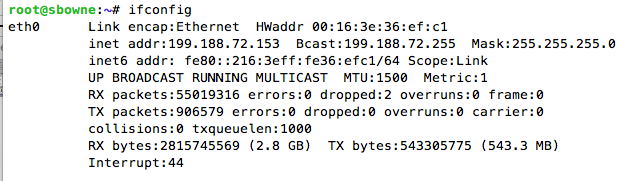
ifconfig
Open a Web browser and go to
http://www.webdnstools.com/dnstools/dns-lookup
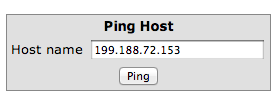
In the lower left of the page, enter your server's IP address in the "Ping Host" field, as shown below:
Click the Ping button. You should see replies, as shown below.
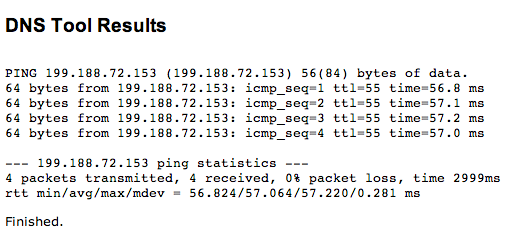
If you don't see replies, you cannot use that server for this project. You need to get a machine with a more direct connection to the Internet.
On the left side, click Register. Fill in the form, get your email, and log in.
Once you are logged in, you will see a page like the image below:
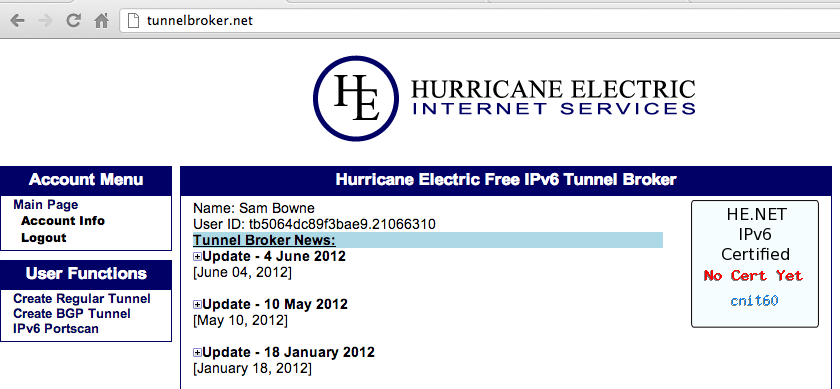
On the left side, click "Account Info" and change the password to something you won't forget.
Enter your server's IP address into the "IPv4 Endpoint (Your side)" field and press Enter.
Below your IP address, in red letters, the name of the Hurricane Electric location closest to your server appears.
My server is apparently near Los Angeles, as shown below:
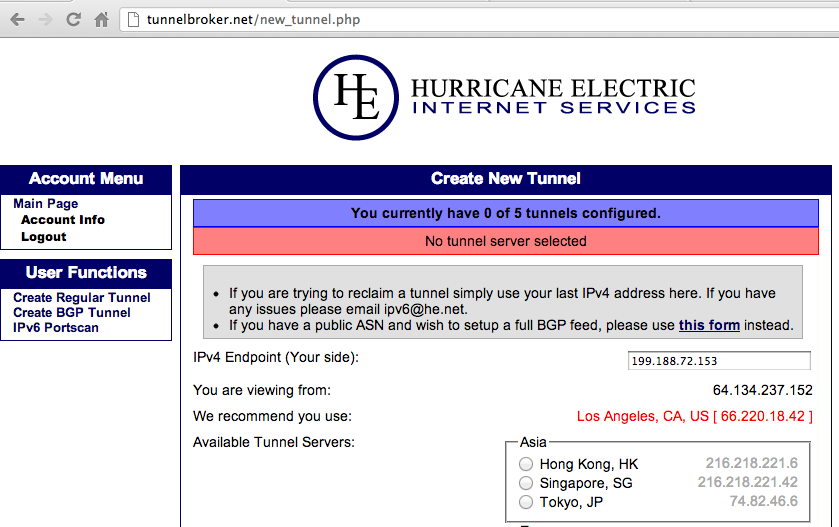
Scroll down to the bottom of the page. The recommended Hurricane Electric location should already be pre-selected. Click the "Create Tunnel" button
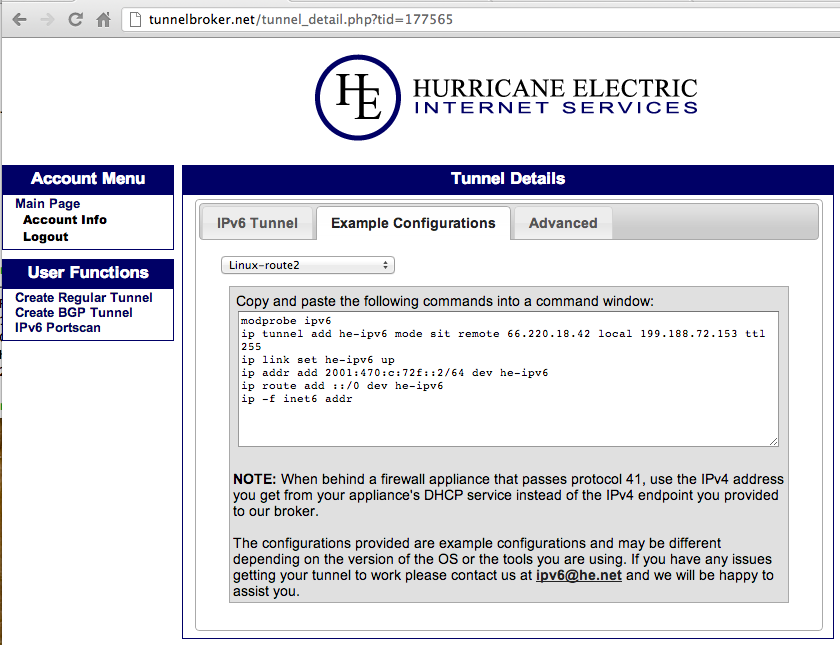
Your tunnel information appears, as shown below:
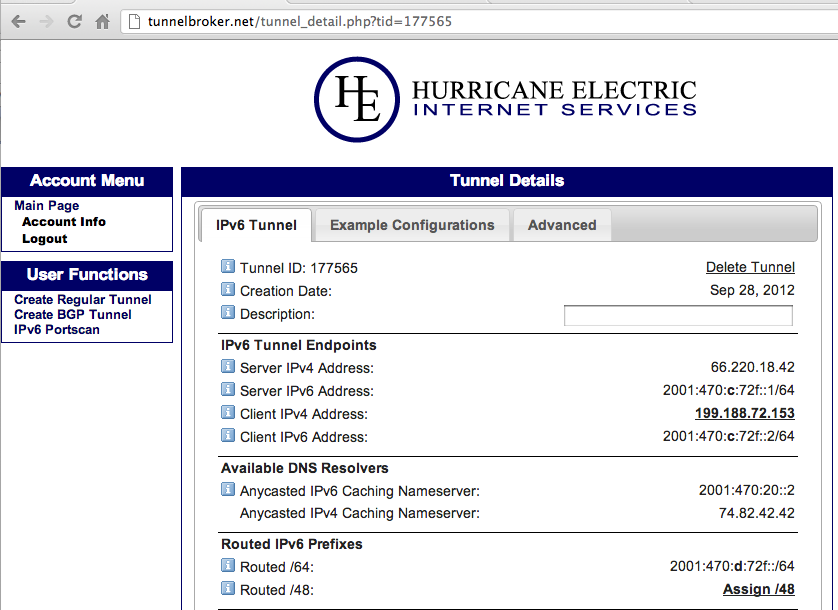
You need all these numbers to configure your server. Here's a brief explanation of the most important items:
Select your OS from the drop-down list. As you can see, they provide configurations for almost any OS you want!
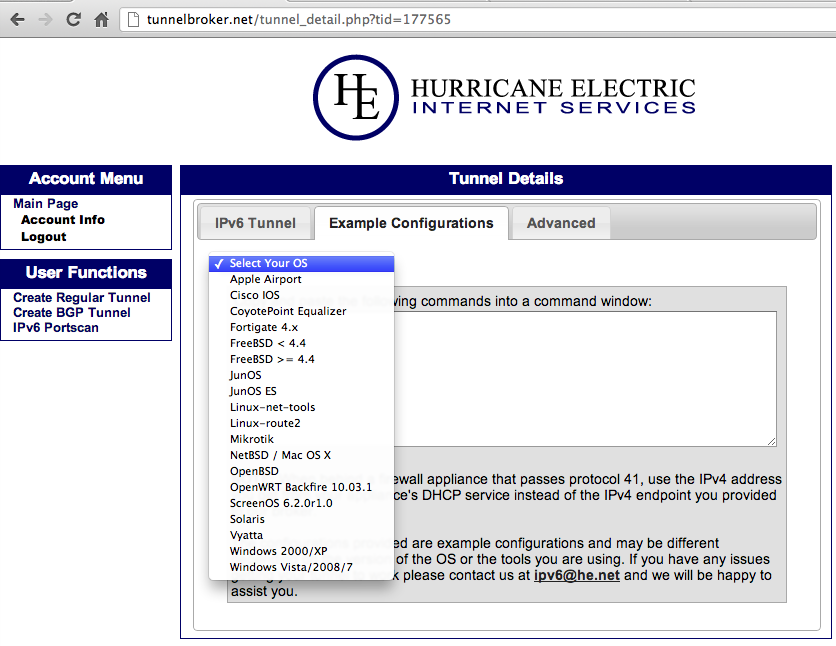
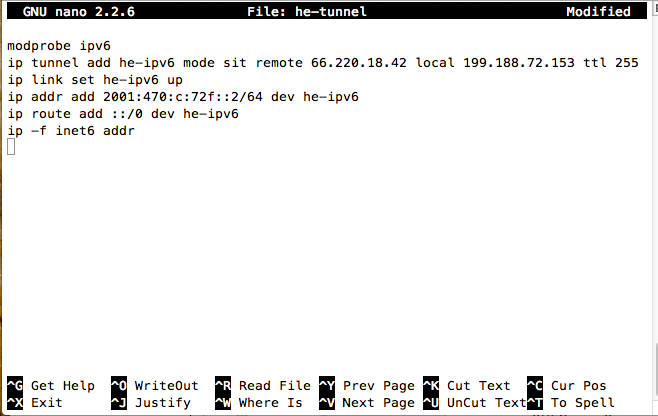
For my Ubuntu 12.04 server, I chose "Linux-route2". The commands to execute on the server appear, as shown below:
nano he-tunnel
Press Ctrl+X, Y, Enter to save the file.
On your server, execute these commands:
sudo bash he-tunnel

ifconfig

On your server, execute this command:
traceroute6 google.com
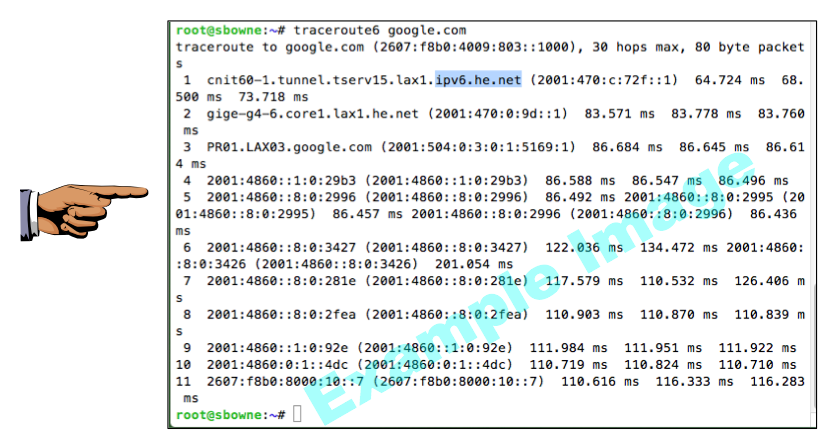
Make sure Hop 1 shows an ipv6.he.net router, as shown in the image above on this page.
Save a screen image with the filename Proj HE-1 from Your Name.
Email the image(s) to cnit.60@gmail.com with a Subject line of Proj HE-1 from Your Name.
tcpdump -i eth0 -c 10 proto 41 -w pHE1.pcap
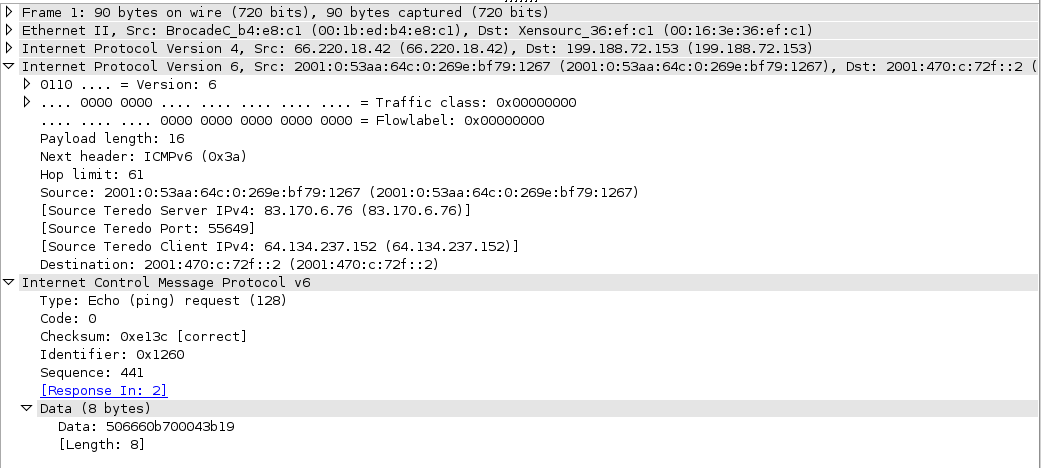
As you can see below, this is a 6in4 packet, arriving as an IP packet carrying a layer 4 payload of Protocol Type 41:
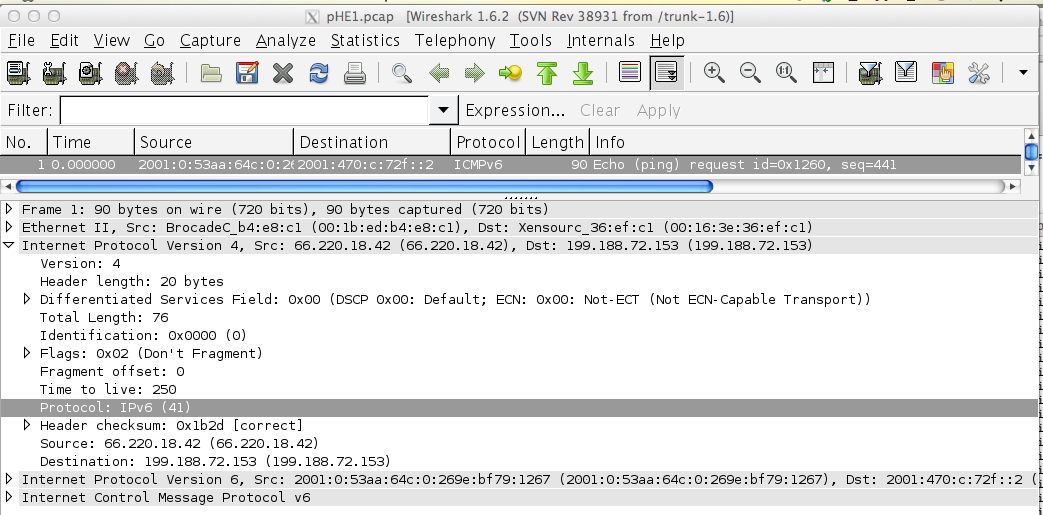
The IPv6 packet shows that I sent this ping from a machine using Teredo, which is correct--I used a Mac connected with the Miredo client.