
ifconfig
If you are using Ubuntu, use this command to install it:
sudo apt-get install python-scapy
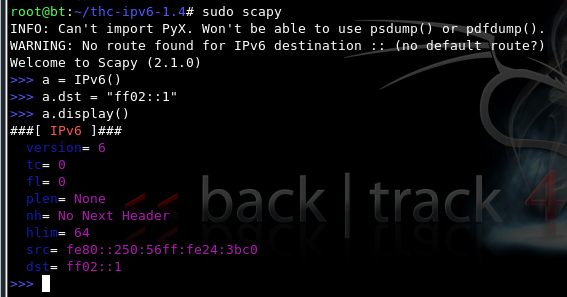
sudo scapy
  a = IPv6()

  a.dst = "ff02::1"

  a.display()
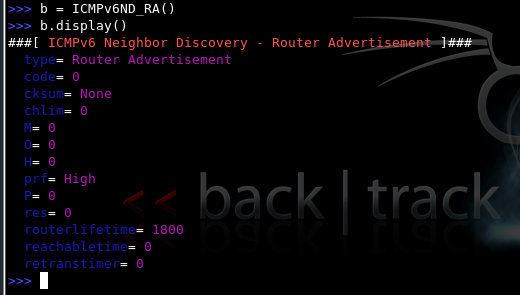
  b = ICMPv6ND_RA()

  b.display()
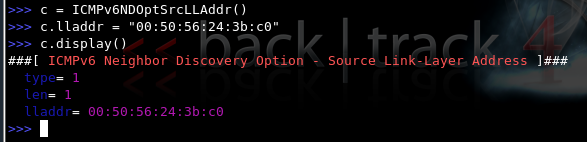
  c = ICMPv6NDOptSrcLLAddr()

  c.lladdr = "00:50:56:24:3b:c0"

  c.display()
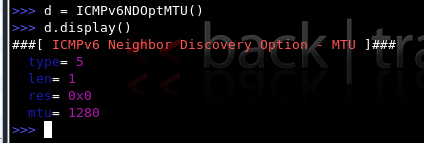
  d = ICMPv6NDOptMTU()

  d.display()
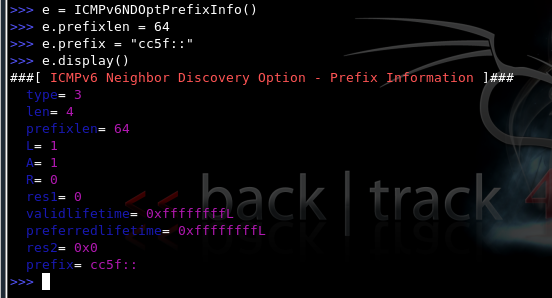
  e = ICMPv6NDOptPrefixInfo()

  e.prefixlen = 64

  e.prefix = "cc5f::"

  e.display()
wireshark
send(a/b/c/d/e)
You should see a message saying "Sent 1 packets".
The Wireshark window should show the Router Advertisement packet. Click it in the upper pane to select it, and expand the middle pane so the Prefix: cc5f:: information is visible, as shown below on this page:
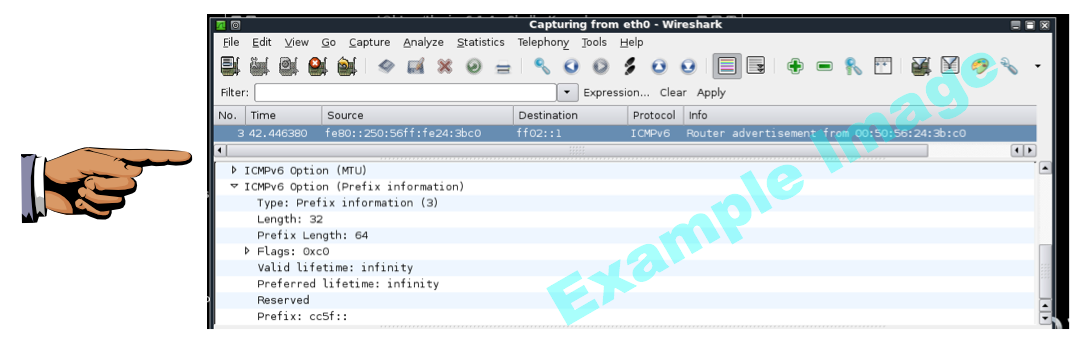
Make sure you can see Prefix: cc5f:: in the Wireshark window.
Save a screen image with the filename Proj L3a from Your Name.
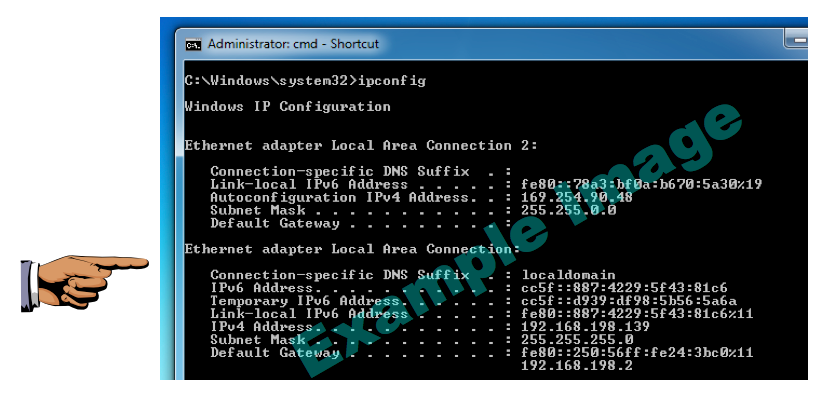
Make sure you can see IPv6 address starting with the cc5f:: prefix on the Windows machine.
Save a screen image with the filename Proj L3b from Your Name.
Email the images to cnit.60@gmail.com with a Subject line of Proj L3 from Your Name.
http://www.packetlevel.ch/html/scapy/scapyipv6.html